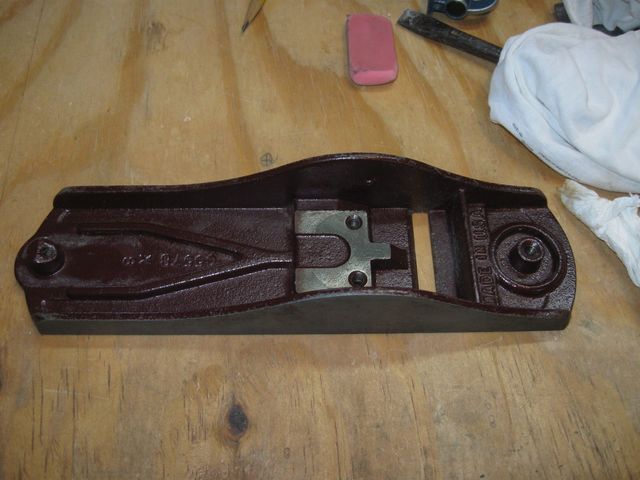
The first step in this restoration is to remove as much of the rust as I can. While the plane looked pretty rusted when I picked it up, it really isn't that bad. I don't see a lot of pitting. The surfaces of the iron look mostly smooth.
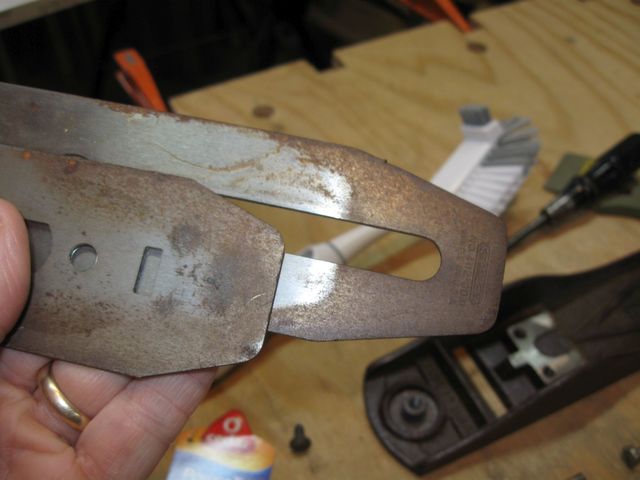
The Irons have some Superficial Rust
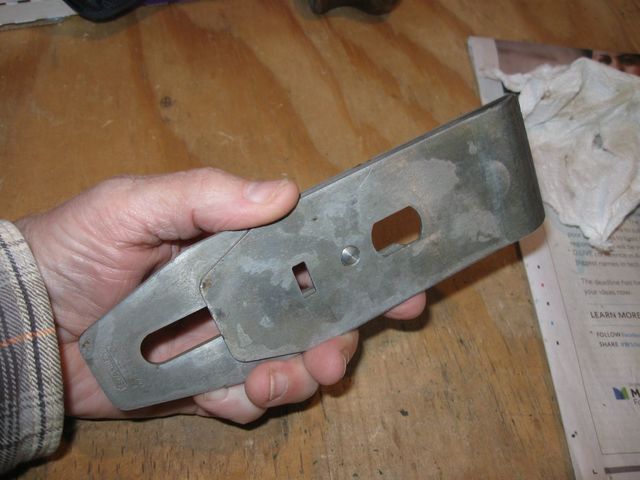
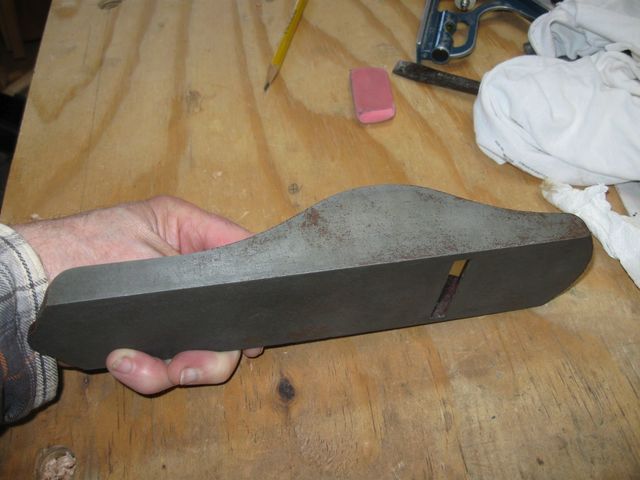
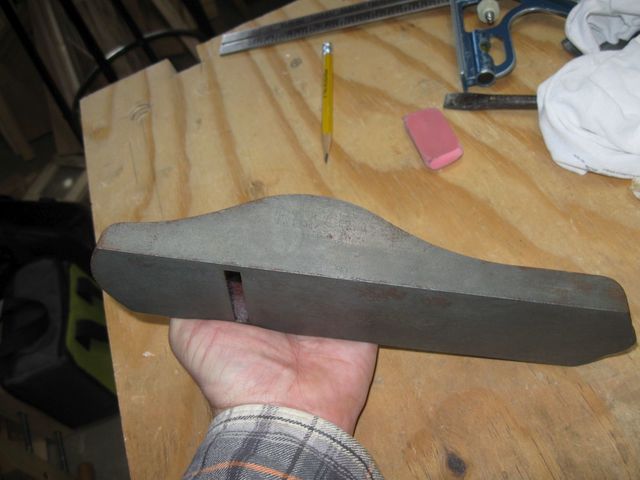
The bare steel parts of the body are evenly coated in rust.
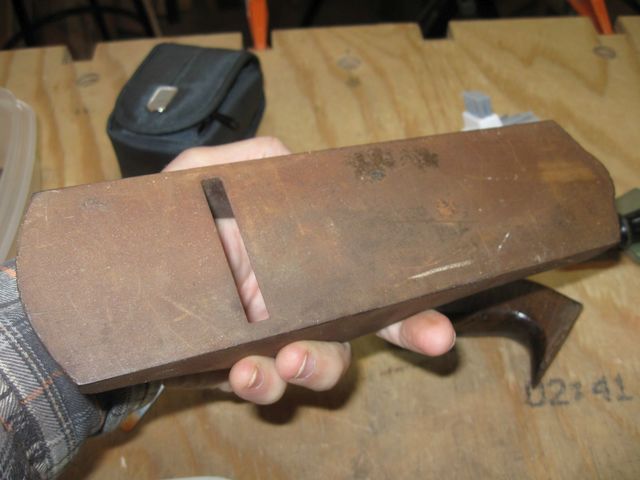
The Sole is Evenly Rusted.
It looks like there is some glue on it at the top in the photo and a streak of white paint as well. Those should not present any real problems. They will come off when I grind the sole of the plane flat.
The interior of the body looks good. It is Japanned a maroon color and shows no rust at all. The pad that the frog sits on is still bright steel.
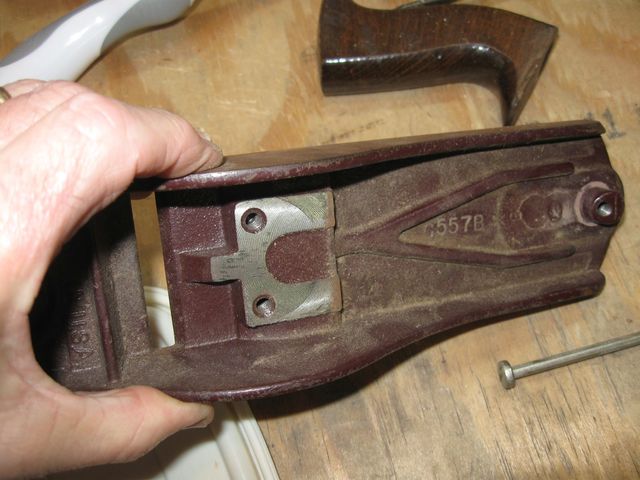
The Inside of the Body is Good
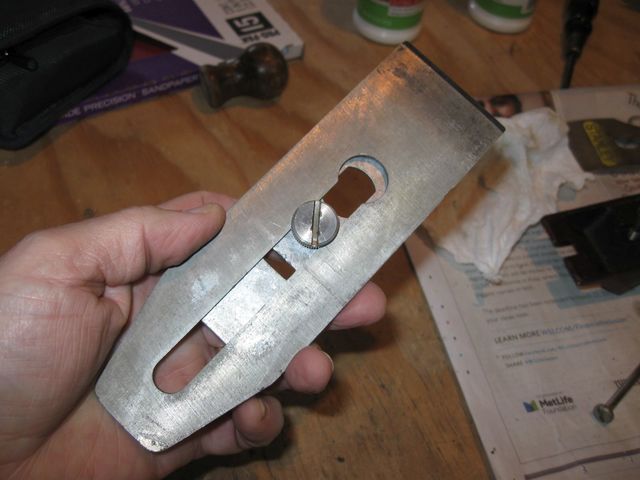
The lever cap is supposed to be nickel plated, but it is currently green.
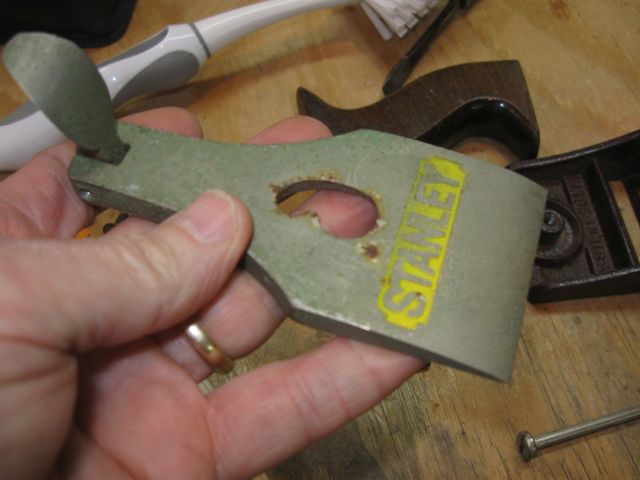
I Don't Think This is Supposed to be Green
I did some research about how to remove rust, and most of the advice says to use Citric Acid. The alternatives were electrolysis, sandpaper, vinegar, and other concoctions. But the majority of the people said that soaking the parts in a solution of one pound of Citric Acid to one gallon of water will do the trick best.
Here is the Citric Acid that I found at Wally World.
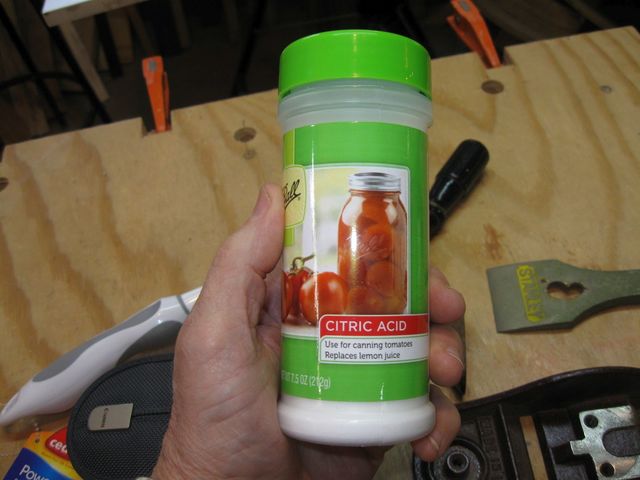
Citric Acid
I bought two of those, at about $3.50 each. Each jar has 7.5 ounces in it, so the two together are 15 oz, almost a pound.
But as I thought about it, I realized that I did not know what the acid would do to the Japanning on the plane body. There is actually a paint stripper that is based on citric acid. I did not want to damage the paint, so I decided not to soak the plane body. The frog is all Japanned, and it has no rust, so I will not soak that either. Another question was what would the acid do to the nickel plating of the lever cap, so that was left out of the soak as well.
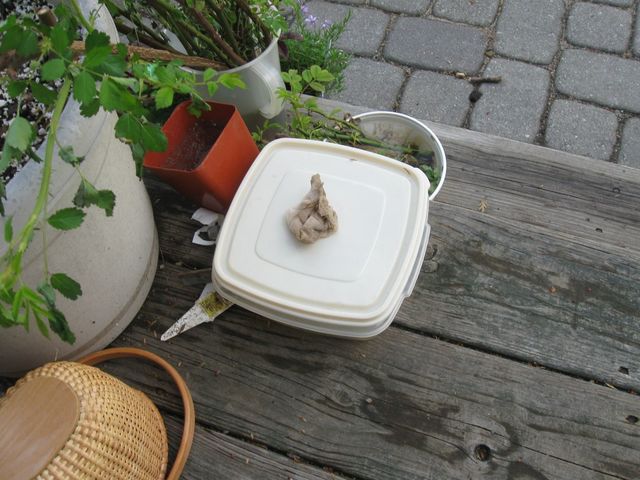
So it turned out that there were very few parts that I could safely soak. It was just the two irons and the connecting screw. So I found a small plastic storage container to soak them in.
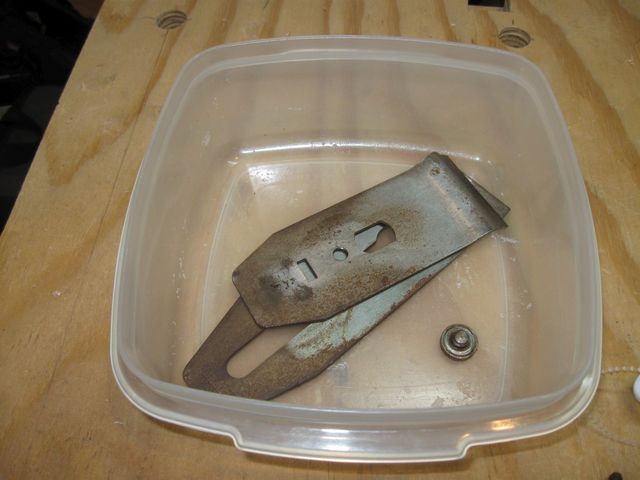
These are the Only Parts I will Soak
I measured out 12 ounces of water, which is about 1/10 of a gallon (128 ounces).
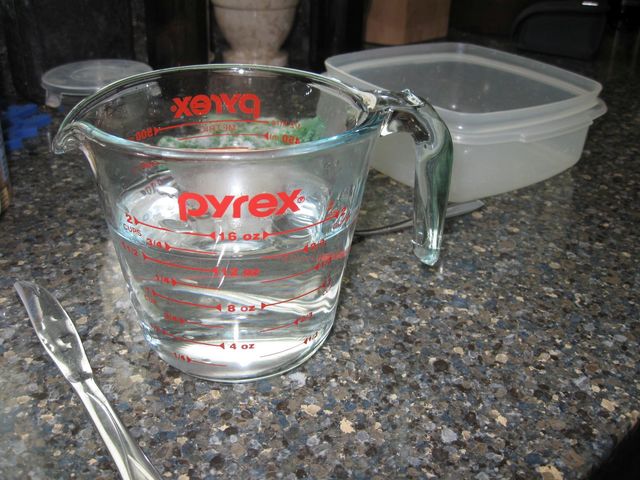
I Only Used 12 ounces of Water
I divided the 15 ounces of acid powder that I was intending to add to the gallon of water by 10 and came up with 1.5 ounces to use.
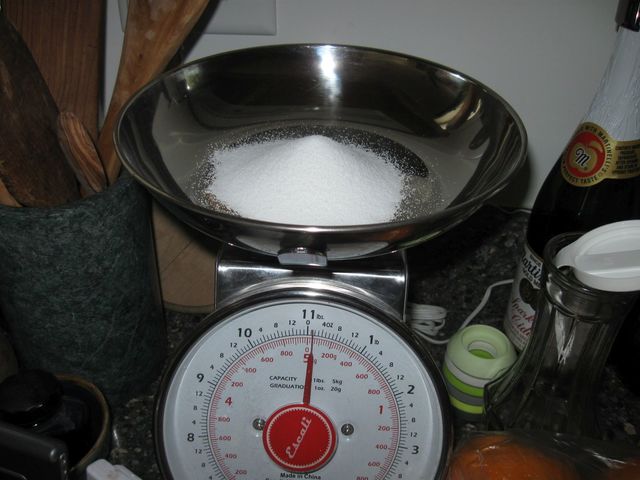
I Measured Out 1.5 Ounces of Powder
This is a cool kitchen scale. It doesn't need batteries.
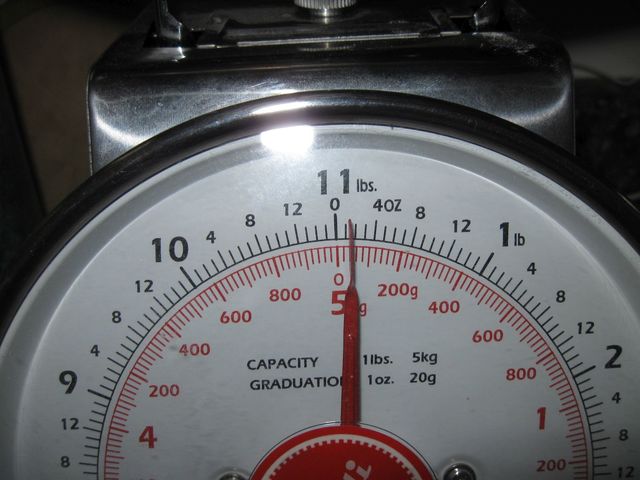
It Isn't Exact, but I Don't Need Exact
I dissolved the 1.5 ounces of powder in the 12 ounces of warm water, and poured it over the parts.
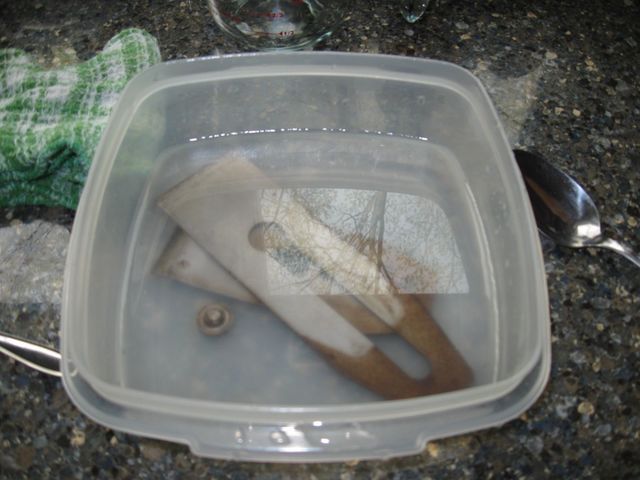
The Parts are Soaking in the Acid
I also bought a cheap scrub brush for scrubbing the rust off of the parts. I don't want to get into trouble by using the vegetable brush for this project. I think this cost me $1.57.
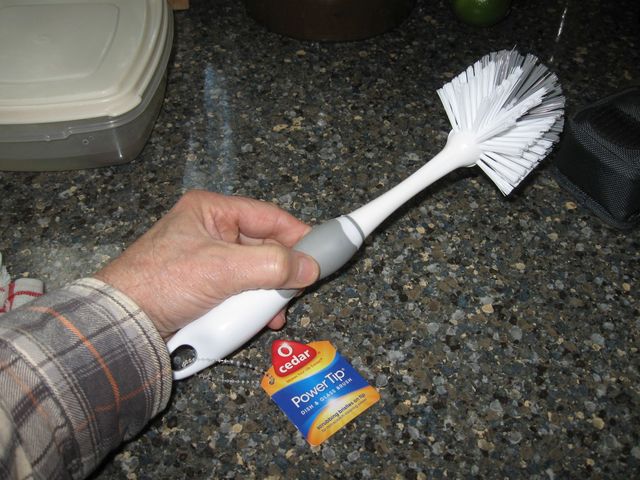
A Cheap Brush for Scrubbing the Parts
While the parts were soaking, I took some 0000 steel wool to the lever cap to see if I could get that corrosion off.
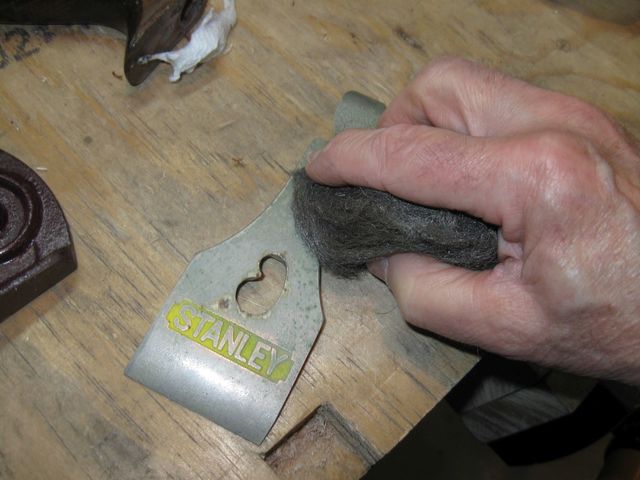
I Am Gently Scrubbing the Lever Cap
I did not want to damage the plating, so I scrubbed the cap very gently. It seemed to to remove the green stuff slowly.
I took a more aggressive approach to the tops of the screws. I sanded them on some 120 grit sandpaper. They are steel, and respond better to the sandpaper.
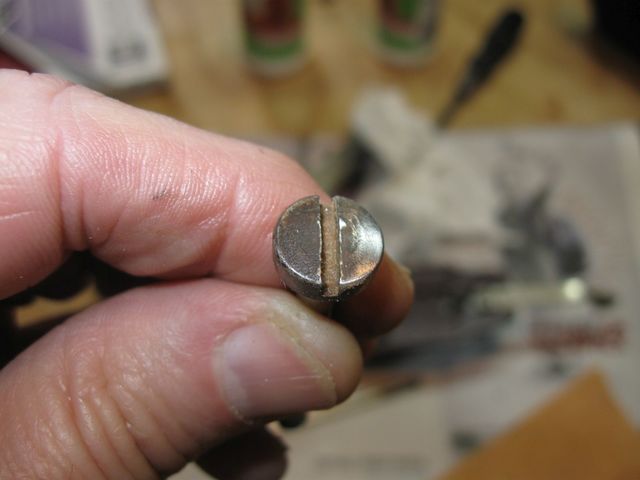
This Screw Head is Partly Done
After using the steel wool on the lever cap, I moved it over to the strop. I thought that the very fine grit of the strop compound might buff the nickel plating out.
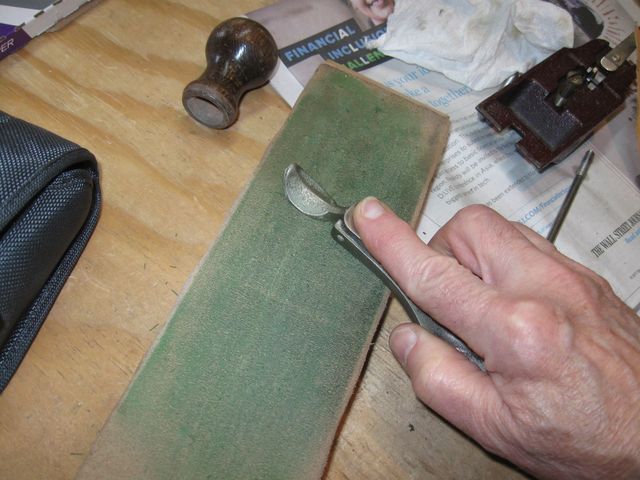
I Am Polishing the Nickel Plating on the Stop
That appeared to work rather well. The green crud is disappearing and the nickel is turning brighter.
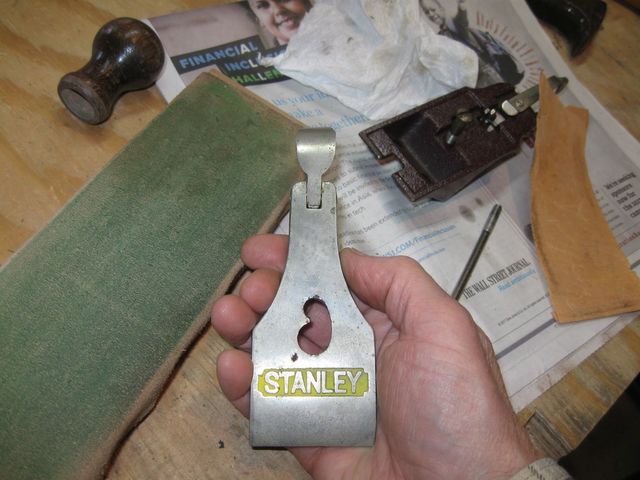
This Is No Longer Green
Meanwhile, I had to remove the box of Citric Acid from the kitchen out to the back porch because it was smelling bad. The chemical process puts off some fumes, and should be done outdoors. I don't think that it is terribly hazardous, but it did stink so I took it outside.
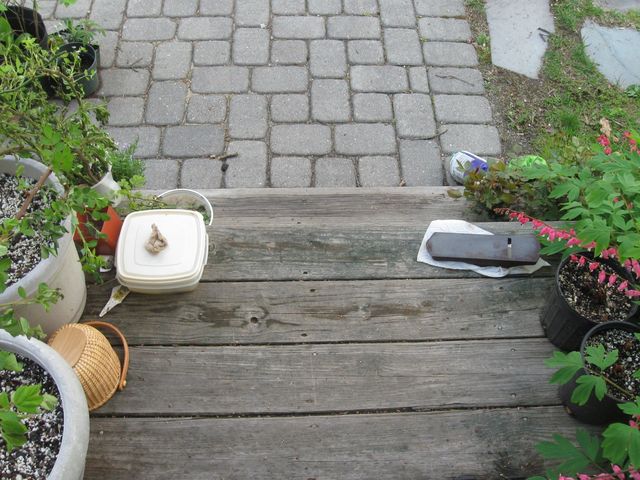
I Had to Move this Outside.
I didn't get a photo, but after a few minutes the solution was bubbling around the iron parts. I am assured by the experts on the web that this means the process is working. Whatever gas was coming off of the parts is what was smelling so bad. I put the lid on it and left it for a while.
The Irons are Soaking in There
After about an hour I took the brush and scrubbed off the the rust that had come loose. Then I put it all back into the tub to soak some more.
You can also see in the photos that I took the plane body outside to use the acid solution on it anyway. It seemed like it would be easier than sanding off all that rust. But to be safe, I didn't soak it. I saw a product demonstrated that is a gel that you put on with a brush. I thought, "I could do that with my solution". So I took a paper towel and used it to put some of the solution onto the rusted parts. I let that sit for a few minutes, then I wiped it off and put on some more. You can see in the photo below that the technique worked quite well.
The Sole of the Plane is Pretty Clean Already
Wet it down; Wait; Scrub it off. Rinse and repeat.
I kept after the parts, scrubbing off the rust and soaking them again every half hour or so. Altogether the process took about 3 hours. I started the soak at 8:30 a.m., and by 11:30 the parts were clean. There was no need for a 24 or 48 hour soak to get this done. Check out the blades.
These Blades are Clean
Here is a view of the cap iron after cleaning. It is gray and mottled because the acid attacks the steel as well as the rust. But that will polish out if I want to. If I don't want to polish it, it won't hurt anything.
It is Gray from the Acid, but the Rust is Gone
Once the irons were clean, I decided to see if I could put the primary bevel back on the cutting iron. To do that, I grabbed a sheet of 120 grit sandpaper.
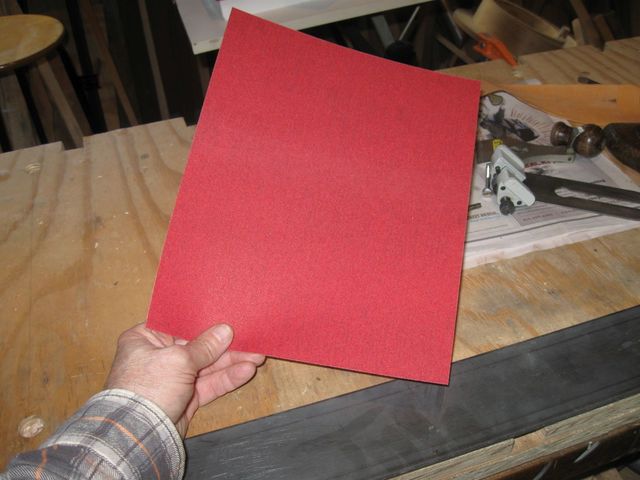
Nice Color
Here's the back of the sheet. It has a rubberized backing that says "NO-SLIP GRIP". According to the box, this is high end sandpaper that should last 10 X longer than normal sandpaper. We shall see.
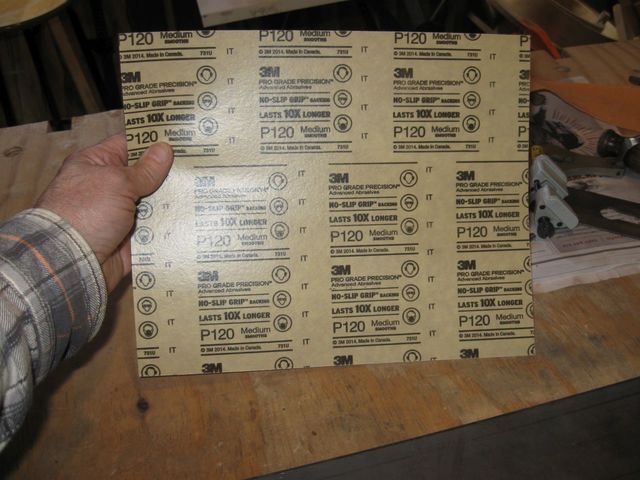
The Back of the Sandpaper
The piece of steel that you see on the bench in the photos is my flat surface that I grind my tools on. I wrap the sandpaper around the steel, put the blade into the honing jig and grind away.
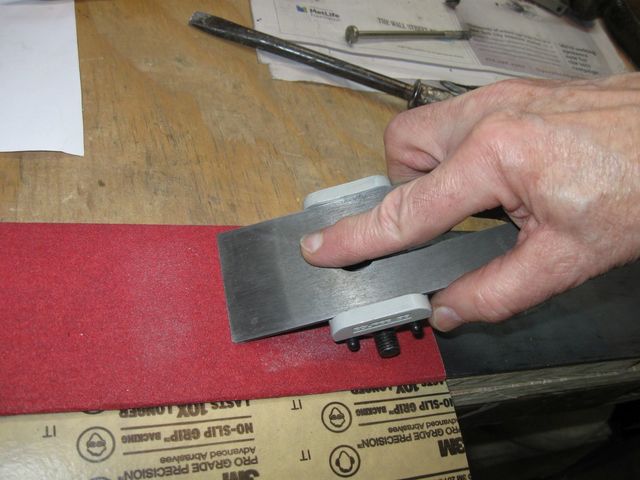
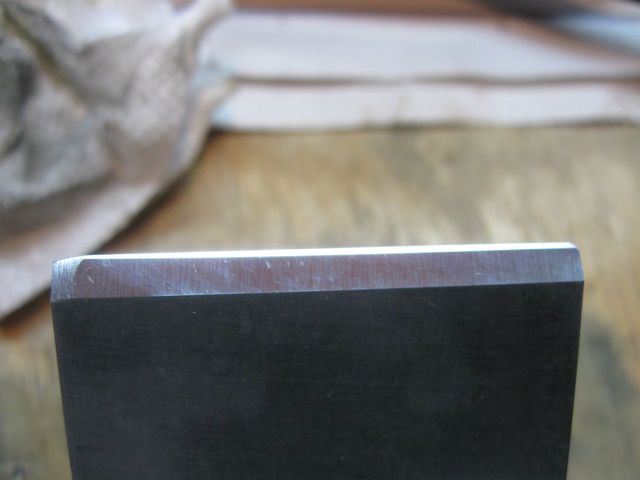
Grinding the Primary Bevel on the Iron
To figure out where to lock down the blade, I estimated the angle and then ran the blade over the sandpaper to score the bevel. Then I looked to see which way it was off, moved the blade just a tad and tried again. I did that until the sandpaper was grinding the entire primary bevel. In the photo below you can see that the entire bevel is being touched.
This is the Correct Angle
Then I set to work grinding it down. It looks pretty good in the photo below.
I Am Creating a New Primary Bevel
I want to get rid of the chip and the nick you can see in the photo below, so I have a lot of grinding to do.
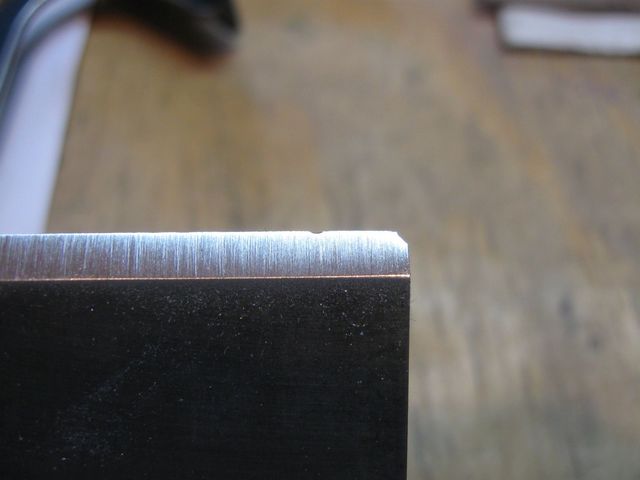
The Nick, at least, Must Go Away
After a while, I took a break from the grinding and went outside to finish off the plane body. The acid wipe did a great job of removing the rust.

The Sole is Clean Except for that Glue at the Bottom
The right hand side is not quite as clean, but it will do.
There is Still Some Rust Here
The left side is better.
This Side is a Bit Better
Here is the good part. The paint in the inside of the body is clean and undamaged.
I Was Afraid I was Going to Damage This
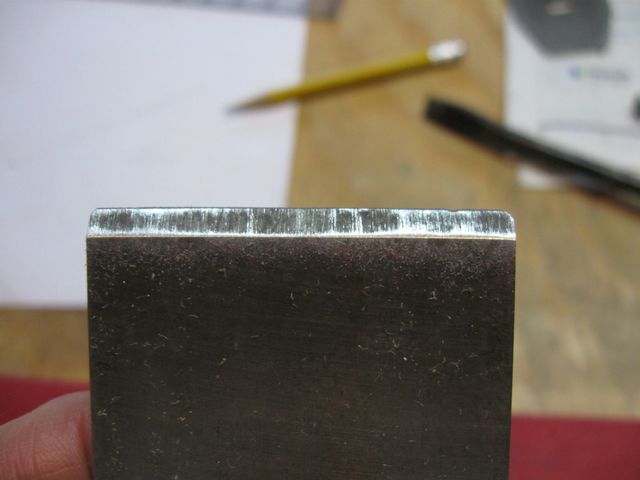
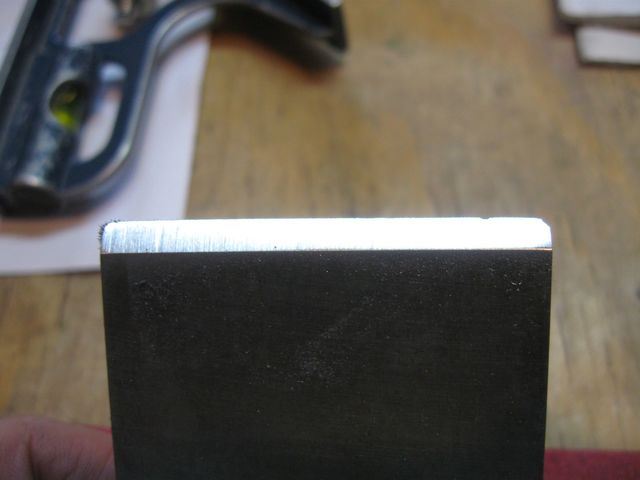
I put aside the plane body and went back to grinding the bevel on the cutting iron. I ground it on the sandpaper until the nick was completely gone, as you can see in the photo below.
Unfortunately, I did not notice that an edge of the sandpaper was layered under the rest of it on the right hand side of the steel. It rounded off the right hand edge of the bevel. The rounded edge can be seen on the left side in the photo.
This is Going To Take a Lot of Time to Fix
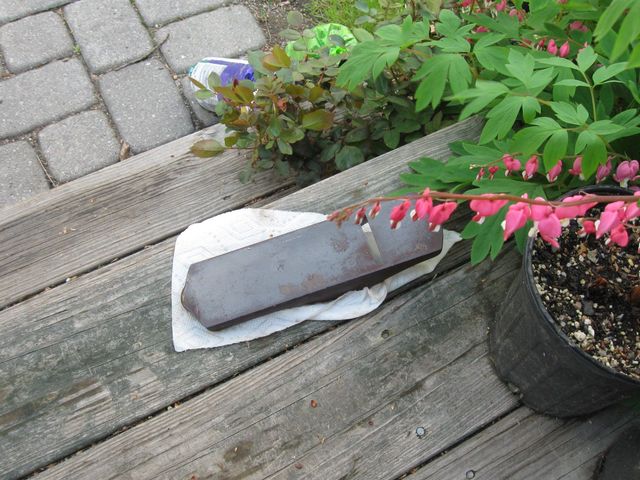
So I gave up on the sandpaper and started grinding the bevel on my Extra Coarse diamond stone. The stone is perfectly flat, so I should be able to get rid of that rounded off corner. The stone is not as aggressive as the sandpaper, so this will take a long time.
After an Hour of Grinding, Here is What I Have
I ground if for another half hour and got to here.
Making Progress, but Slowly
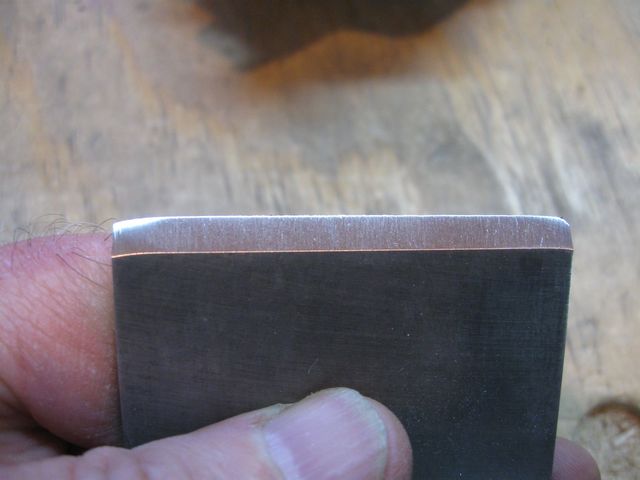
Then I remembered that I need to grind the back of the blade flat. So I took a break from the bevel and put the back of the blade to the stone. Here is how it started out.
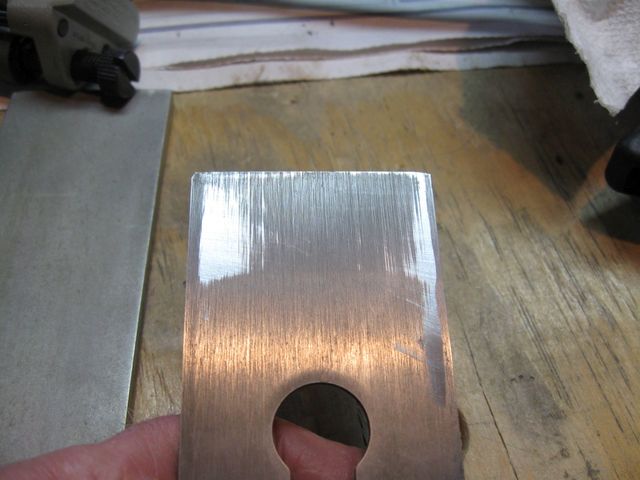
Those Look Like Original Grind Marks
I really wonder if this plane was ever used at all, or just thrown into the toolbox and carried around. The back of the iron is far from flat, and the marks look like original grinding marks from the manufacturer. Back to the Extra Coarse stone.
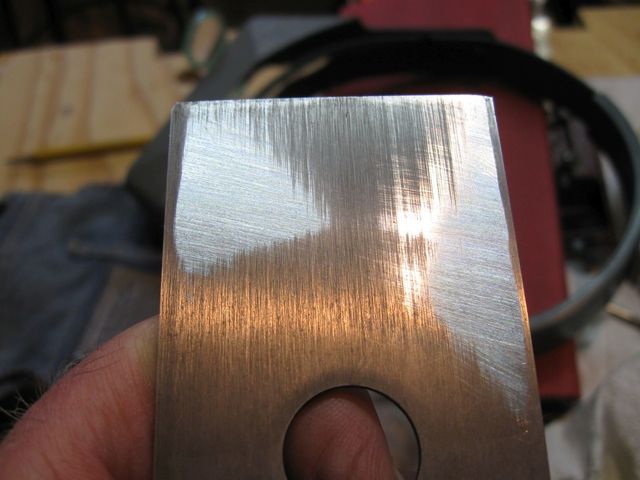
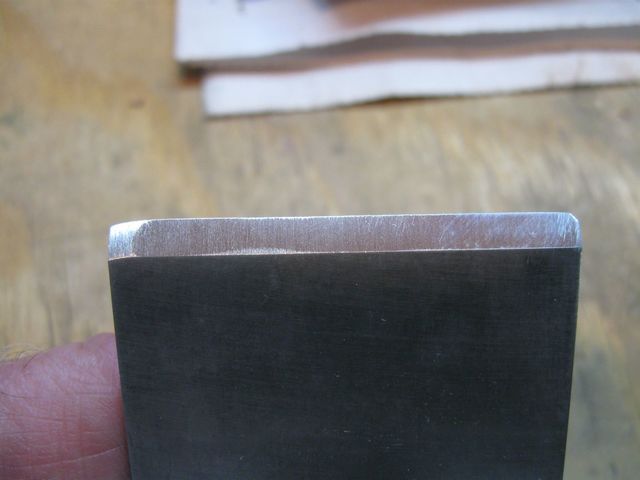
This is Better, But Not Done
After a long time, I had it down to the state in the photo below.
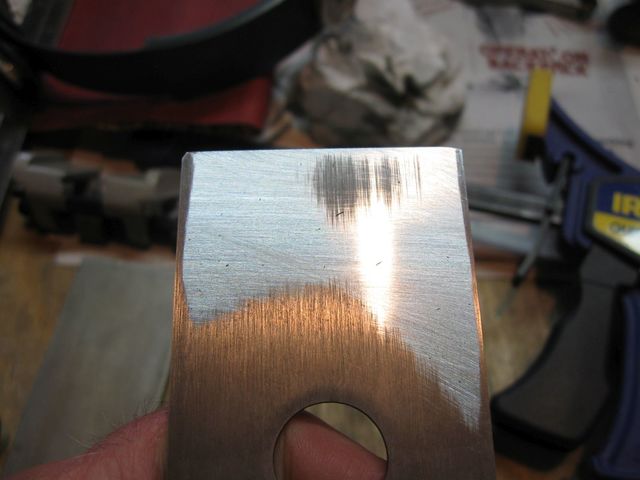
This is Close to Flat
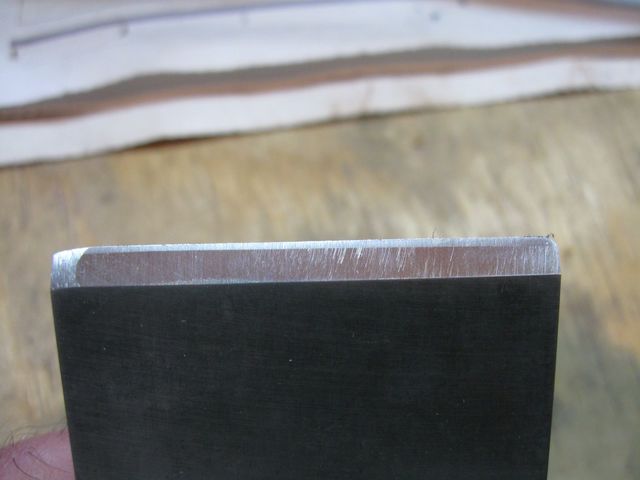
I finally have a flat place all the way across the edge. That will have to do for now. You can see that it also does not go all the way to the edges of the iron, but those corners will be rounded a little bit to keep the plane from leaving plane tracks on flat surfaces.
Back to grinding the bevel. Another hour or so....
This is Taking a Long Time To Fix
I finally ran out of time and patience. I needed some positive reinforcement, so I put the plane back together to see if the center of the blade will cut.
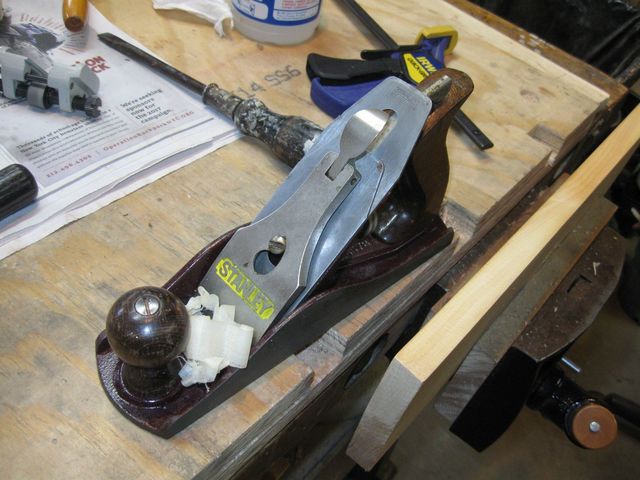
It Looks Good, But Will It Cut?
It actually did a passable job cutting the pine board. The edge still needs a lot of work, but I have made progress on it. That is it for this session.
