I am all set to try to bend some oak. The oak will be more difficult to bend than the green softwood that I had bent before. So let's go and see what we can do with it. Here is the setup.
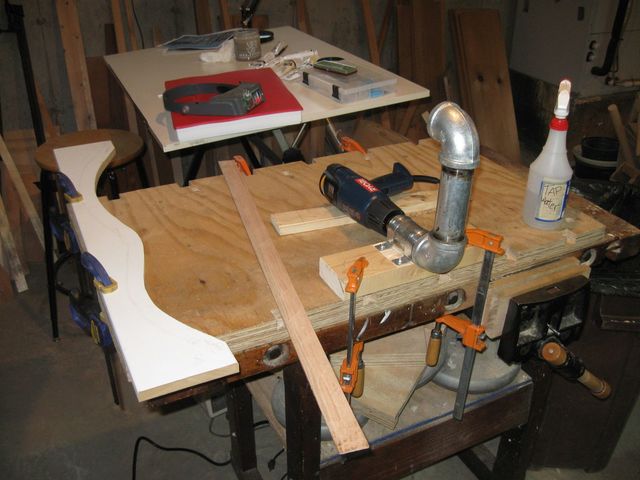
Everything Is In Place
I turned on the heat gun to Max, and while I waited for the pipe to get hot, I sharpened my green pencil again.
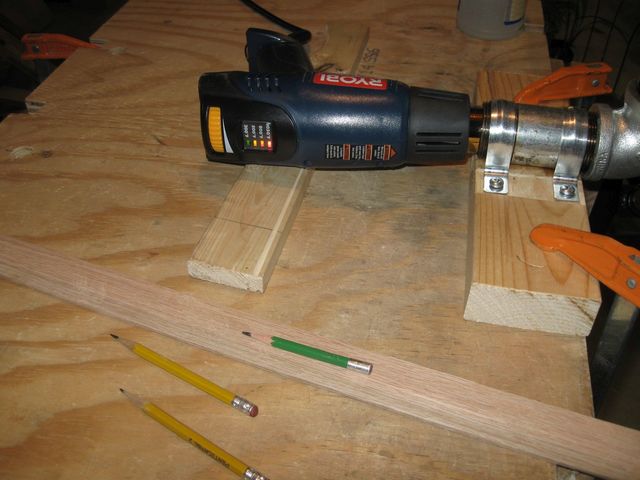
The Pipe is Heating; The Pencil is Sharp
Here's a closeup.
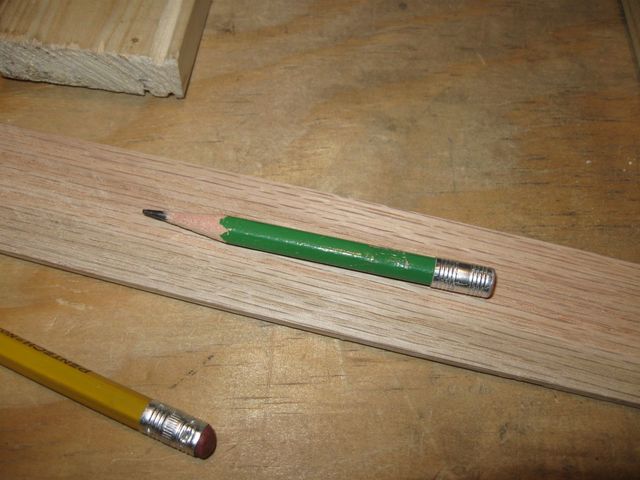
It's Getting a bit Short
I started by marking the oak board at the points of inflection. Since the board is 36" long, and the template is 36" long, I aligned the edges of both of them and moved the board up to where the template has the bend at the waist.
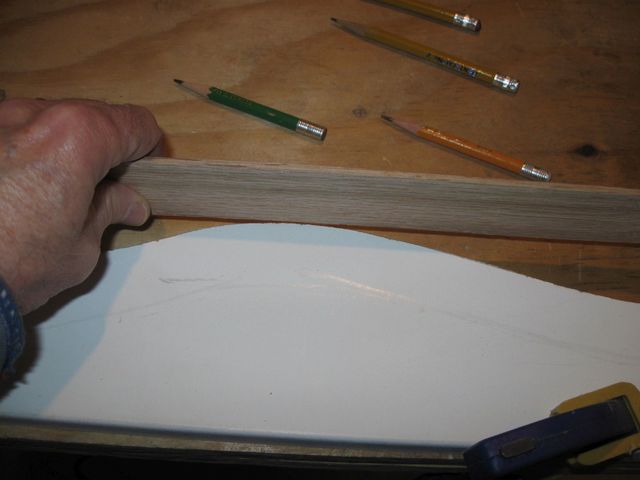
Finding the Waist Bend for the Board
Then, I marked it with my newly sharpened green pencil.
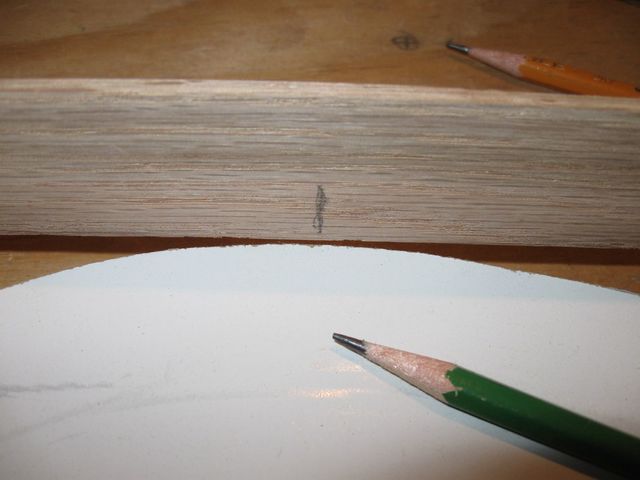
This is Where the Bend Needs to be Made
Then, I moved the board down to the bend for the upper bout and marked it there.
The Bend for the Upper Bout
I continued to move the board toward me so that I could mark the location of the bend for the lower bout.
The Bend for the Lower Bout
After about 12 - 14 minutes, the iron was hot, so I started bending the wood at the waist.
Bending the Wood
I went back and forth between the iron and the template, attempting to match the curve of the board to the curve of the template.
The Progress of the Waist
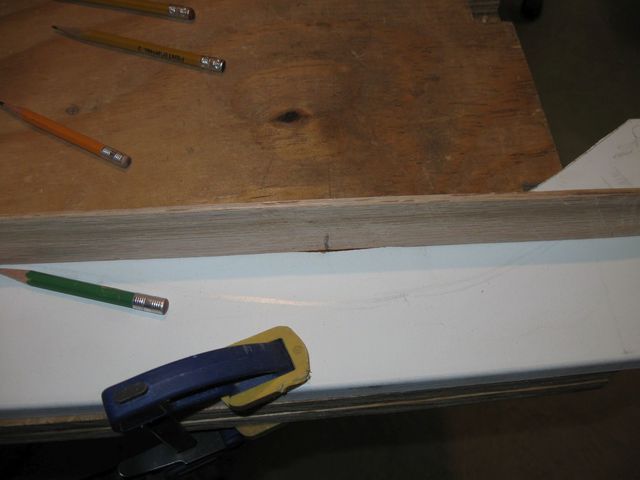
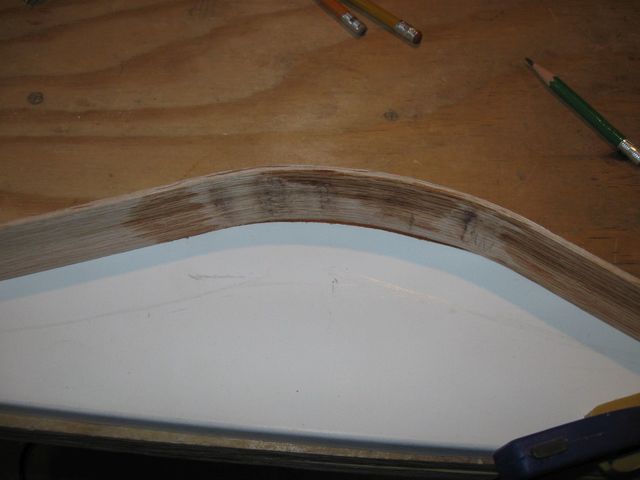
Getting the proper shape on the board proved elusive. I could not seem to figure out how much to bend and where where to bend it. It kept moving around. The corrections did not make the board fit into the template as I expected them to do. In retrospect (something that I did not notice when I was doing it) you can see in the photo that I have let the mark for the center point of the bend wander off of center. In the photo it is to the right of the center point of the bend.
I continued to bend and fit, moving on to the curves for the two bouts. In the photo below, you can see that the mark for the waist bend is still too far to the right of the bend on the template. You can also see that the bend for the lower bout on the left side appears to be way too much, and the wood is sticking out from the template.
Once again, in retrospect, if I had moved the board to the left to align the center point of the waist, the side of the lower bout would be much better aligned with the template.
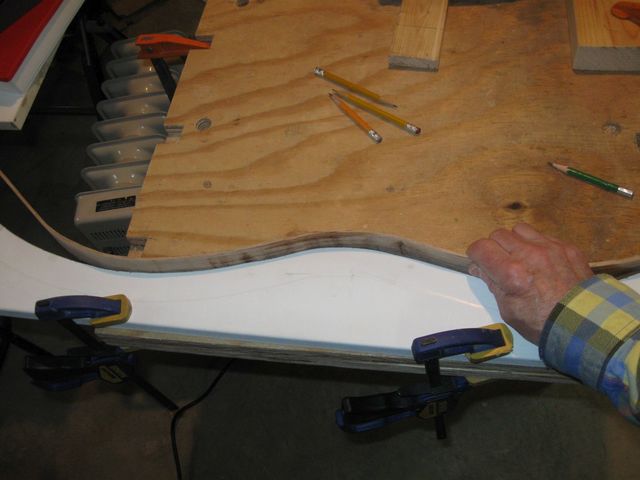
I Was Trying to Match the Curves
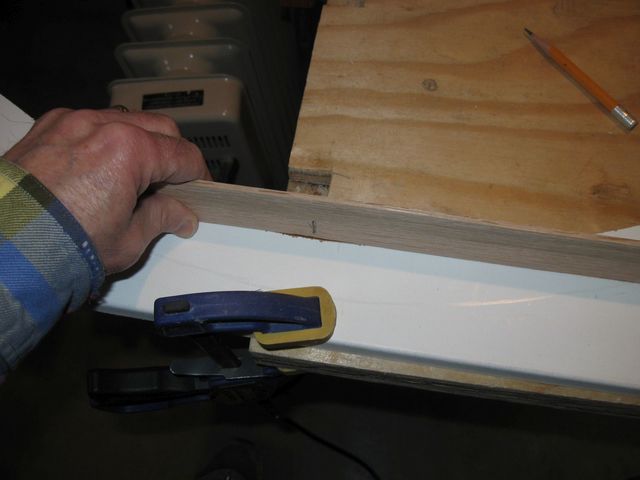
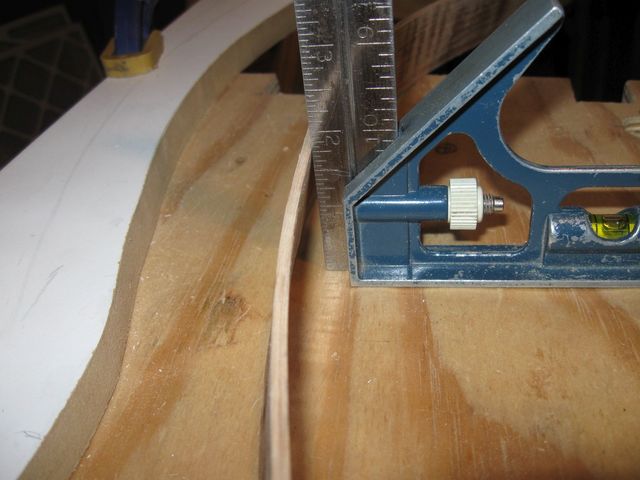
I finally figured out that the alignment of the board to the form was off, so I make my mark more obvious and payed attention to keeping it centered on the form.
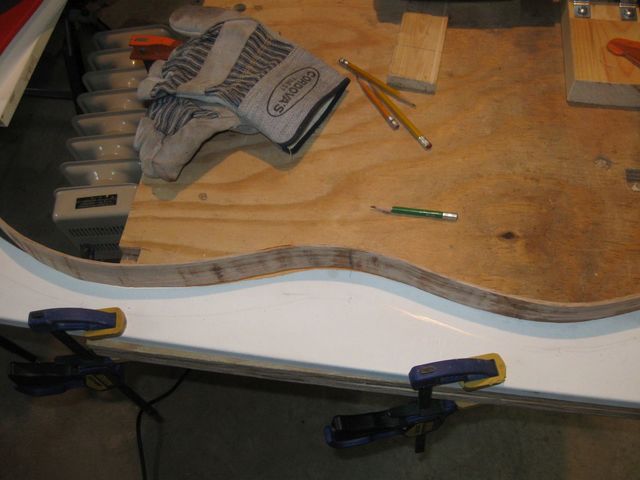
This Looks Like a Closer Fit
It is clear that there is a basic skill involved in getting the bends right. The bends that I have are not smooth enough, so the curves look bumpy. The fit is not very good on the left side of the waist in the photo. I think that the thickness of the wood is not even, and the thinner parts are bending more than the thicker parts. I have also bent and rebent this board so many times now that getting it back to a smooth curve is probably not going to happen. It is pretty wobbly.
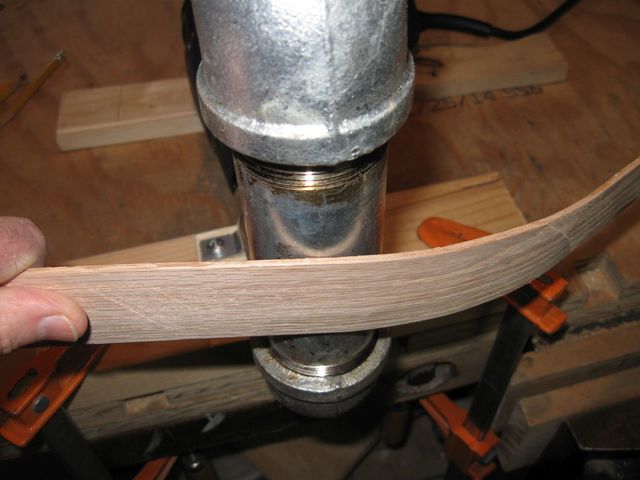
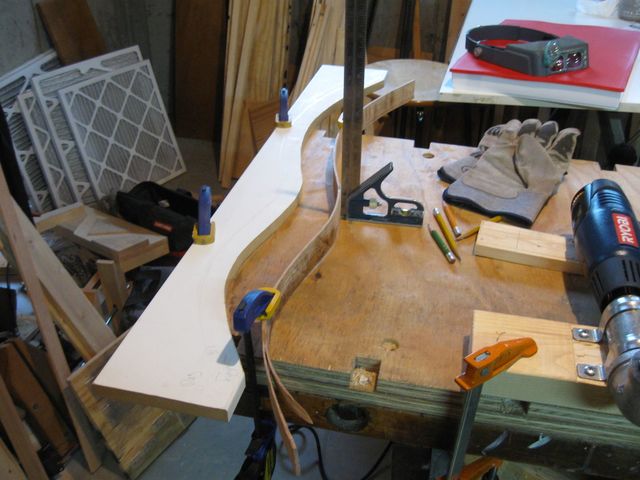
After about an hour and a half of bending, I finally gave up on any improvements and turned off the pipe. Here is the final board.
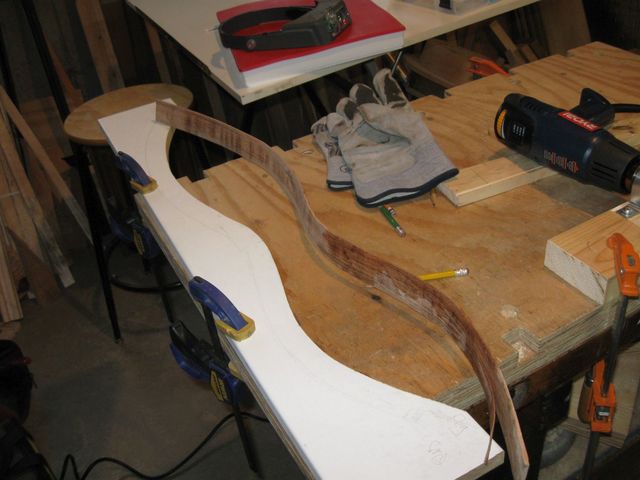
This is Far from Perfect, or even Good
I set the bentside down on the workbench, where it wobbled around. Turns out that I had introduced a large amount of winding into the board.
What is that? About 25° of Winding?
However, if I clamped the board down to the bench, most of the winding came out of it. So when I clamp it to glue it to a flat top or bottom, it could still work.
This is Showing Less Winding
Of course the end where I had messed up the resawing is a disaster. I just split open.
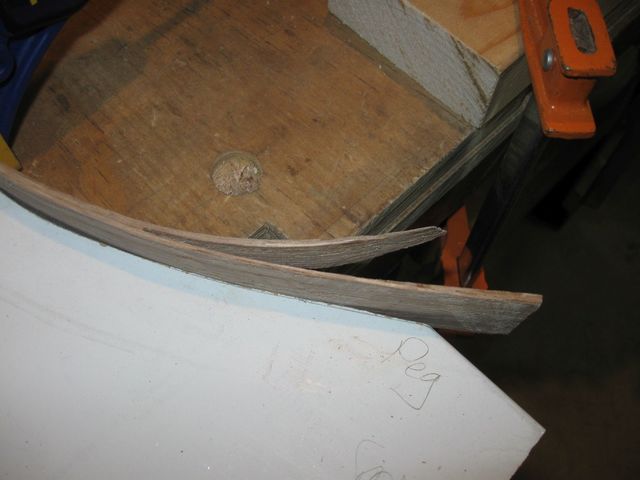
This was Not Unexpected
Here is another view from the other side.
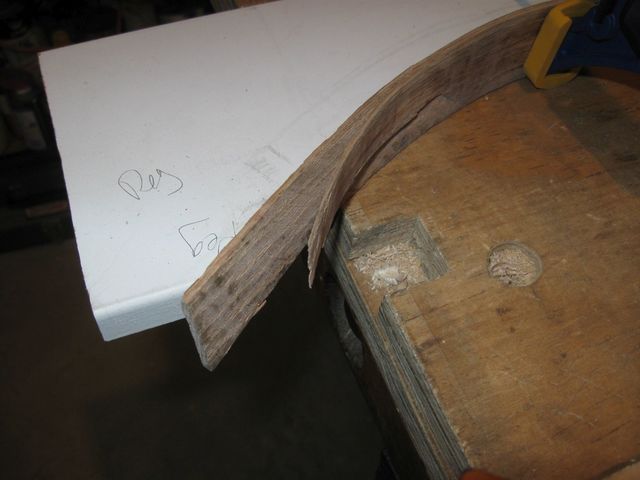
The Split at the End
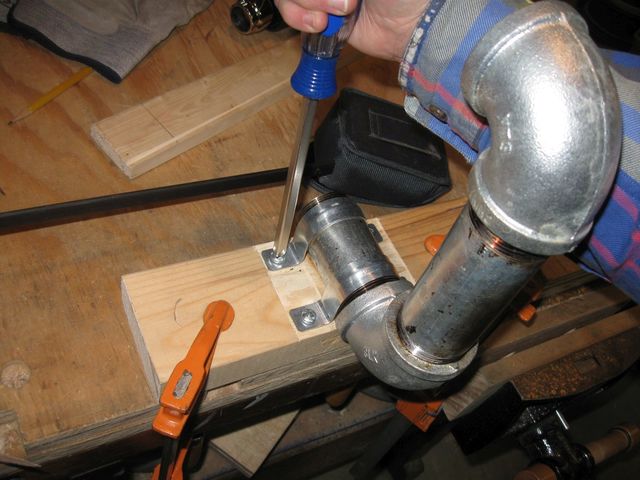
While I was doing the bending, on occasion the vertical part of the pipe would move side to side. I guess the heat had caused the threads of the pipe to loosen a bit. I do not want the hot pipe to flop over to one side, so I took the pipe out of the holder to tighten it a bit.
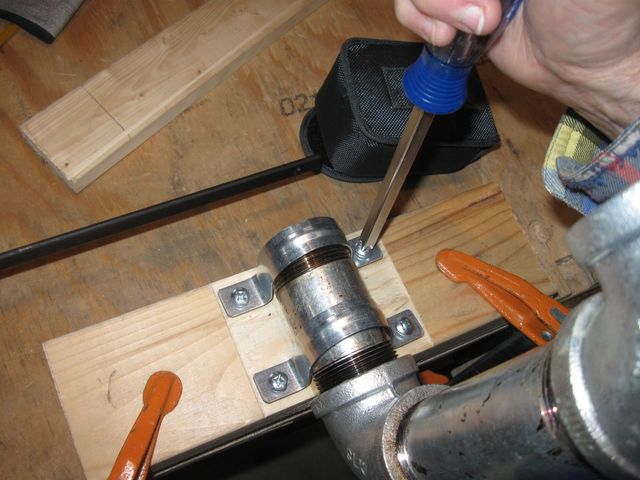
I Unscrewed the Brackets
Here is something unsettling that I found.
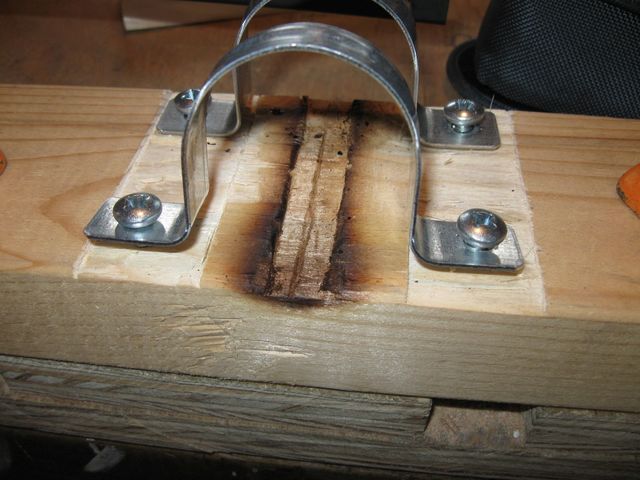
The Wood Under the Pipe is Charred.
Yikes. I don't like the looks of that. The wood is totally charred. I guess I need to find a way of insulating the pipe from the wood after all. Until then, I will keep an eye on the fire extinguisher.
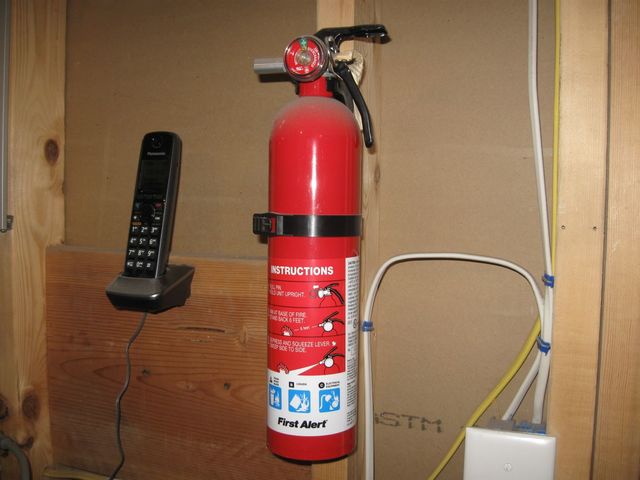
This is on the Wall Right Behind Me
If the extinguisher doesn't take care of a problem, the phone can call 911.
Anyway, I took out the pipe and cinched it down with my pipe wrench.
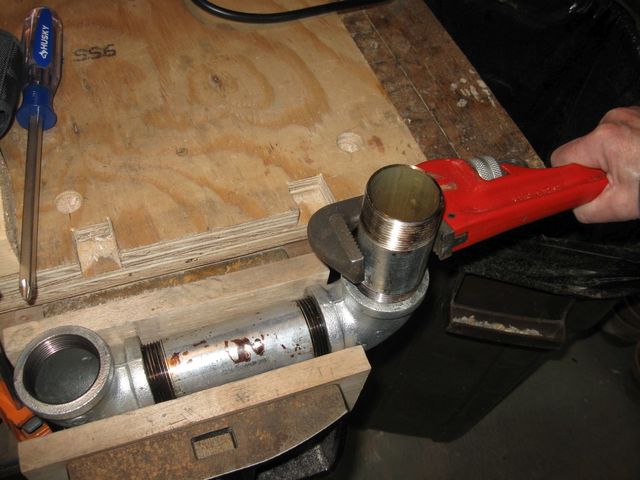
The Pipe Wrench Works Great
Then I put it all back together.
Screw It All Back Together
Lessons learned with this practice run.
- Pay attention to the alignment of the marks with the template curves.
- Plane the wood thinner next time to make it bend more easily.
- Try for more consistent thickness of the board.
- Pay attention to any winding that is happening while bending.
- Bend in smaller increments.
- Try to avoid having to correct overbending.
- Work more deliberately from the middle to each end.
- Match the board on top of the form, not inside it. It is easier to see where the discrepancies are.
- Insulate the wooden base from the pipe.
Wow. That's a lot of lessons for the cost of one board. I think that before I do any more bending I will make the next board thinner. That will solve two problems.
- It should bend more easily.
- I can put a nicer surface on the board.
I also want to insulate the charred wood from the pipe before I heat it up again. I'm not sure what I can use for that purpose.
