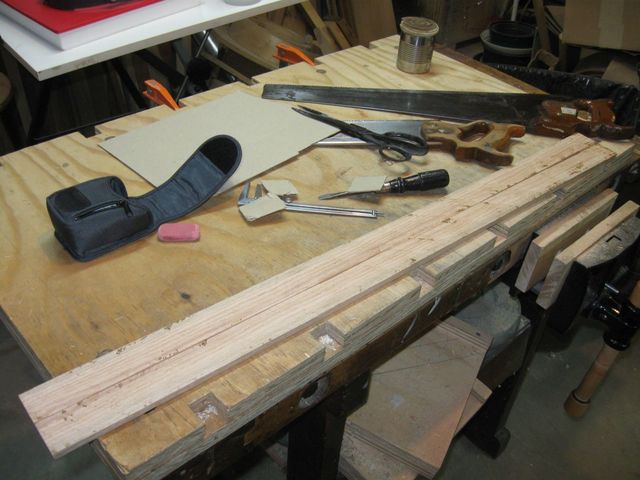
As I mentioned in my previous post, I bought an Oak board to see if I can bend dry hardwood on my bending pipe. The board is a 1" by 2" board that is 6 feet long. Here is a photo.
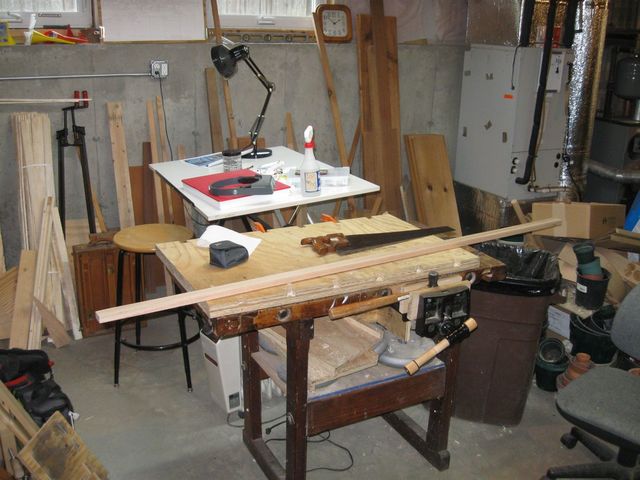
Six Feet of Oak
I only need 3 feet of that board to do my side bending, so I cut the board in half before I started.
OK. Here is something that really annoys me.
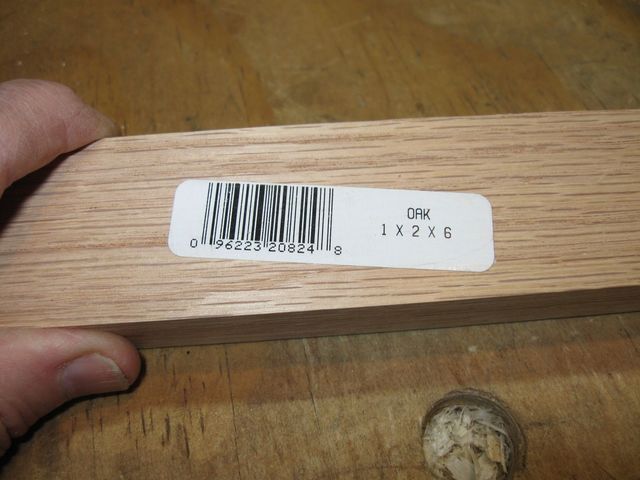
The Universal Product Code Sticker
They put these stickers on the wood to make it easier at the register. I don't have any specific problem with the UPC system, but why do they have to stick these on with glue that will not come off? I spend more time trying to pry these things off of the wood than I care to think about. And after I do get them off, they leave a sticky residue on the wood that will not come off and will not accept a finish.
I pulled at it and peeled at it to no avail. The glue is stronger than the paper it is printed on. I eventually had to resort to slicing it off with my marking knife.
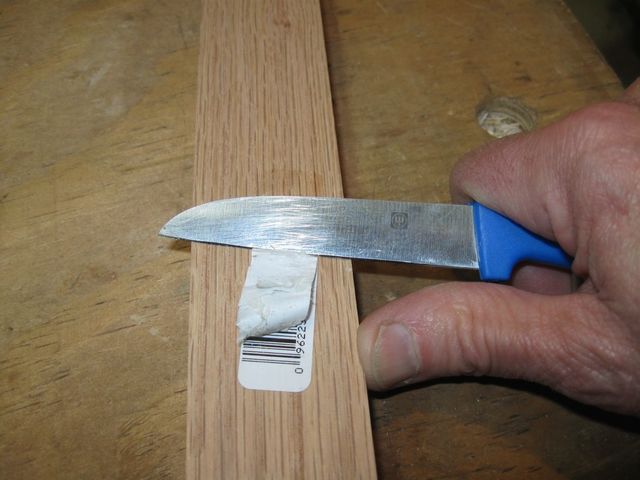
This is What I Must Do to Remove These Stickers
That nonsense took half an hour that was wasted time.
I finally destroyed it enough that I got the sticker off, but I never did get the goo off of the wood. I used my card scraper, but that did not work either. I usually have to resort to scrapers and sandpaper and way too many hours of effort to clean up the mess. Sometimes I end up having to cut the instrument parts out in a way that I can hide the gooey mess on the surface of the wood.
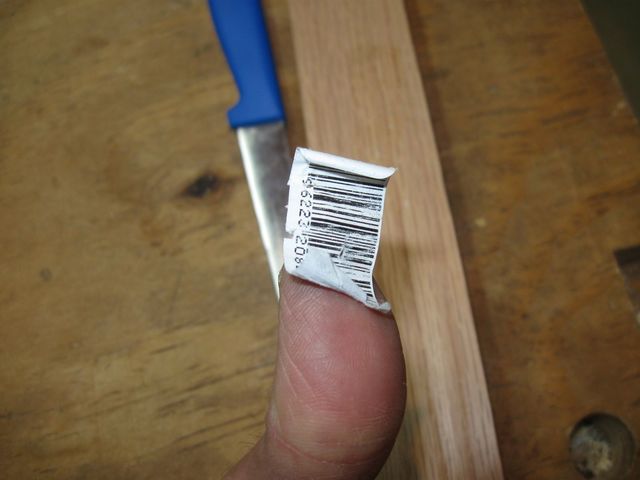
I Am Holding this Sticker on the Wrong Finger
That is enough sticker rant. In this case it doesn't matter because I will not be putting a finish on this wood. I need to resaw the wood into thin pieces that I can bend into sides. The plan is to saw the wood in half lengthwise, and then saw each half in half. That will require some careful work with the saw. The wood is 3/4" thick, so I set my marking gauge to 3/8" to put a line down the middle of the board.
Set the Marking Gauge to 3/8"
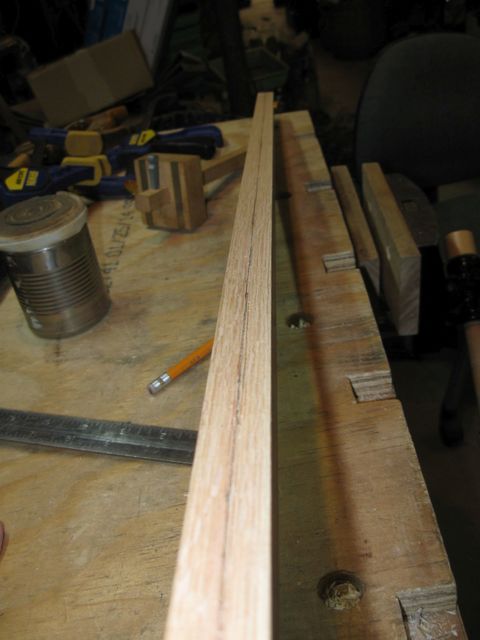
I clamped the board in the vise and struck a line all the way down the edge of the board, both sides. This leaves a knife cut in the wood. I find that the knife edge will try to follow the grain of the wood when I do this, so I have to be careful not to let it wander. The trick is making a light cut multiple times while paying close attention to the registration of the gauge face to the side of the wood.

Marking the Center of the Board
Another issue with using the knife edge is that I cannot see the mark after I am done. So I ran a pencil down the cut to make it stand out.
The Pencil Line in the Knife Cut
Of course, I broke the pencil lead while marking the wood. I won't be pointing at stuff with that green pencil anymore.

Broke My Pencil Point Off
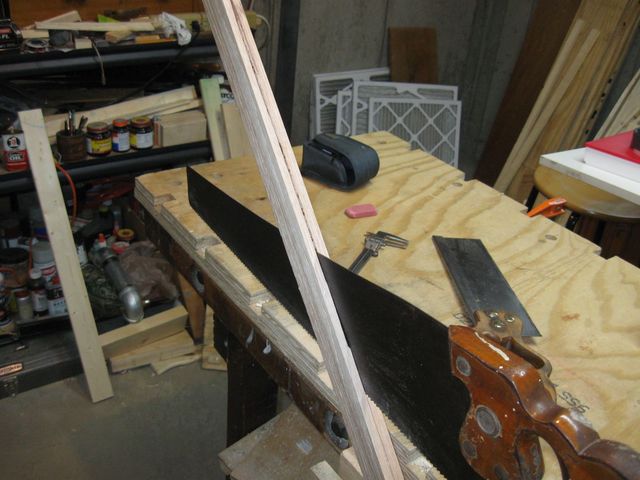
Oh well. I finished marking with another pencil and started cutting down the line. I started the cut using my back saw because it has finer teeth than the big rip saw.
Back Saw
Hey! I found that broken pencil point. I wonder if I could reattach it.

Nah. What's the Point?
Well, the start of this cut wasn't the most auspicious outcome. Here is the backside of the board after I started sawing with the rip saw.
The Saw is Wandering off the Line
I will have to correct that. You can see in the photo that when I started sawing from this side of the board, I moved the kerf back onto the line. The method of doing this cut is to cut on an angle from one side for a few cuts, then flip the board over and make a few cuts from the other side. The saw blade will follow the kerf from the previous cut, and thus will stay on the line on both sides of the board.
Except when it doesn't, of course.
The Blade has Wandered Again
Not sure what is going on here. This is the other side after correcting the cut on the second side. The blade has wandered off the line again. So I corrected it on this side again.
So I corrected it again on this side and continued sawing. But when I flipped it over again...... yikes!
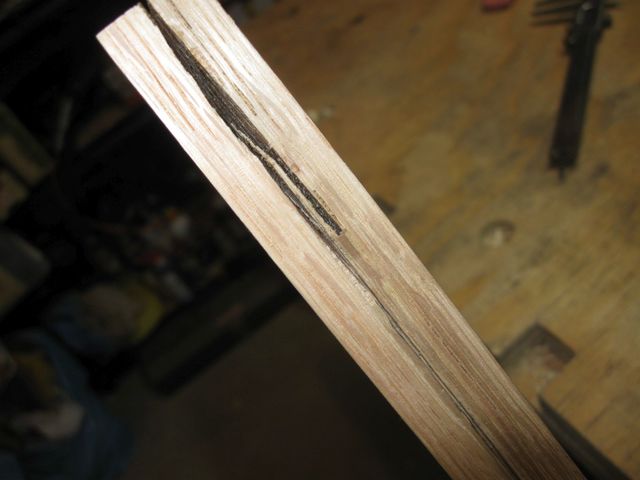
I Have Really Gone off the Mark!
In the photo below, I have made the correction again, but it is clear that the saw blade is not following my kerf because it keeps wandering off to the side on the other side of the board.
This is Really Confusing
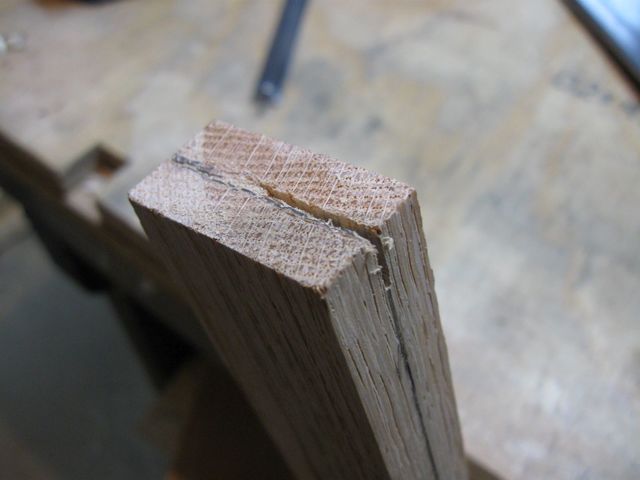
By the time I figured out what was going on, I had cut quite a length of the board, about 6 inches of it with the kerf cocked in the board.
The reason I could not correct this was bad logic about what was going on. I was assuming that my blade was not following the kerf. Actually, the opposite was true. The blade was following the kerf, but the kerf was cockeyed. In fact, the blade was following that crooked kerf so insistently that I could not correct it at this point.
I was forcing the saw side to side and twisting it in the slot, but no matter what I did, it fell into the errant kerf on the other side of the board. I finally balanced the edge of the saw blade on the point of that piece in the middle, and saying words like "shucks" and "darn", and pounding on the handle of the saw, I managed to destroy the wood in the middle of the kerf on the far side of the board and force (really.... force) the blade down the other side of the kerf. Yuk!
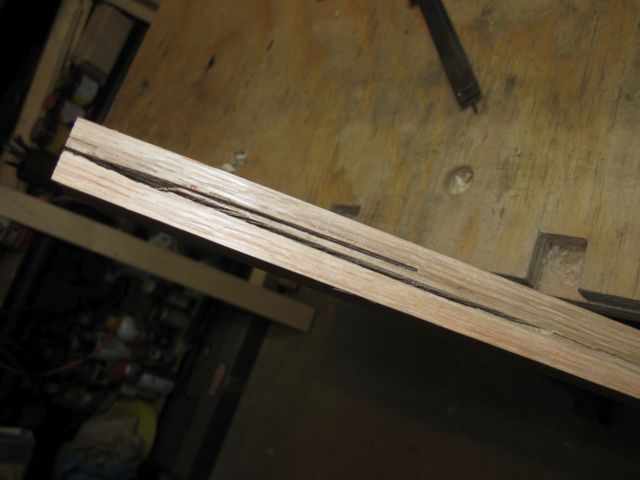
Finally.... finally... I got the saw blade to track down the line again.... having destroyed half a foot of wood.
Yay! It's Tracking the Line Now on Both Sides
I was back in business. I sawed a few strokes on one side, then flipped the board and sawed a few strokes on the other side. The saw blade does, indeed follow the kerf on the far side of the board. The trick is to get the kerf on the far side of the board tracking the line properly in the first place.
Doing OK on this Now
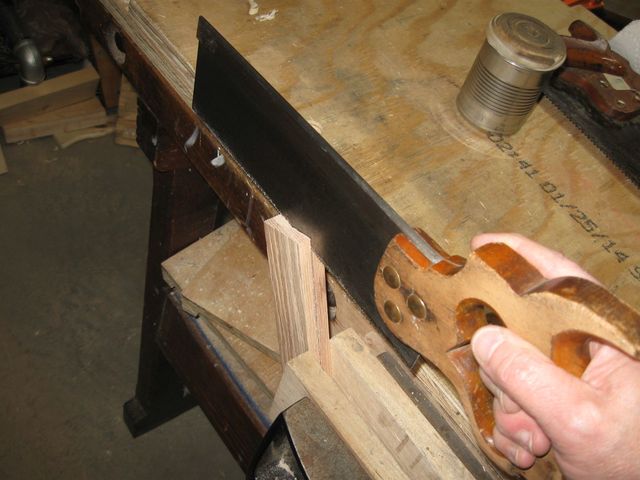
Saw and flip; saw and flip; saw and flip. My newly sharpened saw is working quite well now (much better than the sawyer). It is cutting a half inch of Oak on each stroke quite effortlessly. The set is fine, and the kerf is not too wide. I sawed just over half way through the board and then turned it over to finish the work from the other end.
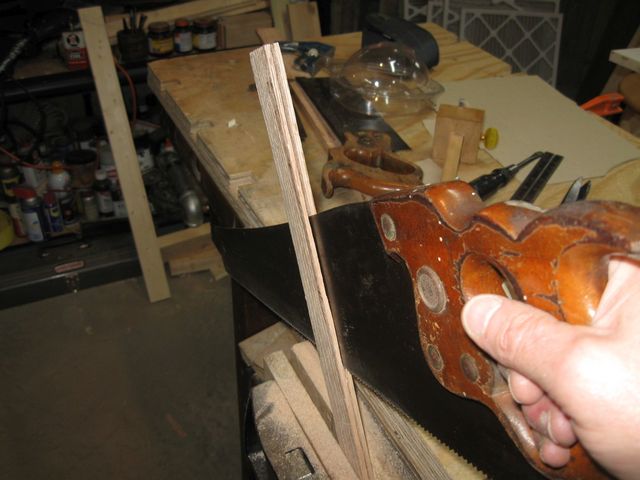
I started it with the backsaw again, but this time I just barely notched the corner of the wood.
The Starting Cut on the Other End
When I clamped the wood in the vise I realized that I need a kerf keeper to keep from squashing the two sides that I have already cut together. I cut one out of some cardboard I had lying around.
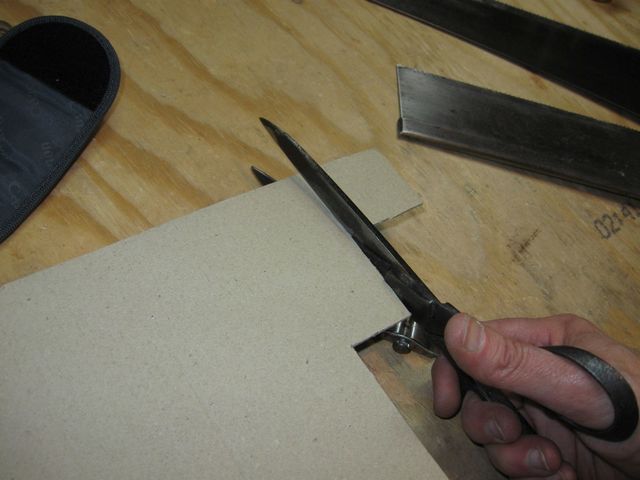
Cutting a Kerf Keeper
I stuck the cardboard into the slot and pressed on.
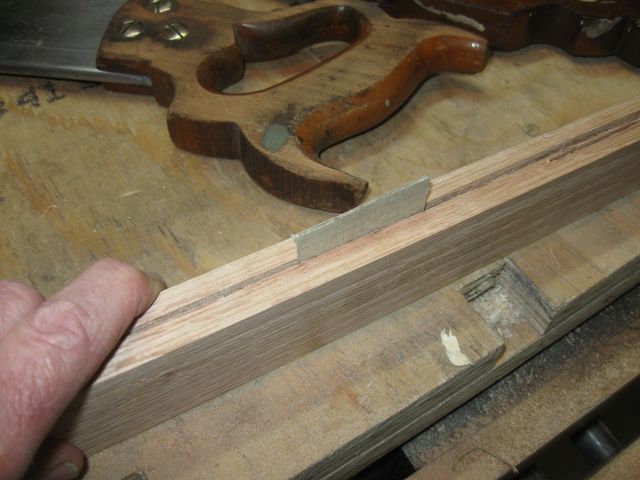
Stuff the Slot with the Cardboard
Saw and flip; saw and flip; saw and flip. The kerf keeper works best if I stuff it in the slot close to where I ended the other cut. I finished the cut, and here are the two pieces of wood.
Two Slabs of Resawn Wood
Each of the sticks is approximately 3/8" thick, with scars from the saw up and down their length.
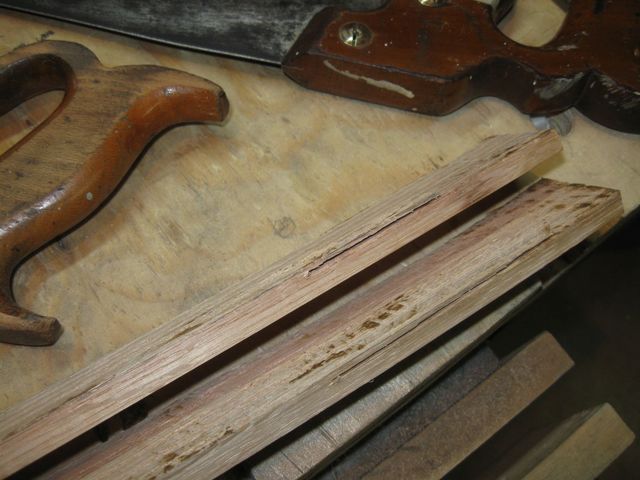
These Two Ends are Mostly Destroyed
The first 6 inches of the boards are pretty well destroyed by that wandering kerf. That is OK in this case because I just want to see if I can bend this wood. I have no intention of using this to make an instrument. This is for practice only.
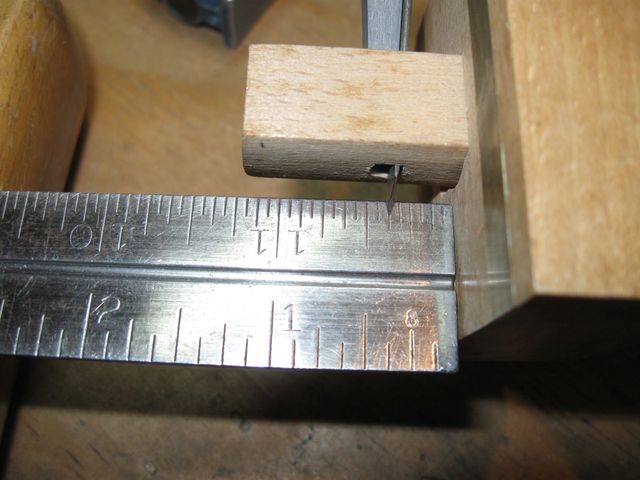
I measured the length of "good" wood to see what the damage is.
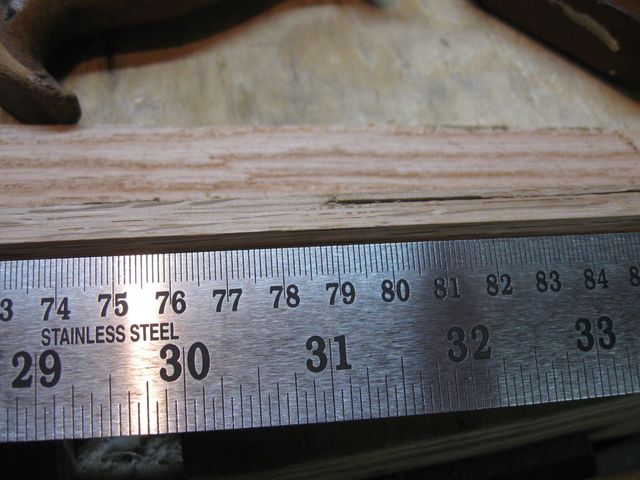
The Damage Starts at 31 Inches
According to my plans, the length of the side wood needs to be 31.76" unbent in order to get the bent side 30" long. So this actually isn't such a bad outcome. I can still bend this into a complete side to see how it goes. As I said, it would not be usable in an instrument, but it will be a good test for bending.
The next challenge was to resaw that 3/8" slab of wood again to get two pieces out of it that are about 5/16" thick. This will require much better control of the saw than I did for the first cut, but I think I am up to it now.
I started resawing one of the thin strips. This time, at the beginning I flipped the wood many more times. I took just a couple of cuts, then I flipped the board to make sure that the kerf was not wandering. I did more flipping than sawing. Here it is well started.
Started
Going off on a brief tangent, here is a trick that I adopted from the Paul Sellers videos I have been watching. I built his "rag in a can oiler".

Paul Sellers' Rag In a Can Oiler
The rag now has 4 or 5 ounces of 3 in 1 Oil® in it. It is oily, but not soaking. Every now and then I stop sawing and stroke the blade with the oiler to keep the saw from binding in the kerf.
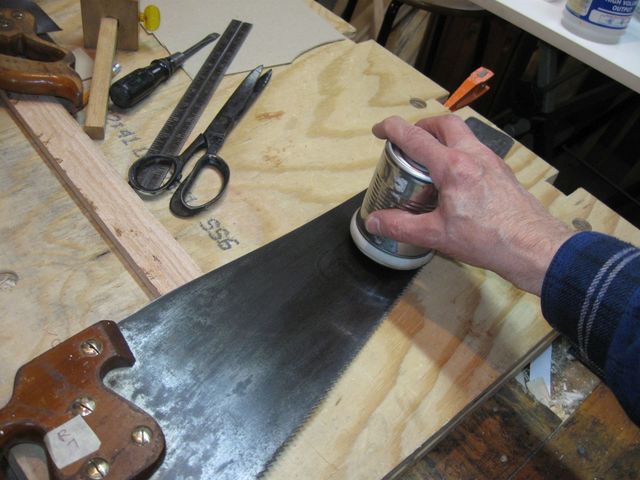
Oiling the Blade with the RIACO
The Paul Sellers videos on woodworking with hand tools are really good. I have learned a lot from them. Go to Youtube and search for "Paul Sellers". Take a look. It is good stuff.
Oh yeah. Here is some other good stuff. Even though I am sawing this wood using a hand saw, I put on a dust mask anyway. The saw makes dust, and the dust is in the air. Wood dust can be bad for you, especially if you are allergic. I am not allergic, but I prefer to be safe.
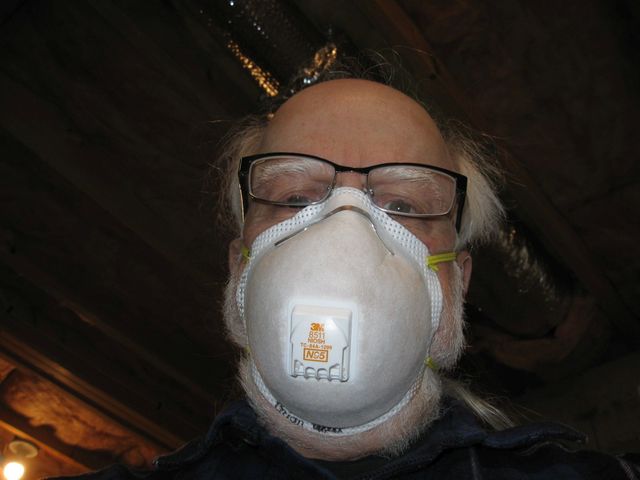
Your Crazy Author in his Dust Mask
It is better to look stupid than get sick. Not that anyone down in my basement can see that I look stupid.... well... until I posted this photo on the interwebs... where now the entire world can see that I look stupid.
Never mind. Just wear a mask.
On this attempt, I sawed most of the length of the wood going in one direction, before starting at the other end. I think I left about 6" of wood to finish from the other end. That made it so that I had less to saw using the kerf keeper. That worked out well. I just kept sawing until I found it difficult to clamp the wood. Then I turned it around and finished from the other end. Here are the two pieces.

Two Thin Slabs of Wood
Once again, the far ends of the wood are destroyed by that first bad cut.

The Last 6 Inches are not Usable
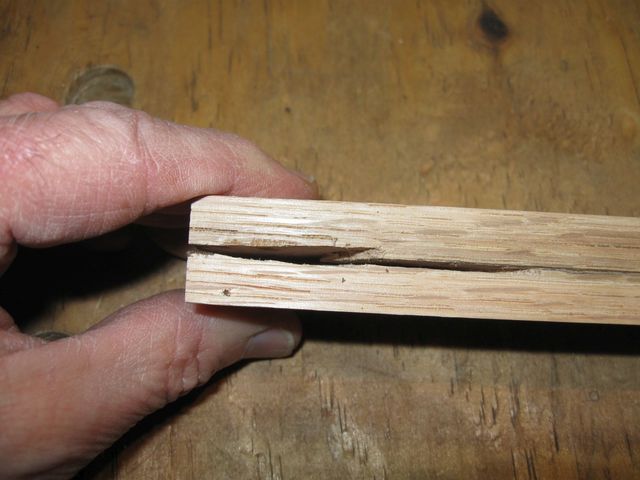
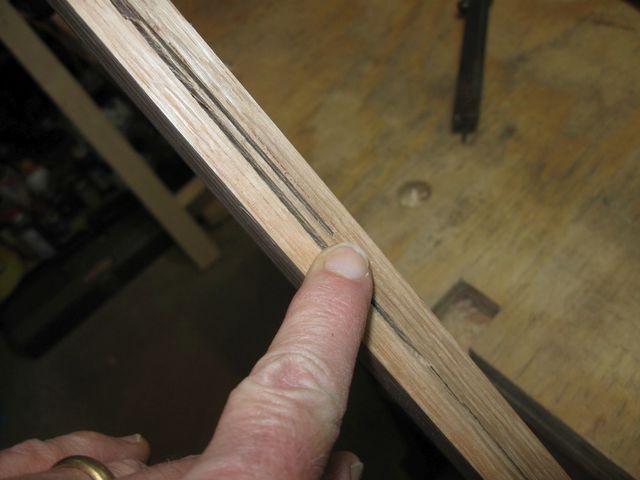
There are also some significant saw scars in the middle of the wood.
The Two Kerfs Did Not Align Very Well Here
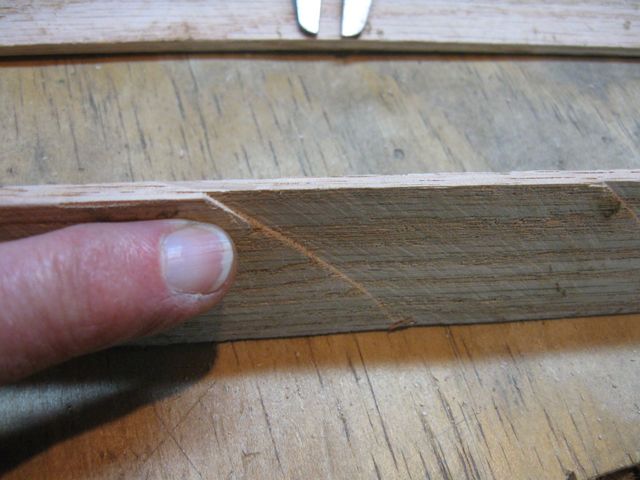
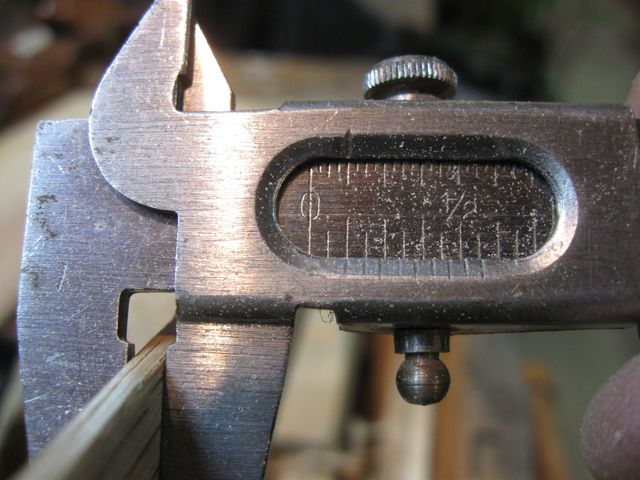
I measured the thinnest part of that location to see how much I would have to plane off to get a continuous surface of wood there. It looks like it is just under 1/8". That is not enough to make a usable side, but it will do fine for bending practice.

This Part is Too Thin
I got out the plane and set it to a very fine shaving so I can knock off the high parts of the saw cuts.
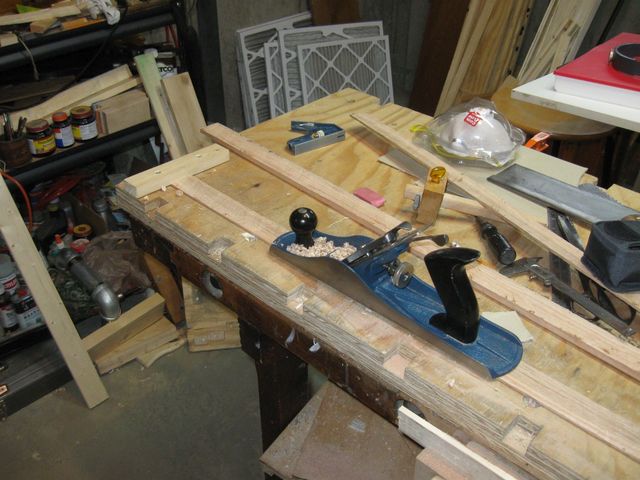
Planing the Thin Wood Strips
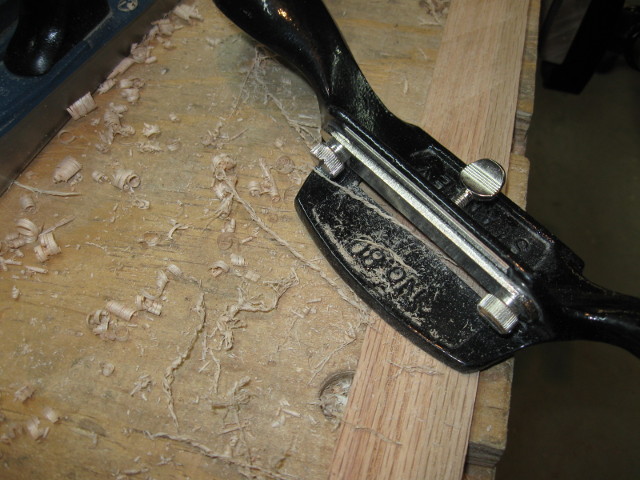
I finished up using the cabinet scraper, which is easier to control than the plane on those thin surfaces.
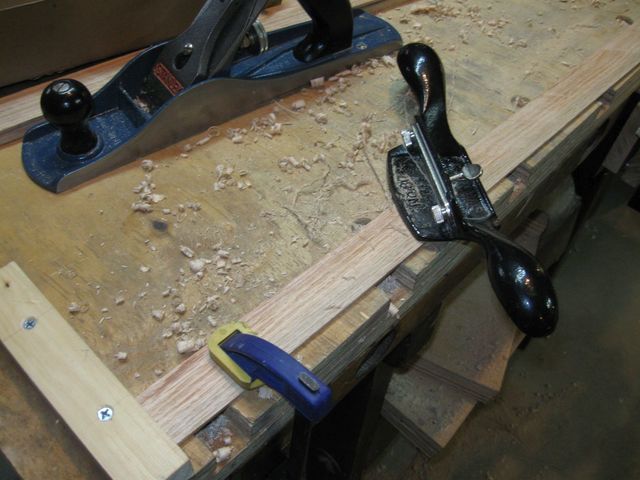
The Cabinet Scraper Works Easily to Surface the Wood
I really like the way the wood shavings come off in delicate curls
Getting Shavings Here, Not Sawdust
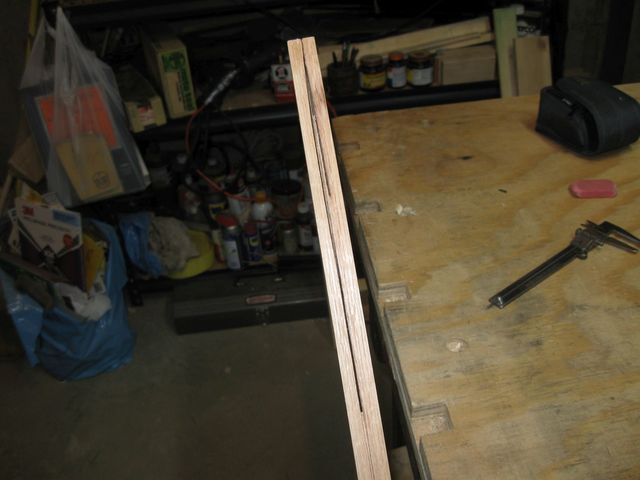
Finally, I measured up and down the board, and it looks like the bulk of it is 1/8" thick, with some places that are hopelessly battle scarred.
I Have Two Boards This Thin
According to the plan, I should end up with 4 boards of this size after ripping the other 3/8" thick board. But I ran out of time and did not do that other one. I am more interested in seeing if I can bend this wood on the iron than I am in finishing this test of my sawing capability. So I will put that other piece aside for now and went on to my bending practice. I will probably go back to it and do the same on that other board... rip it.... surface it... and bend it.... if bending these first two boards goes well. I would rather not spend the time increasing my supply of test wood before I know that I can bend what I have.
