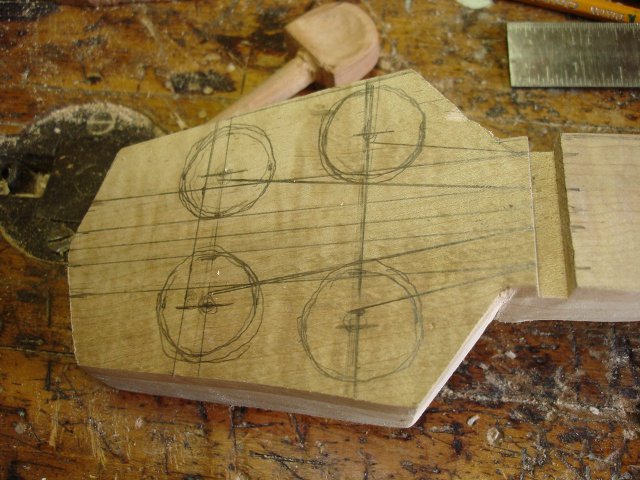
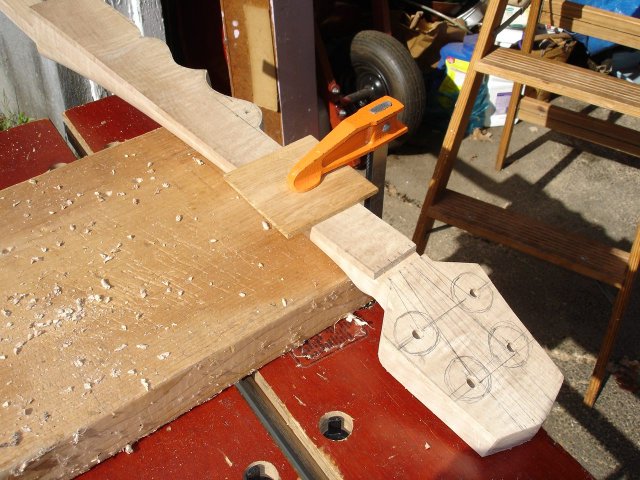
I am glad that I made the practice pegs. I think I now know enough to start working on the holes in the real peghead. For example, I know that a 1/4 inch drill bit will be fine for drilling the holes. I very carefully marked up the peghead to position the holes. It looks like this:
To do this, I first drew parallel lines where the strings will go across the nut. I took the spacing from my minstrel banjo since that seems to work OK. The strings are centered on the neck spaced 3/8 inch apart. I estimated the position of the holes and drew 1 inch circles around them. The circles represent the size of the peg knobs. I don't want to get the pegs installed and find out that the peg knobs bump into one another when I turn them.
Then I drew lines to the approximate locations that the strings will wind on the peg shafts to make sure that the strings will not rub against any of the other shafts when they are tied to the pegs.
Next I marked where the 5th string peg will go.
I estimated where the 4th string would go on the neck and marked that. Then I spaced the 5th string peg hole about 3/8 inch away from that to keep the string spacing somewhat constant.
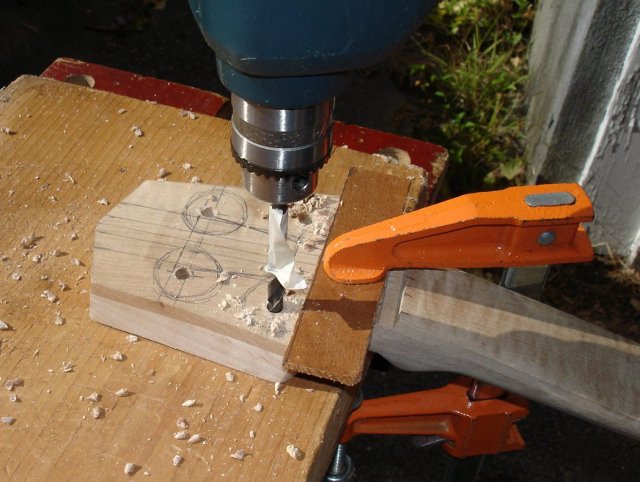
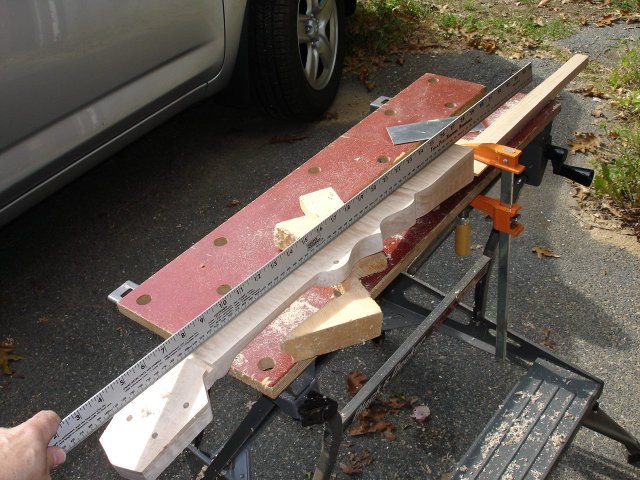
It all looks good, so it is time to suck it up and drill the holes. I clamped the peghead down tight to a board, placing the tailpiece on a rung of the ladder to keep it supported.

I clamped the peghead down to the board to avoid any tearout on the bottom of the peghead when I drill it. Then, I held my breath and drilled a hole, doing my best to keep the drill bit perpendicular to the surface of the peghead.

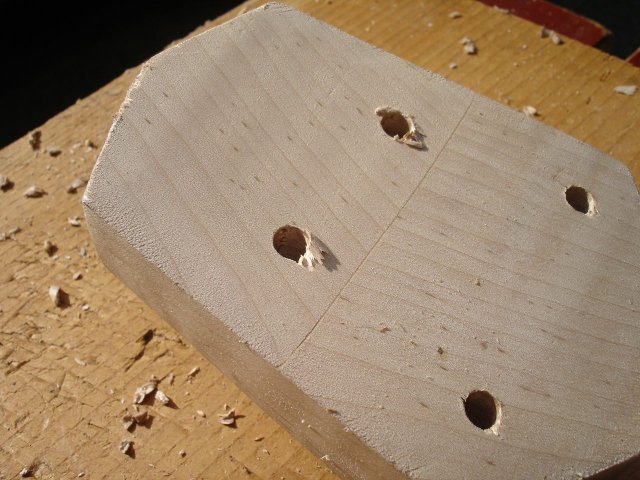
Dang! Look at that! The drill bit crept up and I drilled it in the wrong place! I even had it center-punched to make sure that this would not happen. It looks like it is at least 1/8 inch too far toward the tip. It should be located on the same line where the other hole is punched.
Well, shoot! Rather than have the pegs crooked, I punched the other one in a different place and drilled it there. That seems to have gone better. When I was drilling, I put a flag made of masking tape on the drill bit to make sure that I went all the way through the peghead, but not into the bench.
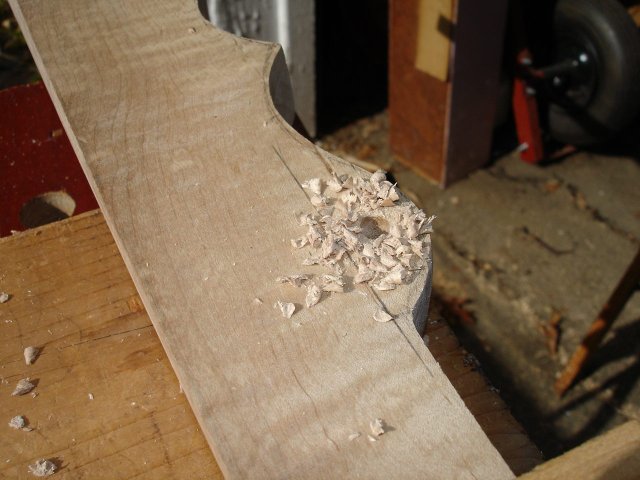
When I finished and turned it over, look what I found.
That is quite some tearout. Shoot. Maybe some day I will learn how to drill holes in wood. That is really ugly. I think I will be able to get rid of some of it by removing some wood from the back of the peghead. I will also be making the holes larger with the reamer, so maybe it won't be too obvious once I get it done.
There is nothing to be done for it now. So I clamped it up to drill out the 5th string hole.
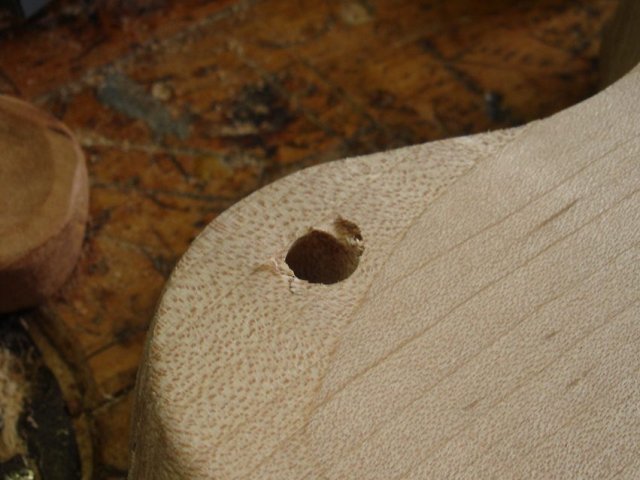
I could not clamp it all the way down to a board this time because the back of it is round (not that clamping helped for the previous four holes!). So I expect some tearout on this one. So I just drilled it.
Then I flipped it over, and yep, there it is. I am pretty sure that I can remove enough wood to take care of this one since the neck is really too thick in that location anyway. But even so, it is annoying.
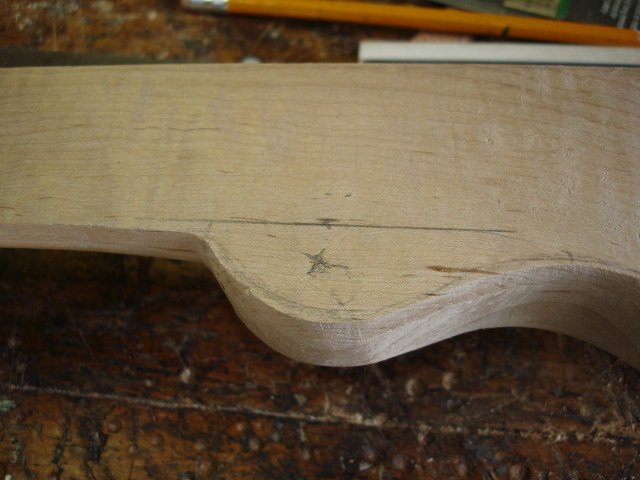
Finally, I got out my cabinet scraper to make the fingerboard straight. I measure it by eye using my metric rule.
I also used my scraper to take off some of the wood on the back of the peghead and the 5th string hole. That helped, but it still isn't clear of the tearout.
Drilling the holes for the tuning pegs took about two hours. That is enough for this session. Time for a break.