I have been attempting to play my new banjo now that I have it strung again. Unfortunately the strings buzz something horrible. I even propped up the bridge on three popsicle sticks to make it taller just to see if I could get the buzzing out. That mostly worked, although there are some places on the neck where the 4th string always buzzes when it is fretted there. One of those places is right where the 5th fret would be if there were frets. That is a critical note which is played often, so I cannot leave it buzzing.
I looked closely at what was going on at that location and I noticed that the fingerboard was not flat. It is straight because I checked it with my straight edge before putting on the finish. But it is not flat. Right where the fifth string peg goes through the neck there is a lump. When I fret the string behind the lump, the string buzzes against the lump. If I fret the string up a bit, just beside the 5th string peg, there is no buzz.
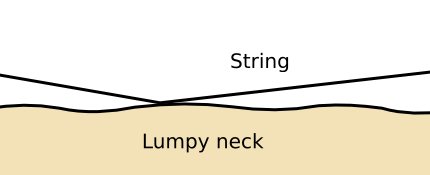
The distances are so small it is difficult to show this in a photograph, but here is what is going on, drawn schematically. In the drawing below, the bottom half represents the lumpy neck, and the straight line represents the fretted string.
If the string is fretted on top of a lump, as shown above, the vibrating part of the string (on the right hand side) is free to move without hitting anything. However, if I fret just a bit closer to the peghead, as in the drawing below
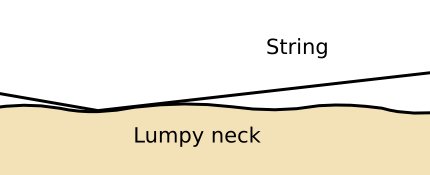
the string is stretched down into a depression, and the vibrating part buzzes against the lump. Unfortunately, the only way I can think of fixing this is to make the neck truly flat. I think that the lumps are there because I did the final finish of the fingerboard surface using my cabinet scraper. I should have used a plane because the scraper, while it leaves a very smooth surface, will follow the curvy contours of the lumpy neck instead of cutting off the lumps. A plane, with its long, solid sole will cut the tops of the lumps off first, and make the neck flat.
I measured my popsicle stack plus bridge (I wish I had taken a photo of that) at just about one inch tall. I think that a one inch bridge would work OK if the fingerboard were flat. So my repair will be to make the fingerboard flat with a plane and also make a new bridge that is one inch tall.
My excuse for messing this up so badly is that I have a weak relationship with planes. I never have figured out how to make them work well, and I end up with a lot of tearout when I try to use them. But I cannot avoid it this time. The fingerboard must be flat, so I must use a plane. I took the banjo apart again.
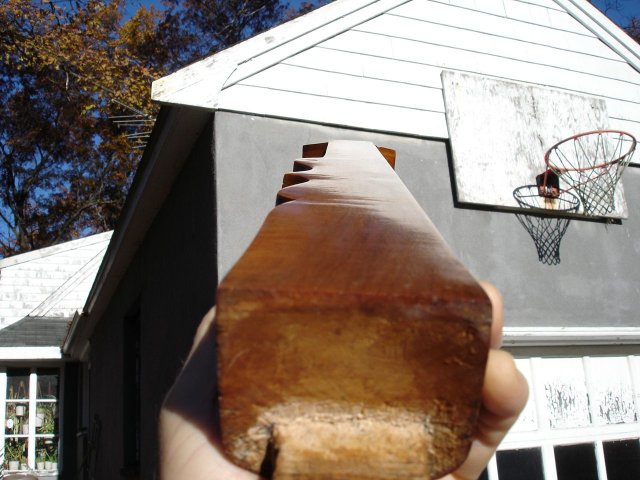
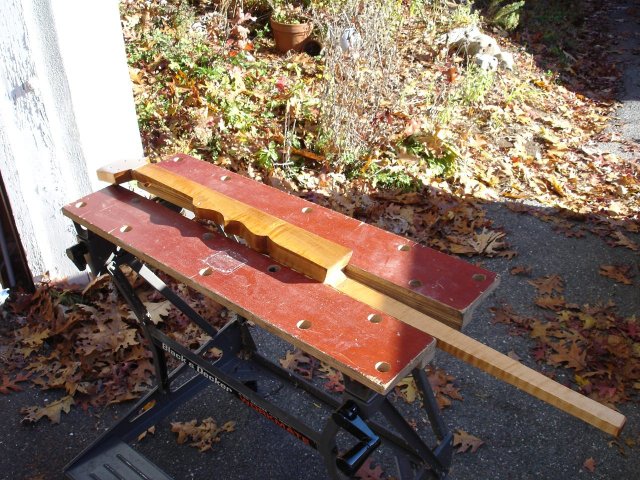
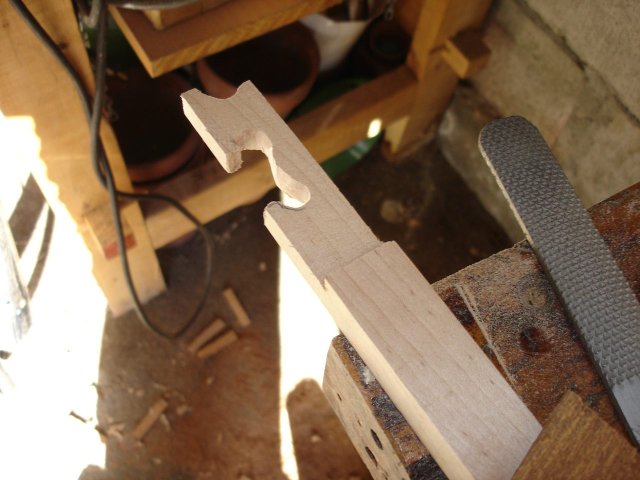
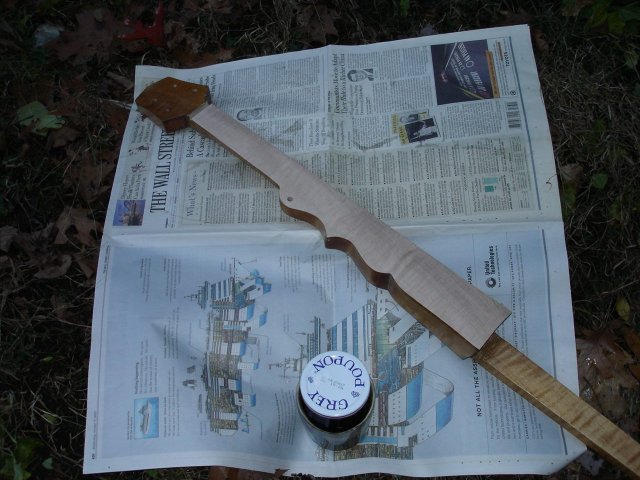
After I had the neck off, I took it outside and held it up so that the light glanced off of it. You can actually see the lumps in the photo. The three points sticking out on the left side of the neck are the scrollwork on the neck. The topmost one before the peghead is where the 5th string peg goes. All three of them have lumps.
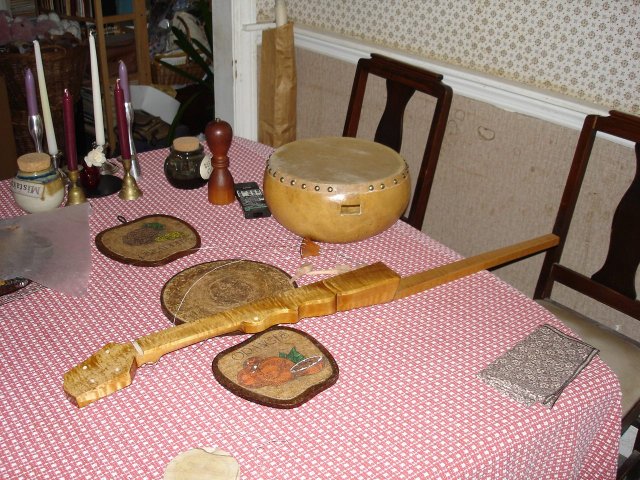
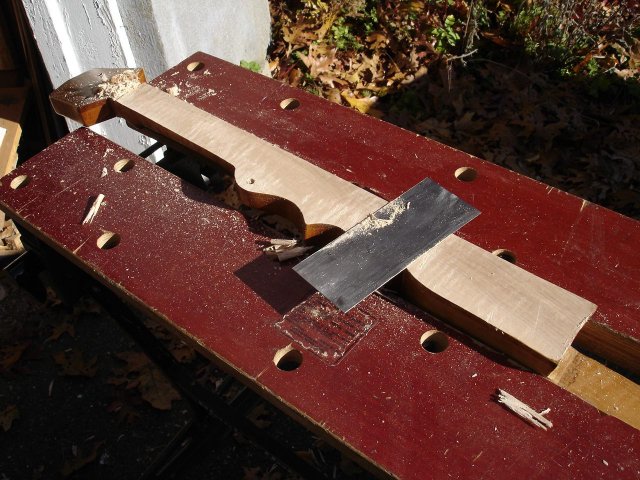
So I took my newly finished, gorgeous neck out and clamped it in my bench for some major surgery. This is going to hurt, but I don't think there is any other way to save the banjo and make it playable.
I sharpened up the blade of my jack plane, set it up for as fine a cut as I could manage, and then I sucked it up and took a swipe at the neck. Ouch! Look at this!
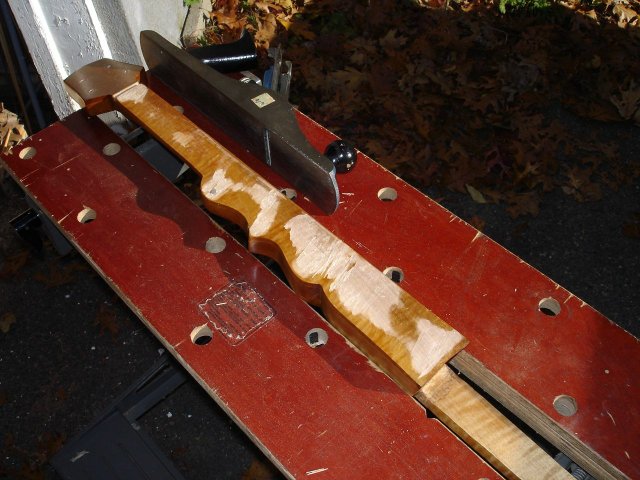
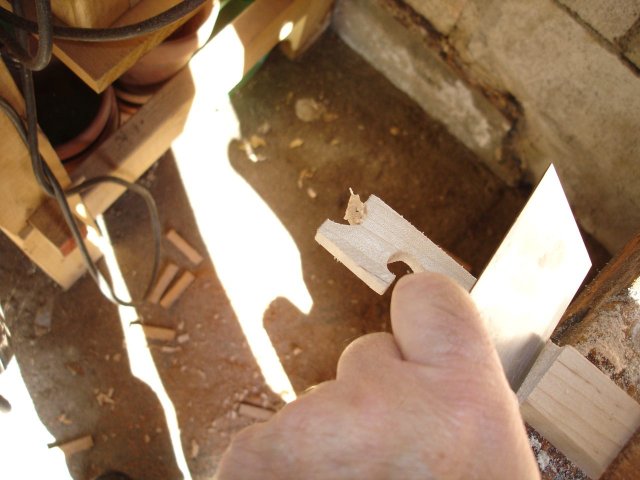
Remember those three protrusions on the left hand side of the neck where the lumps were. Well you can see that the plane has nicked the tops of the lumps off and left bare wood... one two three, right up the neck. Oh, and speaking of my fear of tearouts, look at this mess!
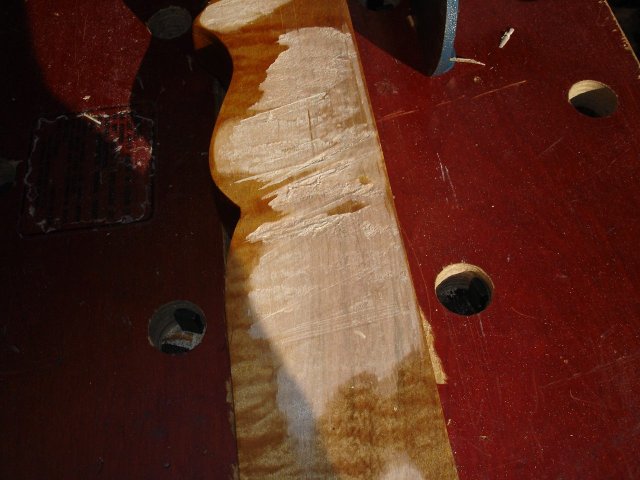
Oh, man! That is some ugly gouging! It seems that tearout is going to be my trademark. In fact, if I ever start up a banjo building company, I'm going to call it "Tearout Banjo". Ick! What a mess!
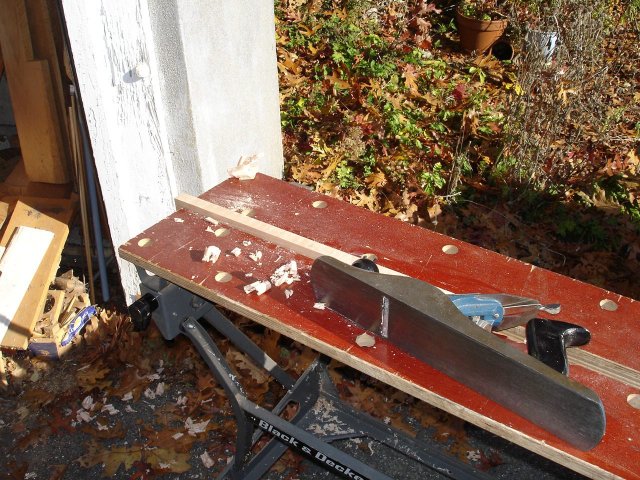
Fortunately, as I worked the plane through more of the wood, I got a rhythm for it. I had to push the plane with just the right amount of force to get through the wood without stopping and I then I could cut a neat curl from beginning to end of the neck. I also found out that it would cut more smoothly if I angled the plane to the wood, like this.
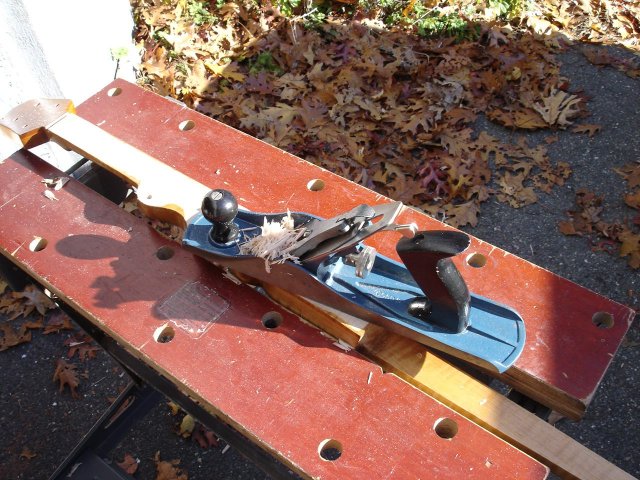
I took the blade out of the plane too and cleaned out some of the chips and finish that had clogged up the opening in the sole. I had it working pretty smoothly by the time I got done. I took the neck down until the entire fingerboard was new wood. This should make the entire thing completely flat. Once I had the neck flat, I finished by scraping with the scraper again.
Using the scraper now should be OK because the scraper does not make the lumps, it just will not cut them off. I have read that the old cabinet makers could feel those lumps with the scraper and press harder on it to even them out and make the wood totally flat. I am not that good yet, so I had to use the plane.
I worked with the scraper until the surface was smooth, checking it often with my metal ruler to make sure that the lumps were gone. It looked pretty good so I set it aside and started making a new bridge.
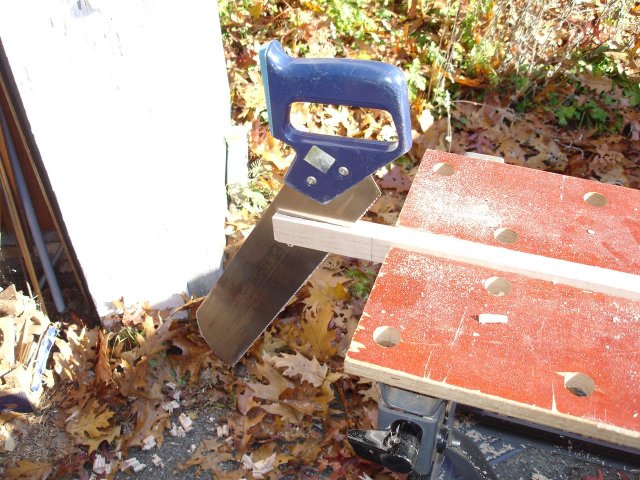
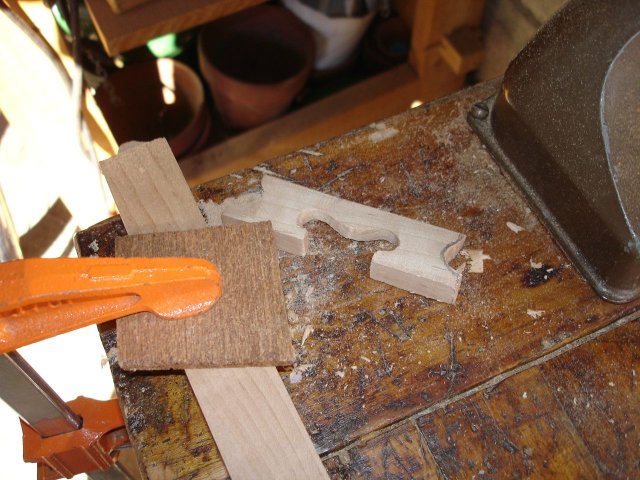
For the new bridge, I found another piece of the scrap maple that I had cut off while cutting out the neck. It was angled and rough, so I planed it flat and smooth before marking it off for the bridge.
Once it was planed flat, I marked it off for the thickness of the bridge. Since this will be a tall bridge I made it a bit thicker than the smaller bridges that I made earlier. I want to give it a wider footing to stand on. I marked off 1/2 inch on the blank.

I also made the bridge longer than the smaller ones. I marked this one 3 1/2 inches instead of just 3 inches. Then I ripped it with my panel saw.
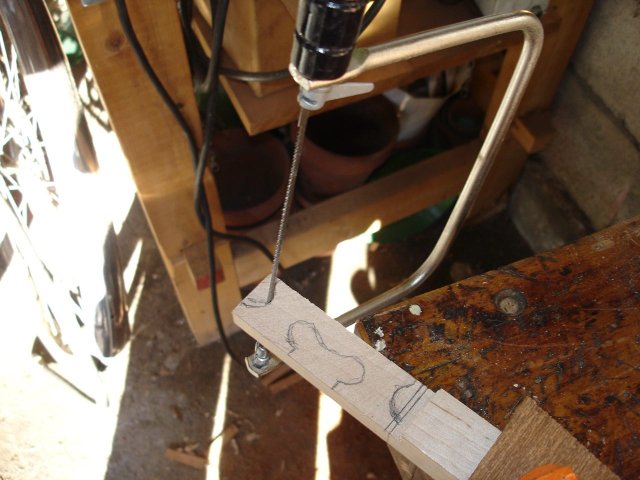
Same procedure as before. I cut out the shape using my coping saw.
I took my shoe rasp to angle the bridge to a thin edge at the top.
I took off some of the wood with my cabinet scraper, also to remove the gouges from the rasp.
Here is the bridge partially done and cut off of the blank.
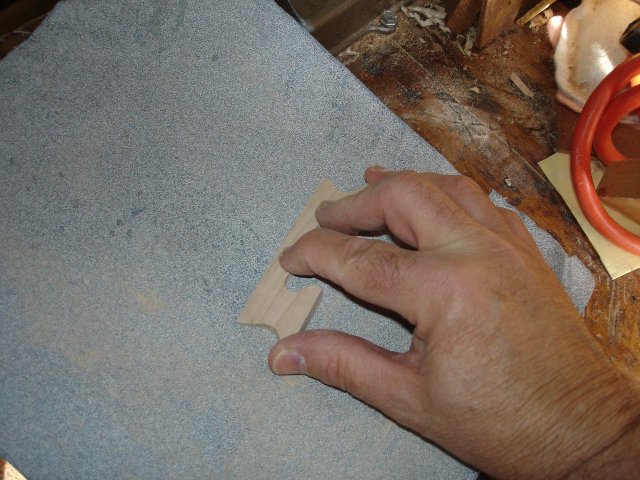
Finally, I cleaned up the cuts with a rattail file and some sandpaper, and then finished tapering the bridge by rubbing it on 80 grit paper on the bench.
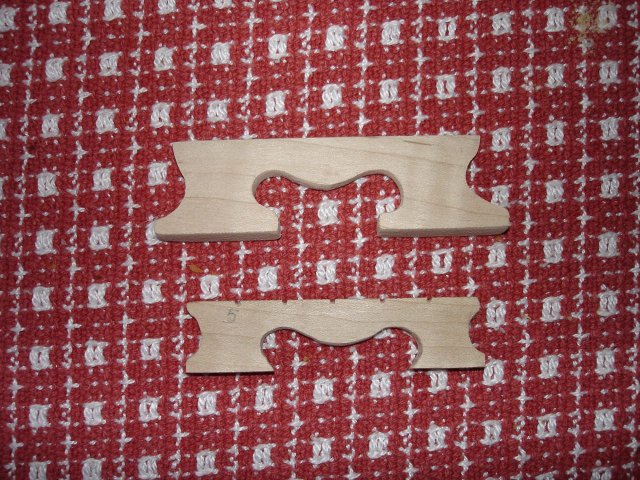
Here is the finished bridge. Wow! Look at that monser! I hope it will stand up OK on the banjo. The feet on the new bridge are about 7/16 inch thick, whereas the feet on the smaller briges are about 5/16 inch thick.
Since I will have to stain the fingerboard again I had to wet sand the new wood. Here are the parts with the wood carving all done. You can still see some wet spots on the neck where it is drying before sanding again. I wet and sanded the fingerboard about three times. Then it was time to stain.
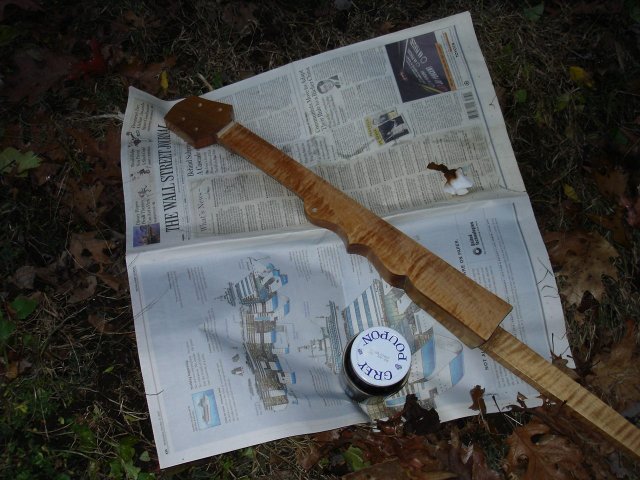
Hey! Remember that bottle of leftover stain that I would never need again? I found it in the closet and peeled off the duct tape and here it is. Heh heh. I will need about a thimble full for this, so I still don't know what I am going to do with the rest of the cup of stain. But, you never know what is going to happen. The following photos are pretty bad because it was getting dark when I did this. Here is the neck before staining.
Here is the neck after staining.
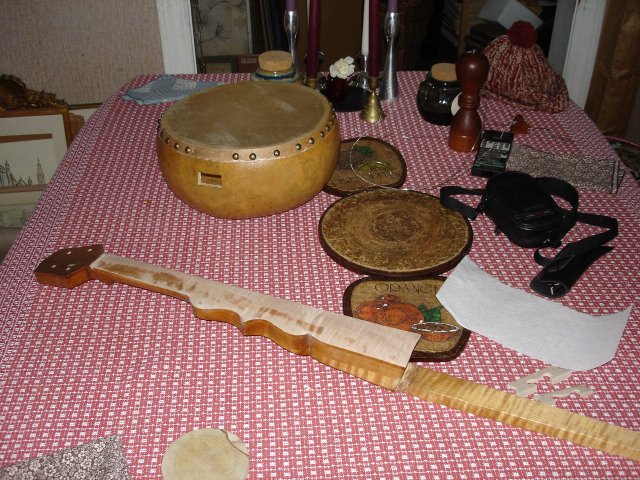
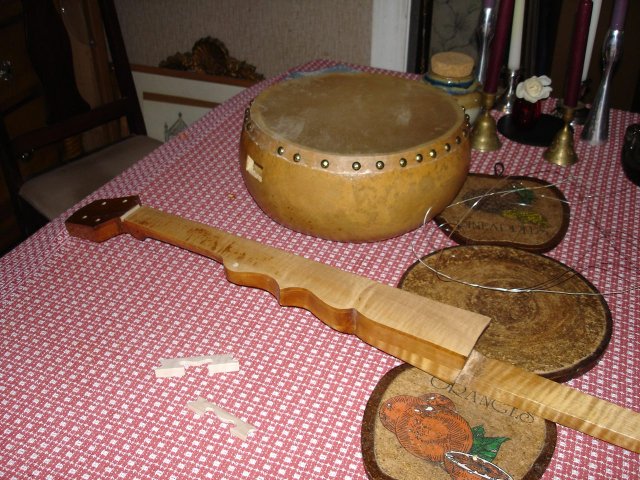
Since the stain is water based it will not stink, so I brought the neck inside to dry. Here are the pieces, with the bridge made and the neck ready to finish again as soon as the stain dries.
That is all the time I have for this today. I will have to finish it tomorrow if it isn't too cold. It is mid November here now, and the weather is a bit cold to be putting a finish on wood. I spent 3 hours doing this rework. I hope it makes the banjo play better.