Today I plan on staining the neck and making some blanks for the nut. The stain I will be using is soluble in water or alcohol. The directions that came with it said that to avoid streaking, it is best to dissolve the stain in water, so that is what I plan on doing. However, I was told by the people who sold me the stain that if I am going to use water I should wet the neck a few times to raise the grain and then sand it down in between. That way the stain will not raise the grain when I put it on. I need to wet the neck and then let it dry, sand it, wet it again, let it dry, sand it again etc. While the neck is drying I will make some nut blanks.
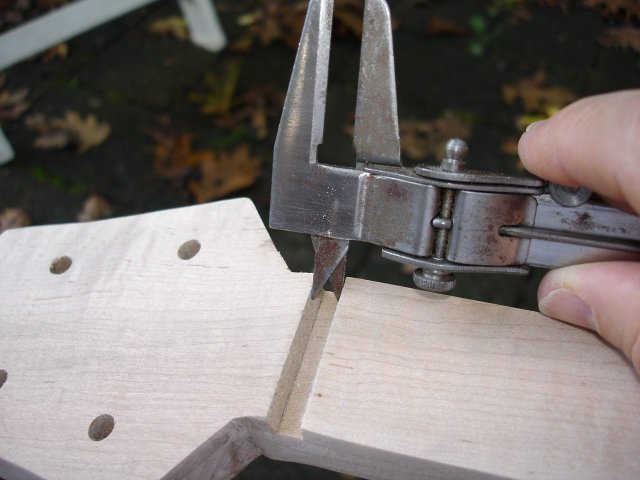
First off, I measured the width of the nut slot.
The nut slot on this banjo is much wider than a normal nut slot is. A normal nut is about 1/8" thick. This one is 1/4". The reason that the gap is so wide is that I figured out I could get the peghead overlay out of the same piece of wood as the fingerboard if I stretched it a little bit. I only had 5" of board left after cutting off the fingerboard, but if I widened the nut slot slightly I could get enough to cover most of the peghead. So I now have a slot that is 1/4" across. That is OK since the width of the nut is not a critical measurement. On to the sanding.
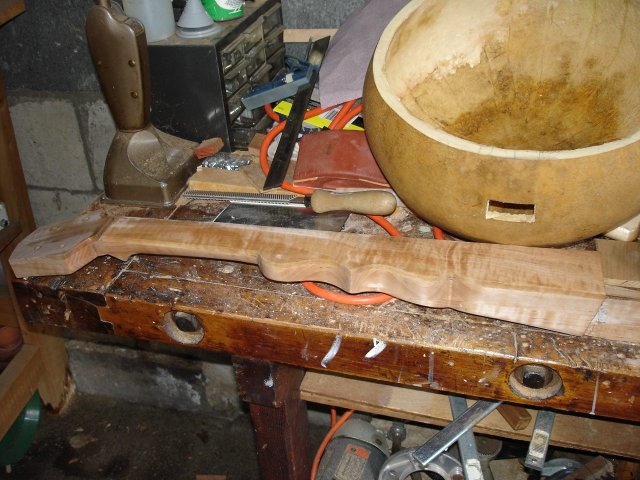
Wet down the neck to raise the grain on it.
I will make a nut blank while the neck dries. I marked off a piece of my leftover cherry to a 1/4" size and ripped off a length of wood.
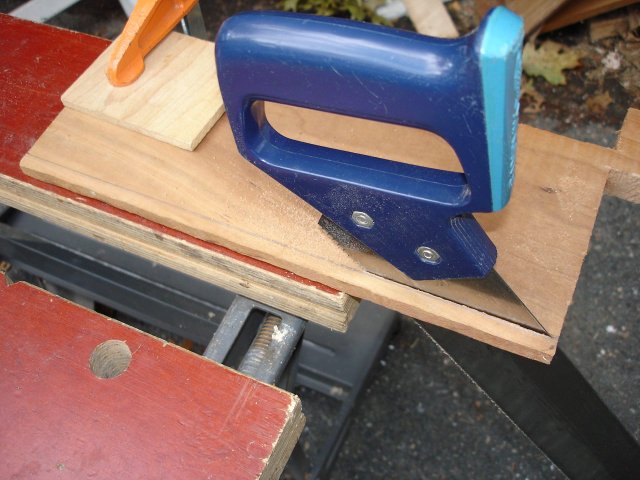
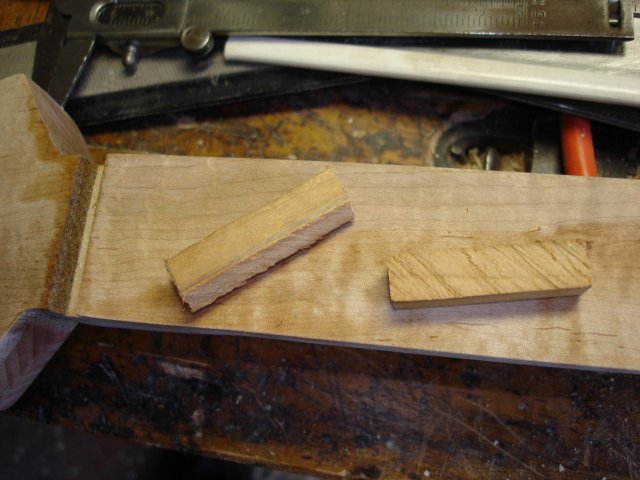
That thin piece of cherry is something that I had ripped for an earlier project. If I did not have that piece then I would have to rip the 3/4" down to about 3/8" and then rip it again in the other direction down to the 1/4" size. The neck at that point is 1 1/2" wide, so I cut off a couple of lengths of 1 1/2" each.
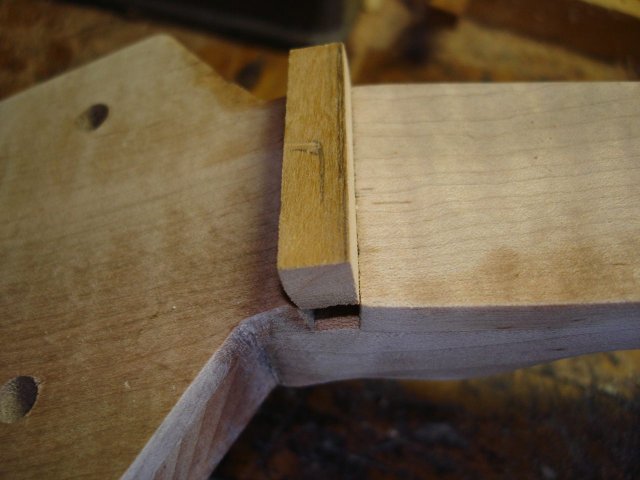
The nut slot is angled because the peghead overlay was glued down to the angled peghead. No problem, that just makes the nut blank a bit oversized. So I took my shoe rasp and carved away wood intil it fit into the slot. This is a trial and error procedure. Take off some wood and try it.
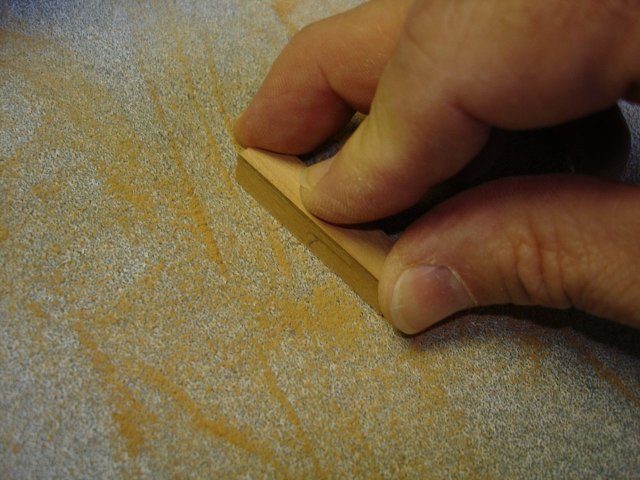
When I got close, I used my 80 grit sandpaper to take off the last bits of wood. This keeps the sides of the nut straight and gives me a lot of control over how much wood I am taking off. It is amazing how fast the 80 grit sandpaper cuts through the cherry.
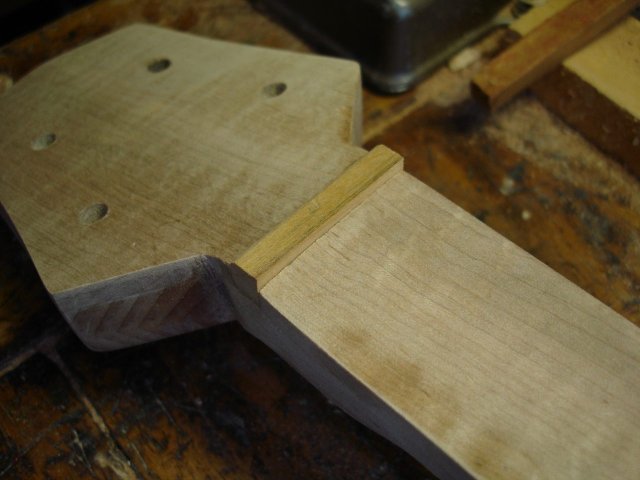
I finally have a good fit. I have chamfered the side of the nut toward the peghead to identify it and to provide a gentle slope where the direction of the strings changes as they bend down toward the pegs.

Another view.
I sanded down the neck, wet it again, and then made another nut blank.
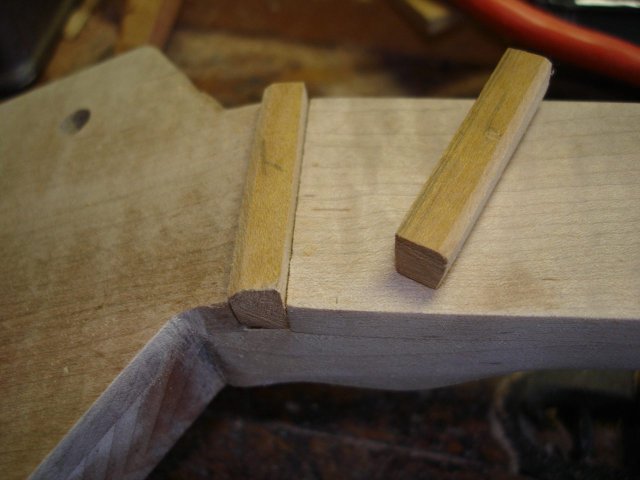
I like to have an extra nut blank because making the notches for the strings is easily screwed up, and I will not want to have to stop and make another blank if I do make a mess of it. OK. Now on to the staining. Here is the stain that I bought.
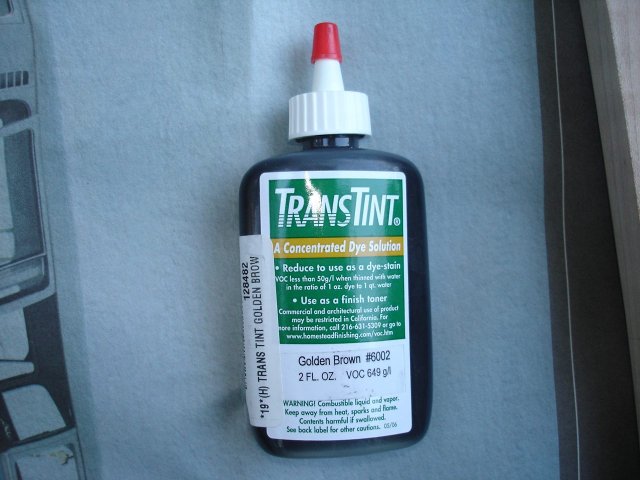
I paid about $17 for that little 2 oz. bottle at Woodcraft. It is very concentrated. That two ounces of stain is supposed to make two quarts of stain when it is diluted properly. The color I got is called "Golden Brown". The example that they had at the store on maple was a honey color. My goal is to stain the neck so that it is about the same color as the gourd, which is a mustard color. It should bring out the figure in the wood and make it look like old maple. Wish me luck.
I had no idea how much stain I would need. I also did not know how I would measure the right amount of stain to mix into the water given the small quantities I would need. So I did what I usually do, I guessed. I decided to make a cup of stain. Since there are four cups in a quart and the proper concentration of the stain would be one ounce per quart (the two ounce bottle is supposed to make two quarts), I should put about 1/4 ounce into one cup of water to get the stain I need.
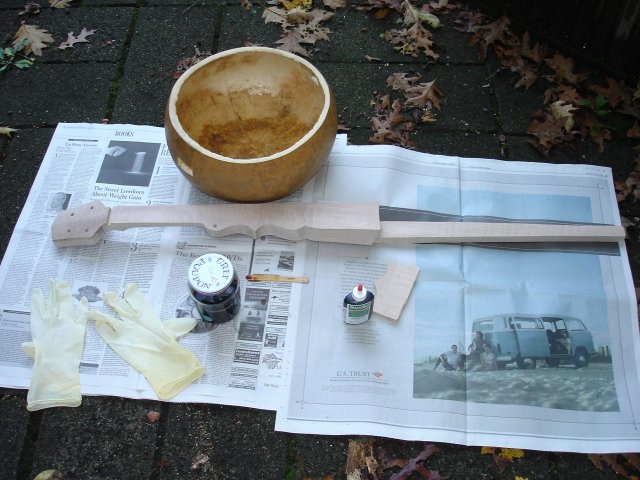
I measured one cup of water into a jar, and then I dumped out about 1/8 of the bottle of stain into it. That ought to be about 1/4 ounce. I just sucked it up and dumped it. Stirred up the stain. I am ready to rock and roll. Here is my setup. Notice the rubber gloves, which are necessary so I don't permanently stain my hands.
They always tell you to test it out on a piece of scrap, so I did. Here is the color.
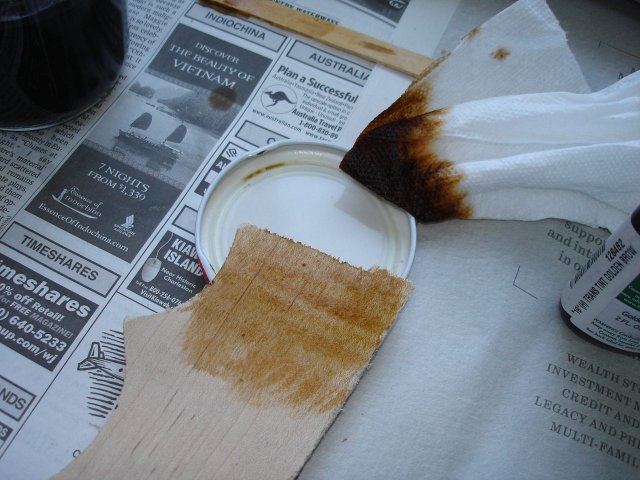
I put on the rubber gloves, dipped my piece of paper towel into the stain and rubbed it into the wood quickly. Here is the end result.
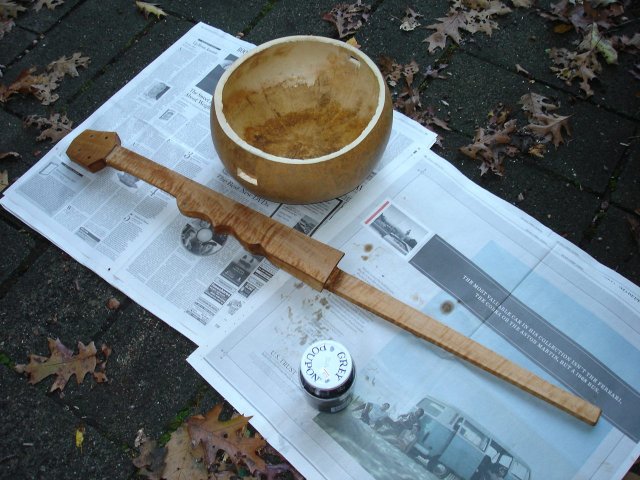
Hey, that's not a bad match! There was no splotching or streaking at all. The stain went on smoothly and easily. There is only one fly in the ointment.
I don't think that I used even an ounce of my stain doing the whole neck. So, I made a cup of the stuff, and in the end I used a few drops. I now have nearly a cup of stain left over in my jar and nothing to do with it. Oh, joy! I get to keep another jar of mystical unknown substance forever. I know that as soon as I throw it out I will need a tiny bit of stain again and will have to start over. On the other hand, ten years from now I will be going through jars of unknown substances and come upon this and say, "What the heck is this stuff?" Oh well, maybe I will make another banjo next Summer and use it then. I taped the lid down with duct tape and put the jar at the back of the closet to keep it from breaking.
The neck looks pretty fine, and that was the goal, and I didn't spill the stain (yet), so I didn't do too badly. I spent 2 1/2 hours wet sanding the neck, staining it, and making the two nut blanks.