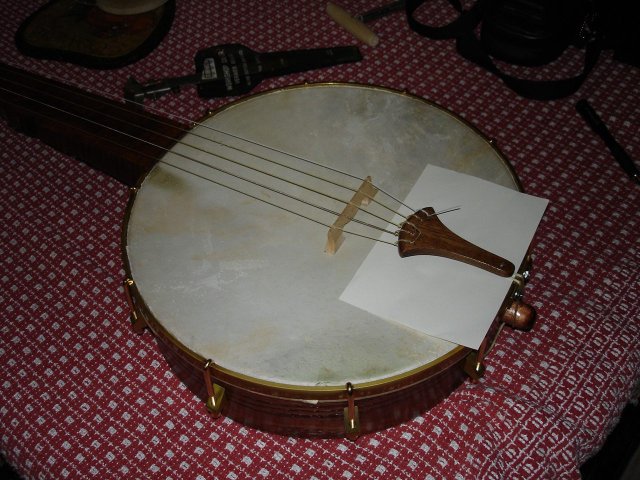
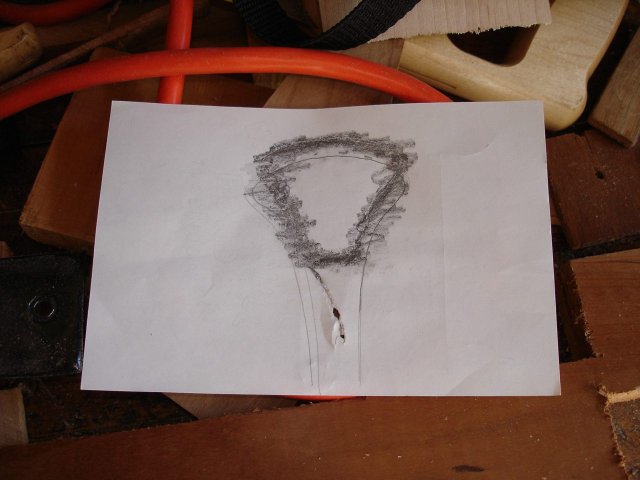
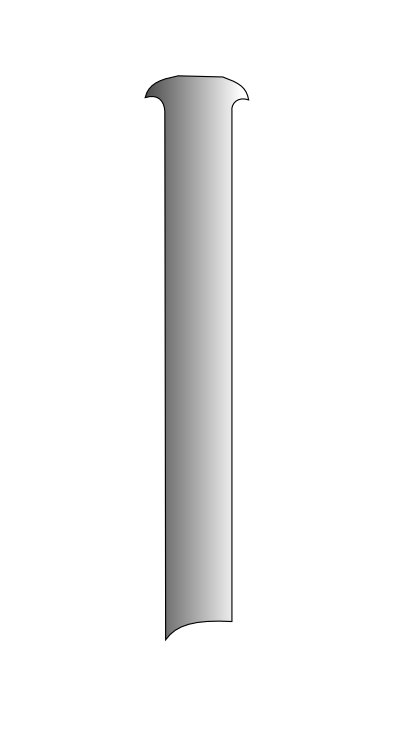
The tailpiece for the banjo is used to tie the strings to so that they are spaced apart before they go over the bridge. The actual shape of the tailpiece is not very important, and since I kind of like the one that is on my minstrel banjo, I decide to use that shape for my new tailpiece. I put a piece of paper under the tailpiece on the minstrel so that I could trace the shape.
Here is the tracing.
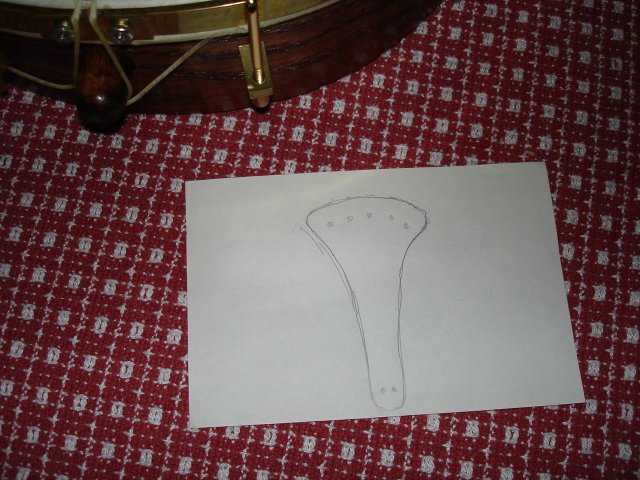
Because the top of my gourd is only 11 inches across, and the pot on the minstrel is 12 inches, I decided to shorten the tailpiece for the gourd banjo.
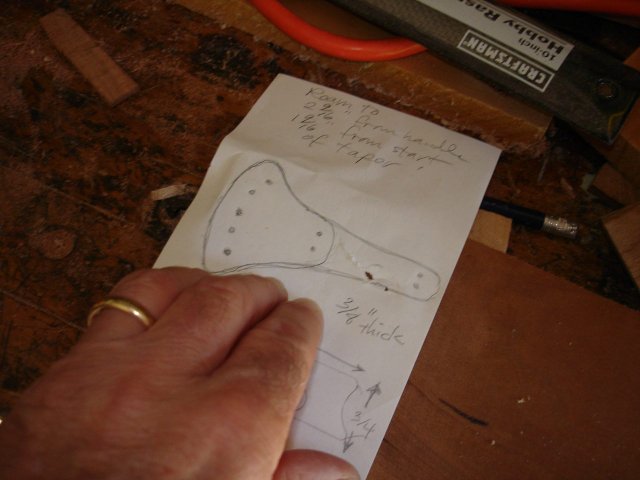
You can also see that I have traced the bridge of the minstrel on the same piece of paper. No sense in re-inventing the wheel. And while I have the minstrel disassembled, I measured one more thing on it to see how it was made. I removed one of the pegs from the peghead and stuck my reamer into the hole to see how big the hole was made.

You can see that the reamer does not go all the way into the hole. I will start out by making the holes in my peghead about the same size, so I stuck a piece of tape on the reamer and measured how far up the bottom of the peghead was from the base of the reamer blades.
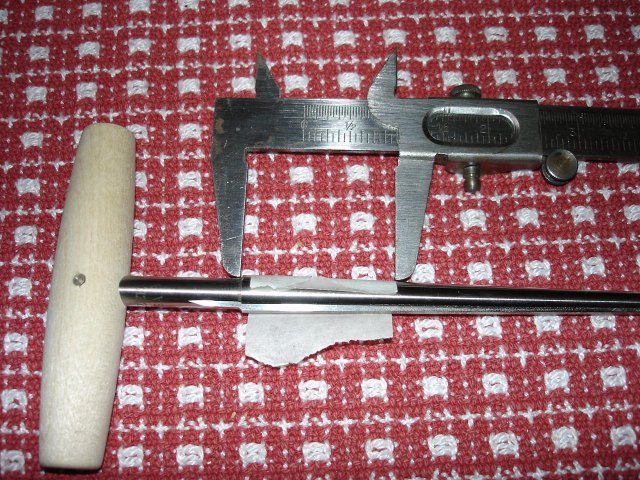
The bottom of the peghead was 1 9/16 inch from the start of the blades. When the time comes to ream the holes out to their final size, I will put the tape on the reamer and use it to measure the size of the holes. I have left the holes in the peghead small deliberately so that any finish that gets into the holes will be reamed out during final setup.
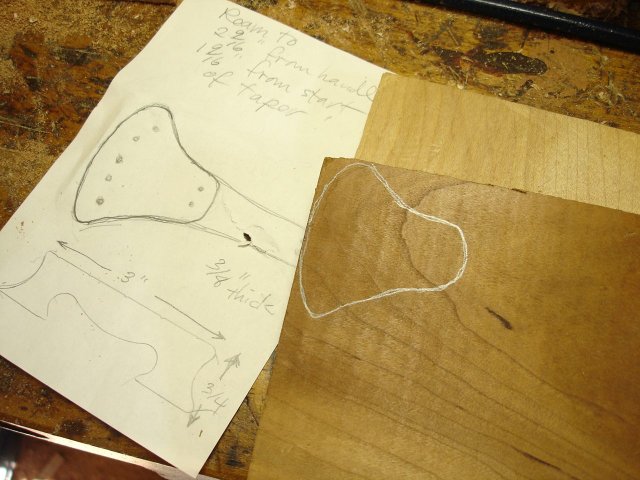
For now, on to the tailpiece. To transfer the outline of the tailpiece to the wood I used a trick I learned in tracing sketches for my artwork. I took a soft pencil and scribbled all over the backside of the outline. This is done on the other side of the paper than the one that I have the tracing on.
Then I turned the paper over and put it down on the wood, aligning it near the edge.
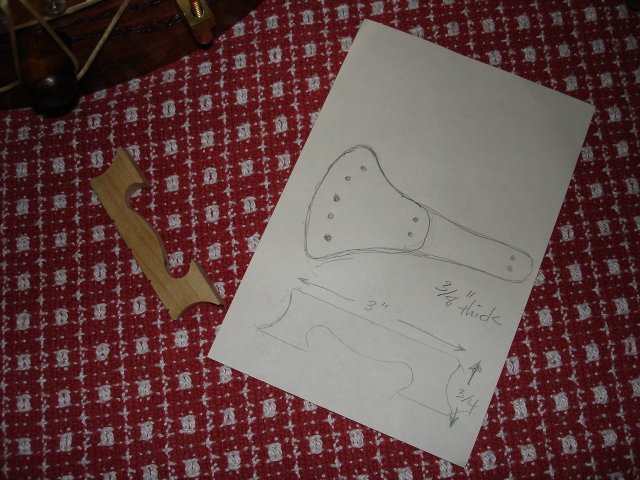
I took a harder pencil and drew over the lines on the paper several times, pressing down fairly hard. This transferred some of the scribbled graphite on the back of the paper to the wood. It left a very faint line on the wood, so I traced over the lines on the wood, and here is what I have.
I decided to smooth out the bottom of the board before I cut out the tailpiece because it will be easier to clamp it when it is bigger. This piece of wood is a scrap left around from a previous project. If I did not have it at hand, I would have to make a piece by resawing a 3/4 inch piece in half to make it 3/8 inch thick. Here it is clamped with my cabinet scraper sitting on it.
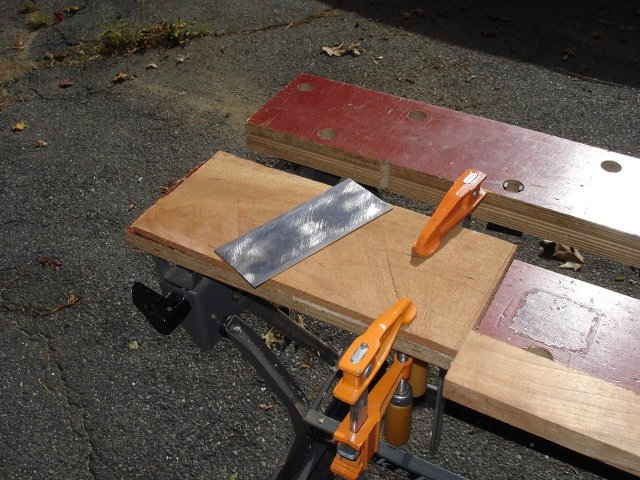
My cabinet scraper has been a real workhorse in this project. I thought that I would take a brief moment to show how I sharpen it. Here are the tools that I use to keep my scraper sharp.
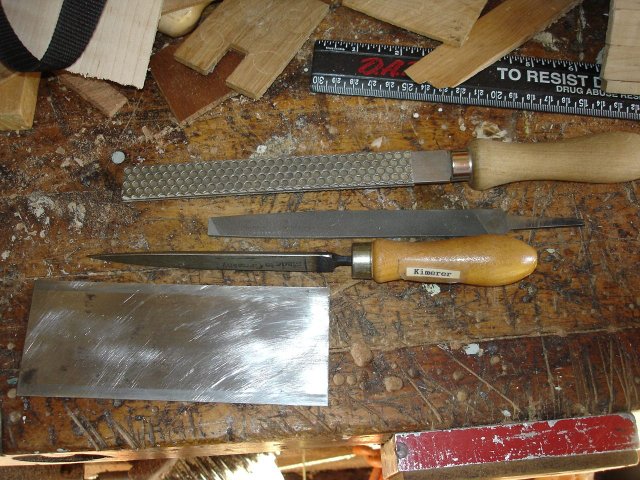
The file at the top is a fine, diamond file that I use to make the square edge. The next tool down is just a regular bastard file from the hardware store. That file takes off a lot more metal than the diamond file, so I use it to do a rough squaring of the scraper. The pointed tool under it is a burnisher, which is just a really really hard piece of metal. The burnisher is used to roll over the edge of the scraper to make a hook on each side of it.
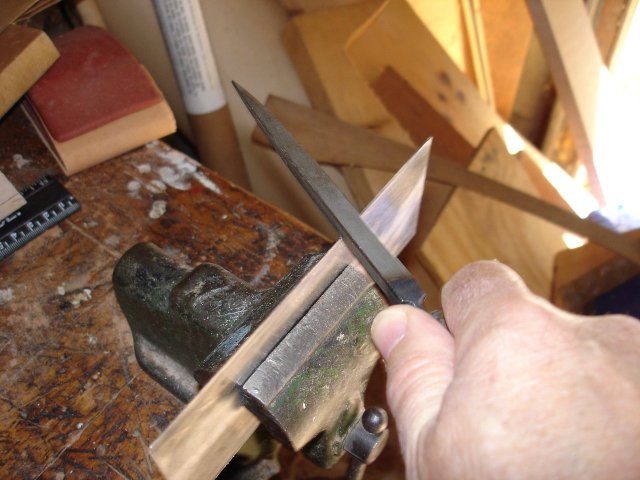
So first I use my bastard file to square up the edge of the scraper.
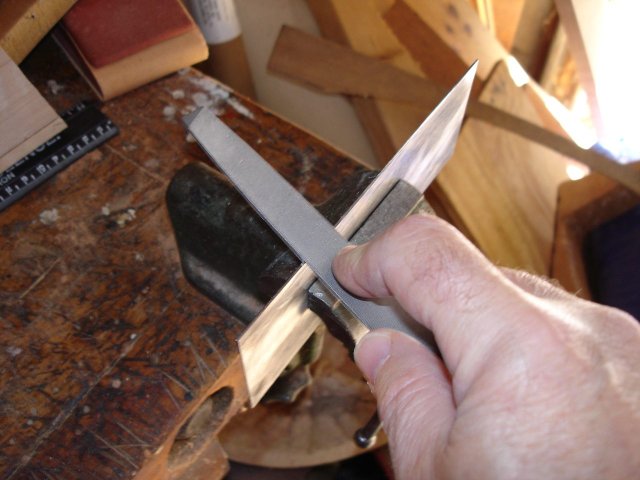
The trick here is to get the edges of the scraper exactly square in cross section. The file must remain perpendicular to the edge of the scraper. Here is what the edge of the scraper should look like at this stage (when viewed from the end of the scraper).
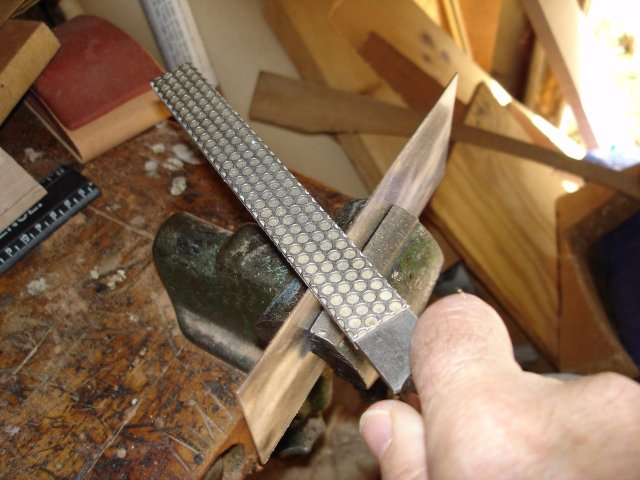
The top edge is the cutting edge. It should be perfectly square. After making it square with the bastard file, the edge is polished using the fine diamond file.
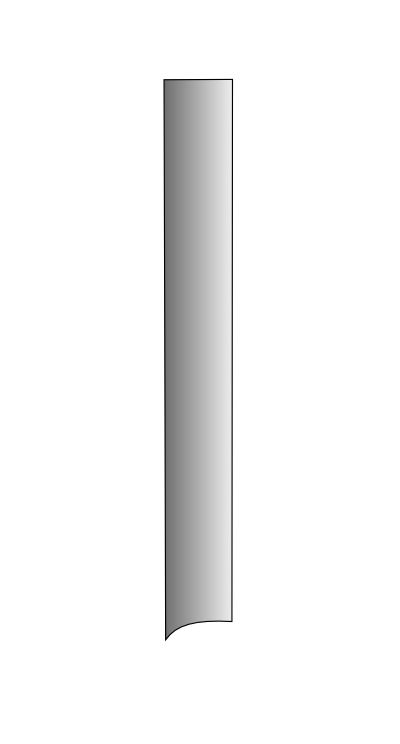
At this point, the edge should still be square. Finally, I use the burnisher to bend the edges of the metal over to make two hooks, one on each side.
The edge of the scraper should look like this.
Those hooks are the cutting edges.
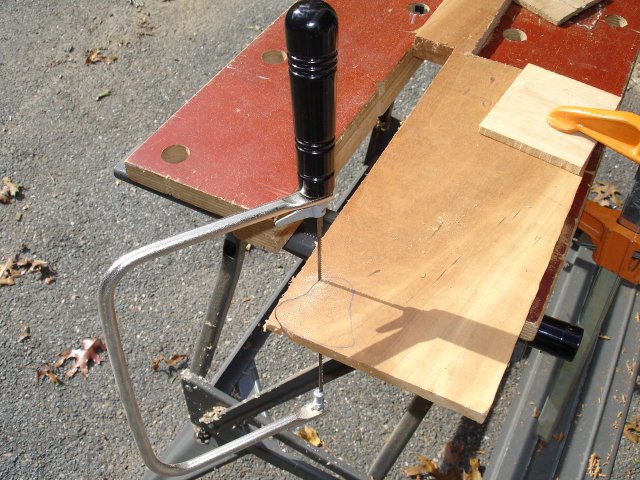
OK. Enough of that. On to making the tailpiece. After I got my tools sharp I clamped the piece of cherry onto my bench and cut the part out using the coping saw.
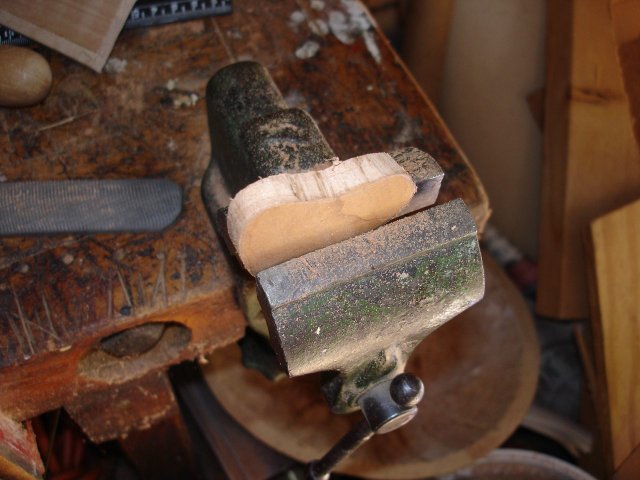
I clamped the tailpiece in my little vise and smoothed it out using the shoe rasp.
I used the center punch to mark where the holes go in it. The holes are 1/4" from the edge of the tailpiece. I used a 7/64" drill bit for the string holes and a 3/32" drill bit for the tailpiece gut holes. The tailpiece gut should be larger than any of the other strings. All of this is just a guess. I really don't know what I am doing here, and I will probably have to make some adjustments later on.
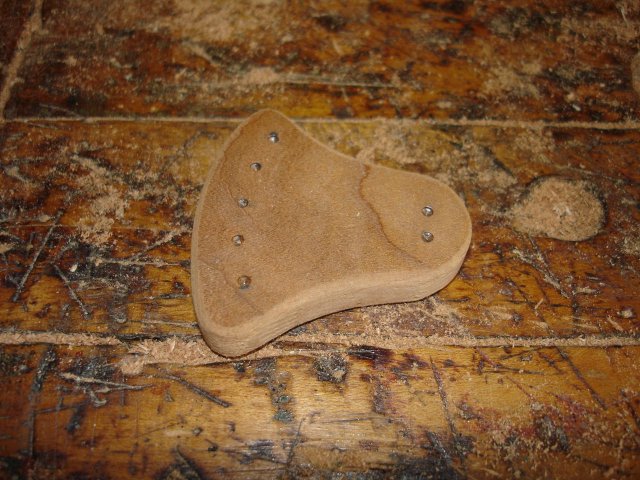
After drilling the holes, I sanded it smooth. I also counter-sunk the holes a bit so that there would not be any sharp edges on them to cut through the strings. I used a drill bit that was 11/64" to do the counter-sinks.
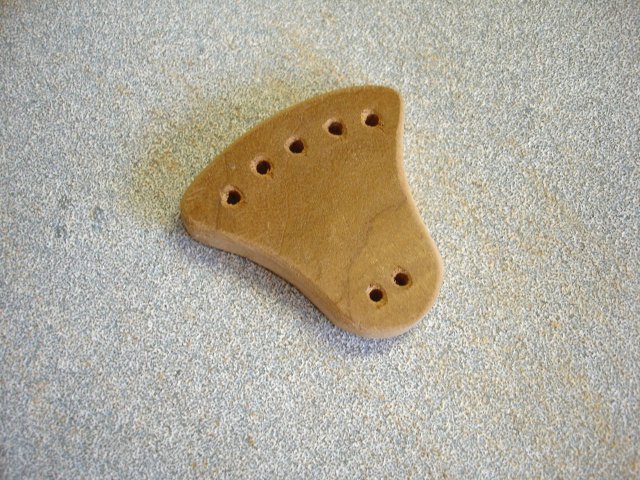
That's it for the tailpiece. I spent two hours making the tailpiece, which is kind of surprising since it is such a small part.