Before I started with the finish I prepared the gourd for having the skin stretched on it.
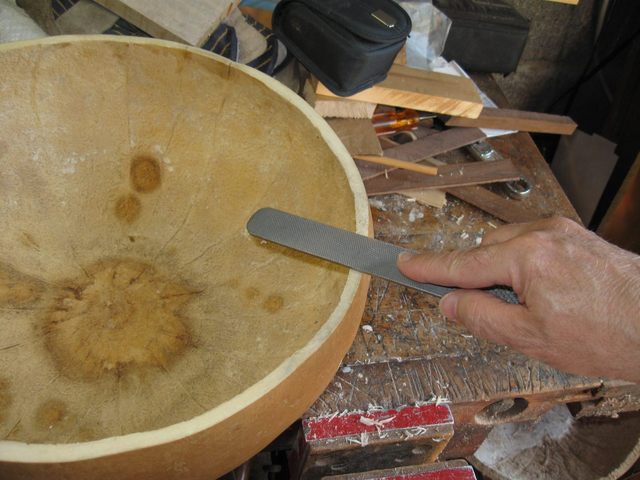
I needed to chamfer the edges of the gourd inward so that there will not be anything inside to rattle against the head. Once this thing is sealed, whatever is inside will stay inside. I did this work first so that I would not get sawdust around while the finish dries. As you can see in the photo, I used the shoe rasp to do this. It went quickly because the gourd wood is really soft, sort of like balsa.
Of course when you are doing this kind of work you should protect your lungs by wearing a mask.
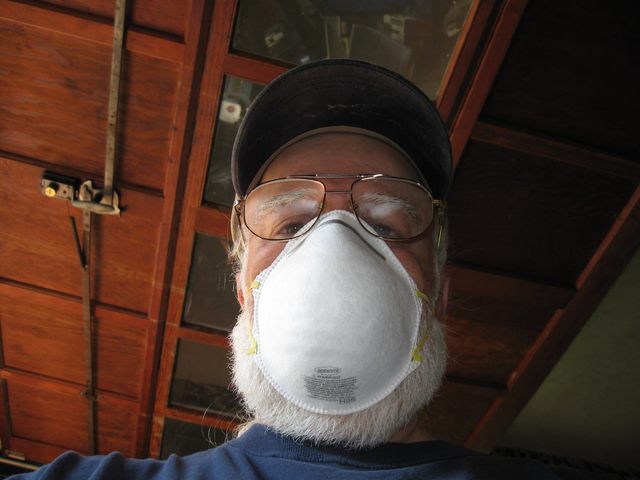
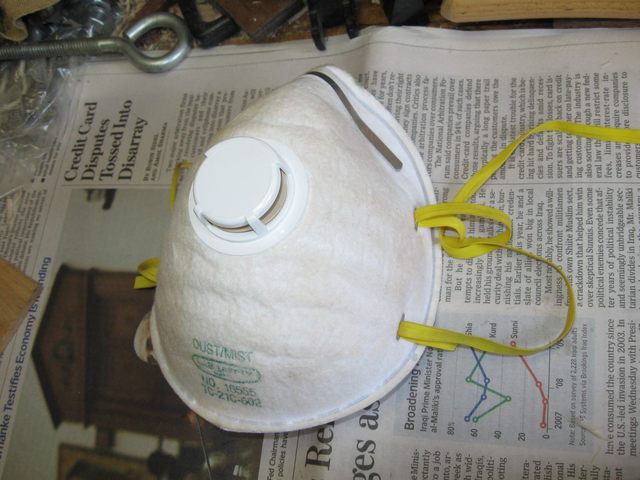
You should be careful what kind of masks you get, though. When I was wearing that one my glasses fogged up every time I exhaled. I could not see what I was doing. Last time, I had a different kind of mask which has a valve on the front to prevent the problem.
The elastic broke on it, and I used one of the cheaper masks I got at the hardware store. Sometimes cheaper is not better.
After I chamfered the edge of the gourd inward I took the rasp to the inner edge to remove any leftover material that might buzz against the skin.
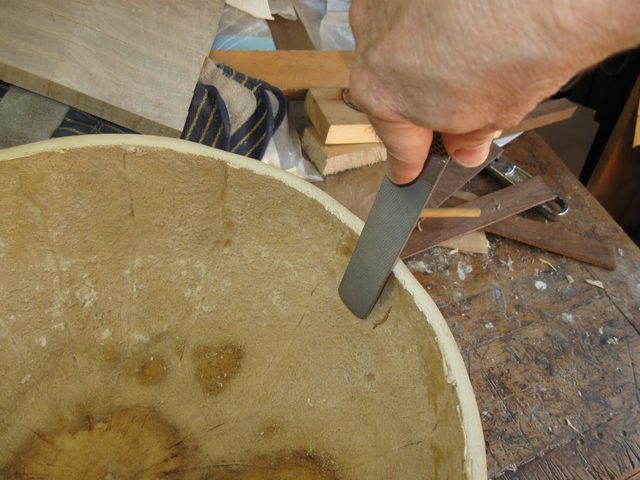
I gave it a real light scrape because the "wood" in there is very soft. Next... on to the finish.
I took some steel wool, 0000 I think it is, and knocked down whatever whiskers were brought up by the water based stain.
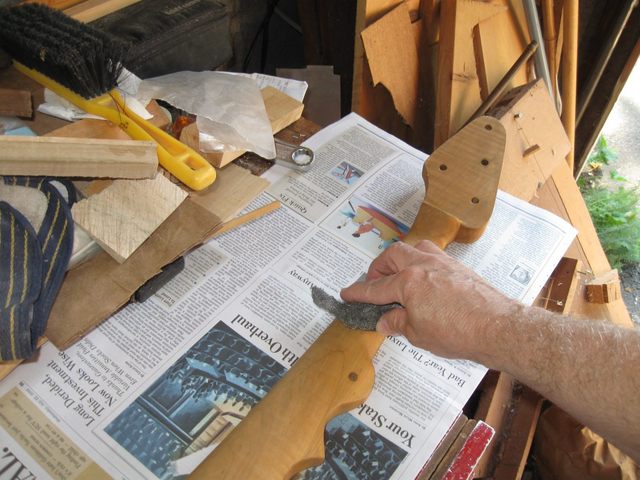
I was very gentle with the wood at this point so that I would not wreck the stain job I had already done. Then I got out everything I needed to put on the first coat of Tru-Oil.

I hung the small parts, the pegs and the tailpieces, up on threads to keep them off the bench while the finish dries. You can see them there on the left. I also got out an entire roll of paper towels because of my poor record at avoiding spills. You can read my other pages to hear those tails of woe. I use Tru-Oil on my banjo parts.
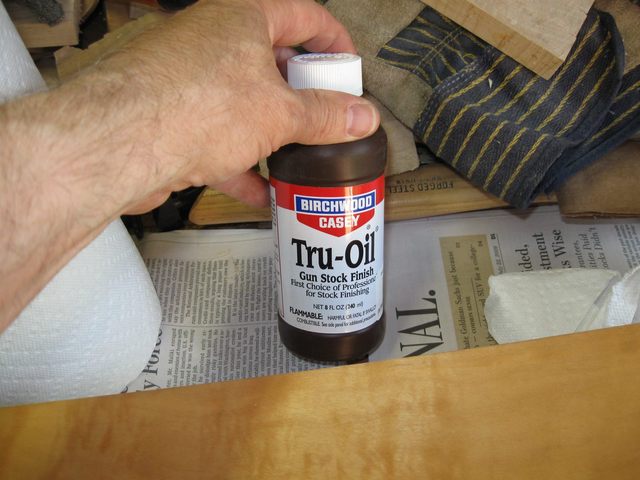
I am not selling Tru-Oil® here. I have just found that it is very easy to apply and handle for a small time operator like me. A lot of folks like a lacquer finish on a banjo, but putting on a lacquer finish requires compressors and spray booths and respirators and all that. I prefer an oil finish.
I used to put on a tung oil finish, but that takes forever to dry and requires many coats to seal the wood. Tru-Oil is linseed oil with added driers to make it dry fast. And Tru-Oil has been designed as a gun stock finish, so it makes a tough and impervious finish for a banjo neck.
OK. The infomercial is over. I used to buy my Tru-Oil at WalMart in 4 oz. bottles, but our local store has stopped carrying it. I got this bottle from Woodcraft Supply, and the smallest bottle they had was 8 oz. This could be a problem because the finish tends to dry up in the bottle between projects, and I hate to see it go to waste. But there is not much I can do about that.
When I opened the bottle I saw that it was full all the way up to the top.
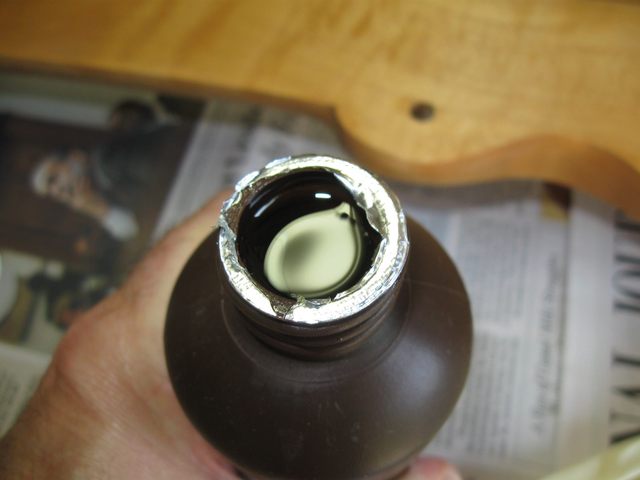
One way to stop spoilage is to reduce the amount of air in the bottle. The finish hardens when it comes in contact with oxygen. The manufacturers usually fill the headspace in the bottle with some sort of inert gas like argon or CO2 to keep the finish from hardening. Woodcraft had a can of gas to use for that purpose, I think it was argon, but the can of gas cost a much as the finish, so I didn't buy it.
I don't have any photos of me putting on the finish because my hands are a mess during that operation and I don't want to pick up the camera and get oil finish all over it. But here is a photo of the neck after the finish was put on.
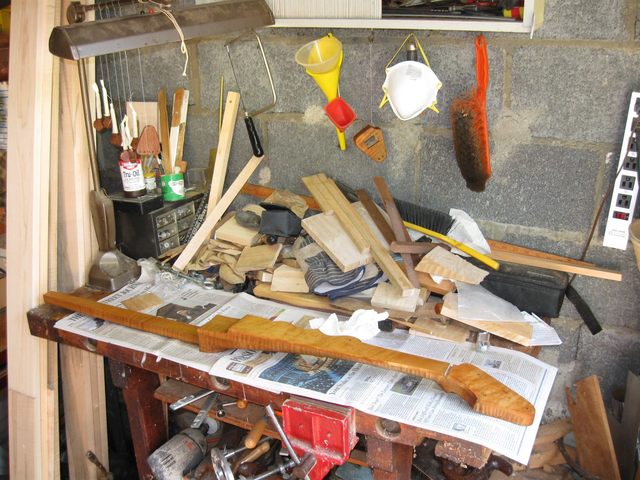
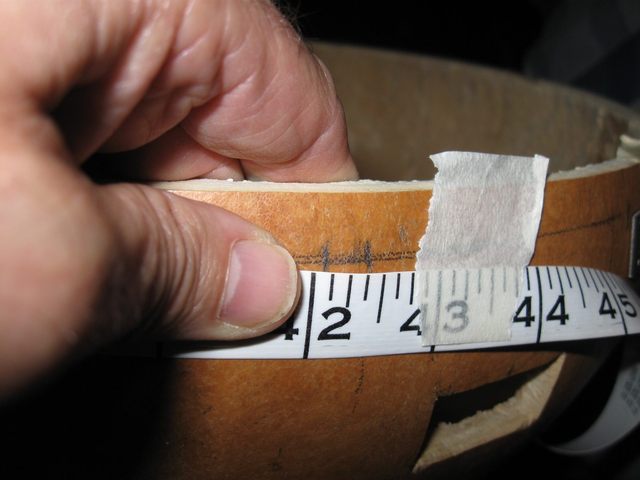
Most of the time spent in finishing the wood was spent waiting for the finish to dry, so I put the wooden parts aside and went in to mark the gourd for the locations of the tacks that hold on the head. I wanted the tacks to be evenly spaced around the gourd, so I did some calculations. First, I measured the circumference of the gourd where the tacks will go.
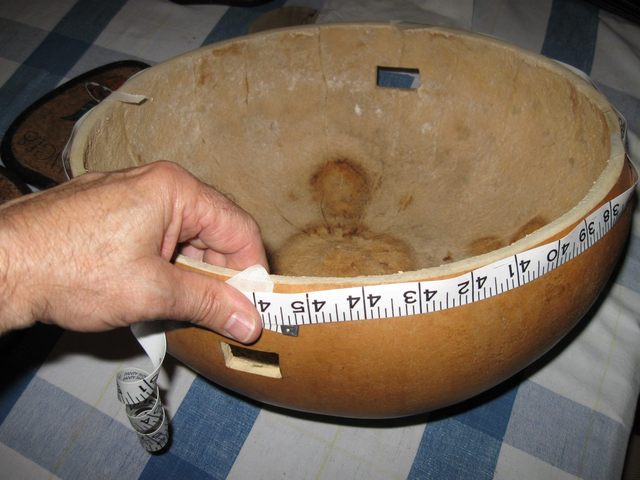
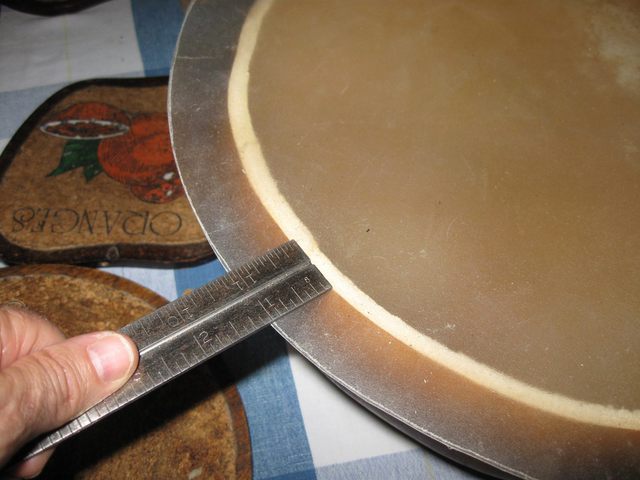
The circumference came out to be about 45 1/4". I also measured how much extra skin I had around the gourd to see how far down I can put the tacks and still put them through the edge of the skin.

It looks like I have about one inch of overlap. Here is a closeup.
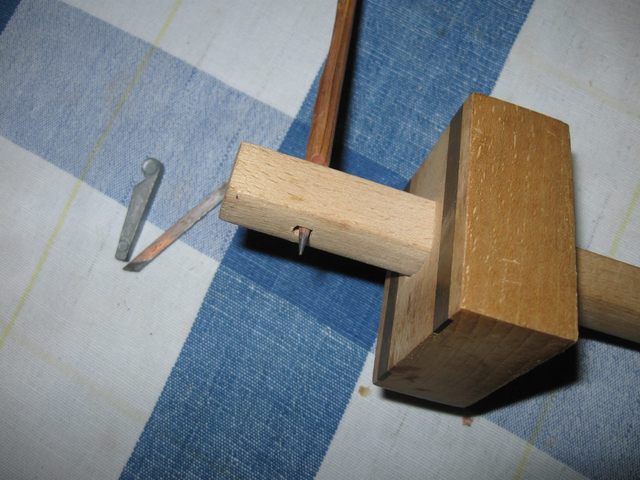
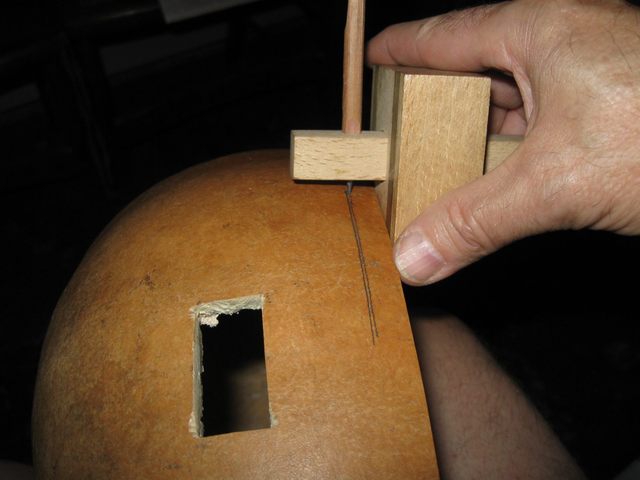
I normally put the tacks 1/2" down from the edge, so it will be close but it should work. To get the tacks evenly aligned I made a mark on the gourd 1/2" down from the top. I use my scribing tool for that. It normally has a knife edge in it, but for this I want a pencil mark so I trimmed down an old pencil and jammed it into the hole where the wedge goes.
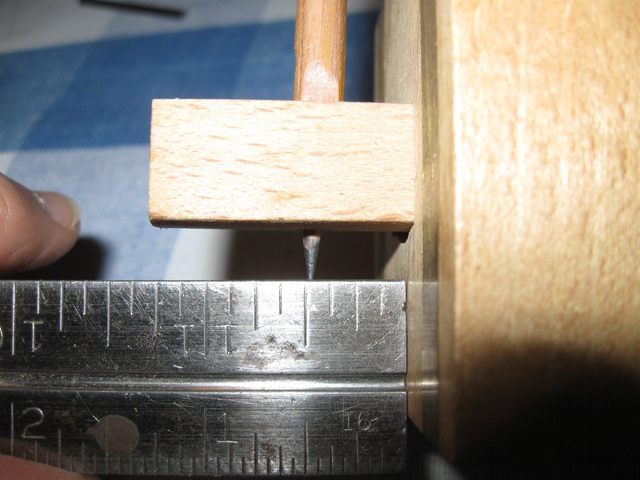
I set the pencil 1/2" from the fence using a rule.
Making the line is easy. I just push the pencil around the gourd while holding the fence against the top edge.
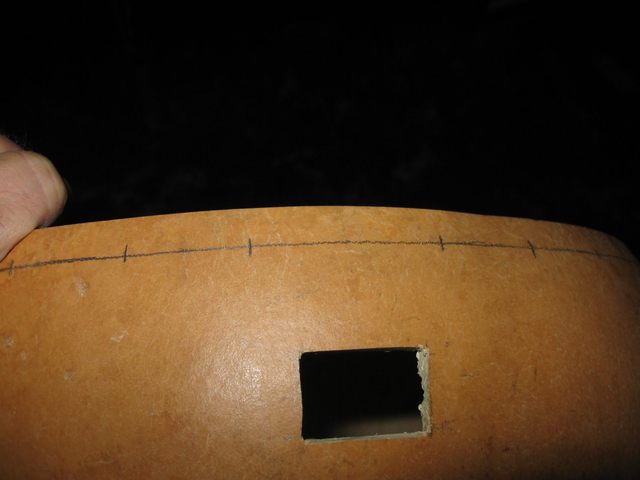
OK. That line is done. Then I needed to calculate how many tacks to use and where to place them. In the past I have put them about 1 1/4" apart, so that is a good starting point. Running a quick calculation I get:
45.25" / 1.25 = 36.2 tacks.
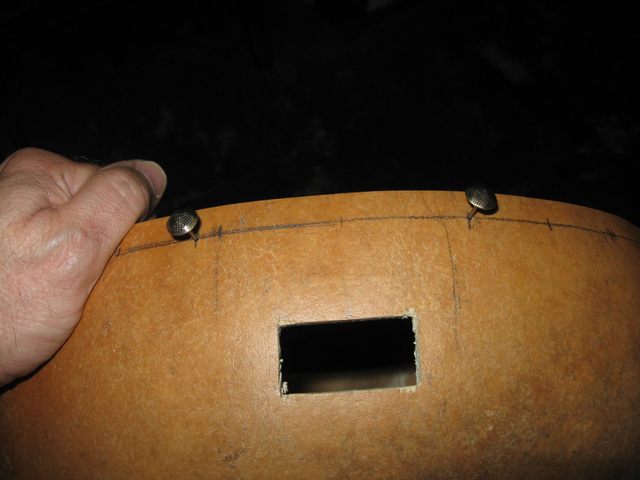
As I was looking at the gourd I had a thought. I originally planned to put tacks all the way around, even where the heel of the neck goes, thinking that the frailing scoop would clear the tack heads. But I wondered if the scoop was deep enough. So I went out to the bench and measured it.
Nope. Dang!
The scoop is only 1/2" deep, so if I put the tacks 1/2" down, the heel of the neck will not clear the bottom half of the tack heads. I will have to leave them out. Back to the drawing board.
I went back out to the bench again and measured the width of the neck at the heel too. It was about 3", so I left three inches of space around the front hole where there would be no tacks. Subtracting 3" from my previous measurement I really have 42.25" around the gourd where the tacks go. I left some extra space to make sure that the tacks will clear the side of the heel, so I did the calculation using 42". The heads of the tacks are 7/16" across so that should be enough space for the neck to clear the tacks.
42 / 1.25 = 33.6 tacks.
So I rounded up to 34 tacks.
42" / 34 tacks = 1.23529" between tacks.
That is about 1 and 3.76/16 of an inch, which can be rounded up to 4/16 or 1/4", which is the number that I started with.
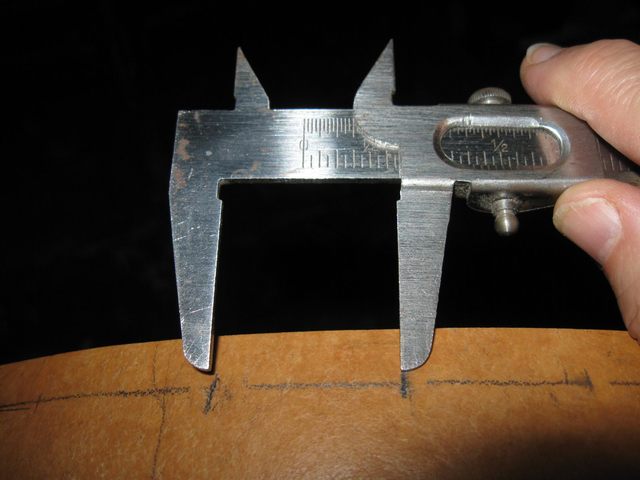
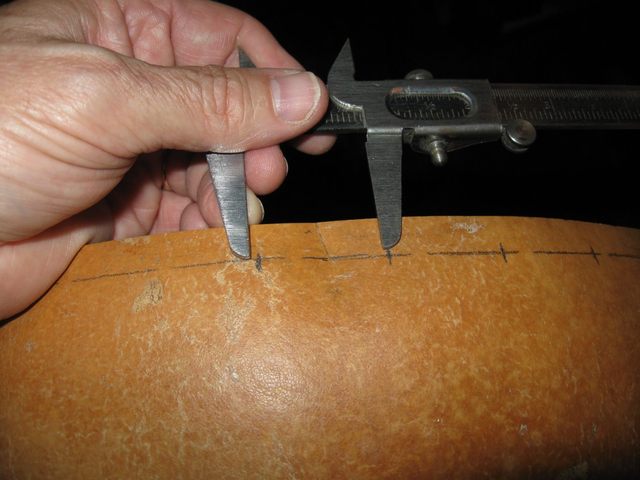
Cool. I set my calipers to 1 1/4" and measured around the gourd.

I measured from the neck down one side to the tail and then from the neck down the other side to the tail. Here is how they met up at the tail hole.
The final two marks are about 2" apart. That is a bit too far. I must have messed up a calculation.
I figured that I had not left enough room at the sides of the neck heel so to be safe I subtracted a half inch instead of 1/4" from the calculated circumference.
41.75" / 34 = 1.22794 inches per tack.
That comes out to 1 3.65/16, which is just over 1 7/32".
But then I remembered that with 34 tacks you get 33 intervals between them since there is one tack on each end. Think of it this way. Suppose that you have a one inch span and you have three tacks to space evenly. You divide the one inch space by two, not by three, to get the 1/2" interval for the tacks. Then you put one tack at the beginning and one at the 1/2" spot and one at the end. You have evenly spaced 3 tacks by dividing the space by 2.
So I redid the math dividing by 33 intervals between the 34 tacks. I also put back in 1/8" of space around the heel because the 1/2" seemed large. That left me with 42 1/8" divided into 33 intervals.
42 1/8" / 33 = 1.2765 = 1 and 8.8 / 32.
That is almost 1 9/32"
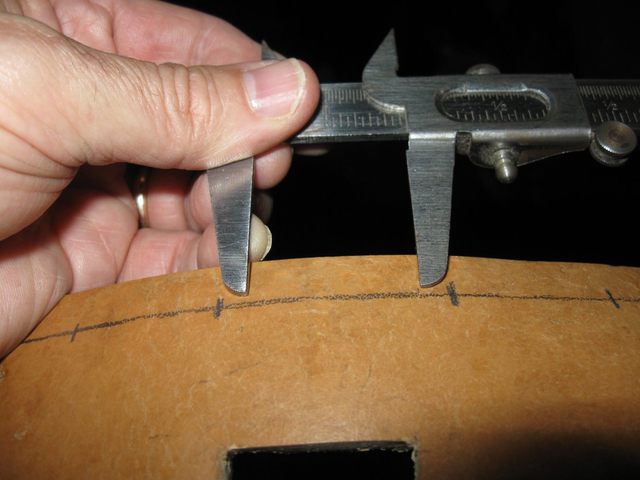
I set my calipers and measured around the gourd the same way as last time using the 1 9/32" spacing. I ended up with one mark centered over the tailpiece hole. I had 33 marks for the tacks. I don't know how that happened. It should measure out 34 tacks. Somehow I have royally screwed up these calculations. I am so confused! I think I saw a Twilight Zone once about something like this.
Back to the drawing board. I decided to quit fooling around and went back out to the bench, this time with the gourd, to measure exactly where the sides of the neck go up against the gourd.
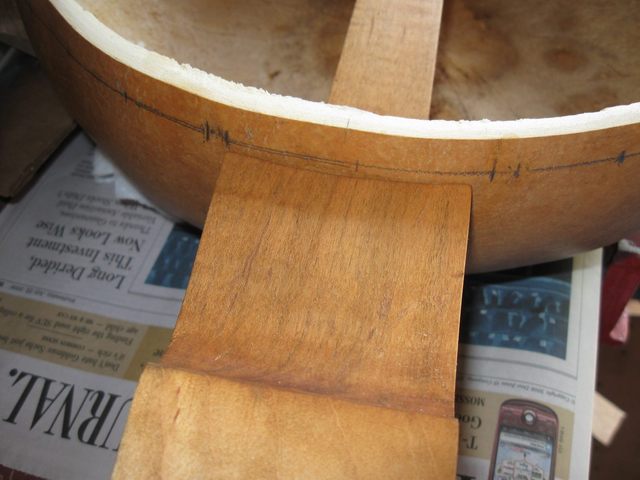
I took a pencil and marked the gourd where the edges of the neck sit on it.
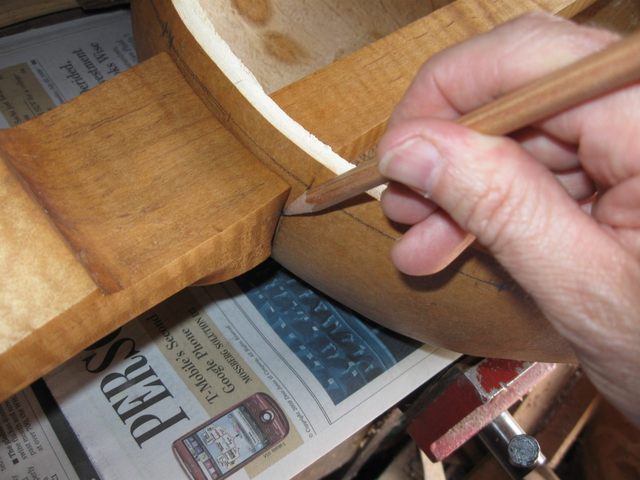
It turns out that the neck is not totally symmetrical, which is OK, but I need to take that into account. Back inside, I made a mark 1/4" on either side of the marks and measured around from one to the other.
Looks like 42 1/8" was a good guess. I used that number and divided by the number of tacks, 34, and got:
42 1/8 / 34 = 1.2389
That is about 1 and 7.5/32....almost 1 and 5/16. So I set the calipers to just a hair shy of 1 5/16" and measured around the gourd again.
BTW, a good pencil eraser works great on gourds too. LOL
I got lucky this time around by the cracks in the side of the gourd too. The tack marks go around the cracks and not in them. That is a good thing.
I didn't do all that badly at the tail end either.
The two marks are a little bit far apart, but that isn't a bad thing. I would just as soon not have tacks right under the tailpiece anyway. I'll take it. Just to make absolutely sure that I have not messed this up (again) I temporarily stuck a couple of tacks into the two marks that are on either side of the neck.
Then I stuck the neck into the gourd to see how it looks.
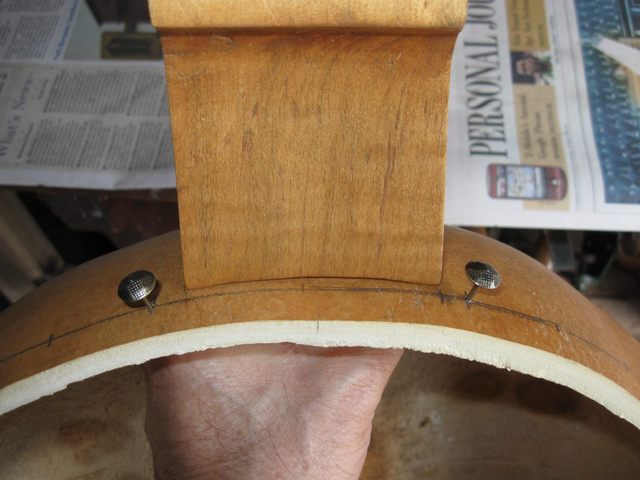
Looks pretty good to me.
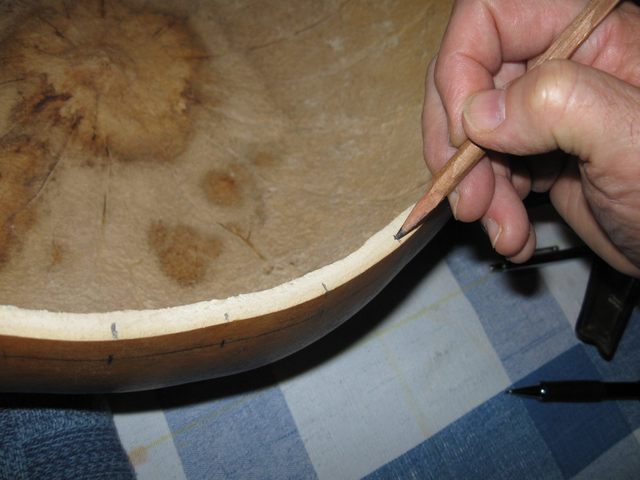
I took the gourd back in and marked the edge of the gourd where the tacks are to go so that the locations will be easier to find with the skin stretched over it.
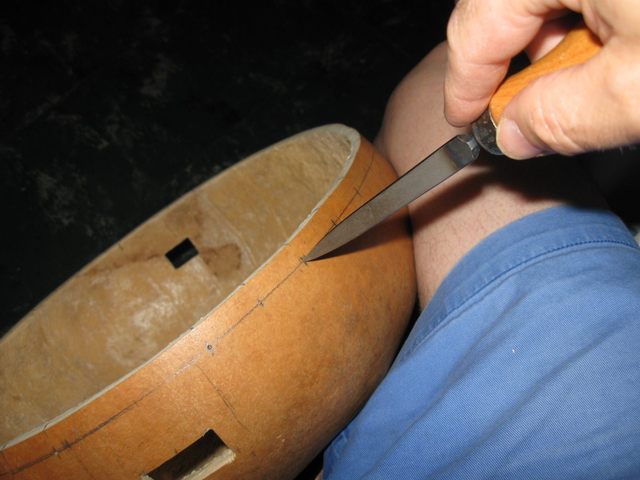
Then I used the sharp end of the burnisher to punch starter holes through the tough outer skin of the gourd.
That was all I had time for today. It seems like a lot of time to put in just finding where to put the tacks, but I want it to look nice, so it was worth it.
I spent 3 hours on the banjo today, 1 hour putting on the first coat of finish and the other two preparing the gourd for the skin.
Original post date August 5, 2009