It is still Winter, but I am so eager to work on this banjo that I went out to the garage and brought in the gourd to work on it. If you read my previous writeup you might remember that all of my gourds contracted a mold infection last Summer so I cut their heads off and cleaned them out. You can read about it here. After many sessions of scraping and bleaching the gourds I finally got them so that they don't stink too badly.
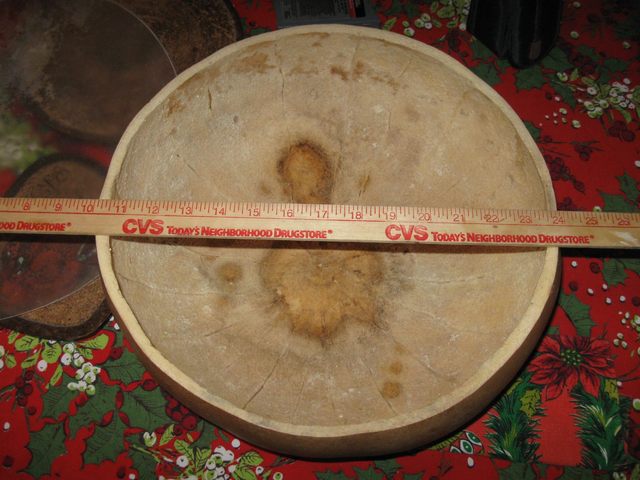
The gourd I am going to use this time is huge. I put a yardstick across the hole to show how big it is.
You can see that the left side of the hole is at the 10" mark and the right side of the hole is at the 24" mark. That makes the hole 14" across. My skins are only 16" across, so this will challenge my ability to stretch a skin. Here is a photo of one of the skins sitting on the gourd.
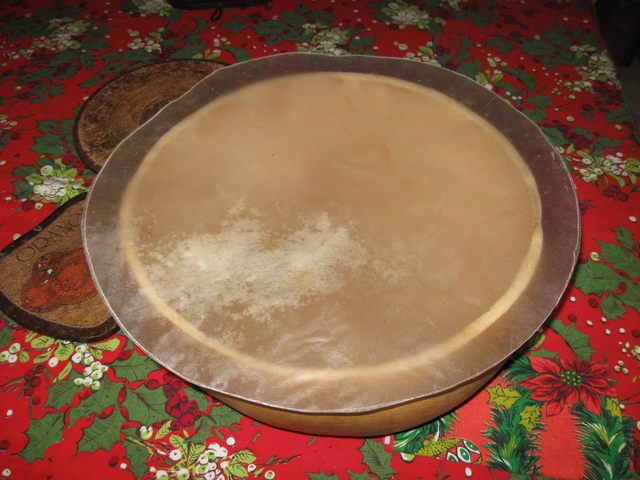
There is not a whole lot of overlap there to play with. Fortunately I don't have to stretch the skin very tight to get it done since it stretches itself as it dries.
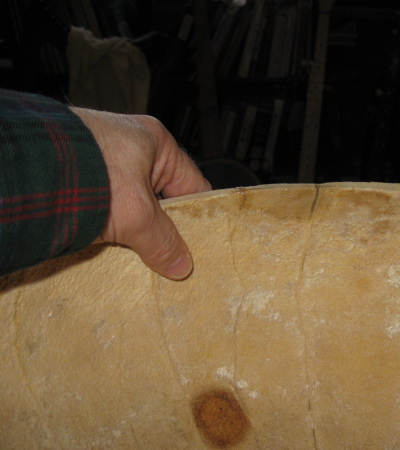
While I was cleaning the gourds last Summer, I noticed a couple of cracks in this one. Here is a photo from last Summer
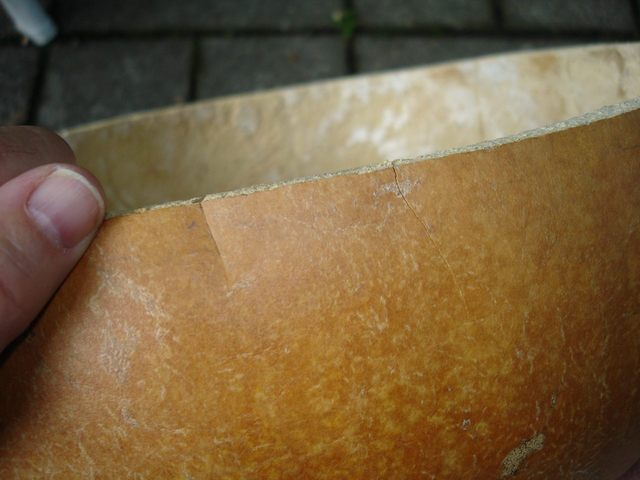
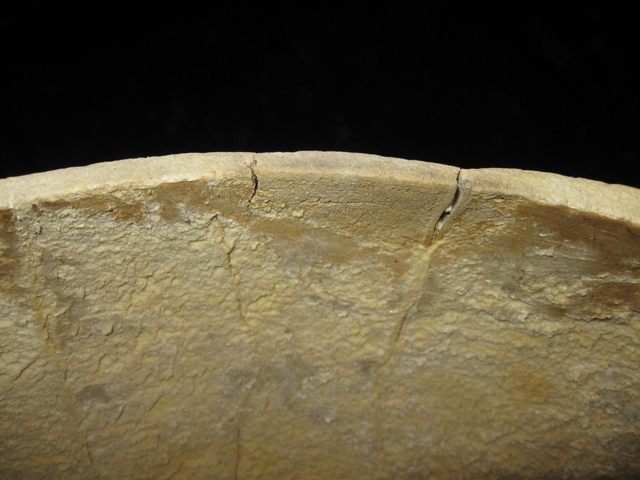
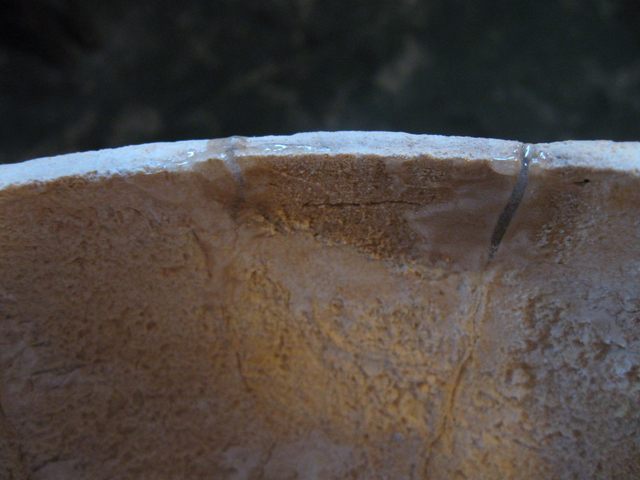
Here are some closeups I just shot to illustrate the problem.
From the inside.
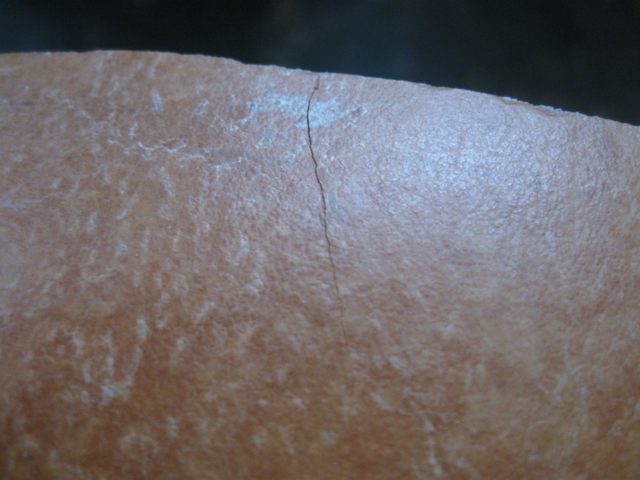
The crack on the right side.
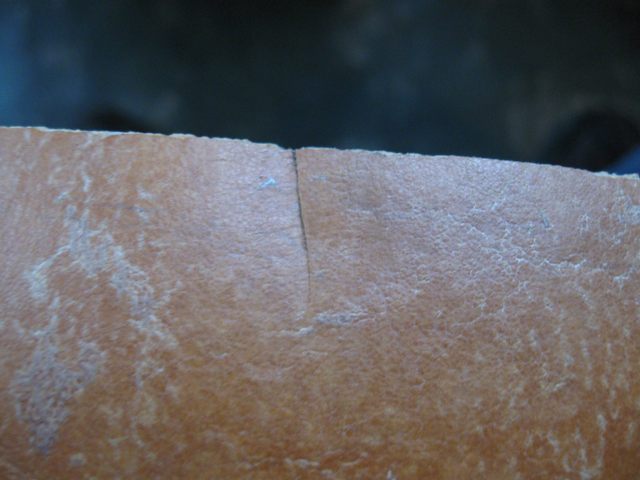
The crack on the left side.
These cracks could severely compromise the strength of the gourd when it is under tension of the head. The crack on the right goes down the side of the gourd pretty far, and I would not be surprised if it increased in length until it split the gourd.
Since the force of the head tension is a compression on the edge of the gourd that should tend to close up the cracks instead of spreading them apart. However I would prefer to be safe rather than sorry, so I am going to try to fix them before I invest a lot of time in this gourd.
I asked a few people about how to fix this problem and I received many suggestions from bracing the inside with wood to using a fiberglass auto body repair kit inside of the rim. It looks to me like the gourd will hold up if I can keep the cracks from getting any worse. I don't want to do too much to it and spoil the natural look and feel of the gourd.
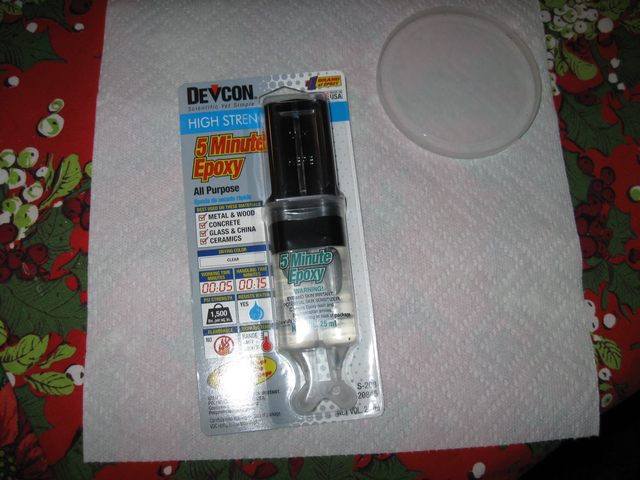
The fiberglass fix intrigued me, but fiberglass really is just a glass matrix held together with epoxy resin of some kind. I thought that maybe I don't need the matrix and that just some epoxy will work. If I glue the cracked pieces together so that they cannot move any more that should stabilize the cracks and keep them from growing. Here is what I got at the store.
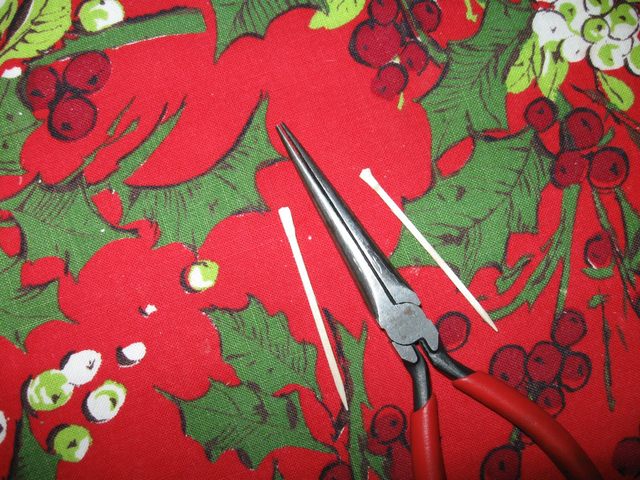
I made some small applicators out of toothpicks for pushing the glue into the cracks. I just cut off the pointy ends and crushed the fibers flat with my pliers.
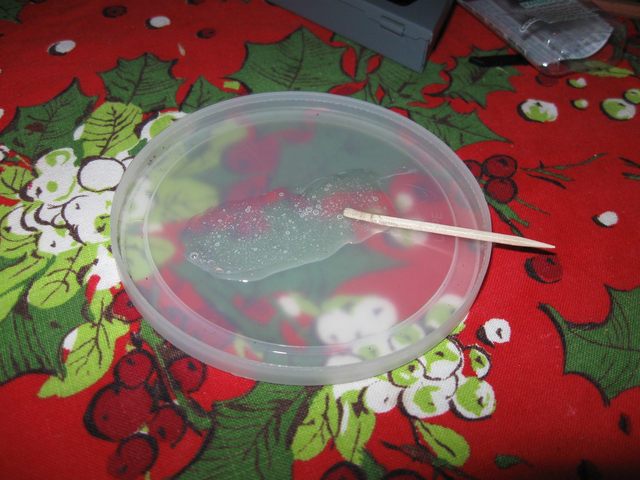
The dual cylinder epoxy container automatically squeezes out equal portions of the two ingredients. I mixed up a batch on a plastic top. Boy, does that stuff stink!
I pushed as much glue as I could into the cracks from the inside of the gourd and then put some tension on it using a piece of string. The glued cracks are just to the right at the top of the picture.

The idea here is that the pressure from the tight string will bend the sides inward and close up the gaps until the epoxy dries. I don't know if this actually helped or not.
Here are some photos of the final fix. First a closeup of the glue in the cracks.
Here is a view of the fix from a bit farther back, plus a 3D version of the photo.
I took a photo of me holding the gourd so that you can see how huge this thing is. The shape of the gourd is more evident in the 3D photo.
That is it for fixing the cracked gourd. I will not know if this will hold until I actually stretch the skin on it, and that will not happen for many months because I need warm weather to do that work.
I don't remember how long I spent doing this. One hour? I usually try to keep track of the time I spend on the project just to see how long it takes to make a banjo by hand. So I will claim 1 hour for this.
Original post date December 21, 2008