It is time to sand the neck. Sanding can get pretty boring, but it is necessary if the finish is going to look right on the neck. I read somewhere that if you want to make the figure in maple pop out, you should not sand with paper that is finer than 220 grit. The finer grit closes the pores and the stain will not be absorbed into the figure. So on this neck stopped at 220, even though on the other necks I went down to 600 grit paper and even polished it off using steel wool.
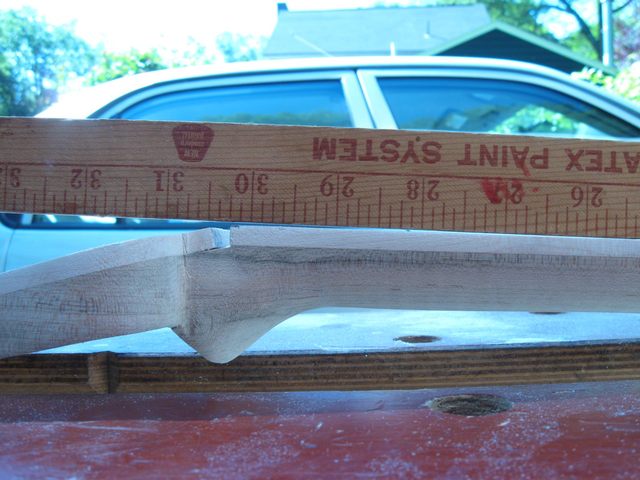
Before I started sanding I decided to check out the relief in the neck again to see if I have to correct it. So I set up the neck and the yardstick, and this is what I saw.
I almost flipped! It is hard to see in the photograph, but the neck is now showing a back bow instead of relief. It took me a few seconds to realize that the yardstick was upside down. When I turned it over it looked the same as yesterday. Whew!
Then I realized that the yardstick "straightedge" is not straight. I went in and got my aluminum rule and checked out the neck with that.
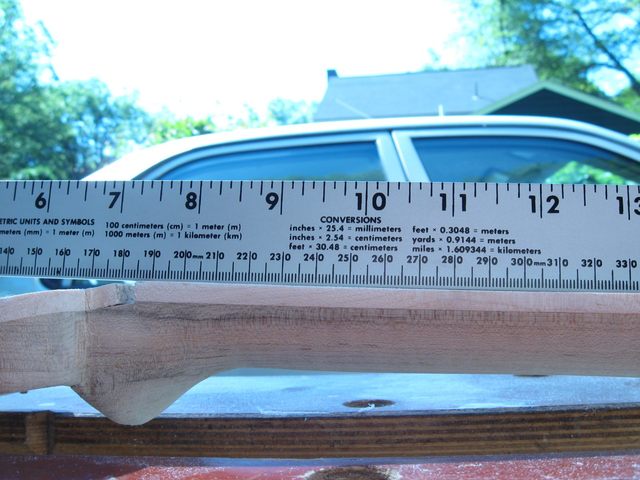
Woah! The neck is actually nearly straight! I seem to have made the neck flat accidentally thinking that it had some relief in it. I'll take it. No more messing with the finger board.
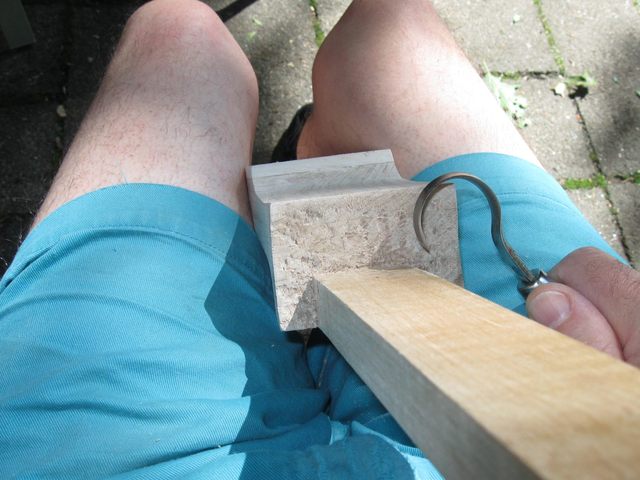
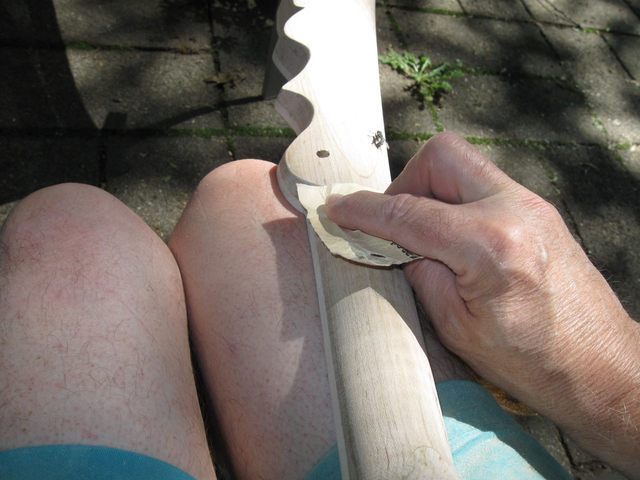
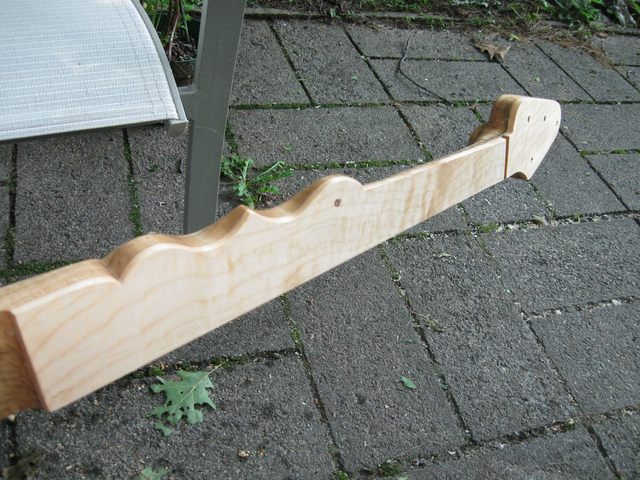
I spent some time with the hook knife making the edge of the neck where it goes against the gourd a bit smoother.
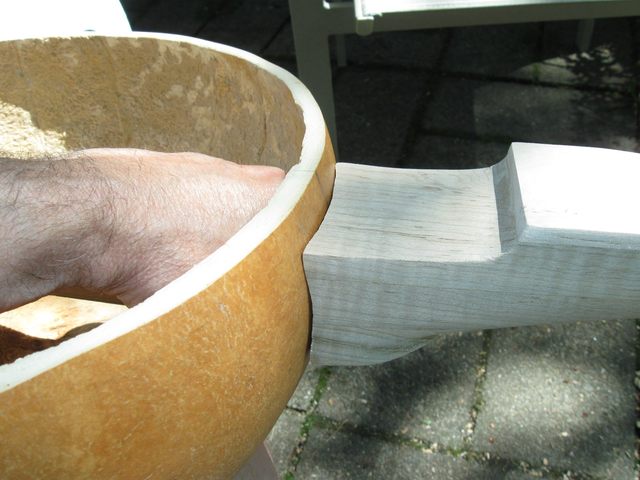
Here is the joint after I got done. It isn't a weather tight seal, but it looks pretty good from a distance.
On to the sandpaper! I started with 60 grit to flatten the finger board and remove the marks made by the planes.
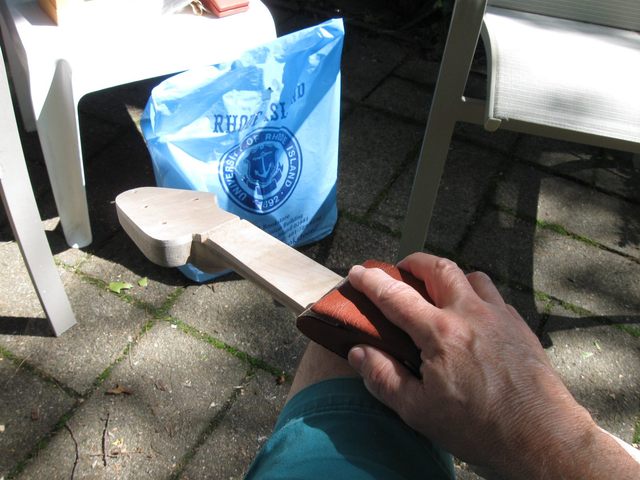
I did the round side of the neck without the sanding block to get rid of any flat facets which might have been left by the edged tools. If I sand it with my hand, then it will fit my hand. That is the theory anyway.
By the way, it was pretty buggy outside all weekend. It has rained here for weeks, and the mosquitoes and other bugs just love it. In fact, if you look closely at the neck in the photo above you can see one of my fly friends sitting there watching me work. I just put on insect repellent and kept working. We suffer for our art.
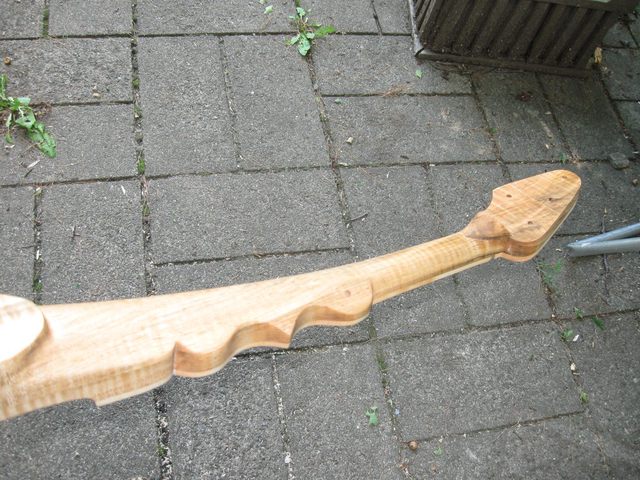
I went through all the grits, 60, 80, 120, 150, and 220, sanding the entire neck with each of them. Here is a photo of the finger board at an angle to show its flatness.
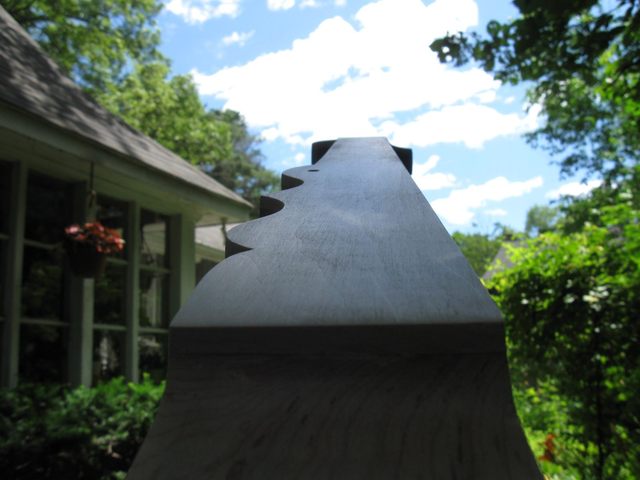
It looks pretty flat to me, just eyeballing it.
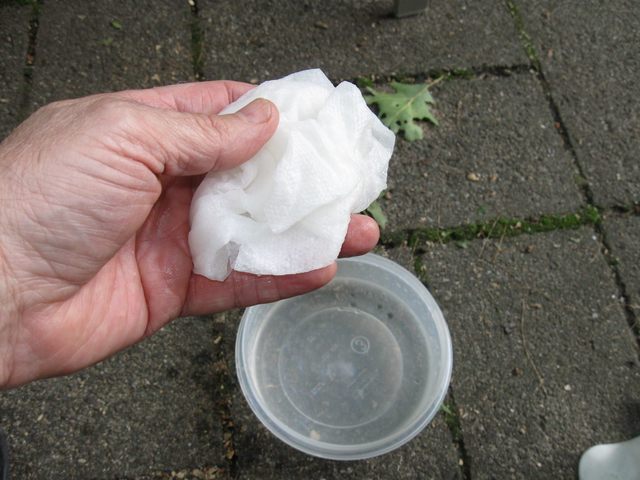
Because I use a water based stain, I always wet sand the neck a few times to raise the grain. When the water stain hits the wood, it raises the grain. So I wet it down a few times, let it dry, and then sand it smooth. Here is the water.
When the wood is wet it makes the figure stand out almost like it does when you put the finish on it. Here is a photo of the neck just after I wet it down. You can see some of the figure in the finger board.
Here is the back of the neck, also wet.
I wet sanded the neck about four times. I used only the 220 grit paper for the wet sanding, and it went fairly quickly. When I got done I put the neck and the gourd together again for a photo op.
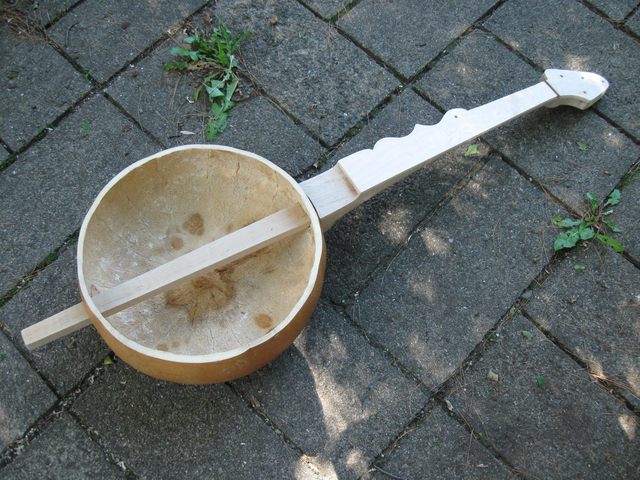
It doesn't look any different than it did before, but it is. Sanding is not my favorite thing to do, but it was a gorgeous day, and I was sitting on my BOB (Big Ol' Butt) on the patio in the sunshine making a banjo. It doesn't get any better than that.
I spent 2 1/2 hours just doing the initial sanding. Then I spent another hour on and off wet sanding the neck. So I am logging 3 1/2 hours today.
Original post date July 8, 2009