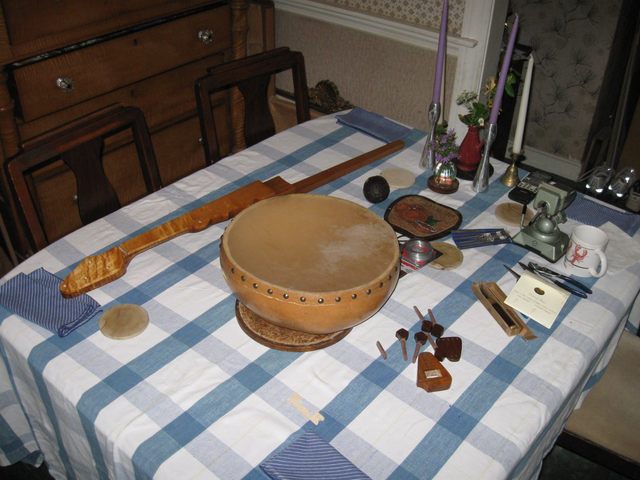
The time has come to do the final setup on the banjo and see how it plays. This is the most exciting part of the project since it all comes together with this step. I got out all the stuff I needed to do the setup, and here it is:
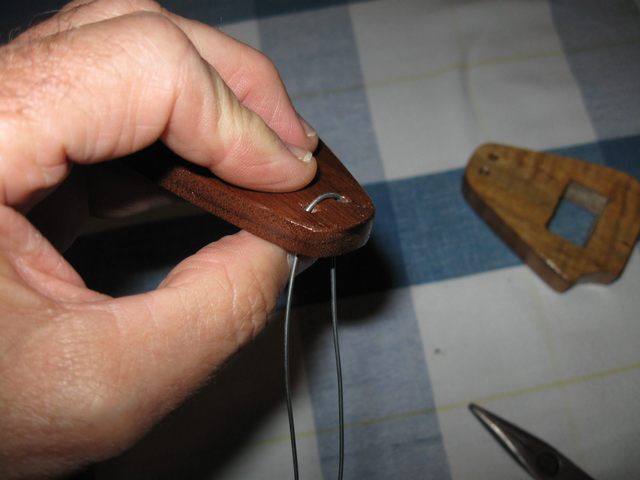
I have all the parts, the neck and the gourd and the pegs and tailpieces and strings and... It is all glued and shaped and sanded and finished and ready to go! The first thing I did was to put the tailpiece together. There are two pieces that I strap together with baling wire.
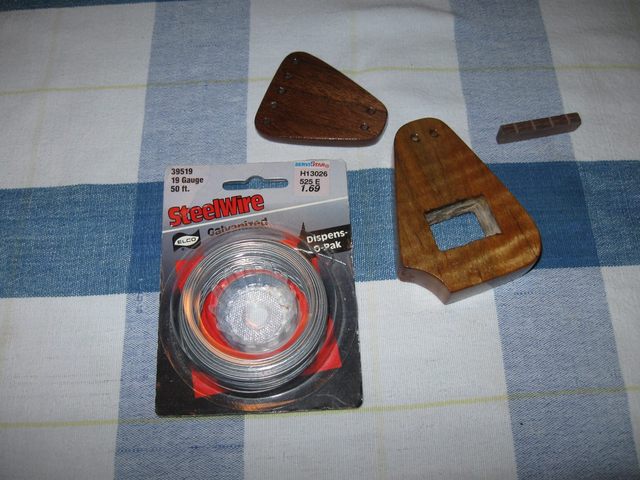
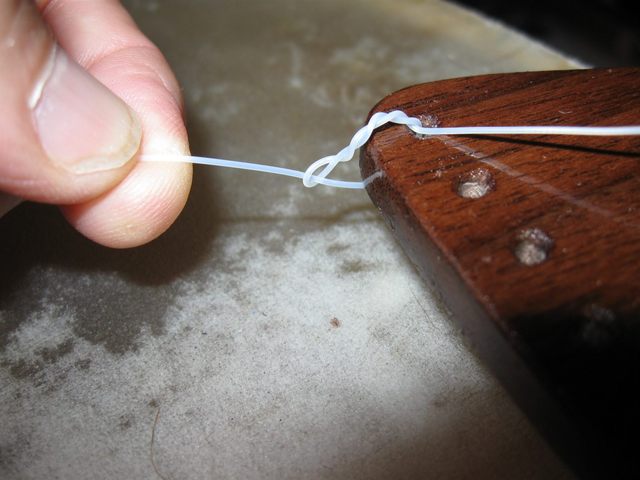
Yeah, I know. Baling wire? Yep. It works well and it doesn't break. So I use it. I snipped off about 8" of wire.
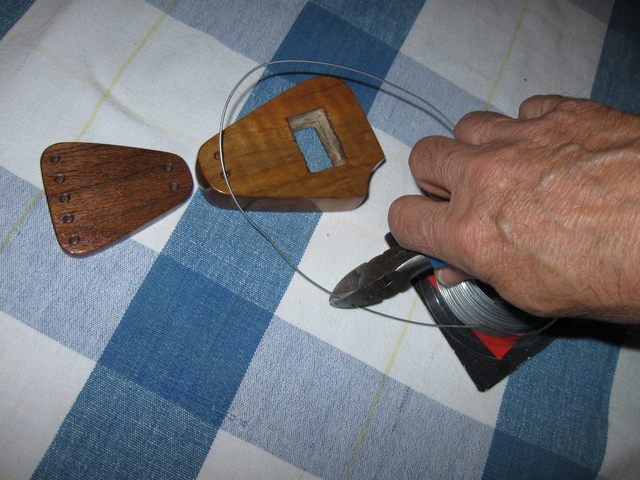
In the middle of it I bent the sides down at 90 degrees.
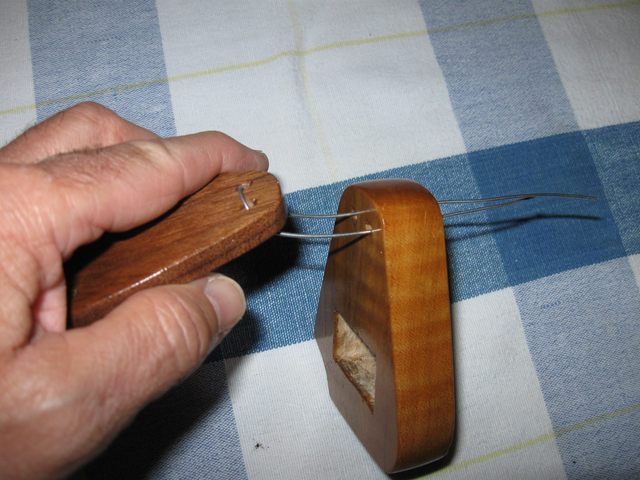
That is the part that goes through the horizontal piece that the strings are tied to.
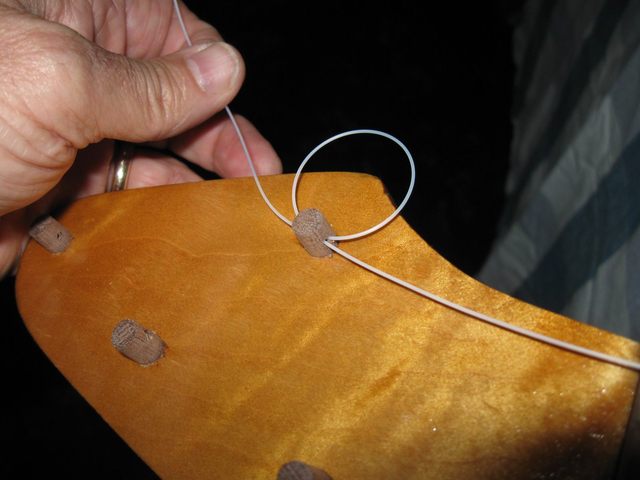
Then I put the wire ends through the vertical piece that goes on the dowel stick.
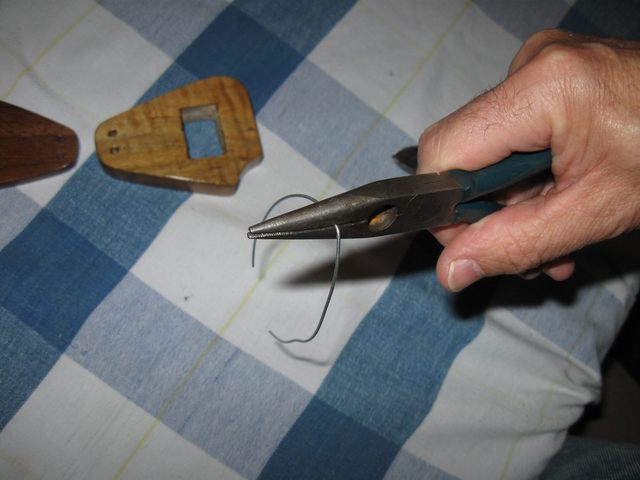
I twist the wire at the back of the vertical tailpiece.
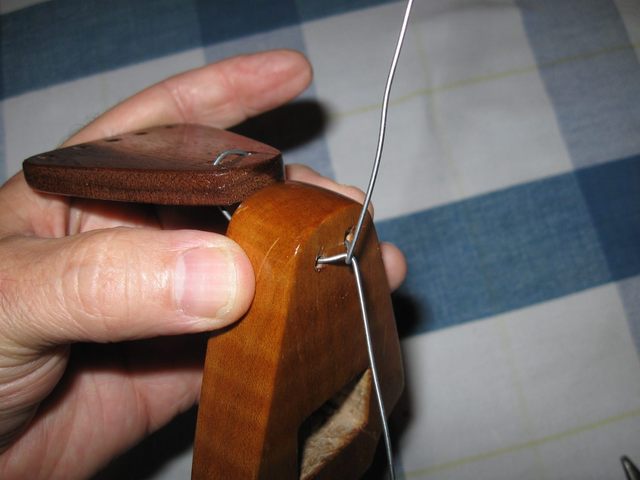
Cut off the extra and fold it down out of the way.
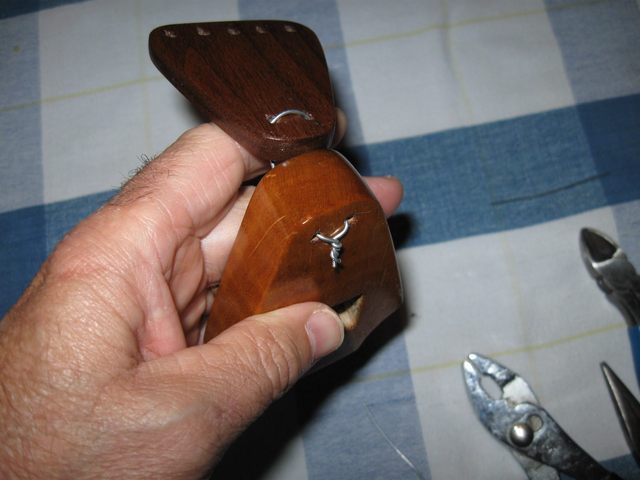
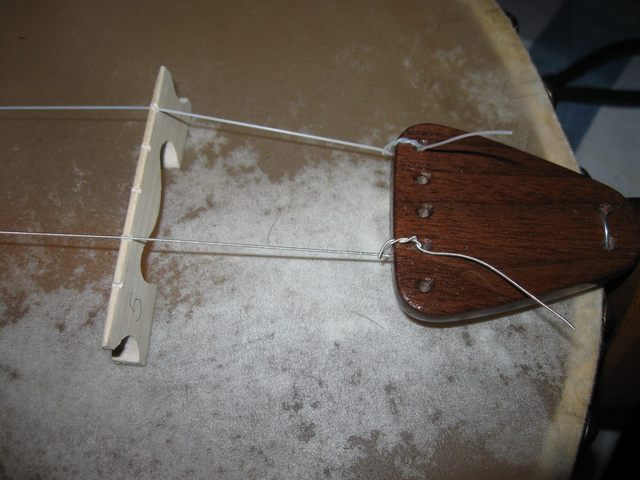
I put the dowel of the neck through the gourd and put the tailpiece onto the dowel.
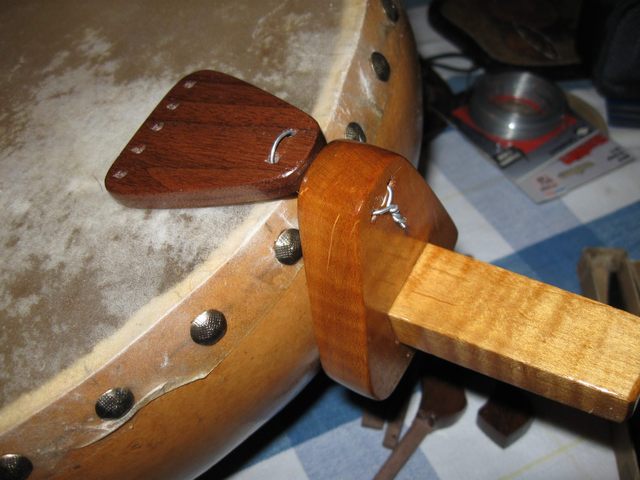
That is a very sturdy support for the tension of the strings, and it doesn't put any of the tension on the gourd.
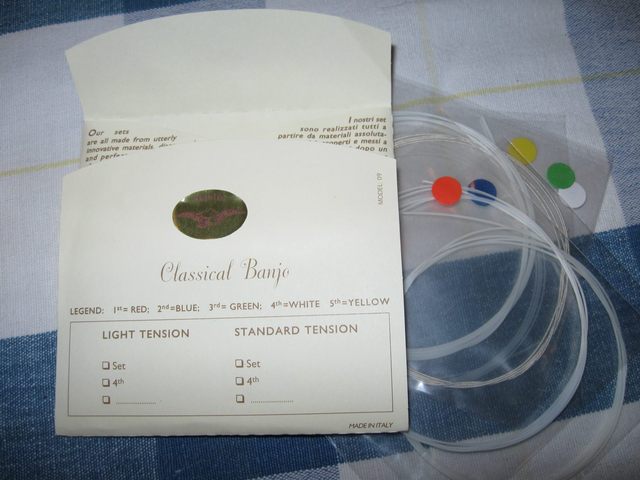
The next chore was to put the strings on. I used a set of Nylgut® strings. Nylgut is a synthetic gut string similar to nylon, but is a different formulation of plastic that more closely mimics the sound and feel of real gut strings. This is a Minstrel set, which are a slightly larger gauge than the Classical set. The gourd banjo is tuned to a lower pitch than a classical banjo, the key of D instead of the key of G, so the strings are a heavier gauge to keep them from going too slack. The strings are color coded.
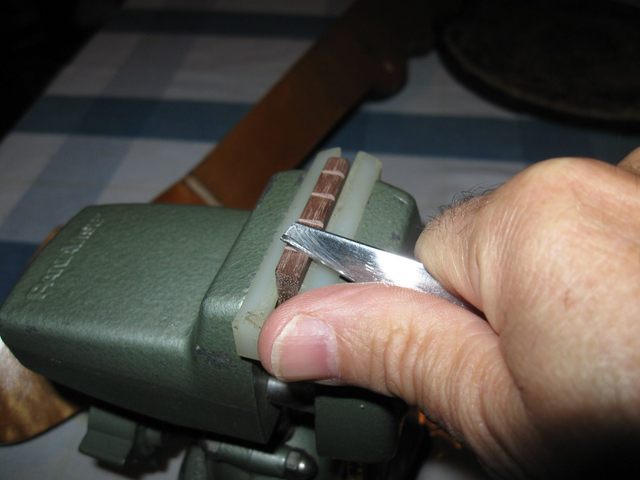
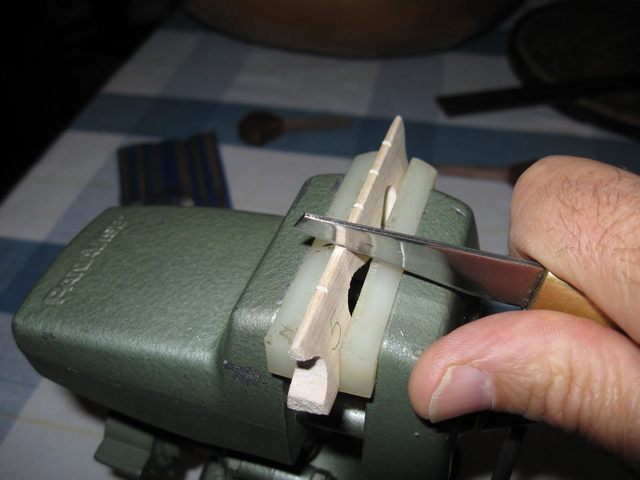
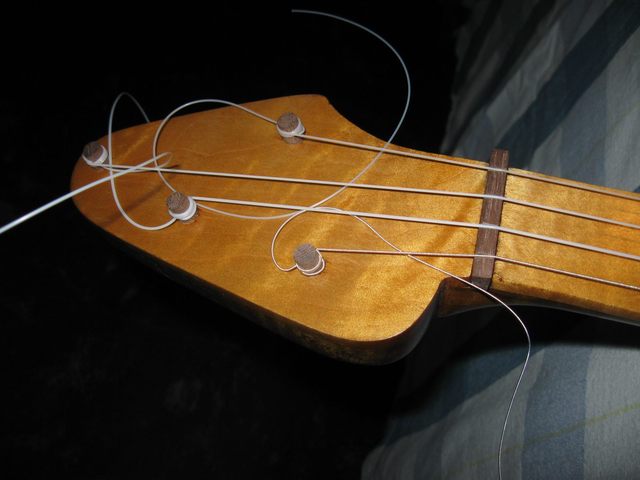
Before I string up the banjo I refine the slots in the nut and the bridge to set the height of the action and to keep the strings locked in their slots. The strings come off of the nut at an angle on their way to the pegs, so the slots have to be undercut slightly to keep the strings from popping out.
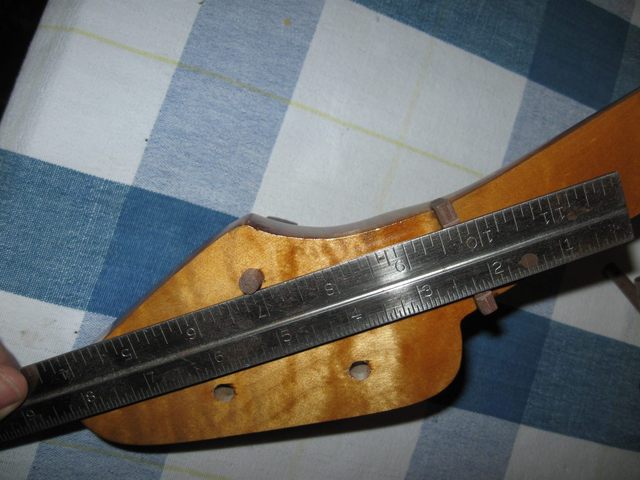
Actually, the way I have designed this peghead, the angles of the strings coming off the nut are pretty shallow, as you can see in the photo above.
I fit each string into its own slot by carving the slot and trying the string for a good fit. This is an iterative process, carve the slot and fit the string; carve the slot and fit the string; etc.
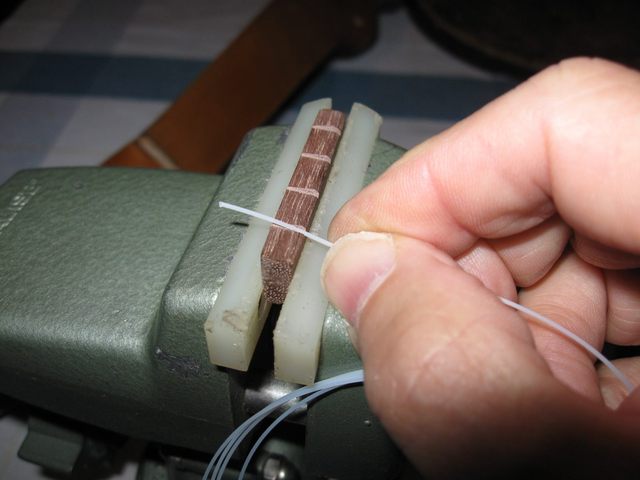
It is possible to get a set of files in the proper gauges for filing nut slots, but I prefer to simply cut the slots with my shop knife and eyeball each string for a good fit. The string should sit in the notch down about half of its diameter, although I usually end up with it a little lower than that. Making very deep slots in the nut or the bridge is unattractive and bad for the strings.
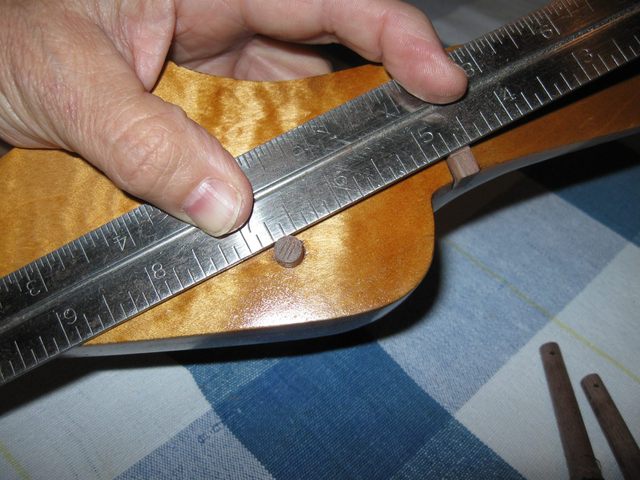
The fourth string has a little bit more of an angle on it.
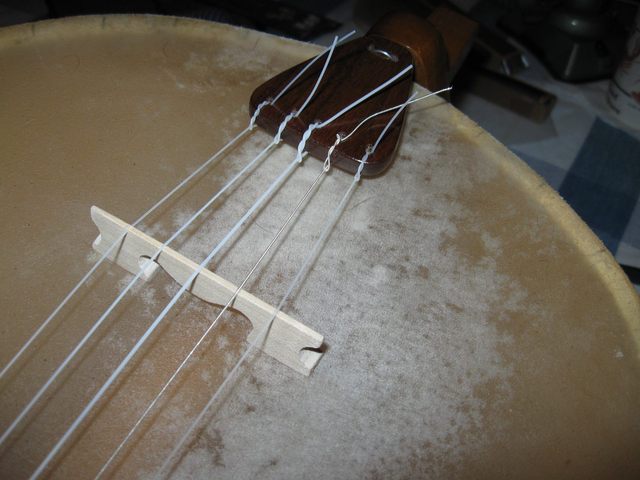
I did the bridge the same way. The strings pull inward from the bridge to the tailpiece instead of outward like they do from the nut to the pegs, but the idea is the same.
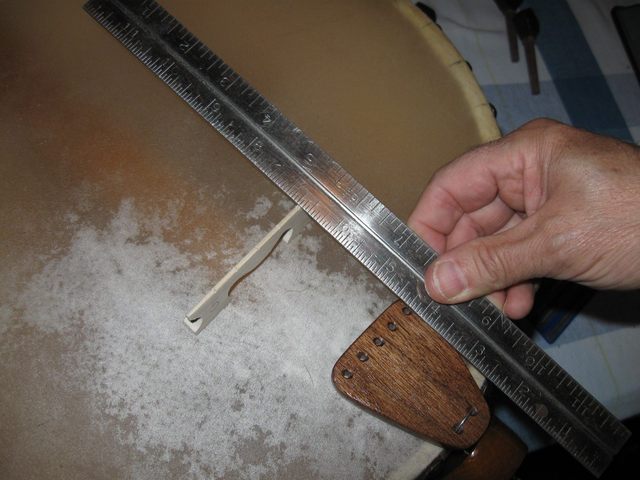
Actually, the pull from the bridge to the tailpiece looks like it is almost straight back. I fit the strings into the notches the same way I did it for the nut, one string at a time.
I cut the notches with my shop knife, undercutting the back of the notches so that the string will not pull out sideways.
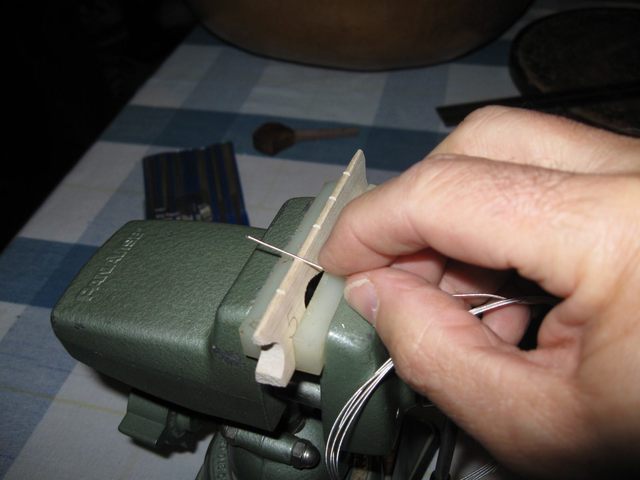
Once the notches have been cut I started putting on the strings. I tie the strings onto the tailpiece first. I push the string down through the hole in the tailpiece because it is easier than trying to work the end up through the hole.
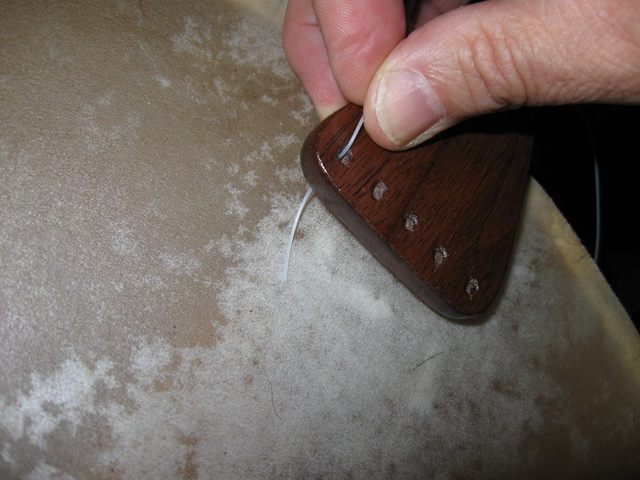
Then I pull most of the string through the hole until there is a short pigtail left sticking out.
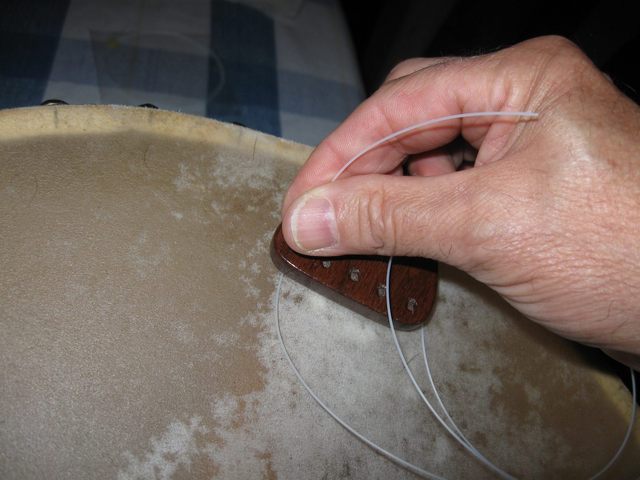
Holding the long end of the string straight out, I pass the pigtail under the string and back up. Then it goes through the loop I just made in the string, wrapping around itself three times. Here is a photo of the result.
This is just the normal knot used to tie strings onto the bridge of a classical guitar. I pull the knot tight by pulling on the long end of the string. The Nylgut strings are not as slippery as nylon strings, so the knots hold quite well.
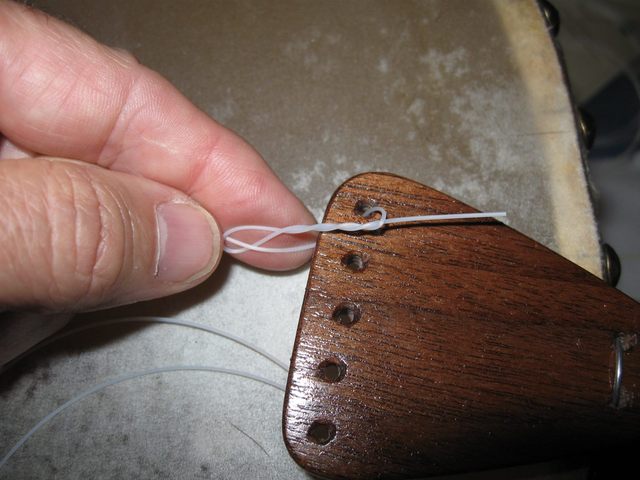
Next I tie the long end of the string onto the peg. I pass the end of the string through the hole in the peg and then loop it around and pass it through the hole again.
I pull the string snug and then tighten the loop around the peg. The Nylgut strings are so stretchy that I leave no slack when tying them between the tailpiece and the peg. If left slack, the strings will stretch so much that there will be a huge number of wraps on the peg by the time they are up to pitch. So just snug 'em up when putting them on. They don't have to be up to pitch, just don't leave any slack in them.
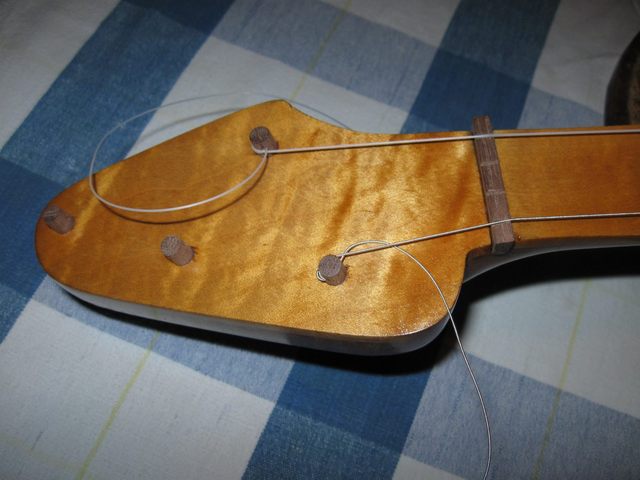
I put the first string and the fourth string on first since they will hold down both ends of the nut as I bring them up to pitch. Here is a photo of the tailpiece after the first and fourth strings have been put on.
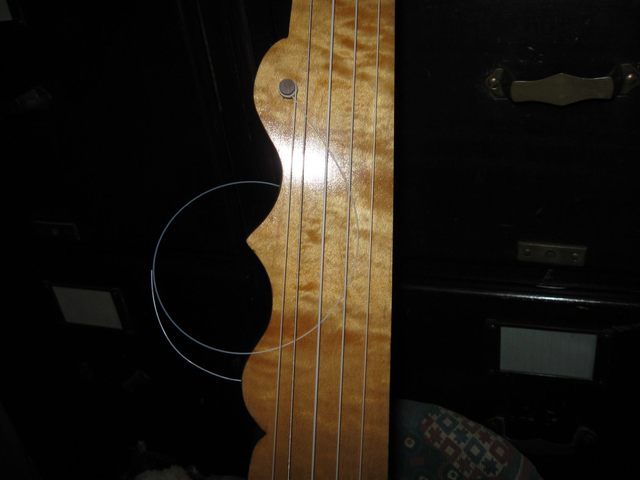
Here is the other end of the neck.
I put the second and third strings on the same way, tightening them up with the pegs.
The fifth string goes on last. Here is a photo of the tailpiece.
That's it. It is all strung up.
After I strung the banjo I noticed something unsettling. The 5th string peg is located a bit too close to the 4th string. It looks kind of odd since the strings are not parallel.
I will have to see if I can fix that later. It is not possible to move the 5th string peg, so I am not sure what can be done. Anyway, here are some photos of the banjo all put together.
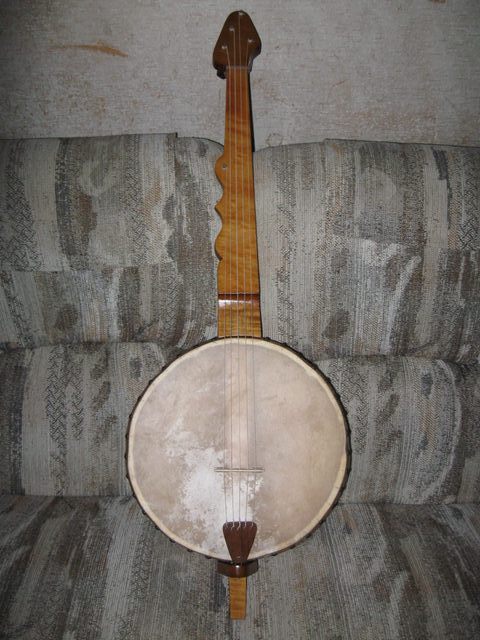
Front
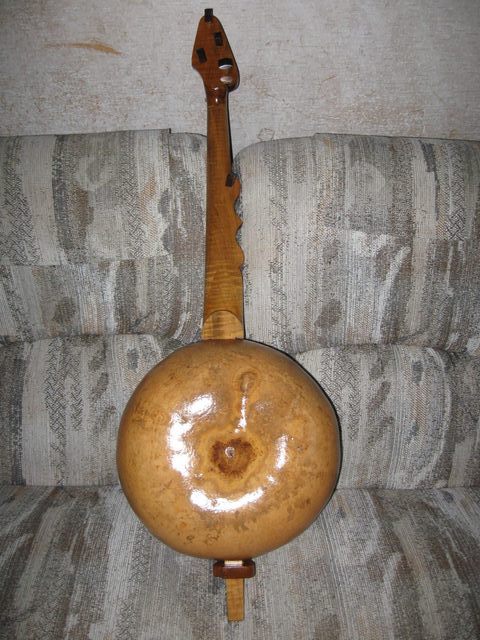
Back
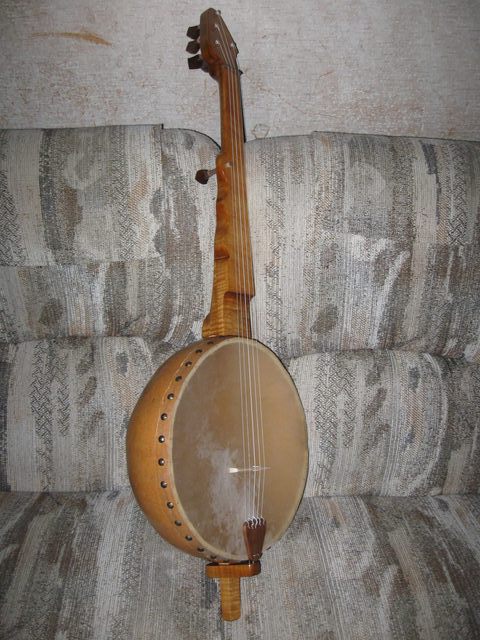
3/4 View
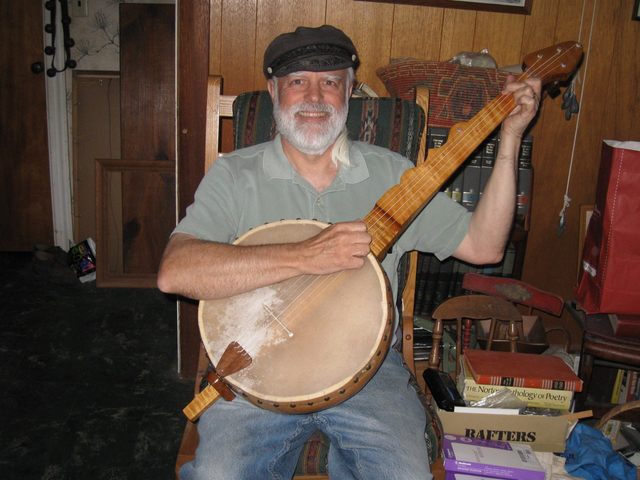
Me Holding the Banjo
Wow! Look at the size of that thing! That is HUGE! Just as I expected, the banjo has a prominent low end to the sound. It is very mellow. I will have to wait a while before I know what the final sound is because the strings have to stretch out for a week or so. At this point it won't hold a tuning for an entire tune. Also, the weather is humid so the head is slack. When the weather dries out the head will tighten up and the sound will change.
Another issue is that the 4th string buzzes against the 5th string peg when I play it hard. I will have to fix that. Neverthless, this banjo seems to be a winner. I like it.
It took me 2 hours to do the final setup. The banjo is done and playable. There will be some final tweaks to it that have to be done, and the strings have to stretch but all the major work is done.
Original post date September 12, 2009