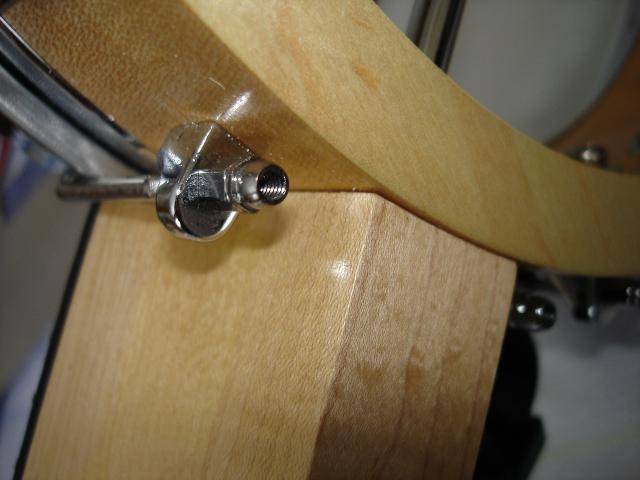
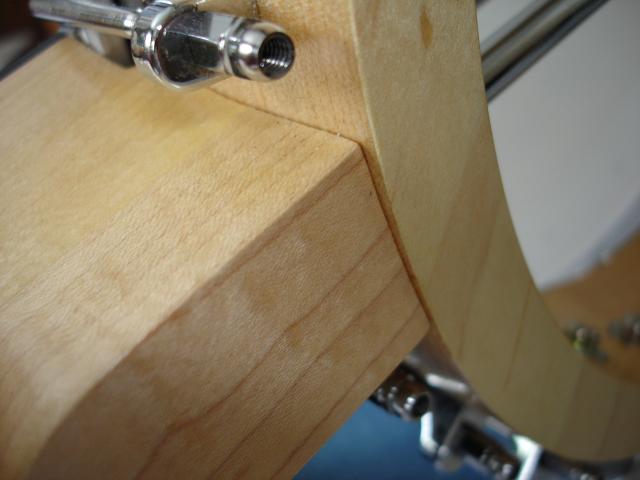
Looking at that, I realized that I didn't have such a whiz-bang joint there in the first place. You can see the gap in the photo. So I don't have much to lose here. I made up my mind to go ahead, so I disassembled the banjo right down to its skivvies. Here it is all torn apart
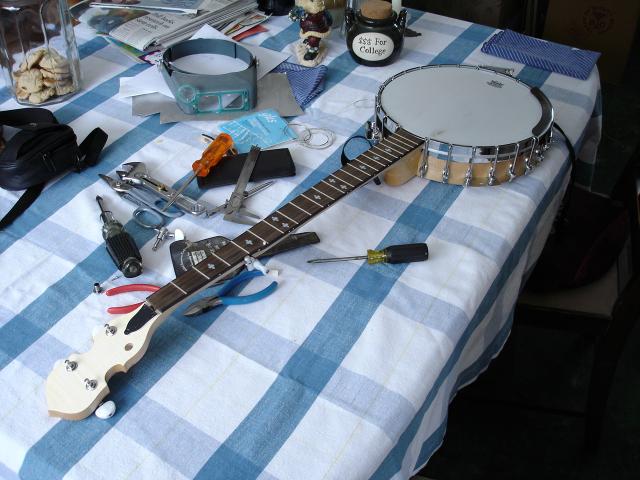
If you look carefully, you may notice that I have pulled out one of the tuners as well. I have been thinking of upgrading the tuners to planetary pegs, and I wanted to measure the size of the hole. Sometimes, with guitar tuners the peghead is drilled with smaller holes than the 3/8 inch required by the planetaries. I pulled the tuner out to measure the size of the holes. Here is what I found.
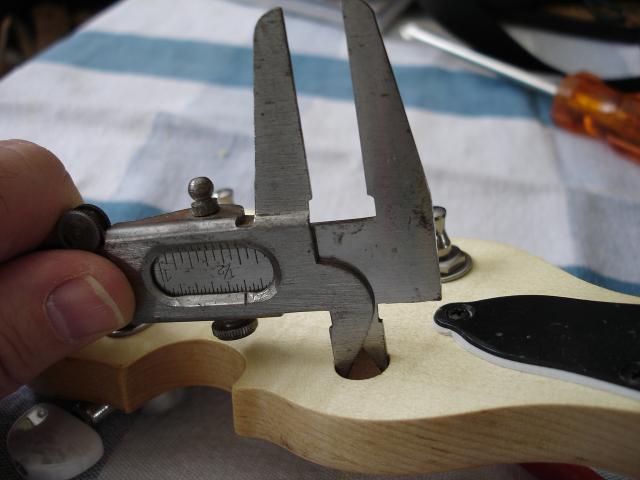
Hooray! Goldtone did this one right. The holes are 3/8 inch in diameter. I can swap in planetaries without having to ream out the holes in the peghead.
Actually, I just found some Goldtone pegs out on the web, and the specs say that they are 10 mm. That is equivalent to about 3.15 eighths. So the hole is actually just a bit larger than 3/8. But I bet that 3/8 inch pegs would fit just fine.
But that is for a future project. Right now, I am shimming the neck. First, I have to cut the shim.
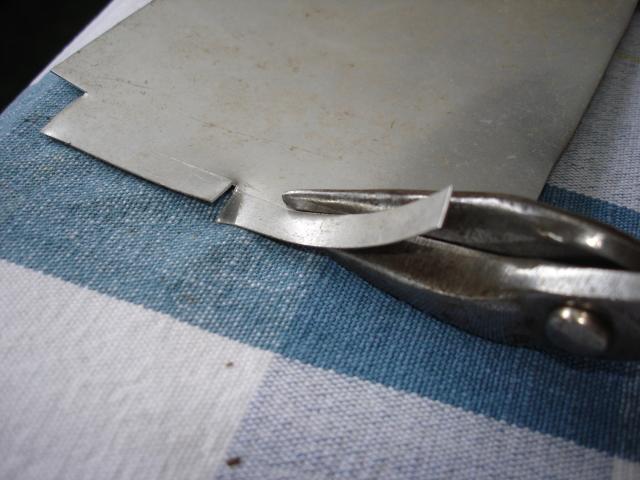
I just hacked it out with my tinsnips. There's a nice mess! Here is a closeup of it.
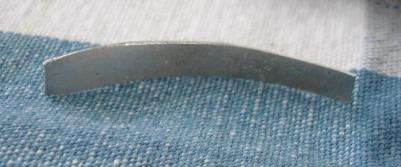
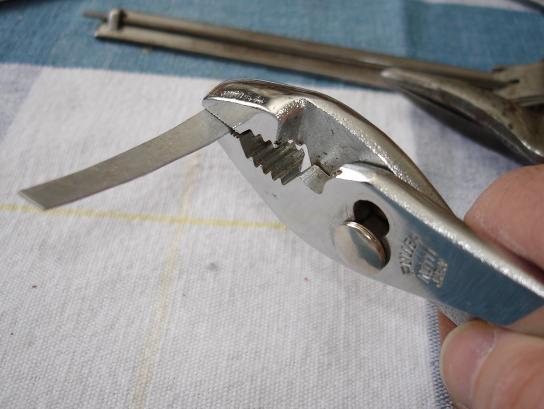
But the aluminum is soft, and I should be able to straighten it out easily. In fact, I just flattened it with my pliers.
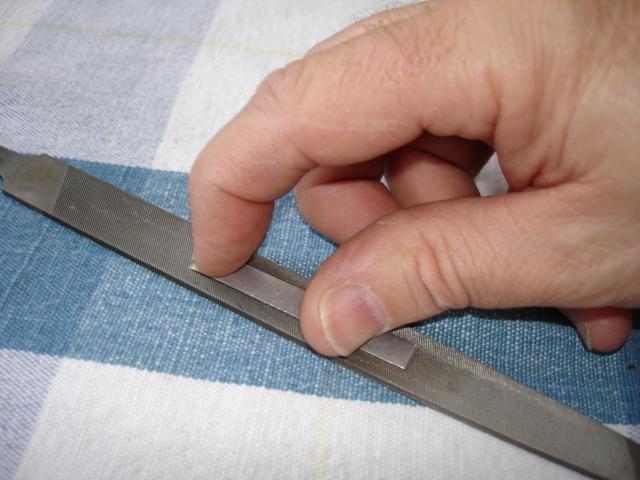
Then I dressed the sharp edges off of it using my file.
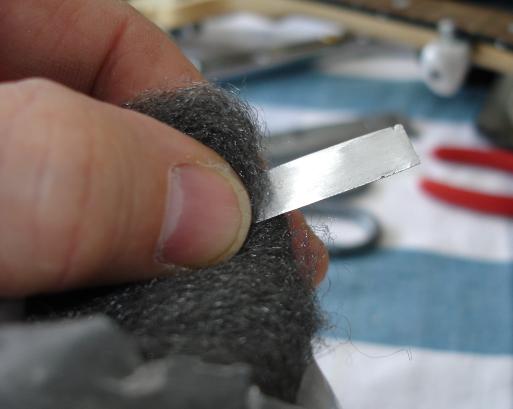
Finally, I polished it a bit with my OOOO steel wool.
This part has been easy, and kind of fun.
Next I loosend the nuts on the tailpiece end of both co-ordinator rods and then unscrewed the co-ordinator rods part way from the bolts holding on the neck. I have a little machine screw that just fits through the holes, like this:
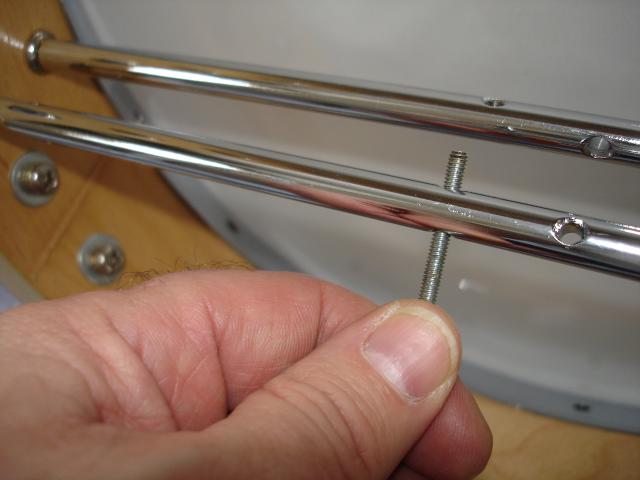
I suppose that there is a more elegant tool for this, but this works fine. I loosend the rods just enough to allow me to slip the shim between the heel of the neck and the pot.
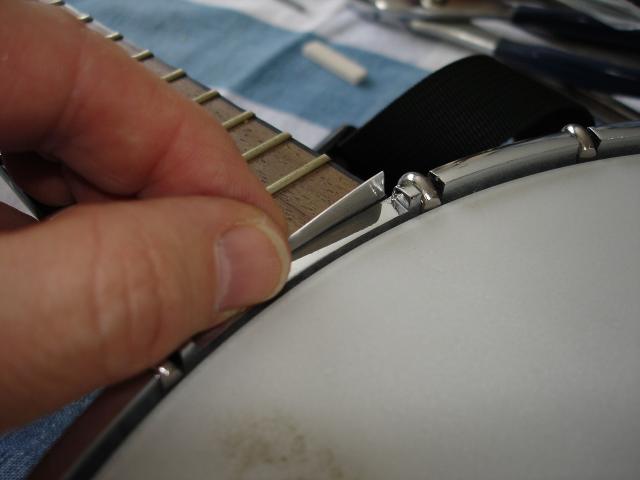
Then, I tightened down the co-ordinator rods again and snugged the tailpiece nuts against the inside of the pot. And here is the shim in place:
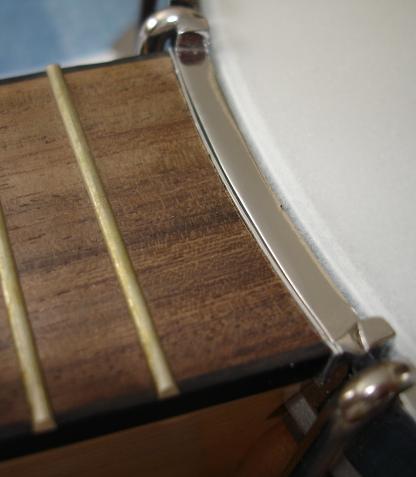
Just for grins, I snapped a photo of the neck to pot joint down at the heel. It looks a bit better now, but I am beginning to suspect that the real difference is that the co-ordinator rods were slightly loose before I took it apart, and that is what made the gap in the previous photo.
Well, that is about it for shimming the neck. It looks pretty good, but I will have to string it up before I can tell what the effect will be on the action. The next page outlines what I did to tune things up before I put the new strings on.