Here it is, 8 months since my previous post, and I am writing an addendum to this project. Well, the fact is that it really isn't 8 months because I didn't get around to posting this information on the web site until about a month ago (January 2013), and since then some on-line viewers have given me some useful comments on my techniques.
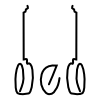
One thing that was pointed out is that I have made my heel blocks with the grain running vertically. You can see that in this photo.
The Grain is Vertical
You are looking at the end grain of the wood at the top of the block. The problem with that is that the force of the hoop is pulling the grain apart. If the heel block ever dries out and splits along the grain, this hoop will come apart. I doubt that there is much danger of that happening, but it is possible. If the hoop were pulling on the block in the direction of the grain, there is no way it will ever come apart. So I have decided to make a new heel block with the grain running in the horizontal direction.
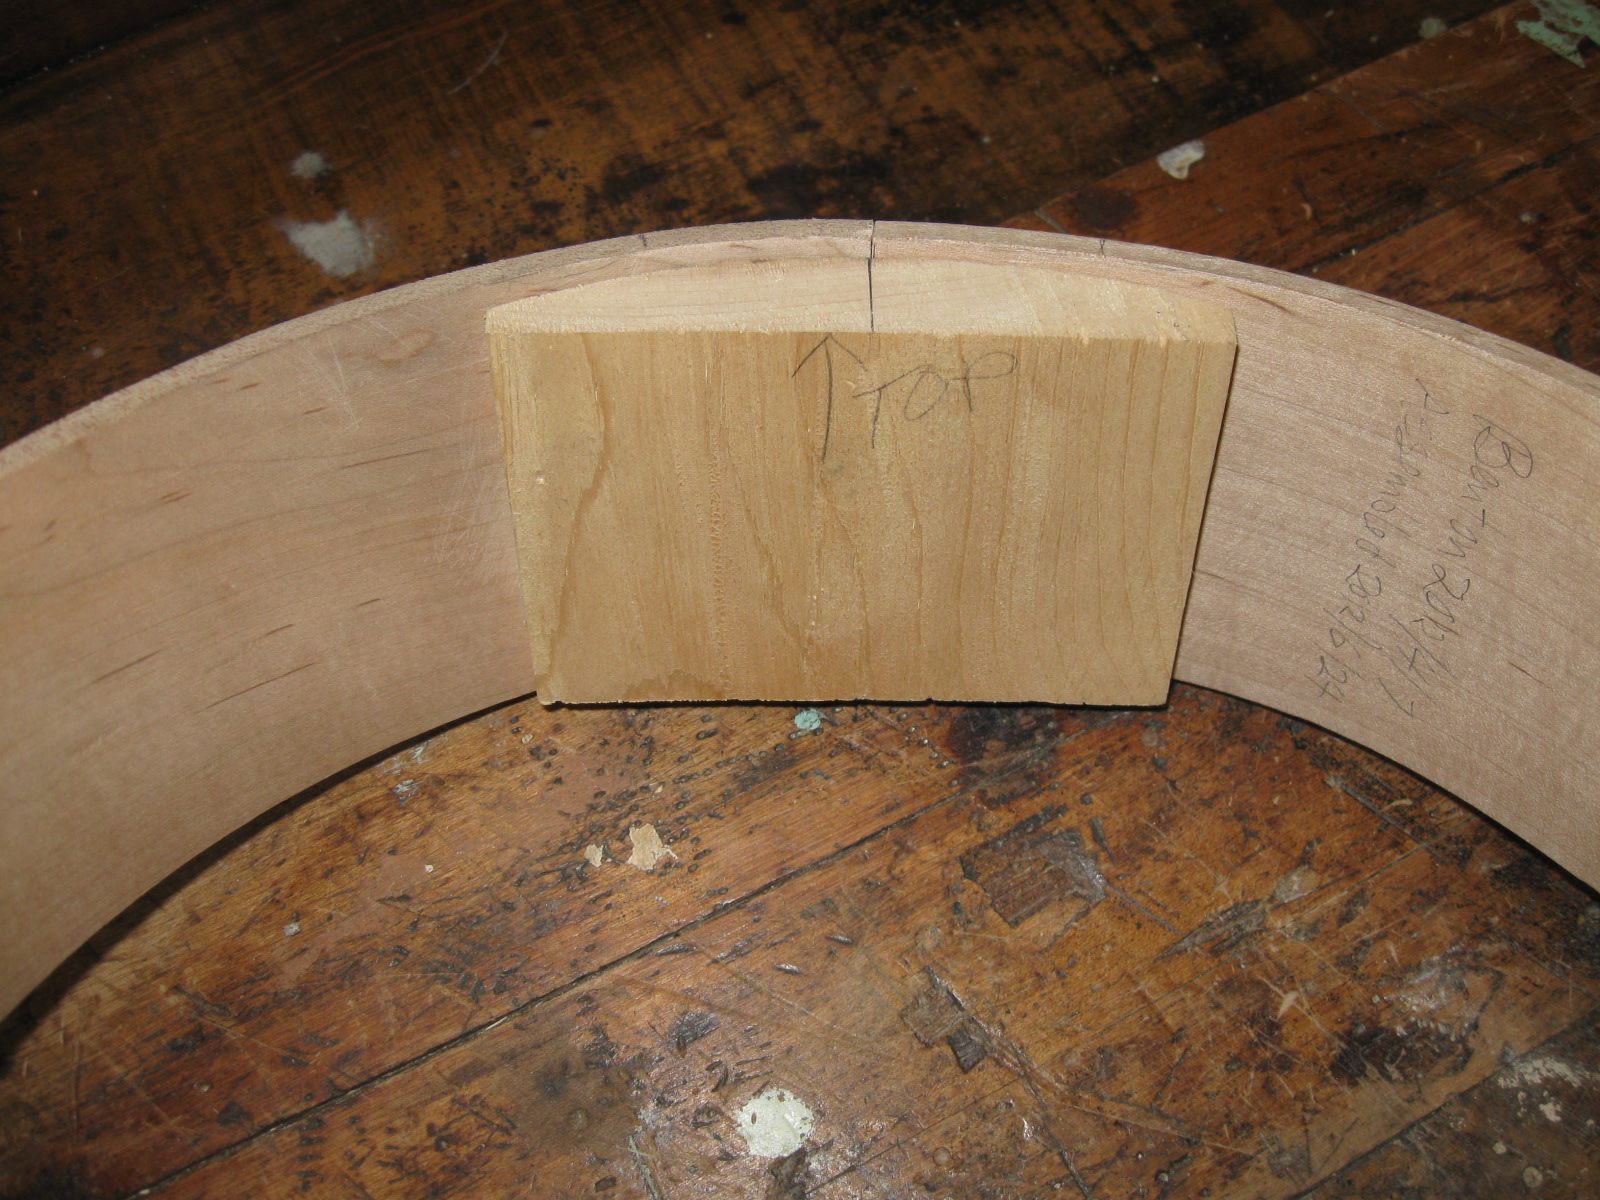
I found a 1 X 4 board in the scrap heap to use for a new heel block. Since the hoop is also a 4" board (which actually measures 3 1/2"), the heel block board is the same height as the hoop.
The Hoop and 1 X 4 Are the Same Height
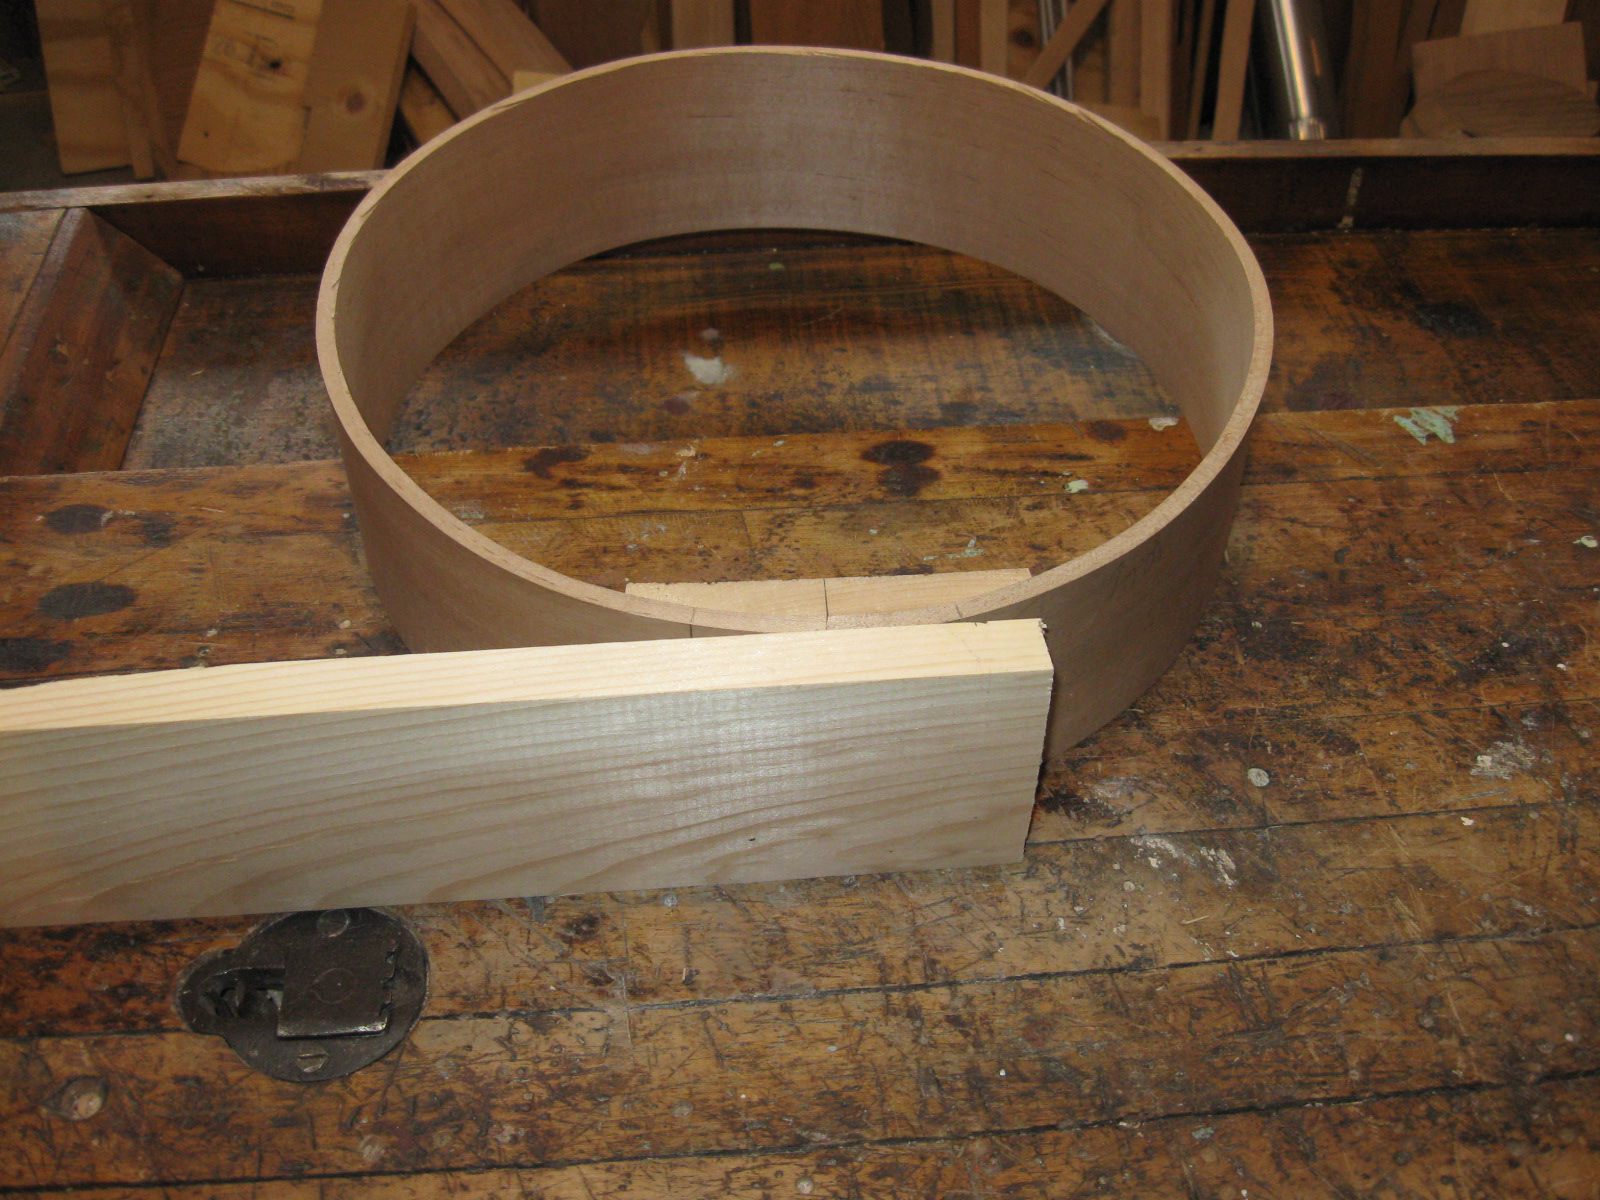
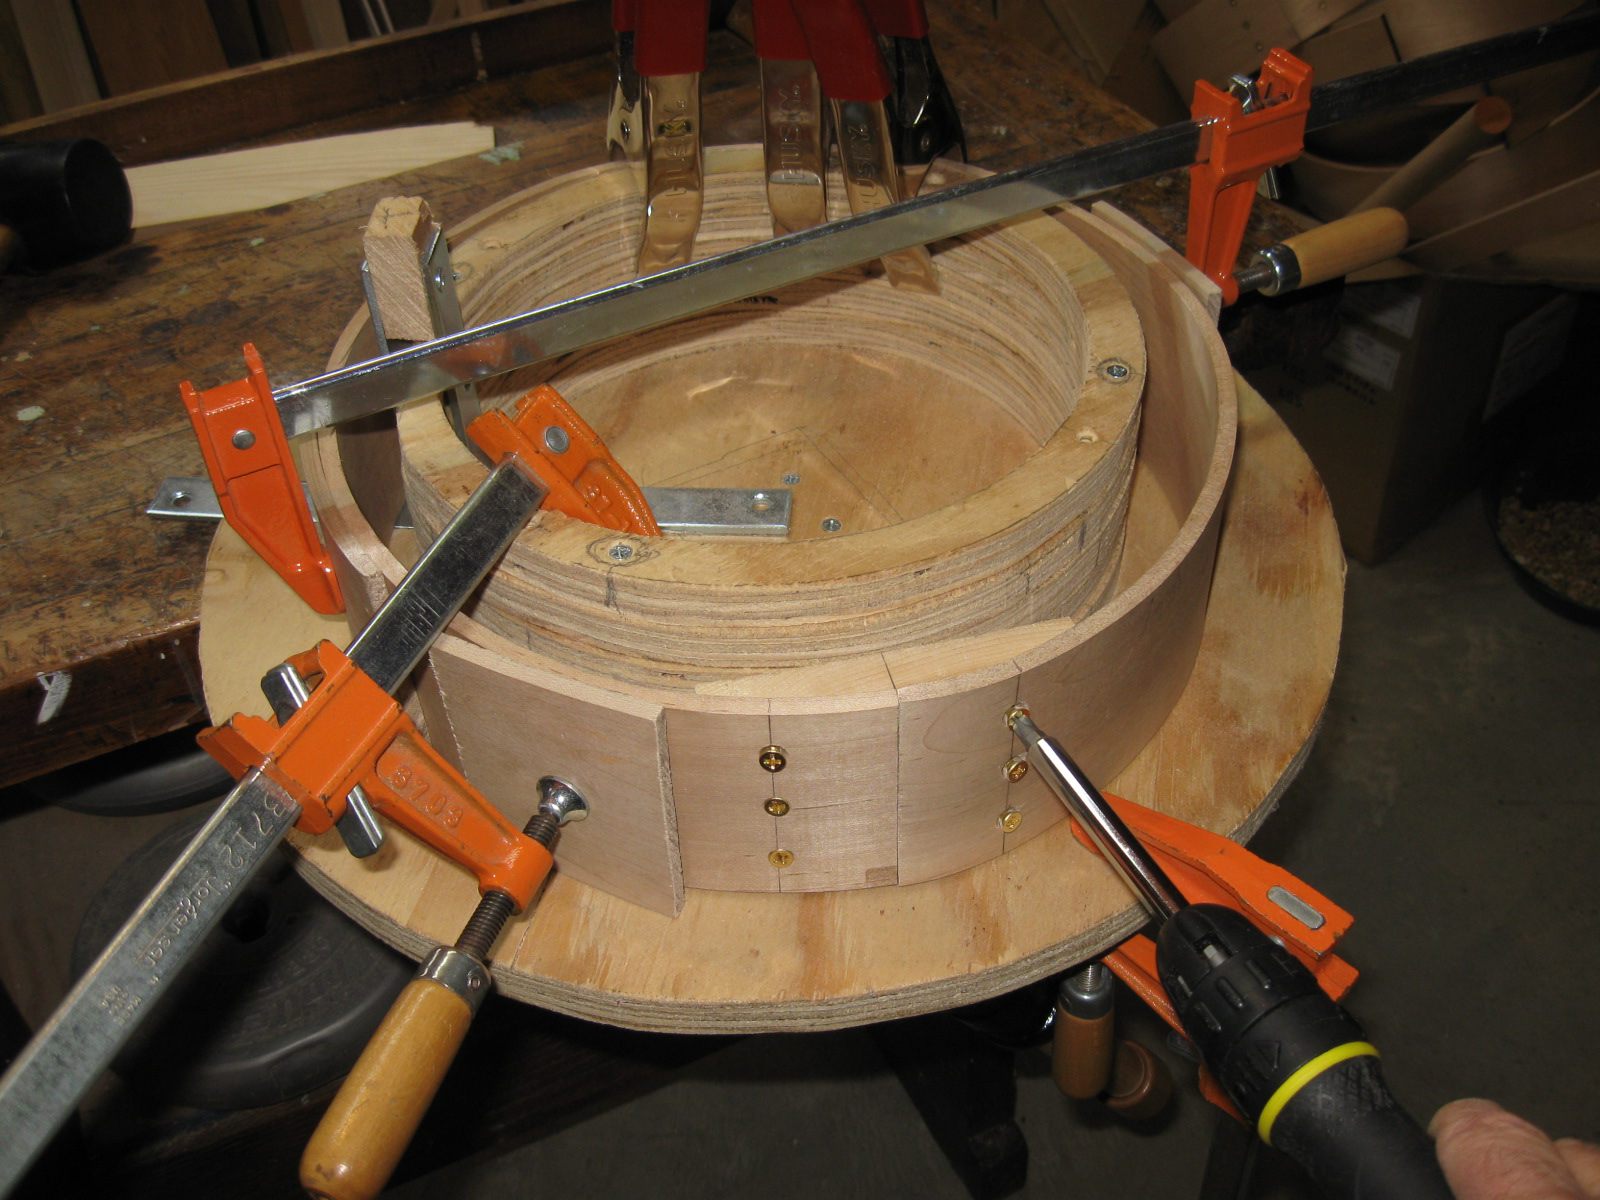
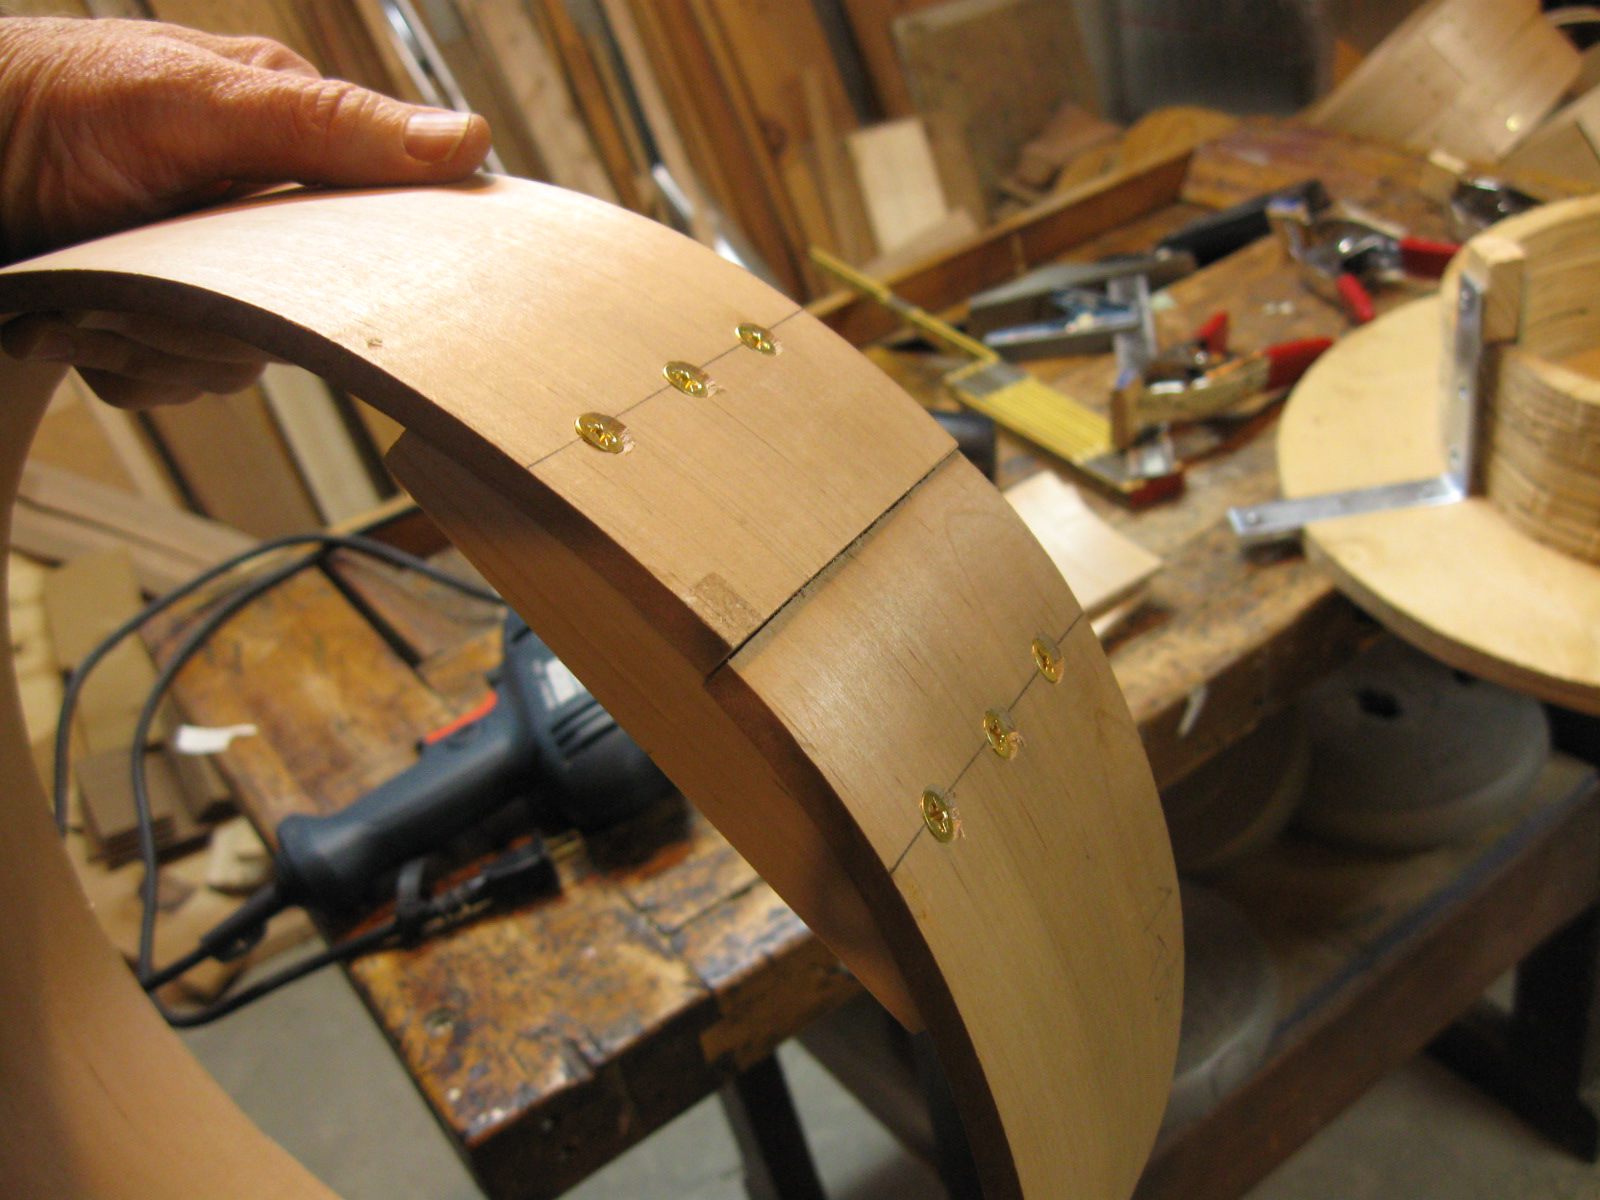
I clamped the hoop back onto the bending form so that I can take the old heel block out and replace it.
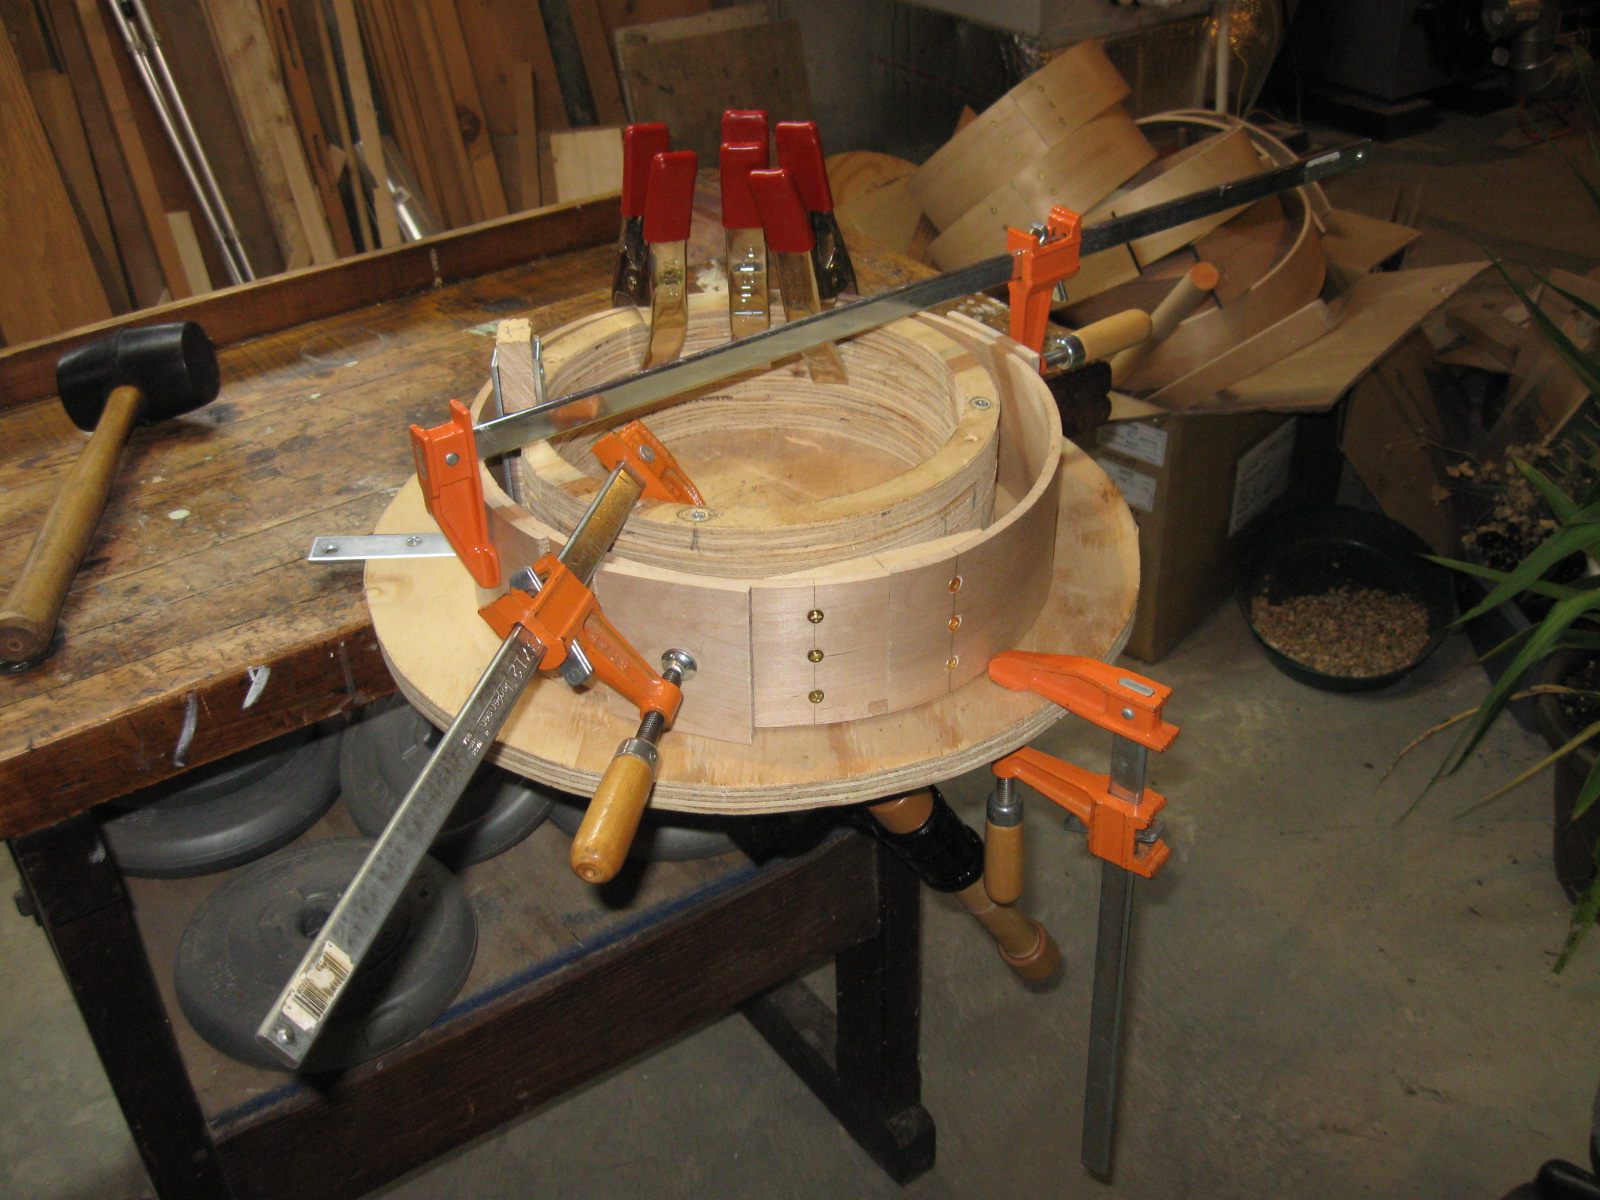
The Hoop is Clamped Back on the Form
I unscrewed the six brass screws that hold on the heel block and took the block out.
By the way, this is why I use screws. If I had glued the heel block into the hoop, I would have to start over bending a new piece of wood. Since it is screwed together, I can just disassemble it for maintenance.
Unscrew The Brass Screws
The way I clamped the hoop it is stable enough that I could just set it aside, with the heel block gone, still clamped, while I make a new heel block. I did have to remove that one clamp that was on the base plate, but the hoop stayed put anyway.

I Put the Hoop Aside for a While
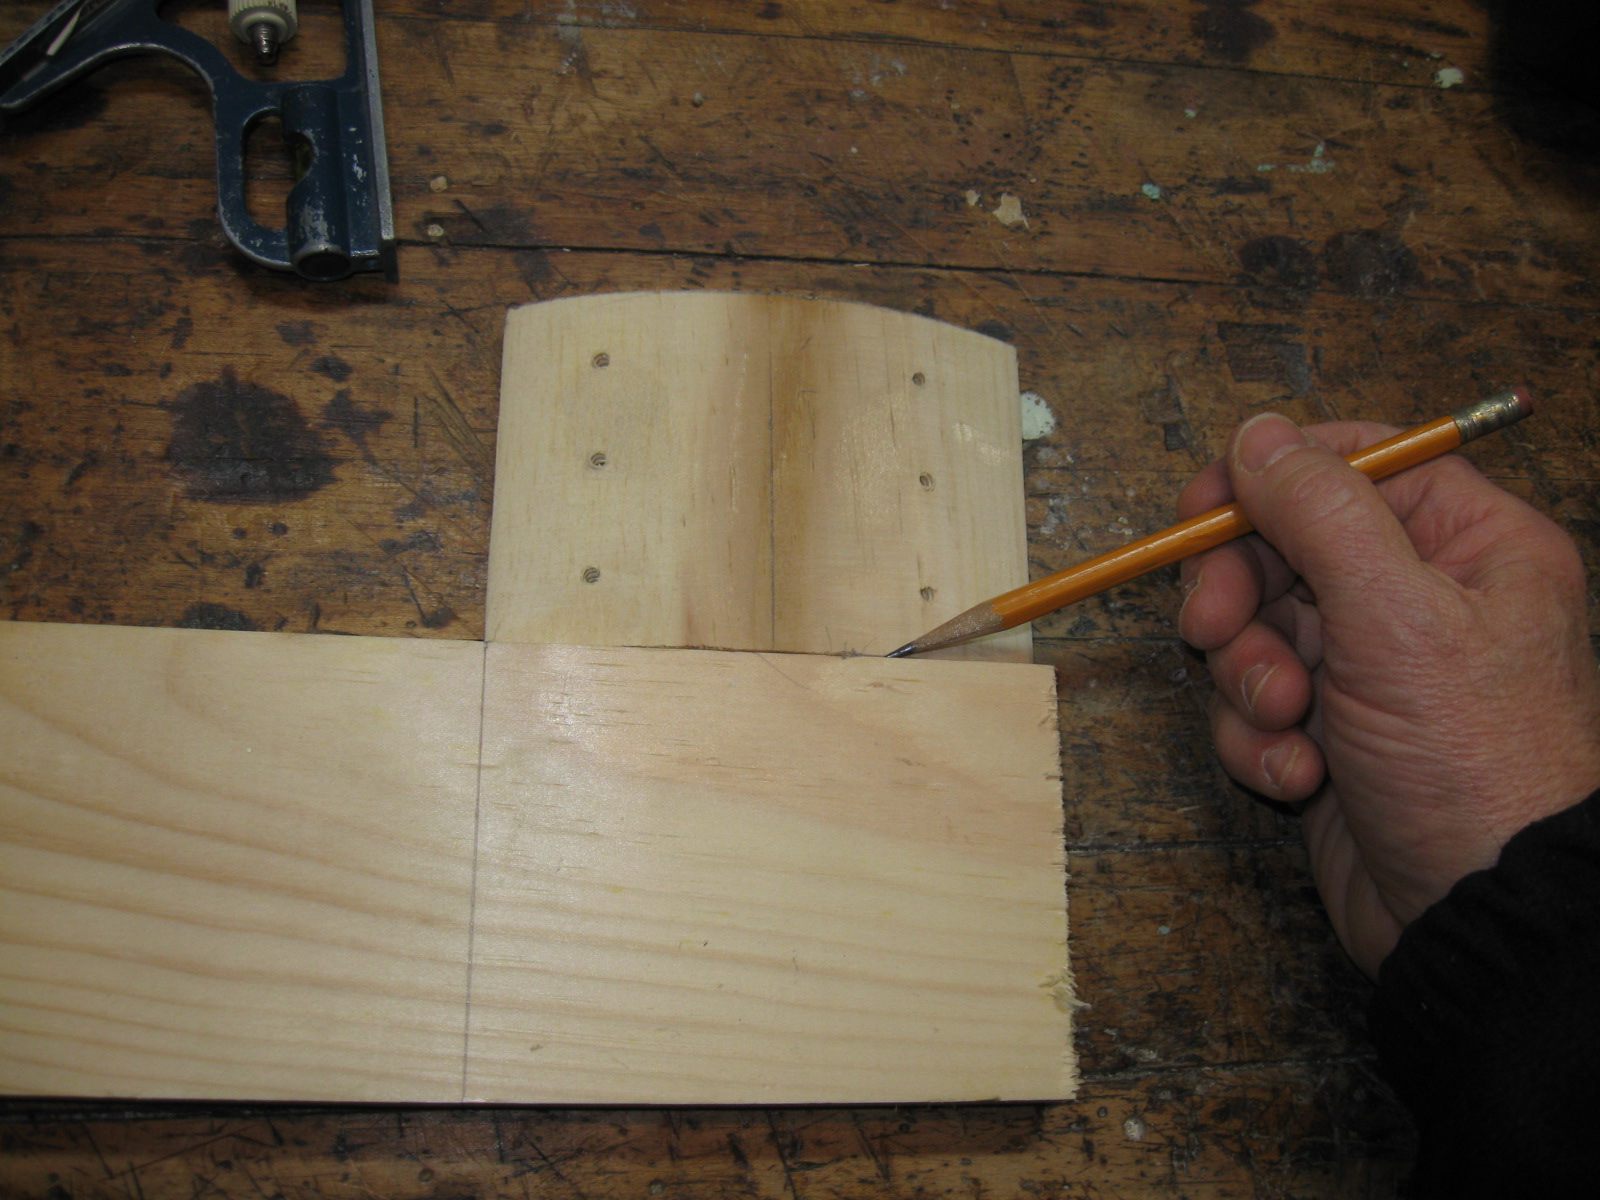
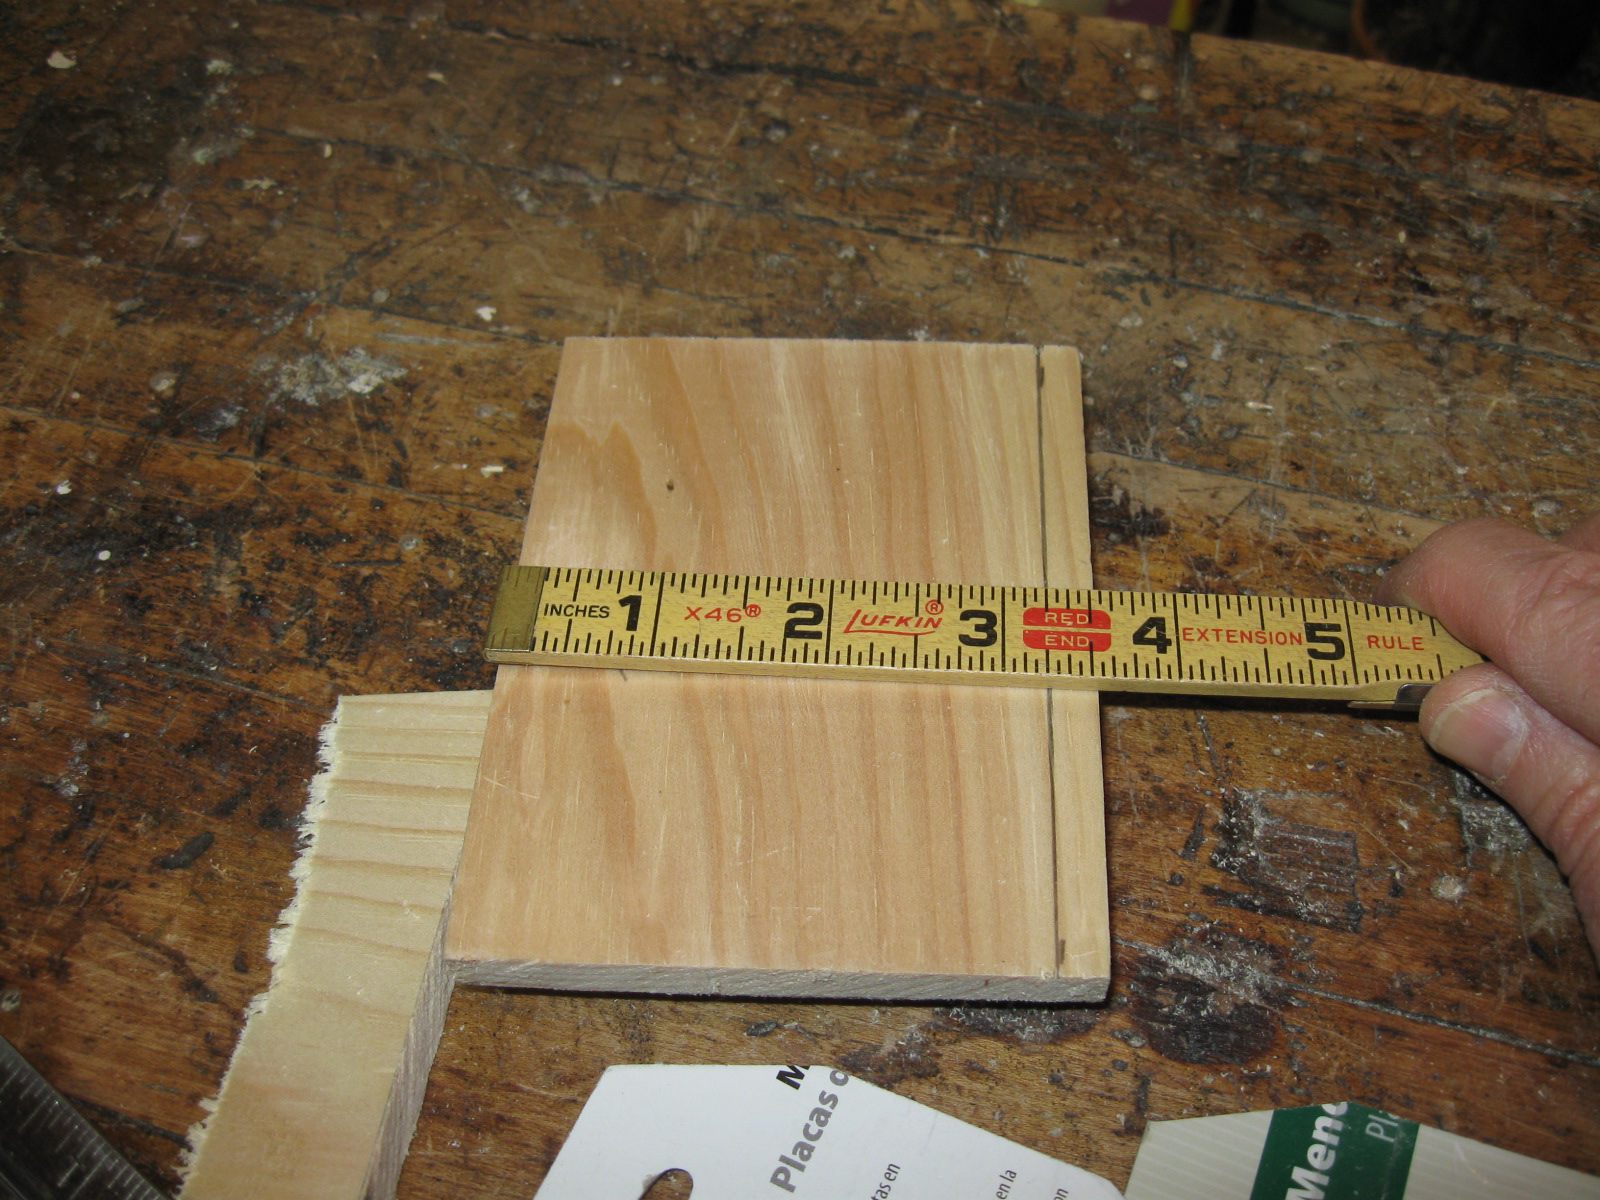
I traced the old heel block to get the size of the new one. You can see that the heel block is shorter than the width of the board because I cut it short to keep it out of the way of the head. I will have to rip off a short section of the board after I cut off the end.
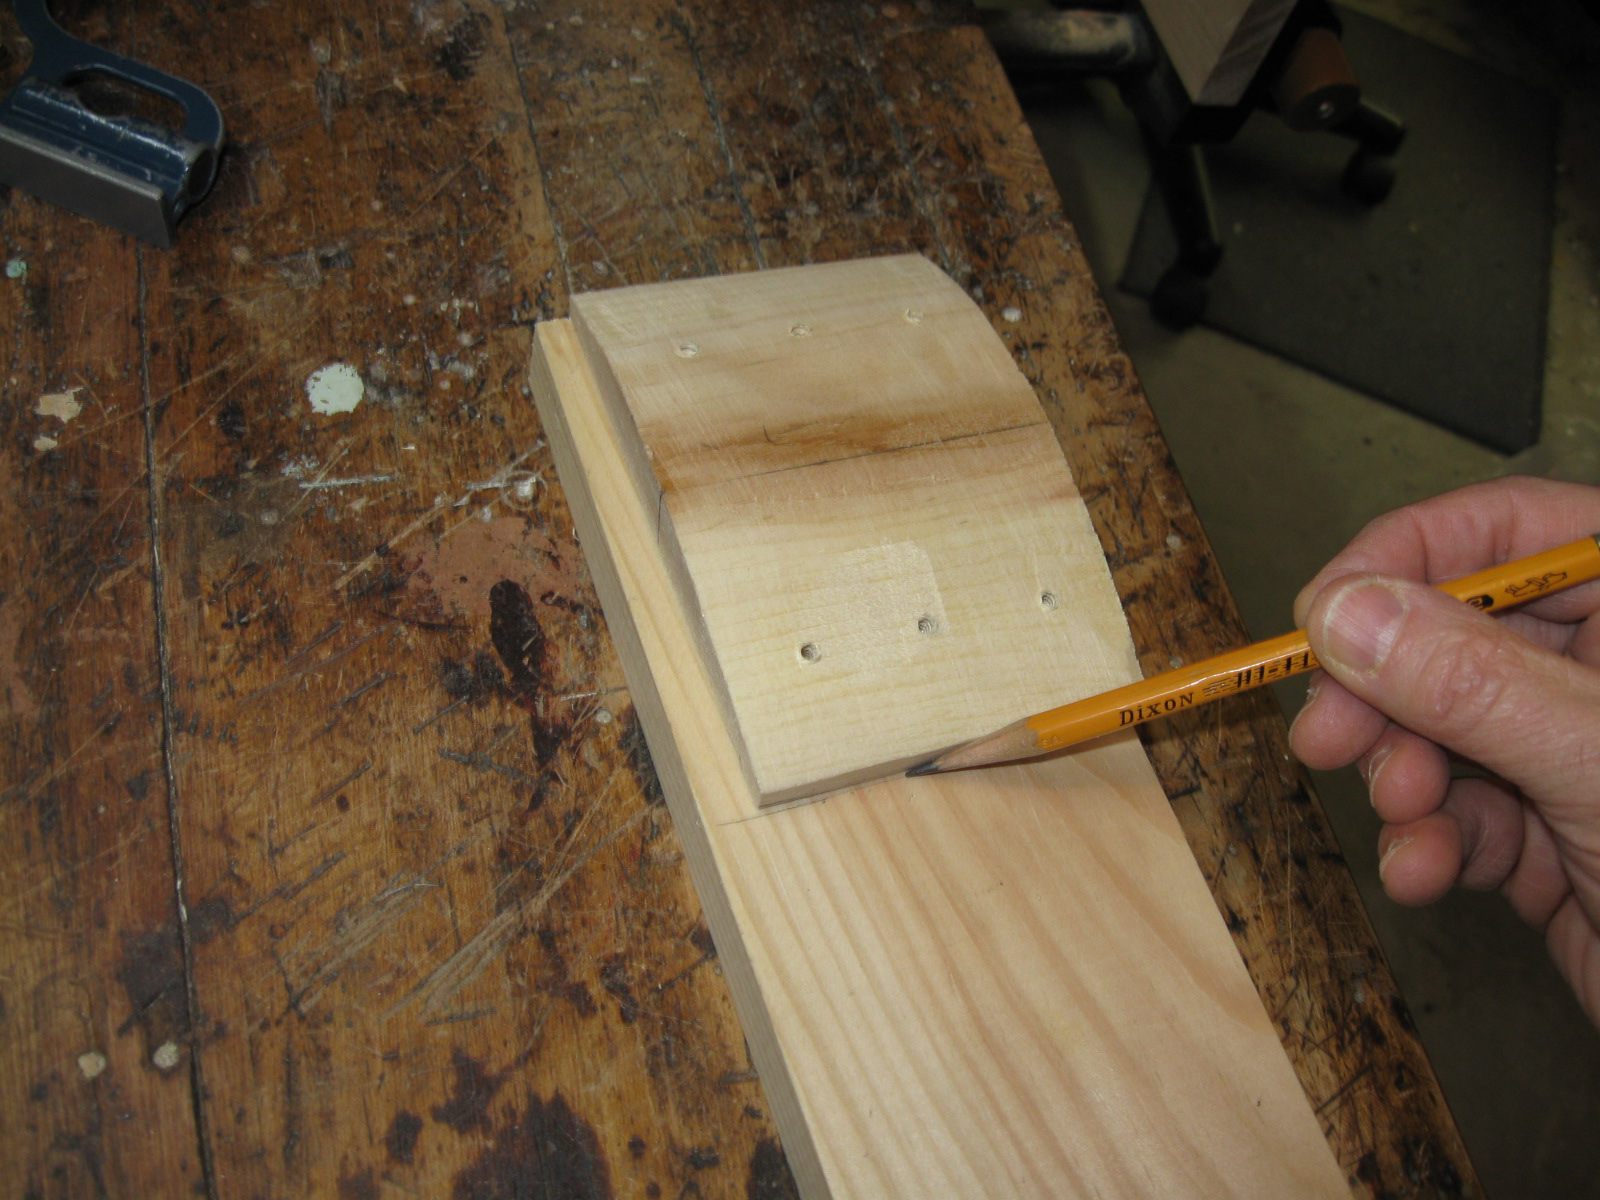
Tracing the Old Heel Block
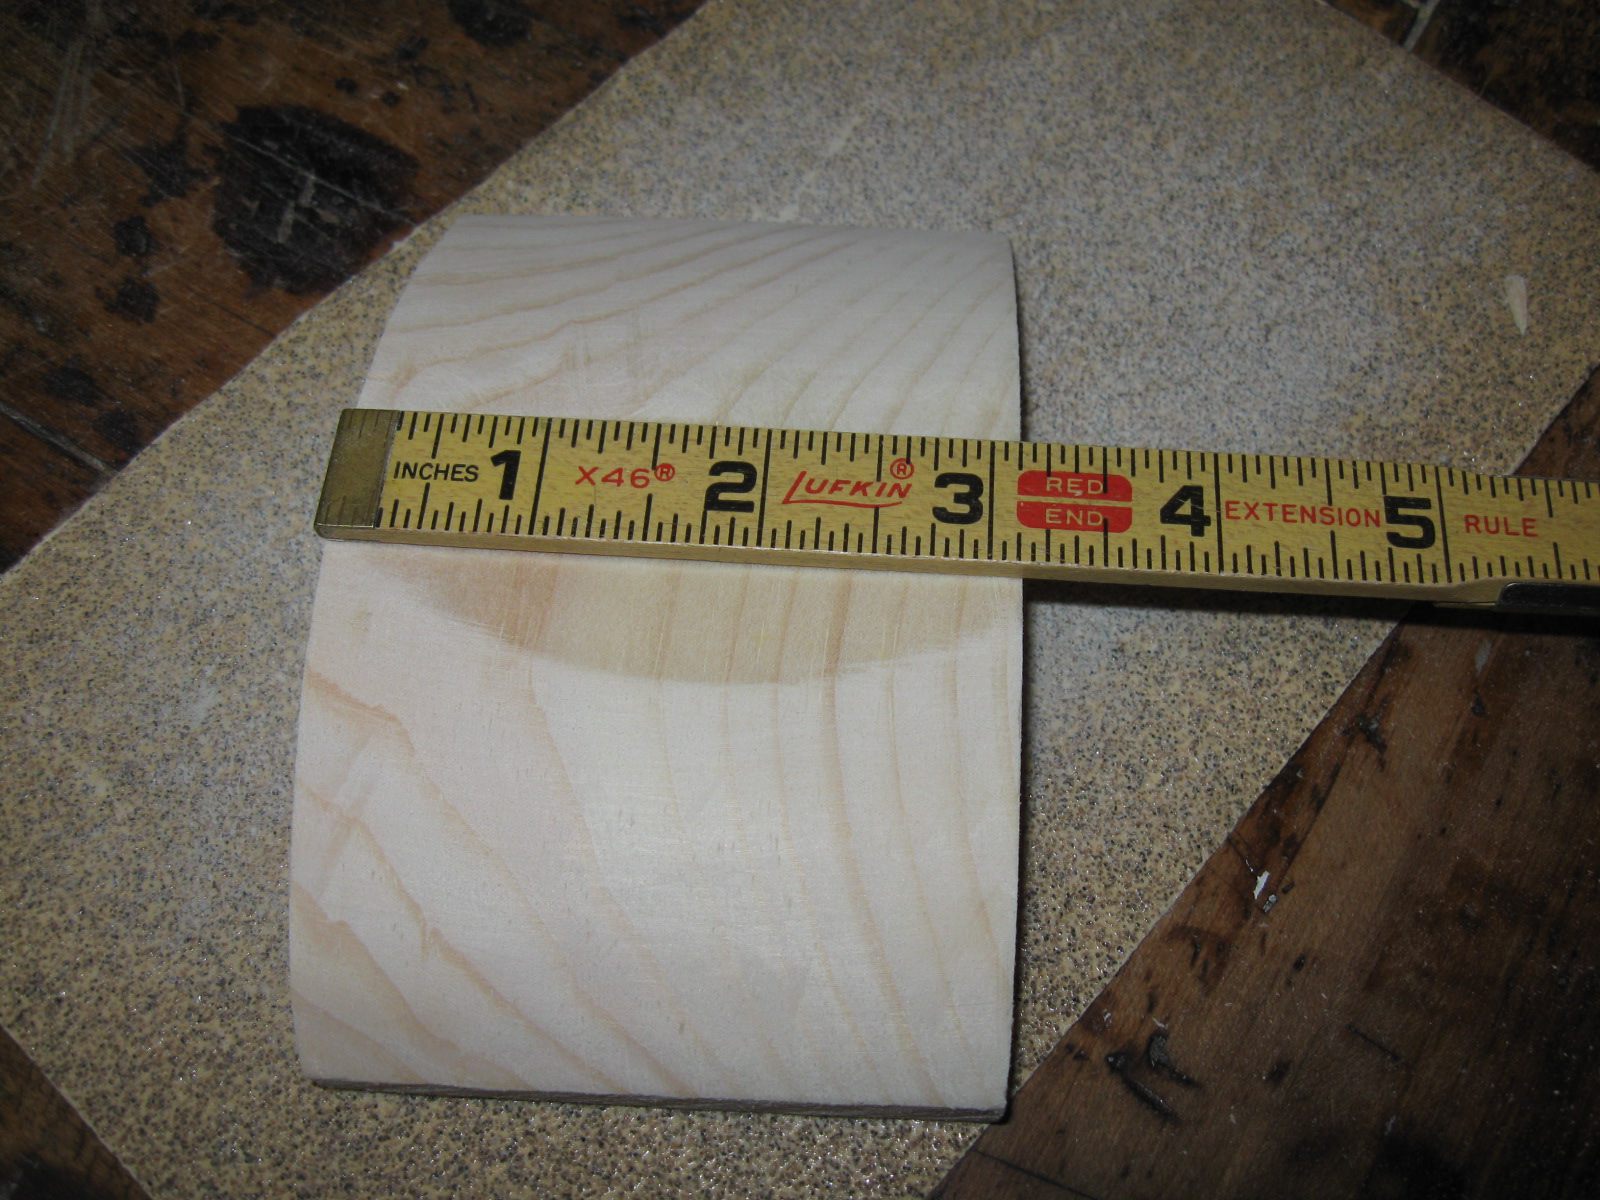
The board is 3 1/2" across, and the old heel block is 3 1/4"
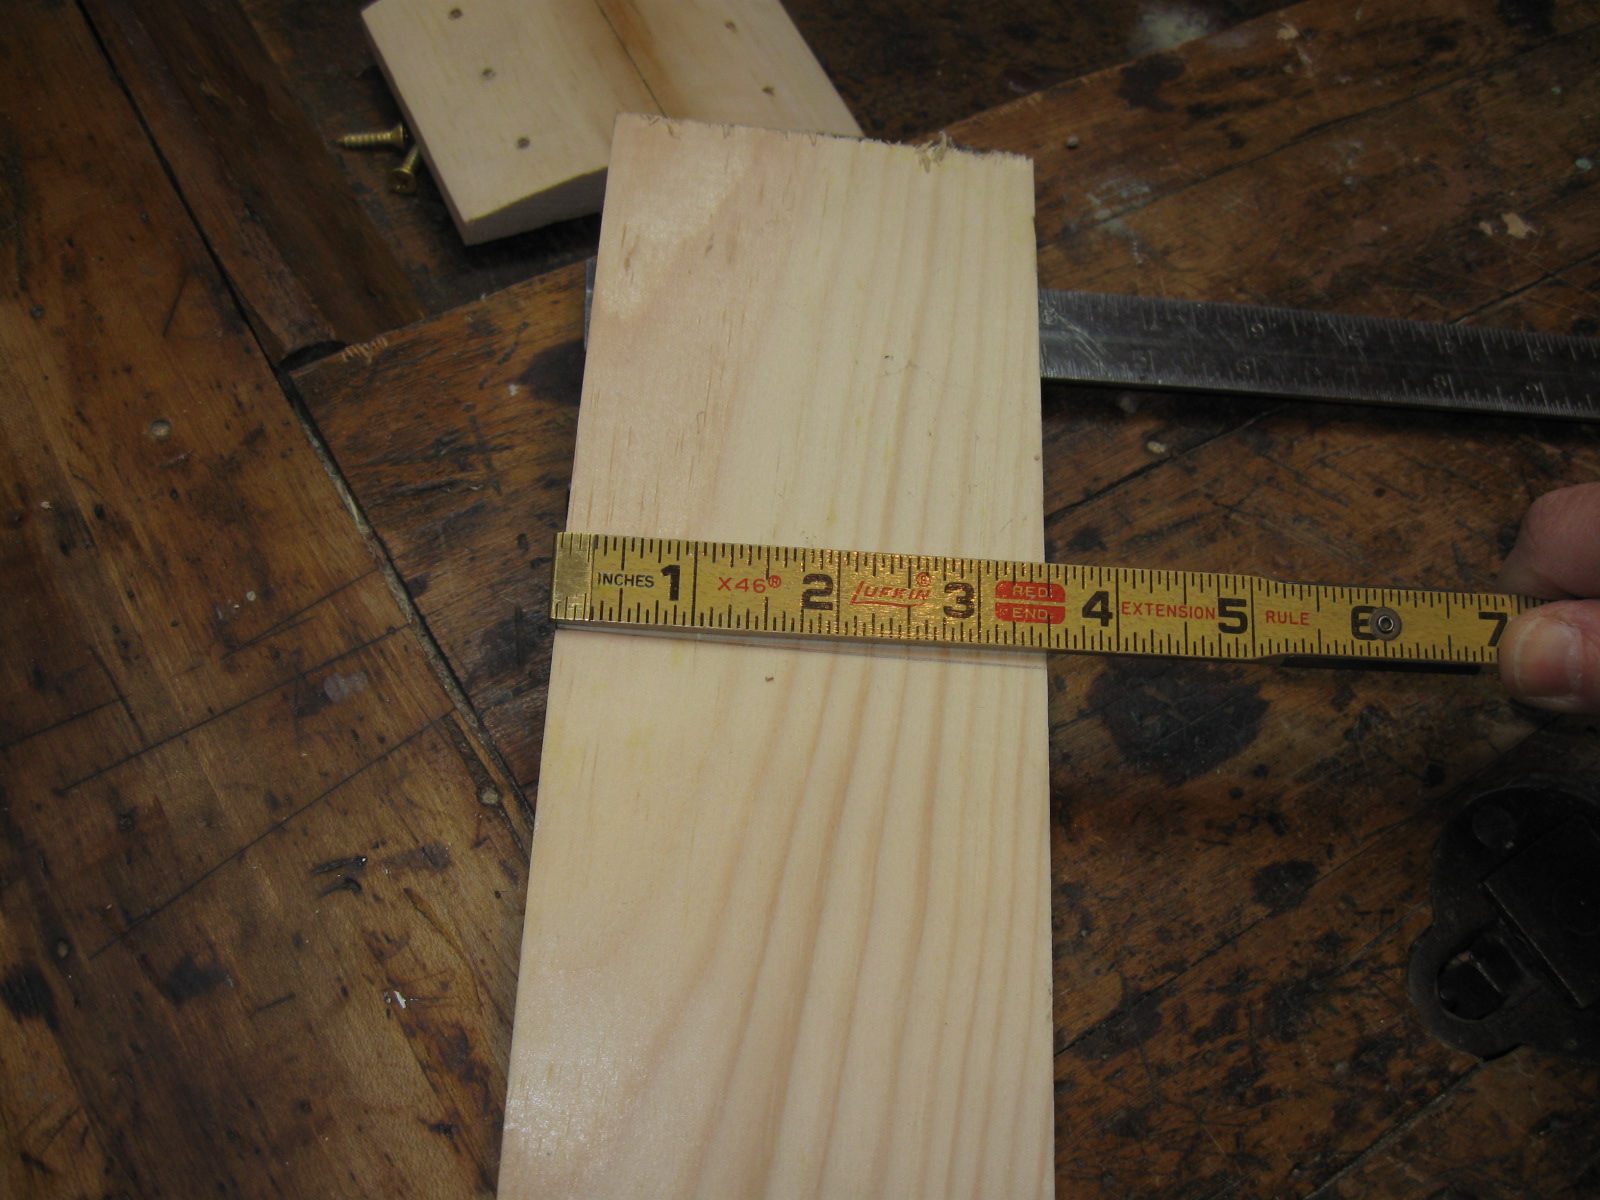
The 4" Board is 3 1/2" Across
The thickness of the 1" board is 3/4", so that is the same as the old heel block.
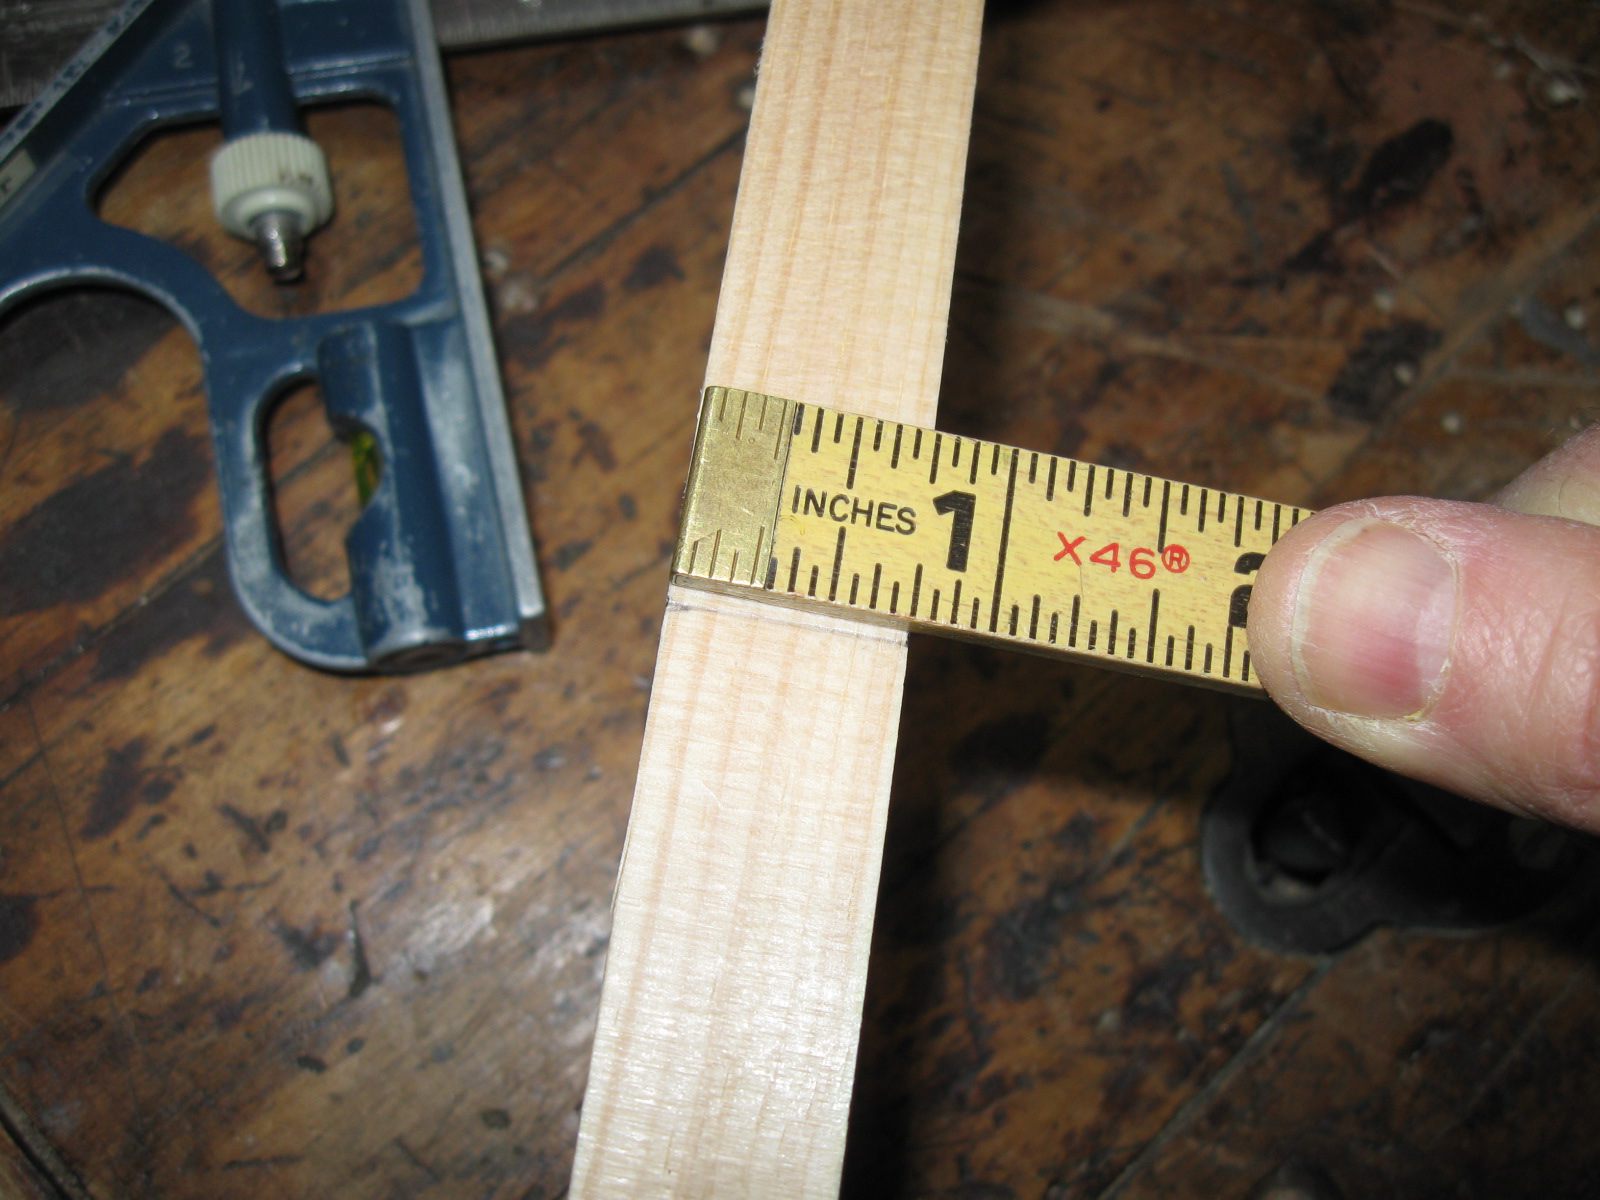
The 1" Board is 3/4" Thick
To get the proper curve on the new heel block, I traced it from the old one. I traced one end on the top.
I Traced the Curve Off the Old Block
I traced the other end on the bottom.
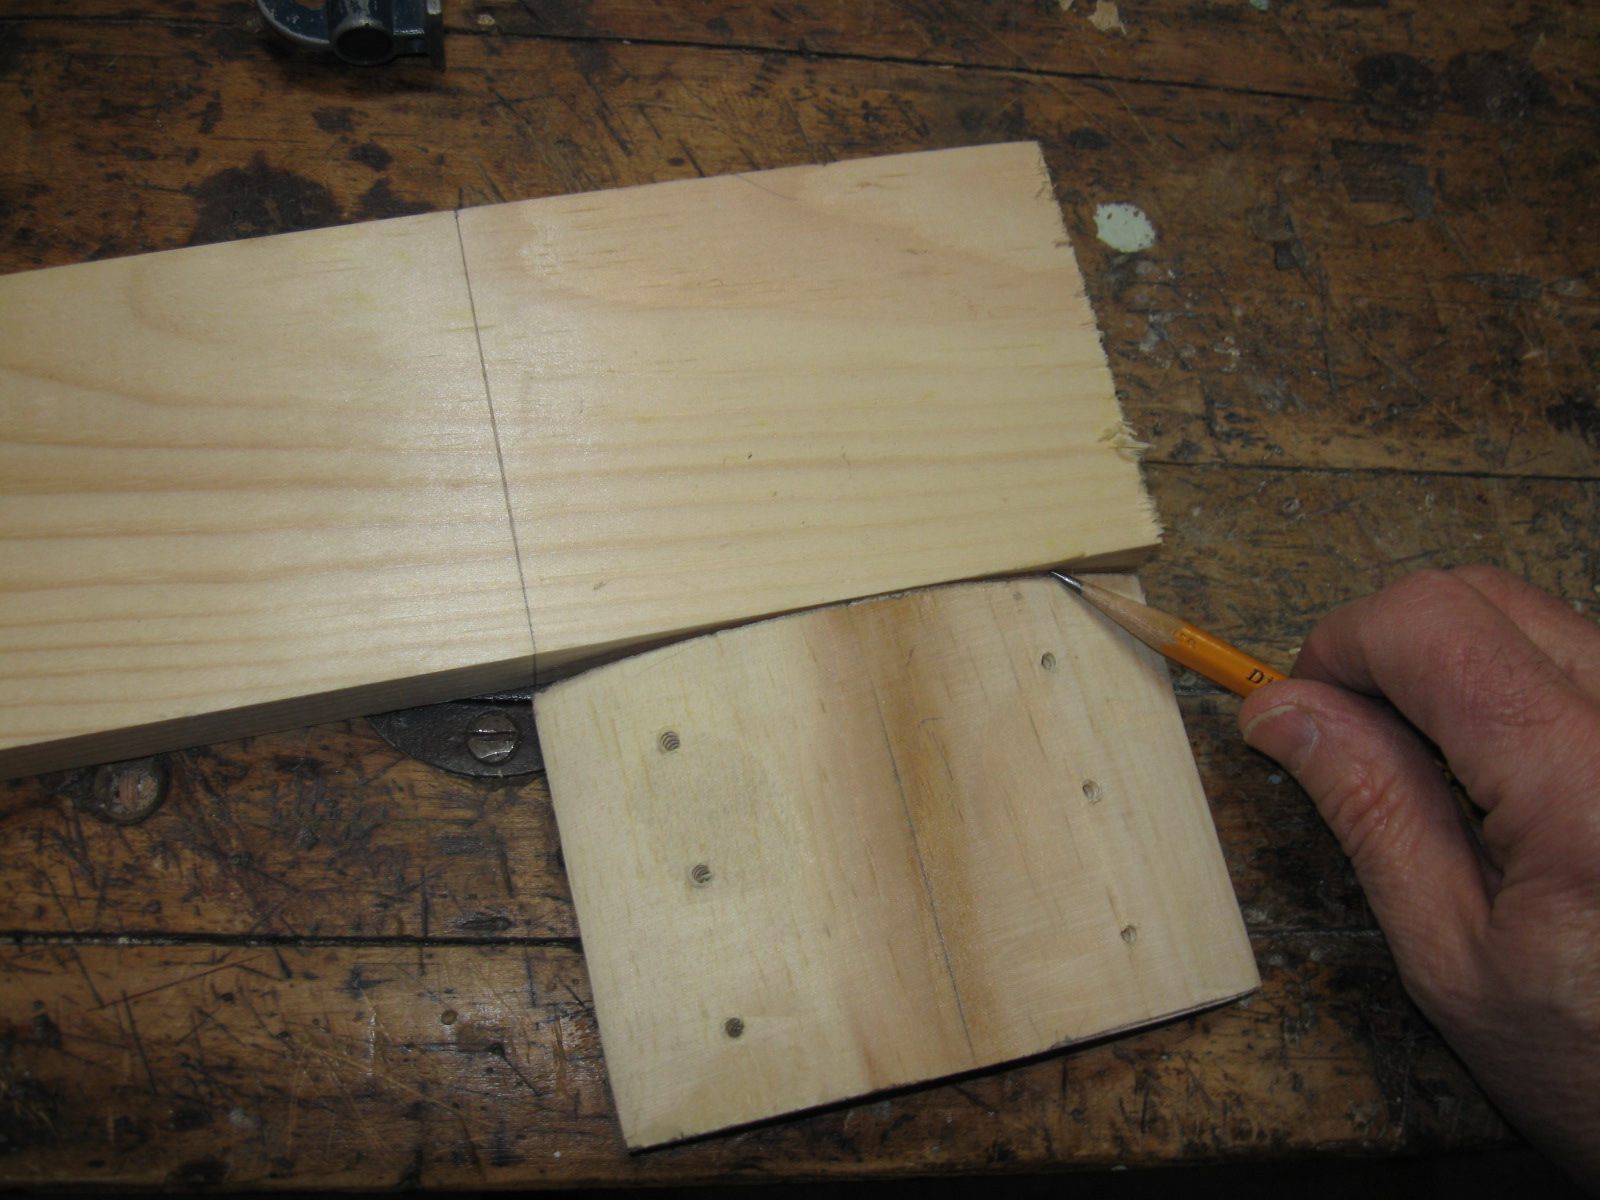
Tracing the Bottom
I used the miter saw to cut the end off. The new block is 4" long just like the old one.
Cut the 4" Block Off of the Board
There you have it. Notice that the grain runs side to side now, not top to bottom. There is no way this block will split under a lateral force.
The Grain in the Block is Horizontal
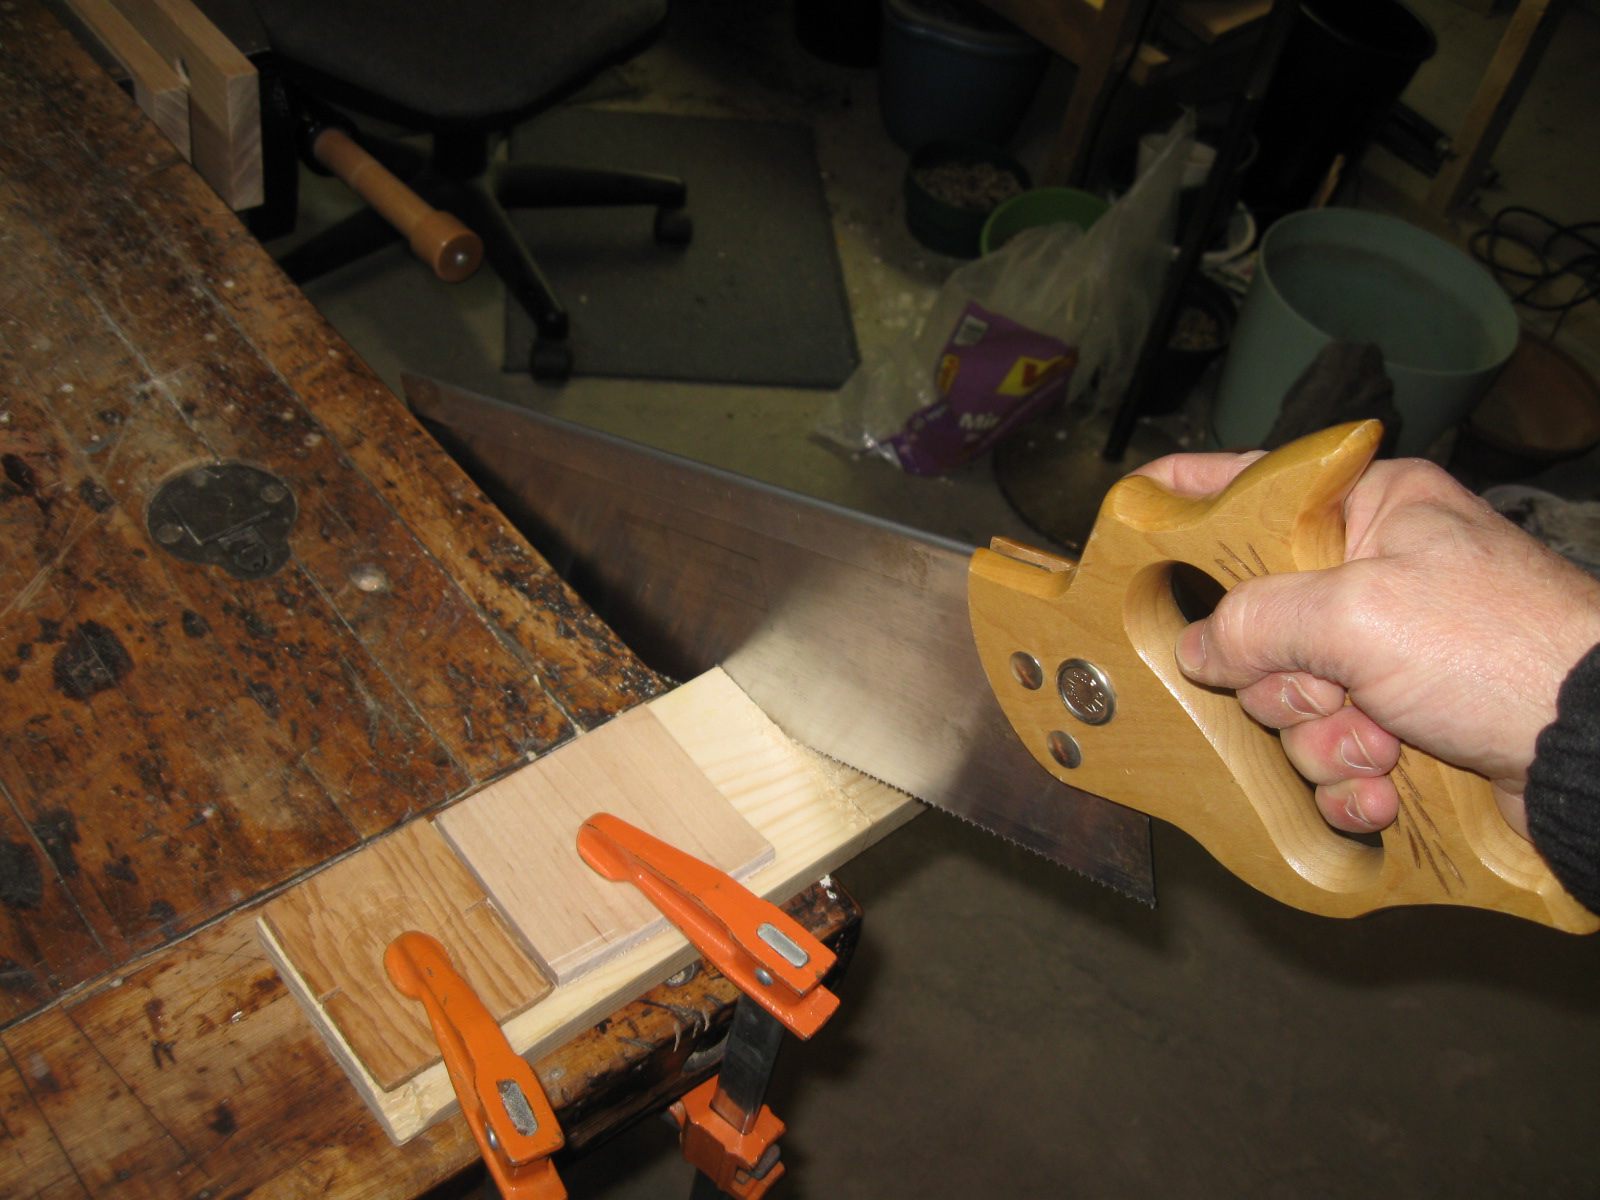
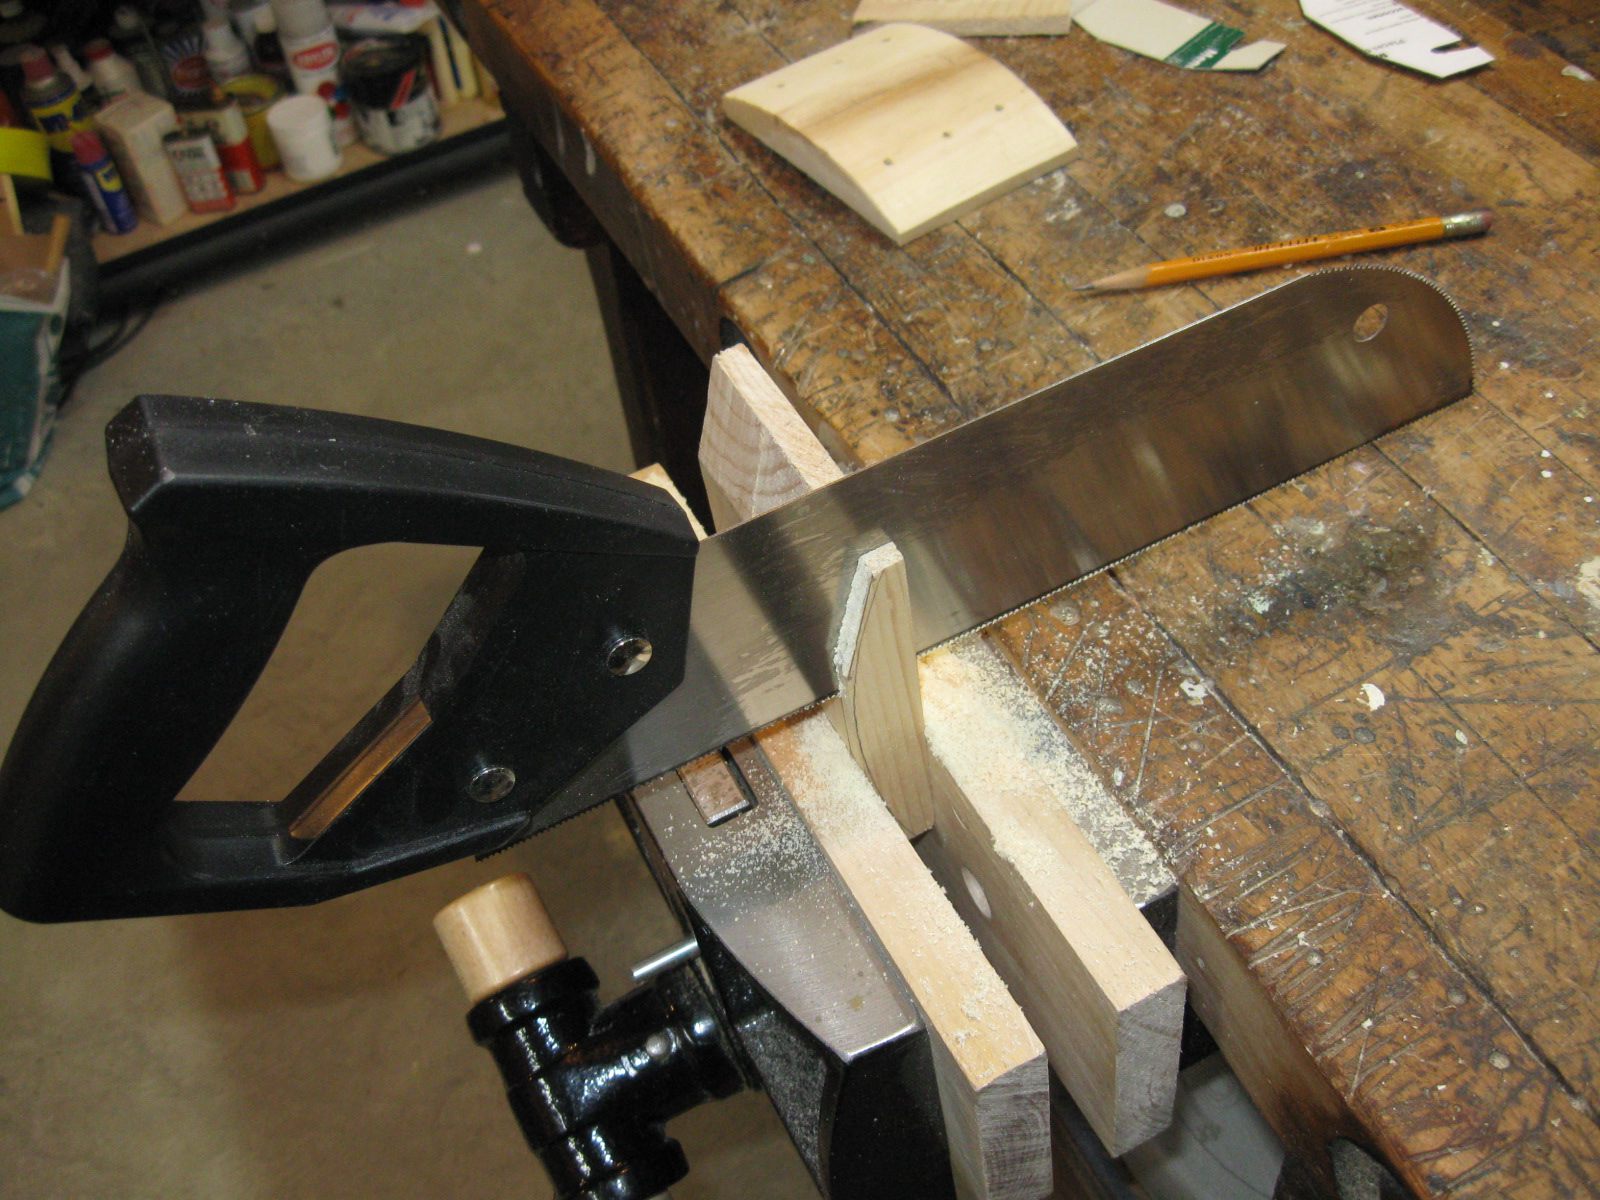
I carved the curvature of the block the same way I did it before, first cutting away most of the waste wood with the panel saw.
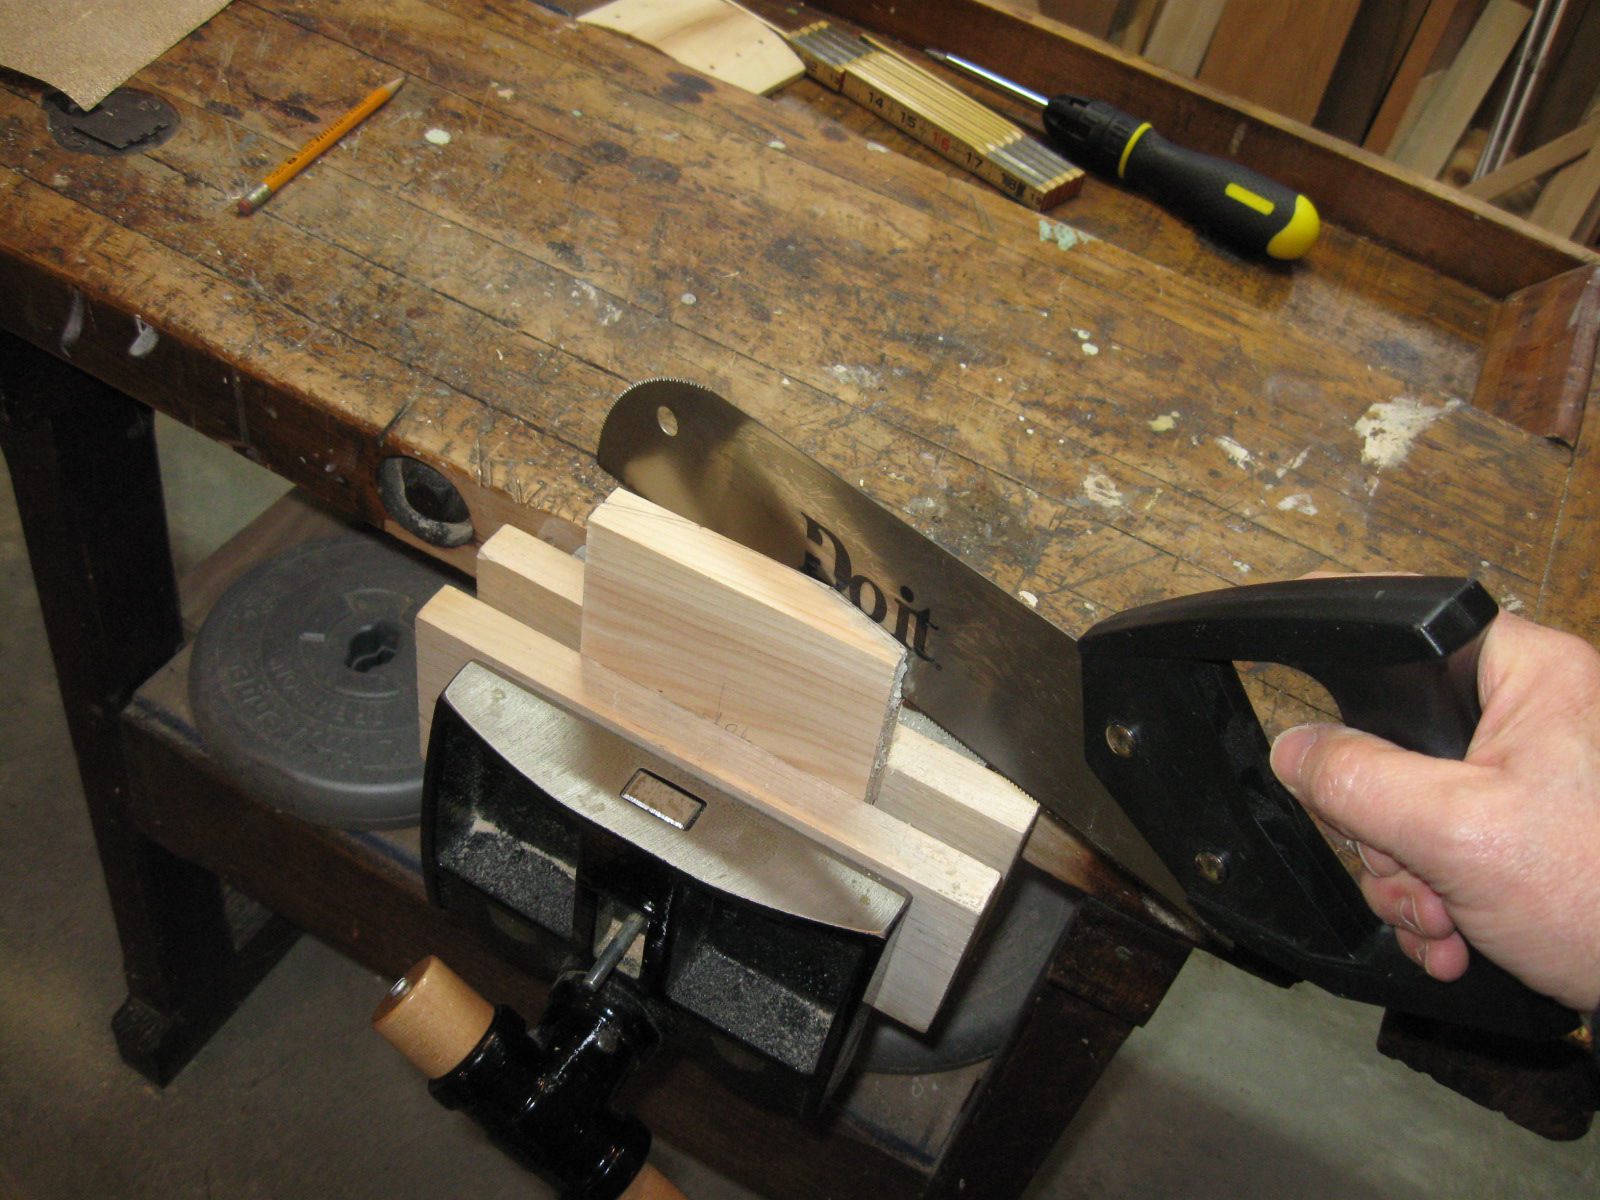
Cut Away the Waste Wood With the Panel Saw
After half of the block has been cut away, I put cardboard into the kerfs so I can turn it over and clamp it into the vise again.
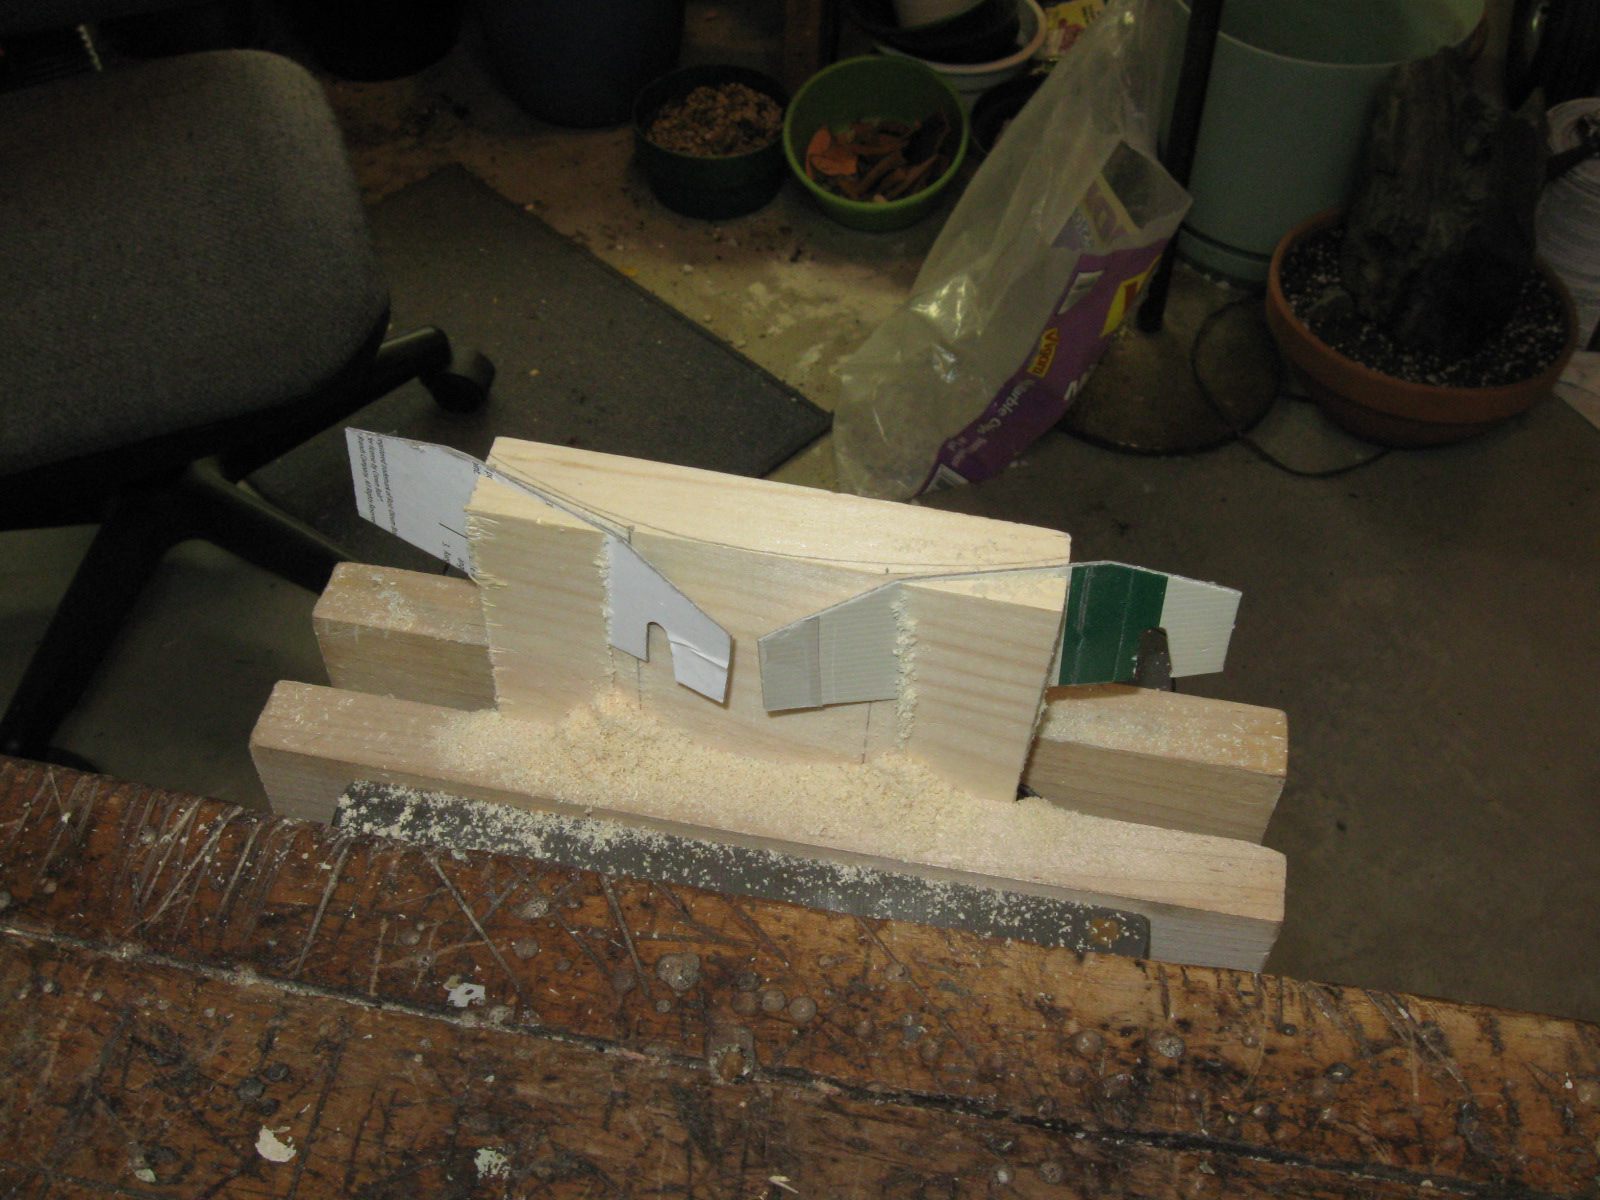
Cardboard Keeps the Kerfs Open
I turned the board over and cut through from the other side.
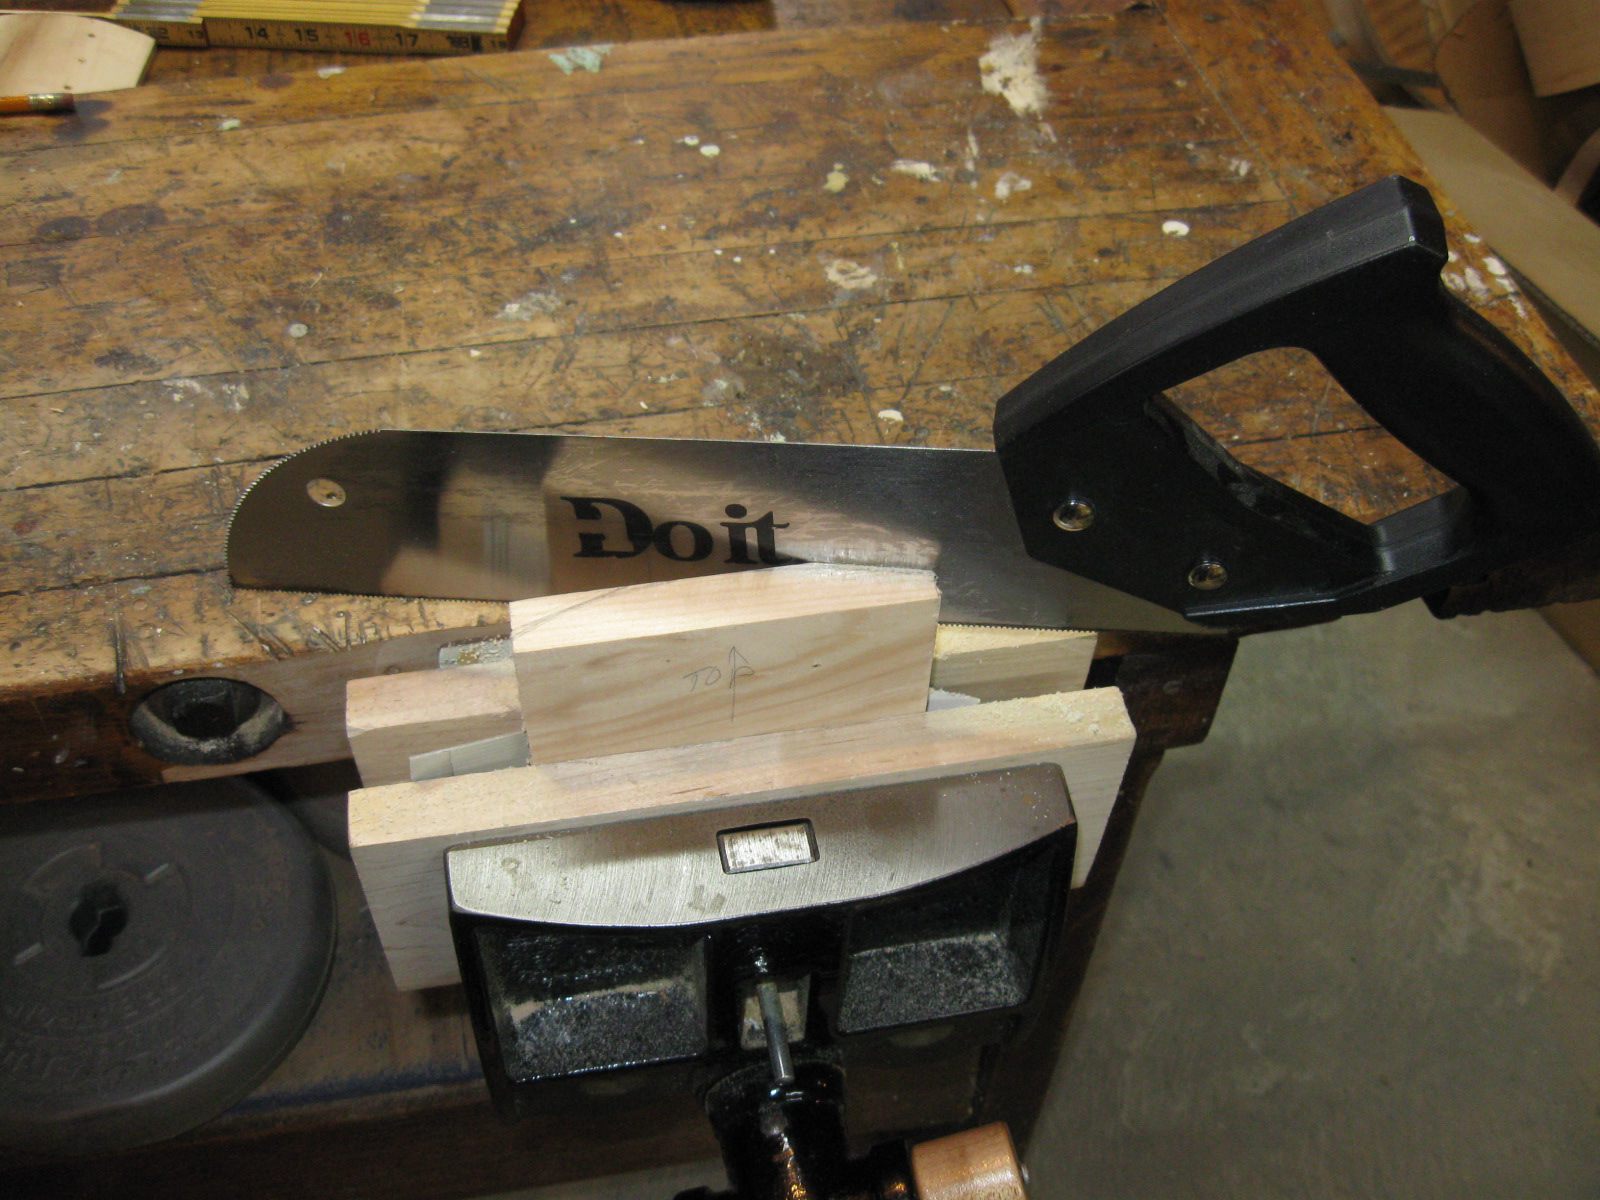
Cut Through From the Other Side
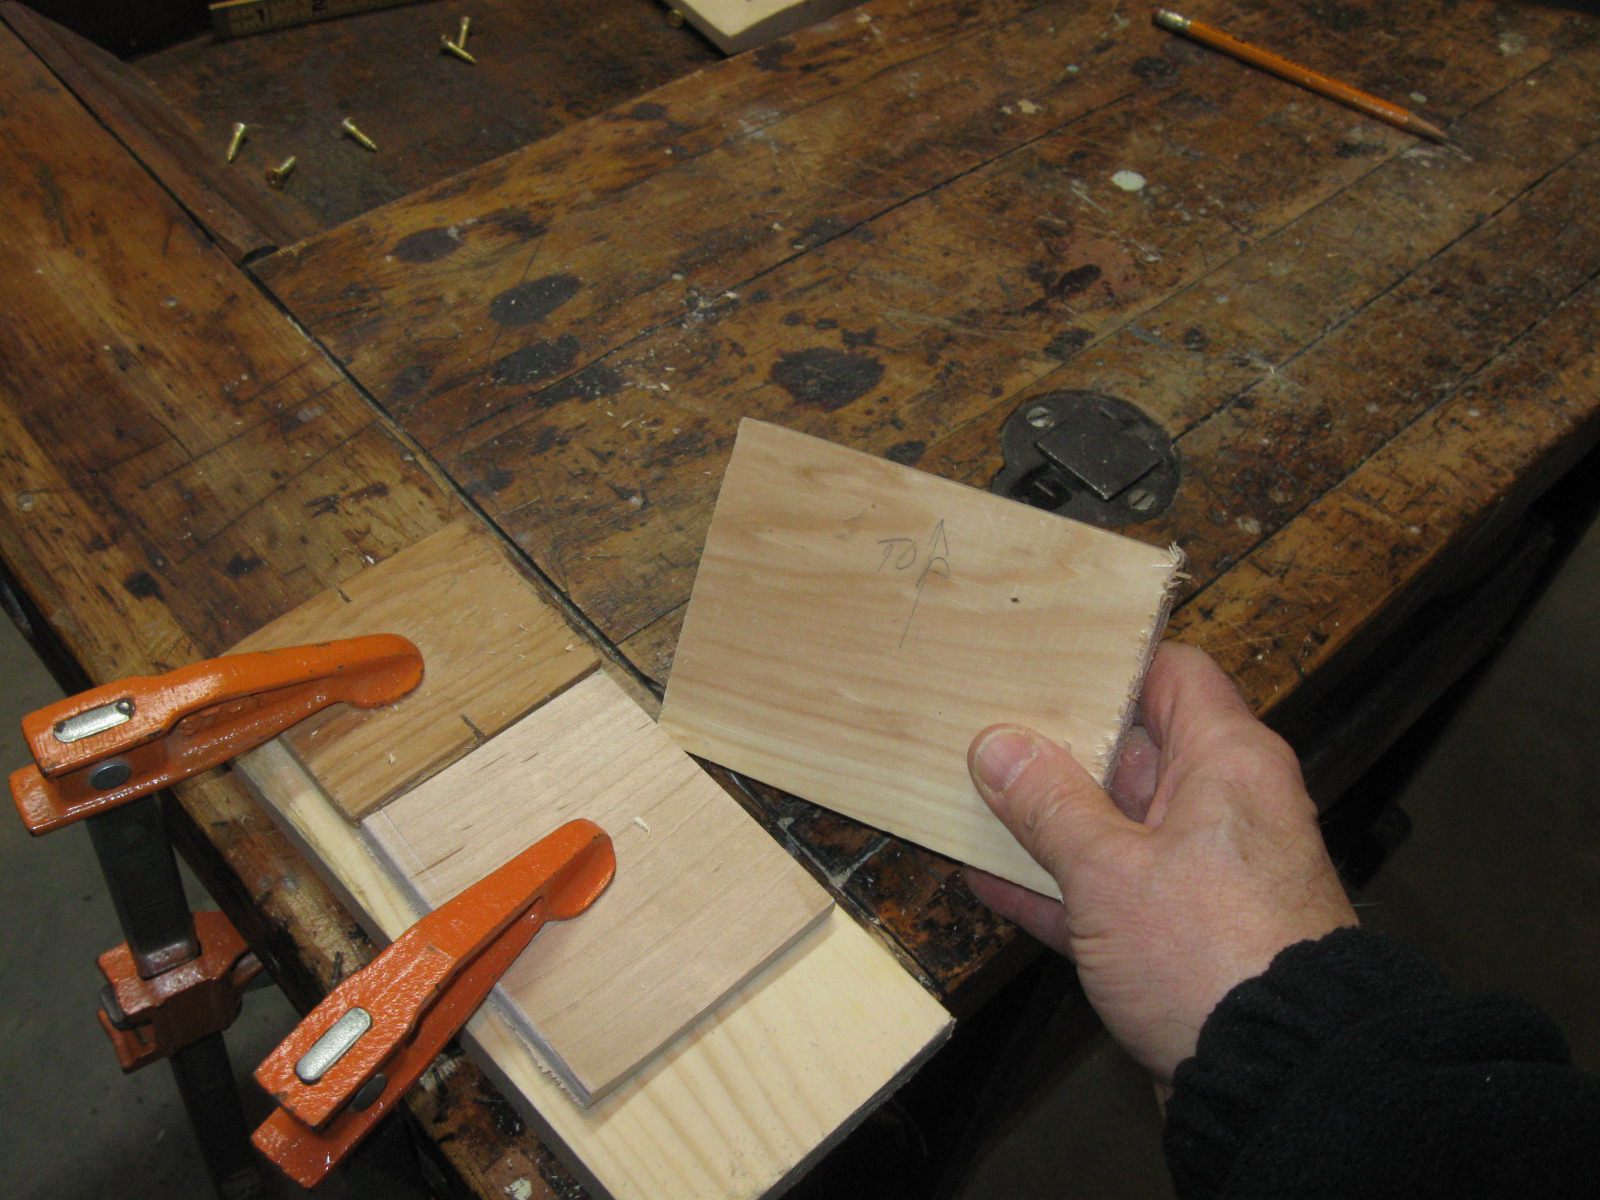
Here is the rough cut block. Hey. That's a pretty clean job!
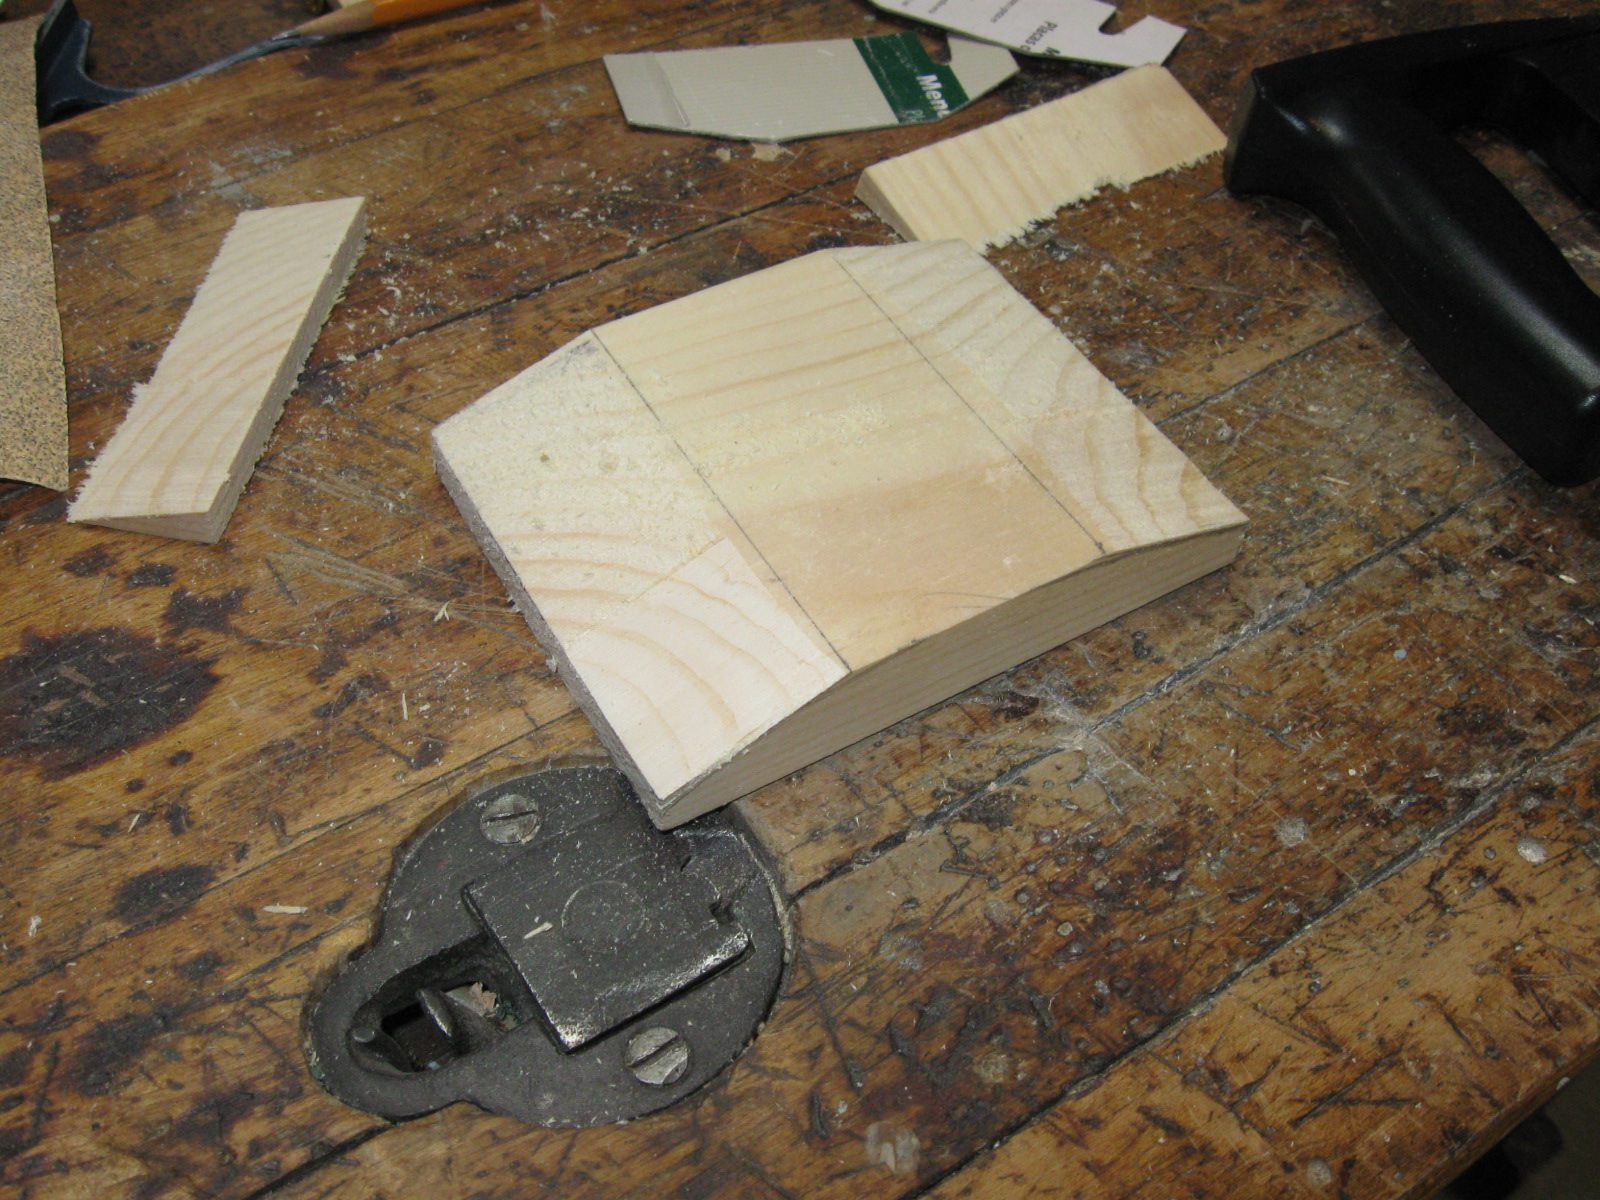
The Rough Cut Block
First off, I want to cut this thing down to the proper size, so I marked off 1/4" to cut off the top.
Mark Off 1/4" To Cut Off
The panel saw makes quick work of the slice.
Slicing Off 1/4" Of the Block
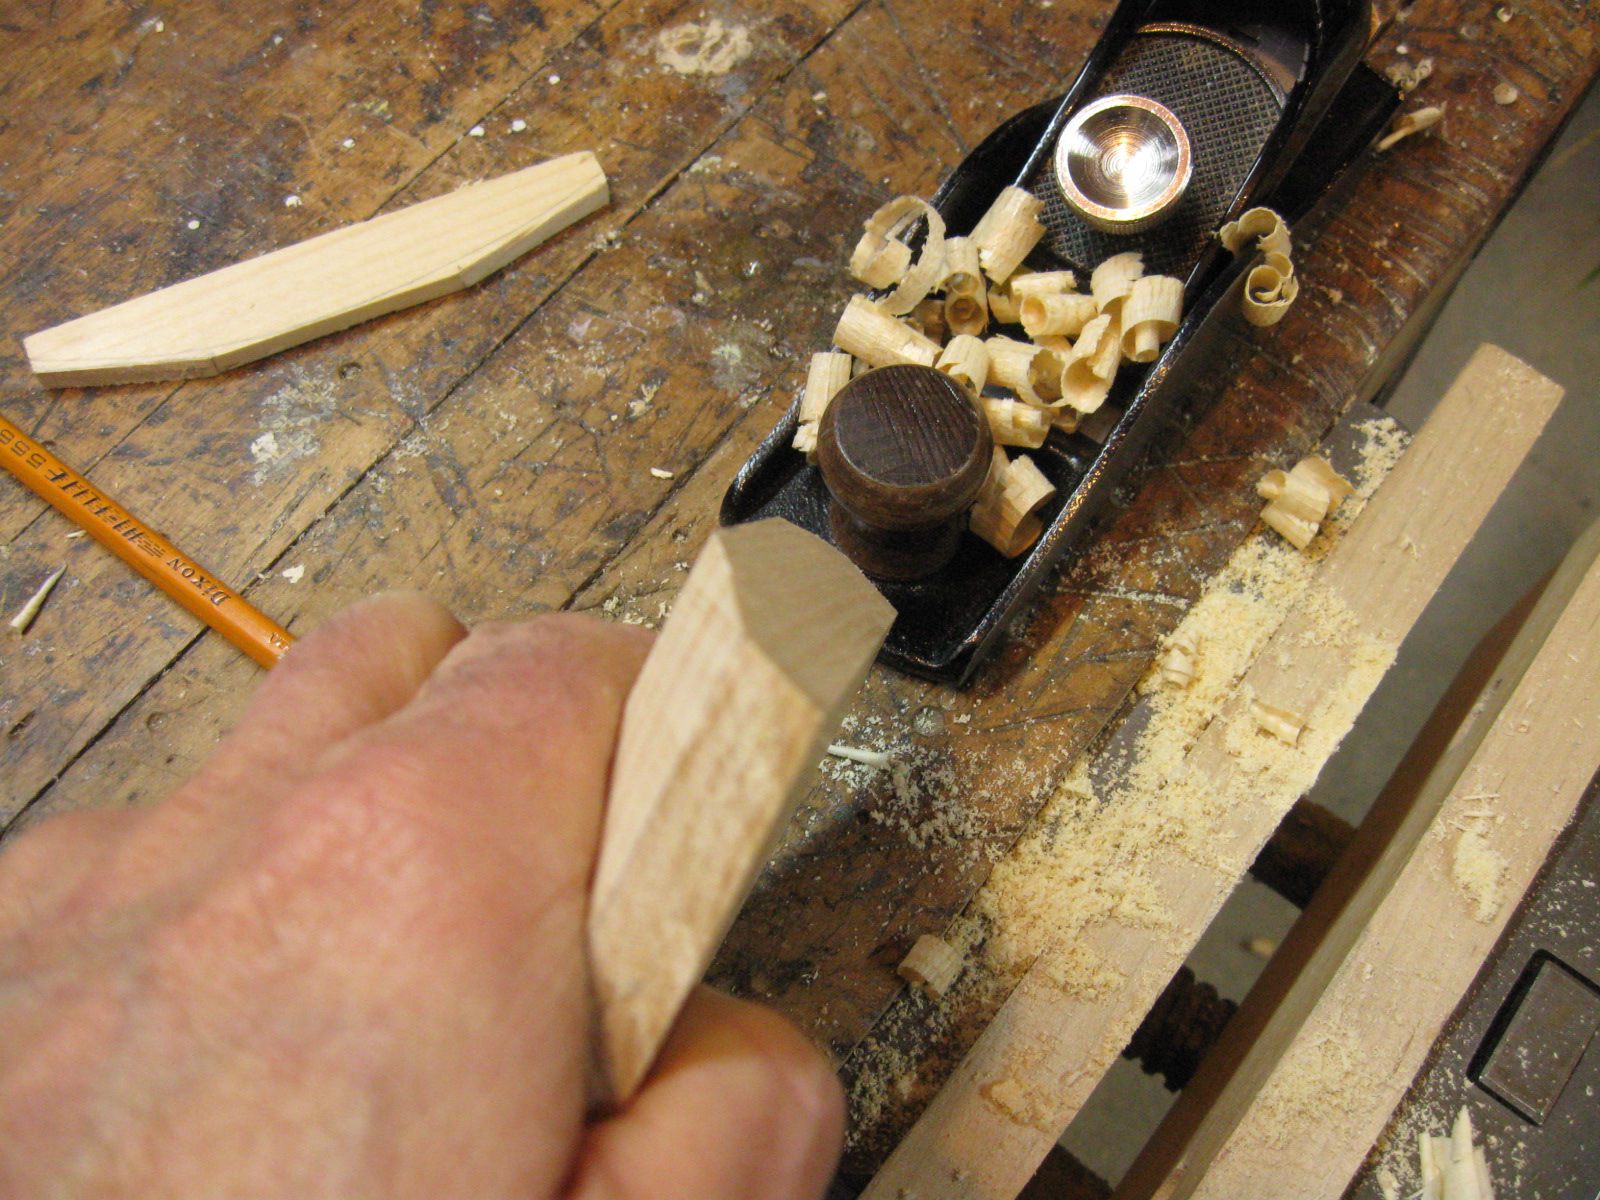
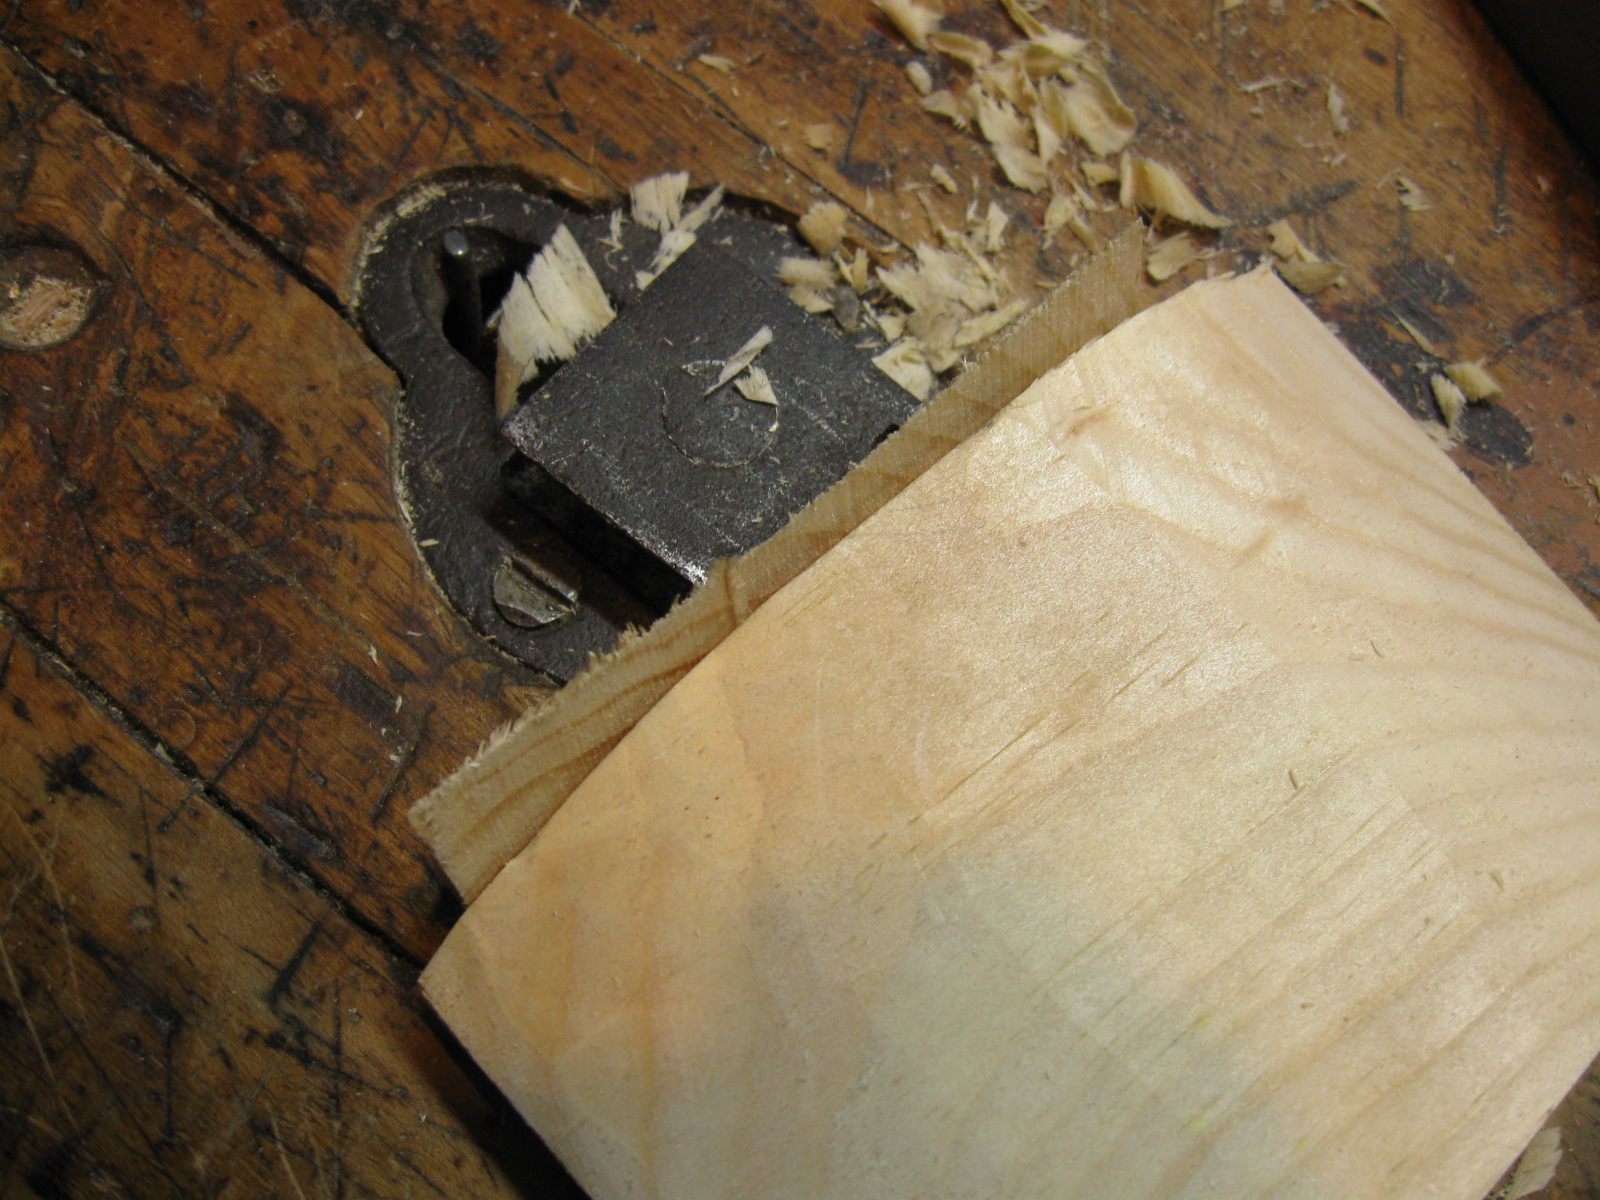
Then I used the block plane to slant the front of the block down and away from the head.
Cutting the Angle Into the Block
I just hold the plane at an angle and eyeball a chamfer on the wood. In the photo below you can see the chamfer.
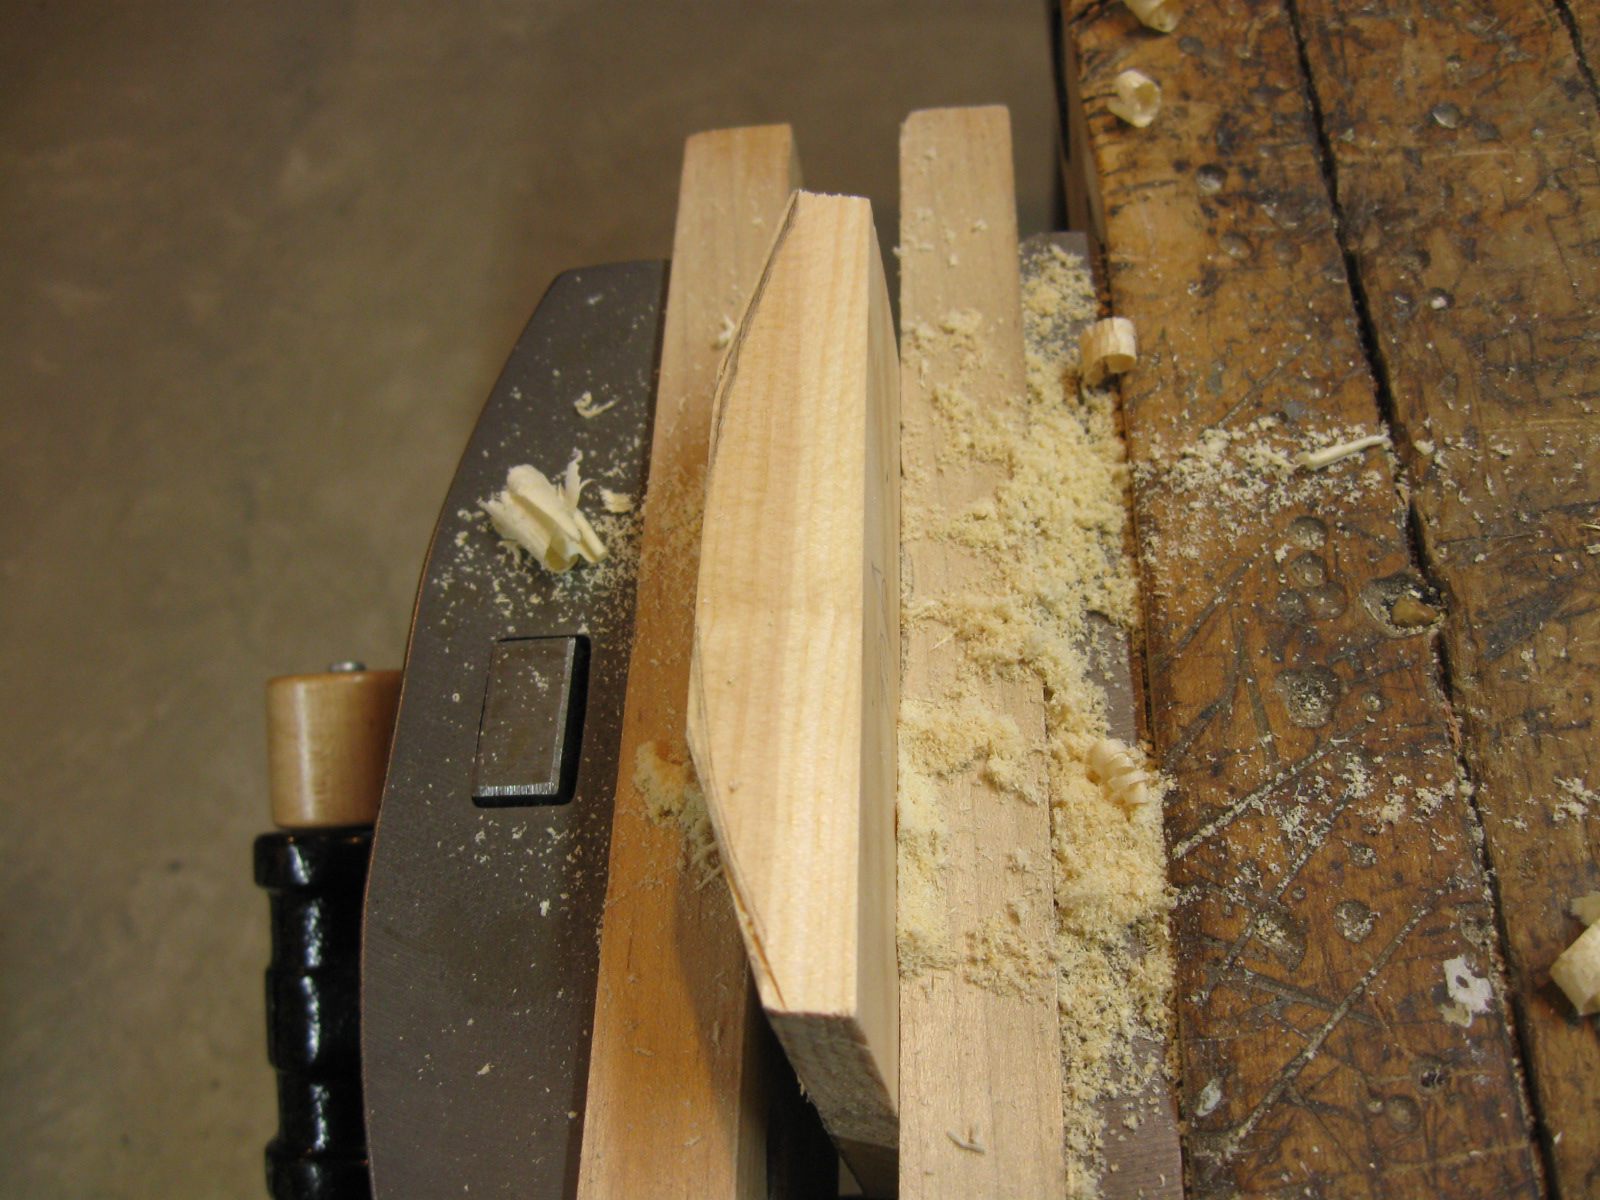
The Chamfer
Once the chamfer is all the way across the block, I stopped. Here is the angle.
The Angle Has Been Cut On the Block
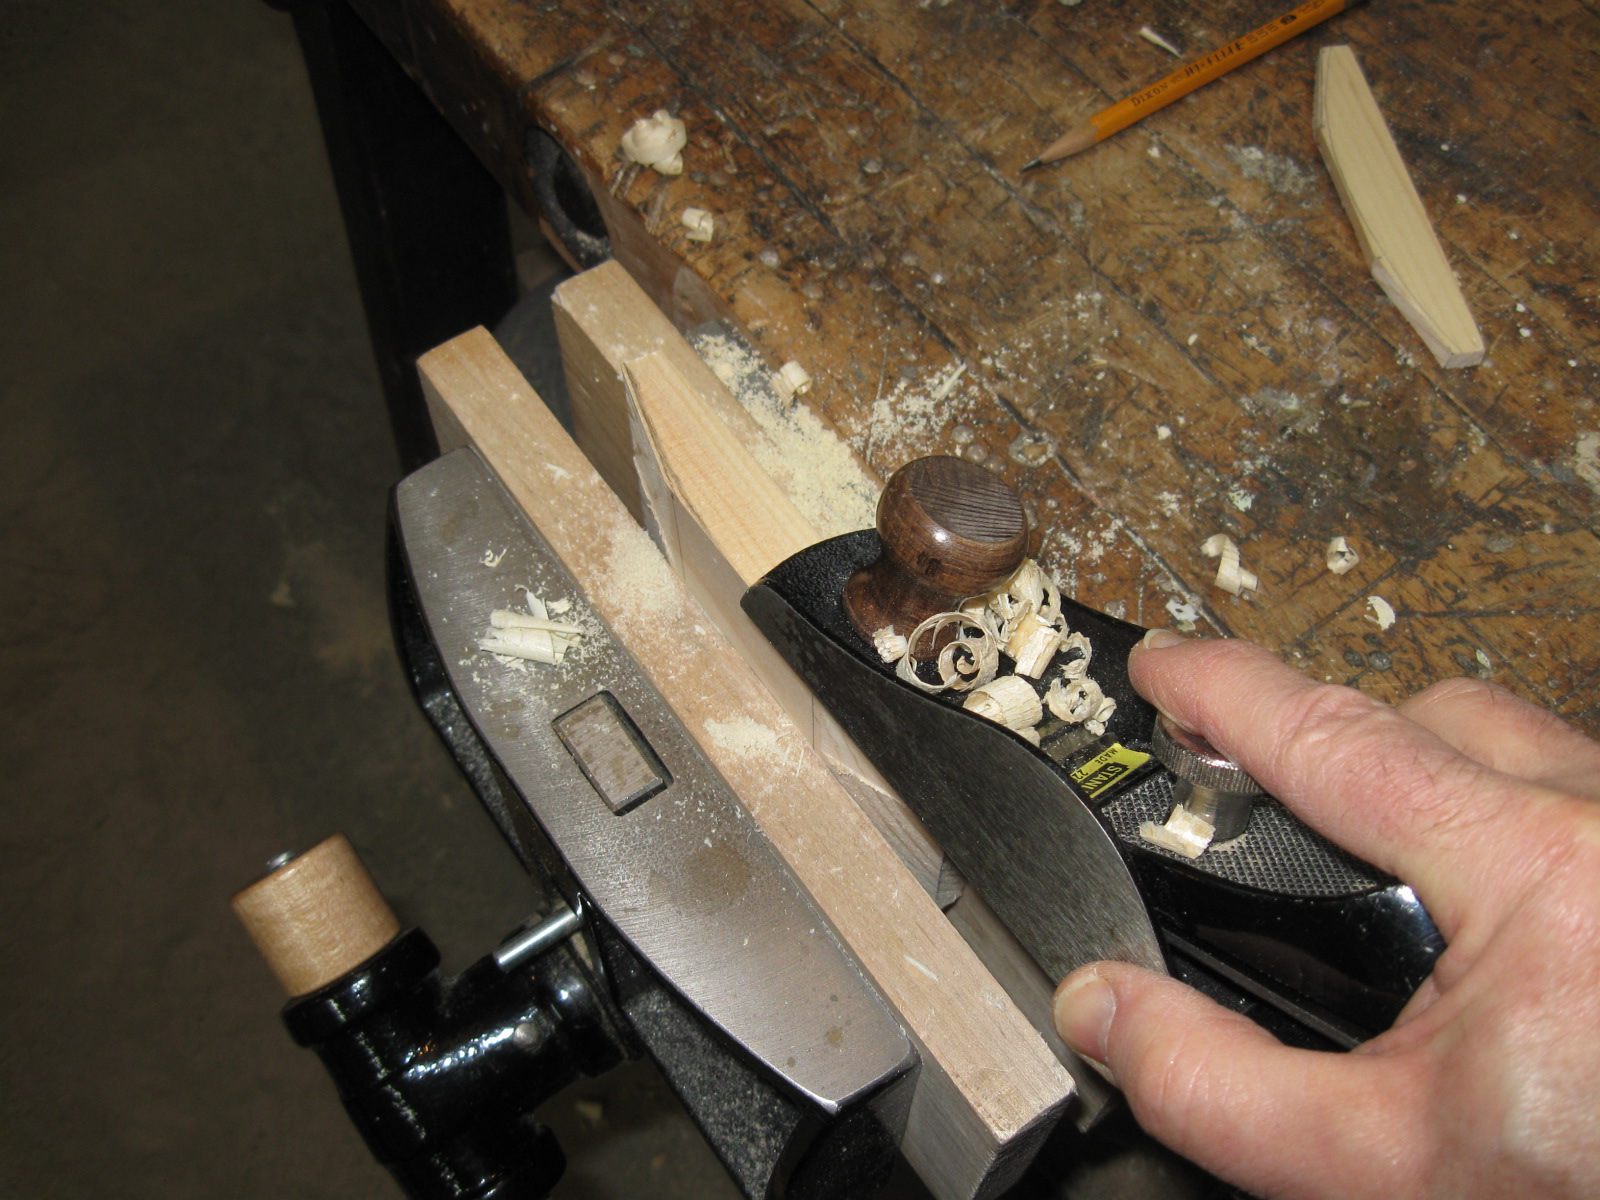
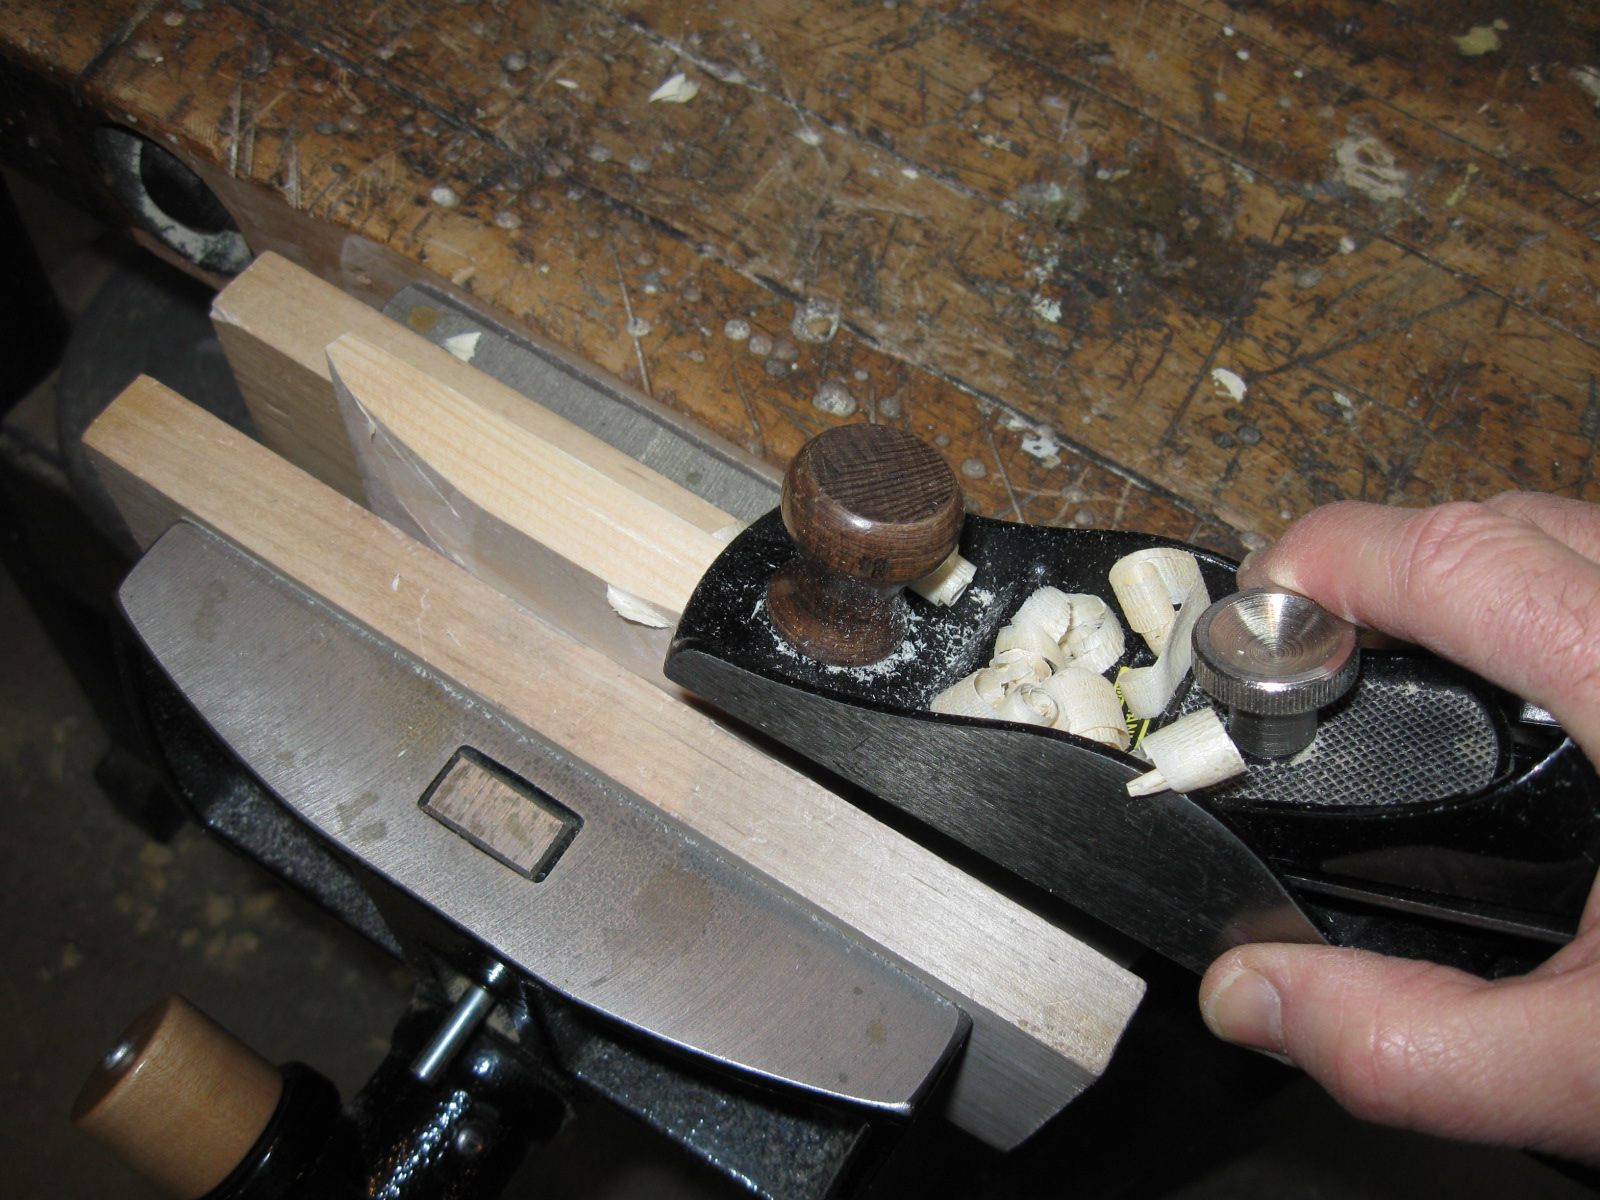
Next I used the plane to finish carving the curve so that it will fit the hoop.
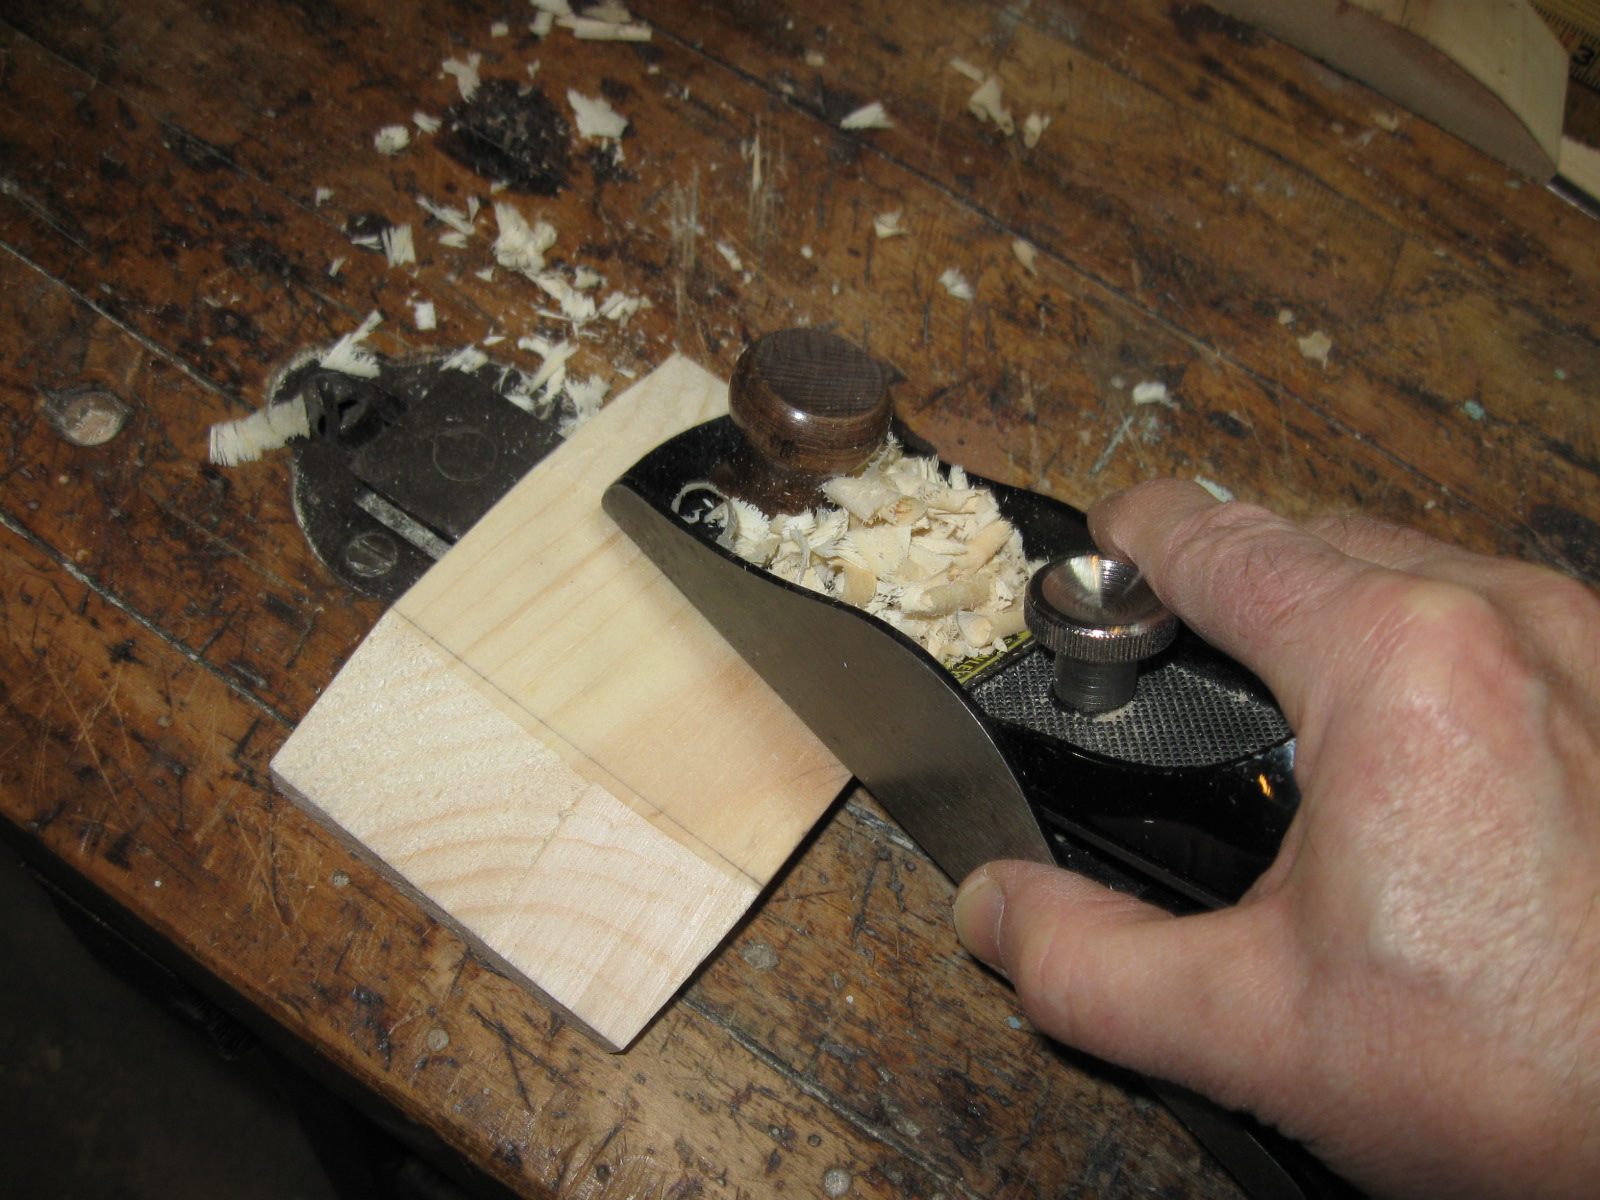
Carving the Curve
The bench dog I am using to hold the wood has caused a problem. This old bench has a built-in bench dog that looks like a military weapon. Look at the teeth on this thing.
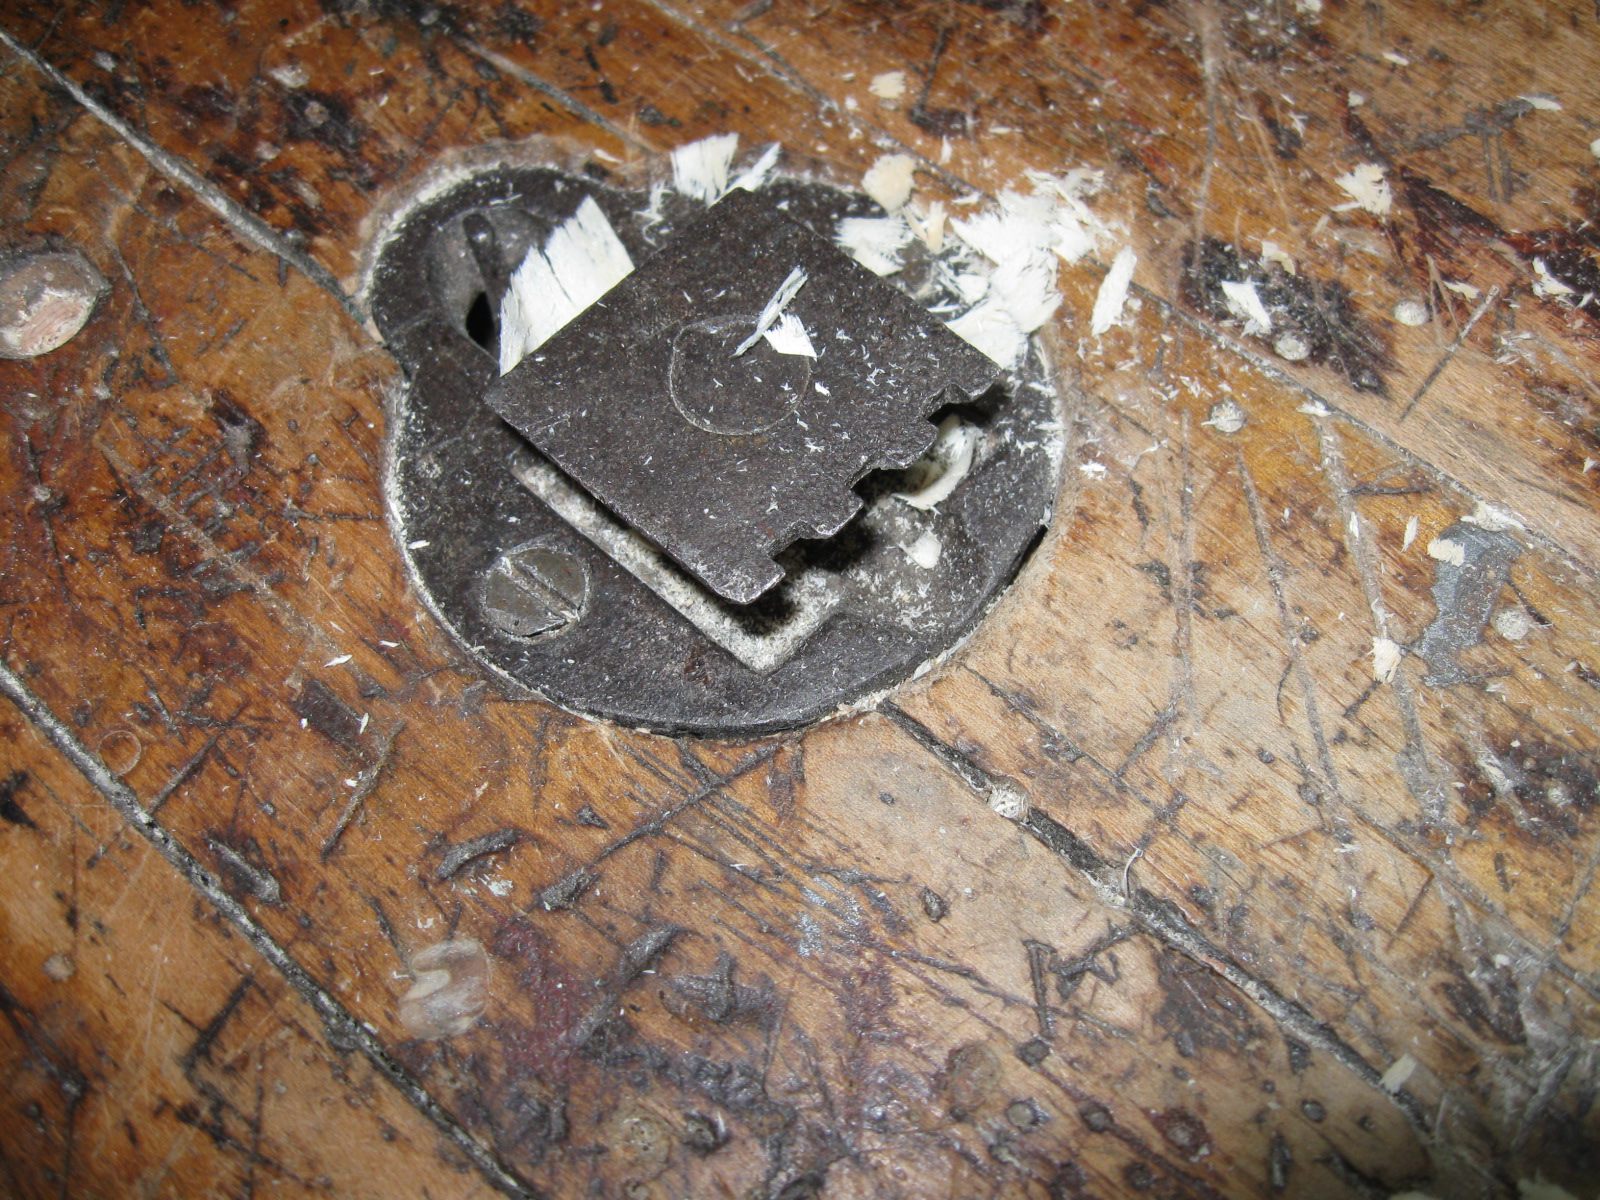
A Bench Dog With Teeth
And look what it did to the end of my new heel block. Yuk.
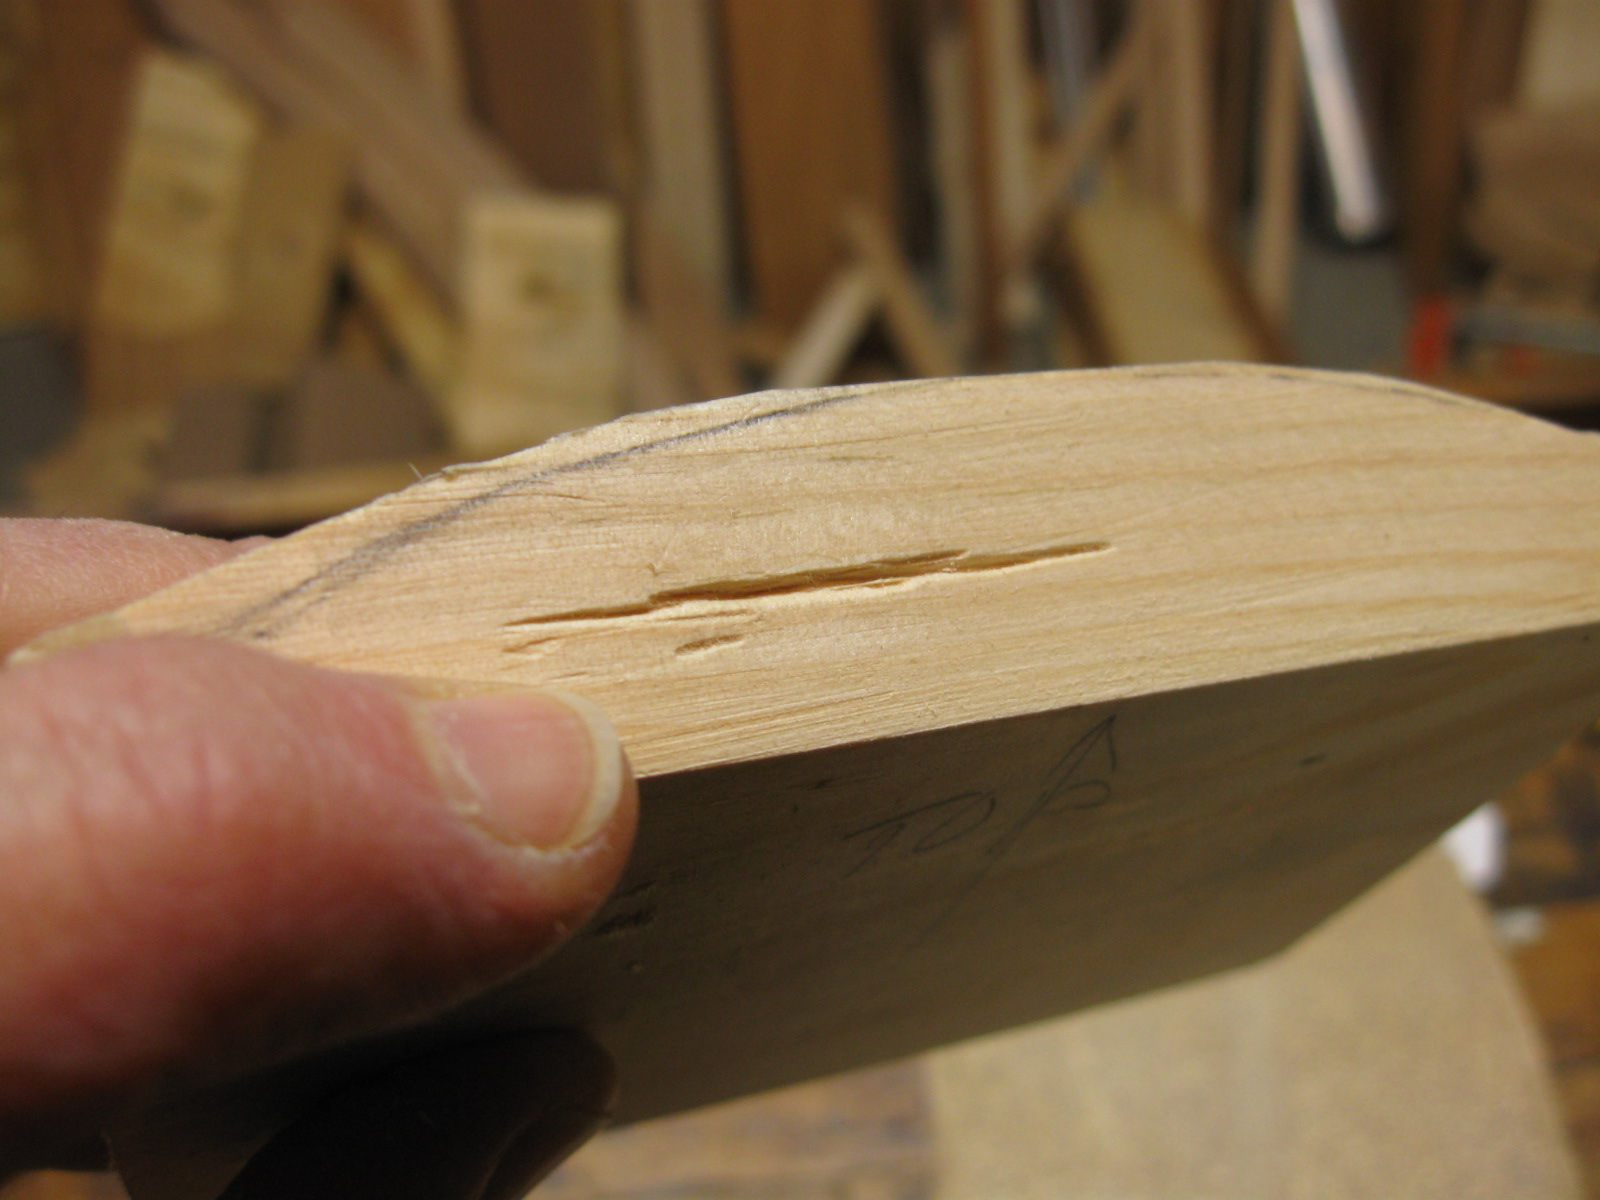
The End of the Block is Dented
I did that to the other end of the block as well.

More Dents
So I muzzled that dog with a piece of scrap wood and finished carving the heel block.
Muzzle
I really don't want those dents in my heel block, so I clamped it back into the vise and cut it down until the dents were gone. I cut down both ends because I really don't want those dents in either end. Really.
Re-Establish the Top and Bottom Surfaces
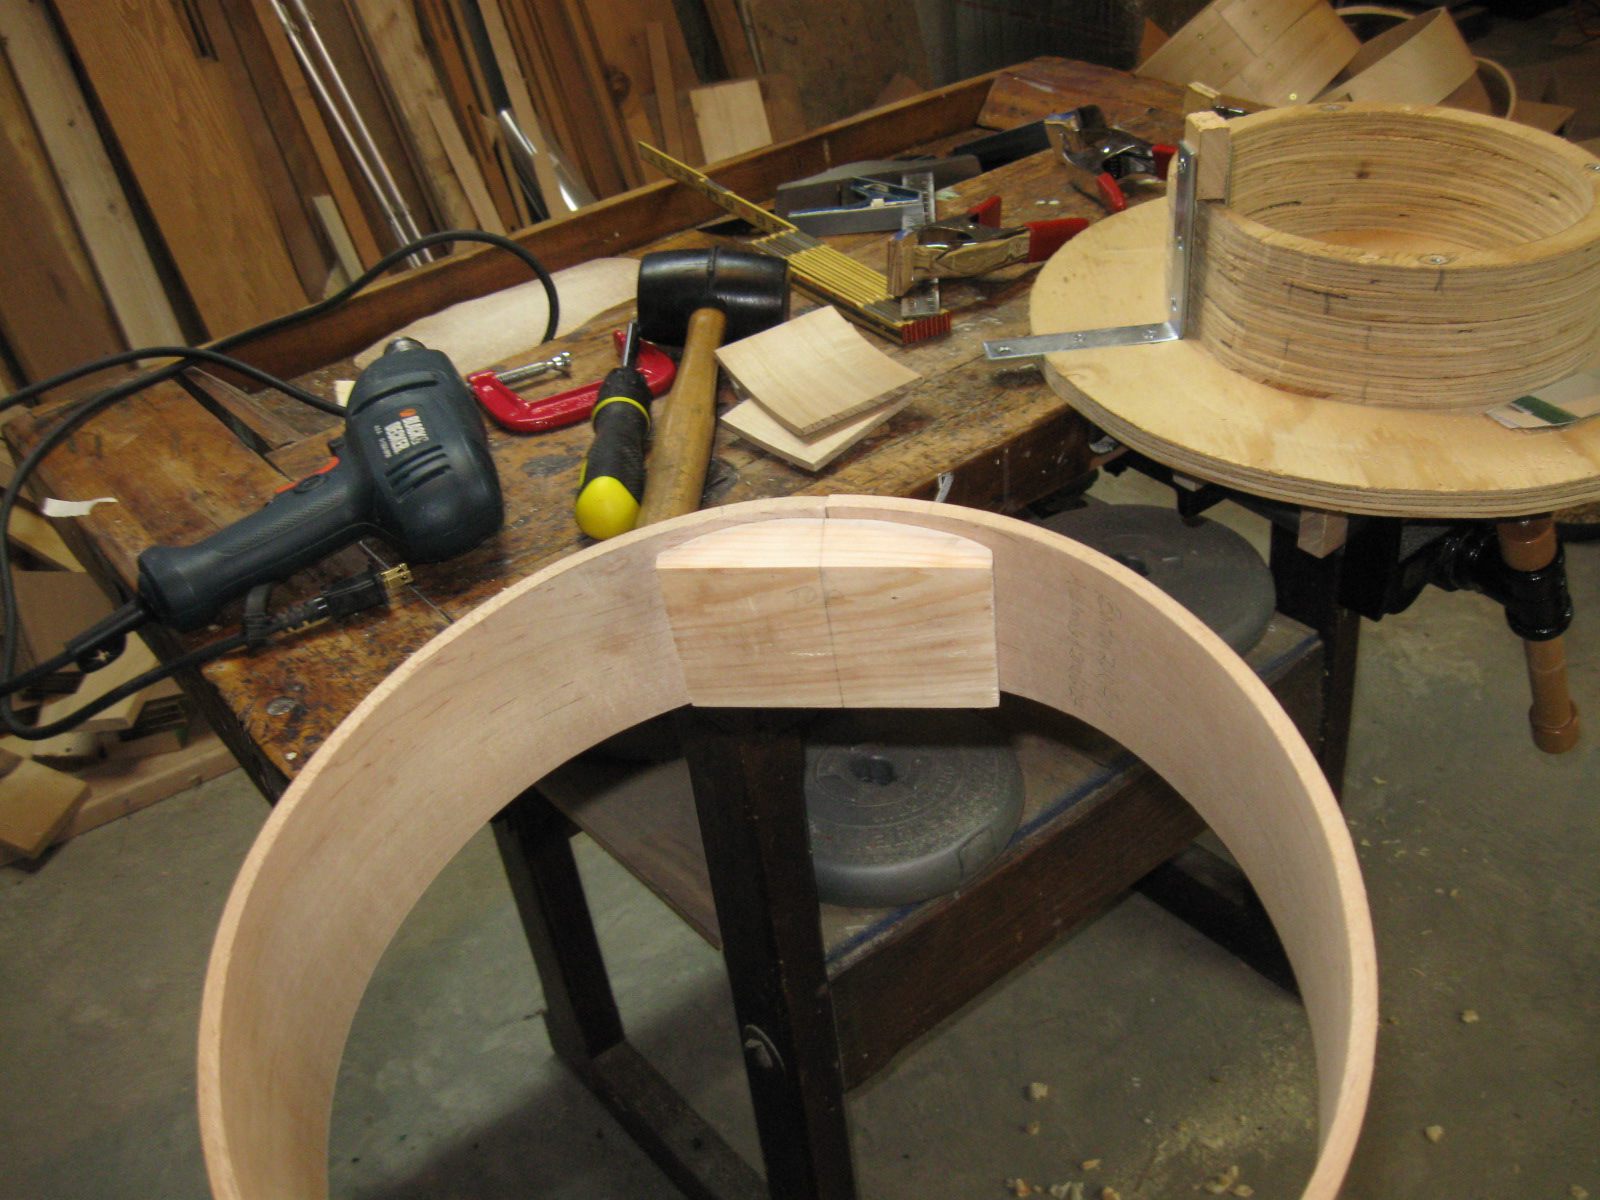
I put the clamped-up hoop back in the vise and tried out the fit of the new heel block. Hmmm. Could be better.

This is a Rough Fit
I fix that with 60 grit sandpaper on the bench. Sand and fit; sand and fit; sand and fit. I should show you a photo of each iteration so you can see how tedious this is, but I don't want to lose my readers from boredom, so you have to be satisfied with the one photo.

Sanding To Correct the Fit
It is pretty good now, but all that extra planing to get rid of the damage from the bench dog has cut the height of the block down another 1/8". My heel block is now only 3 1/8" tall. But I don't think that will be a problem.
The Heel Block has been Shortened
I marked the center of the block so that I can line it up with the joint between the two ends of the hoop.

Mark the Center of the Block
I dropped a couple of pieces of cardboard into the form where the heel block will go. That will elevate it slightly so that is doesn't stick out from the bottom of the hoop.
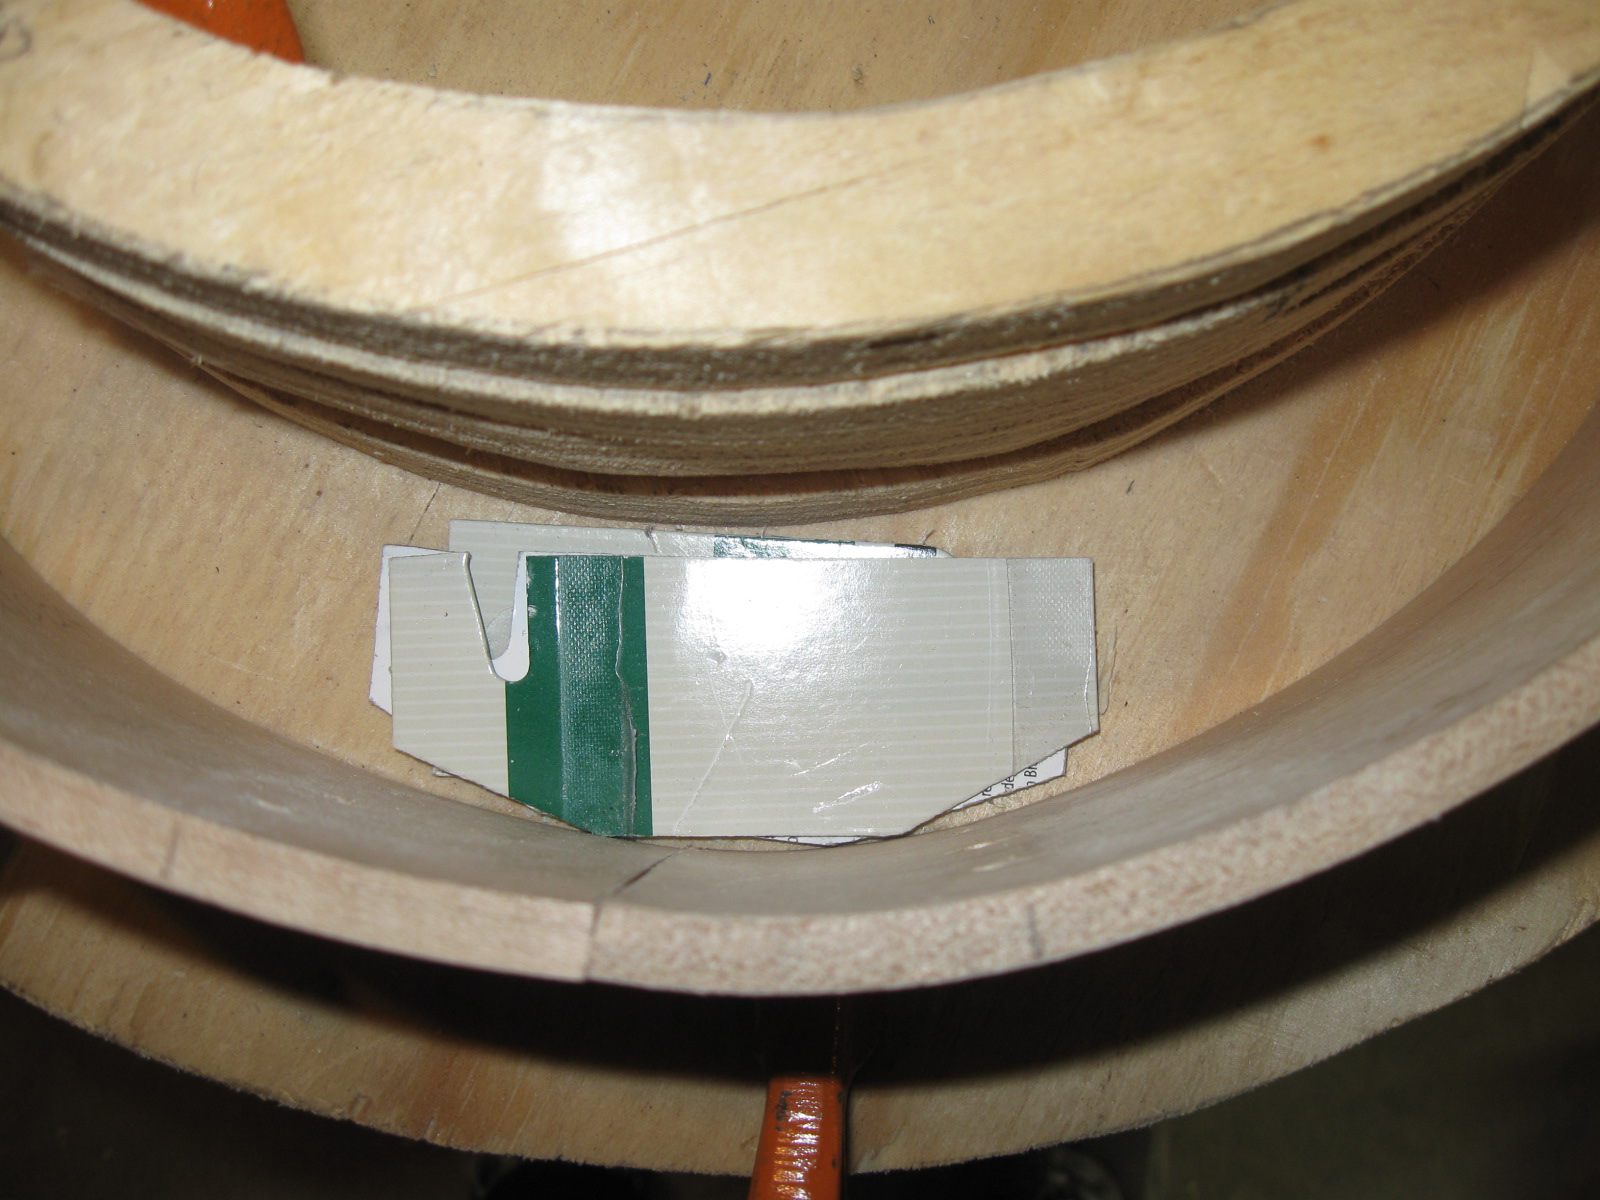
The Cardboard Will Elevate the Block Slightly
Here is the block in place and lined up. Not a bad fit at this point.
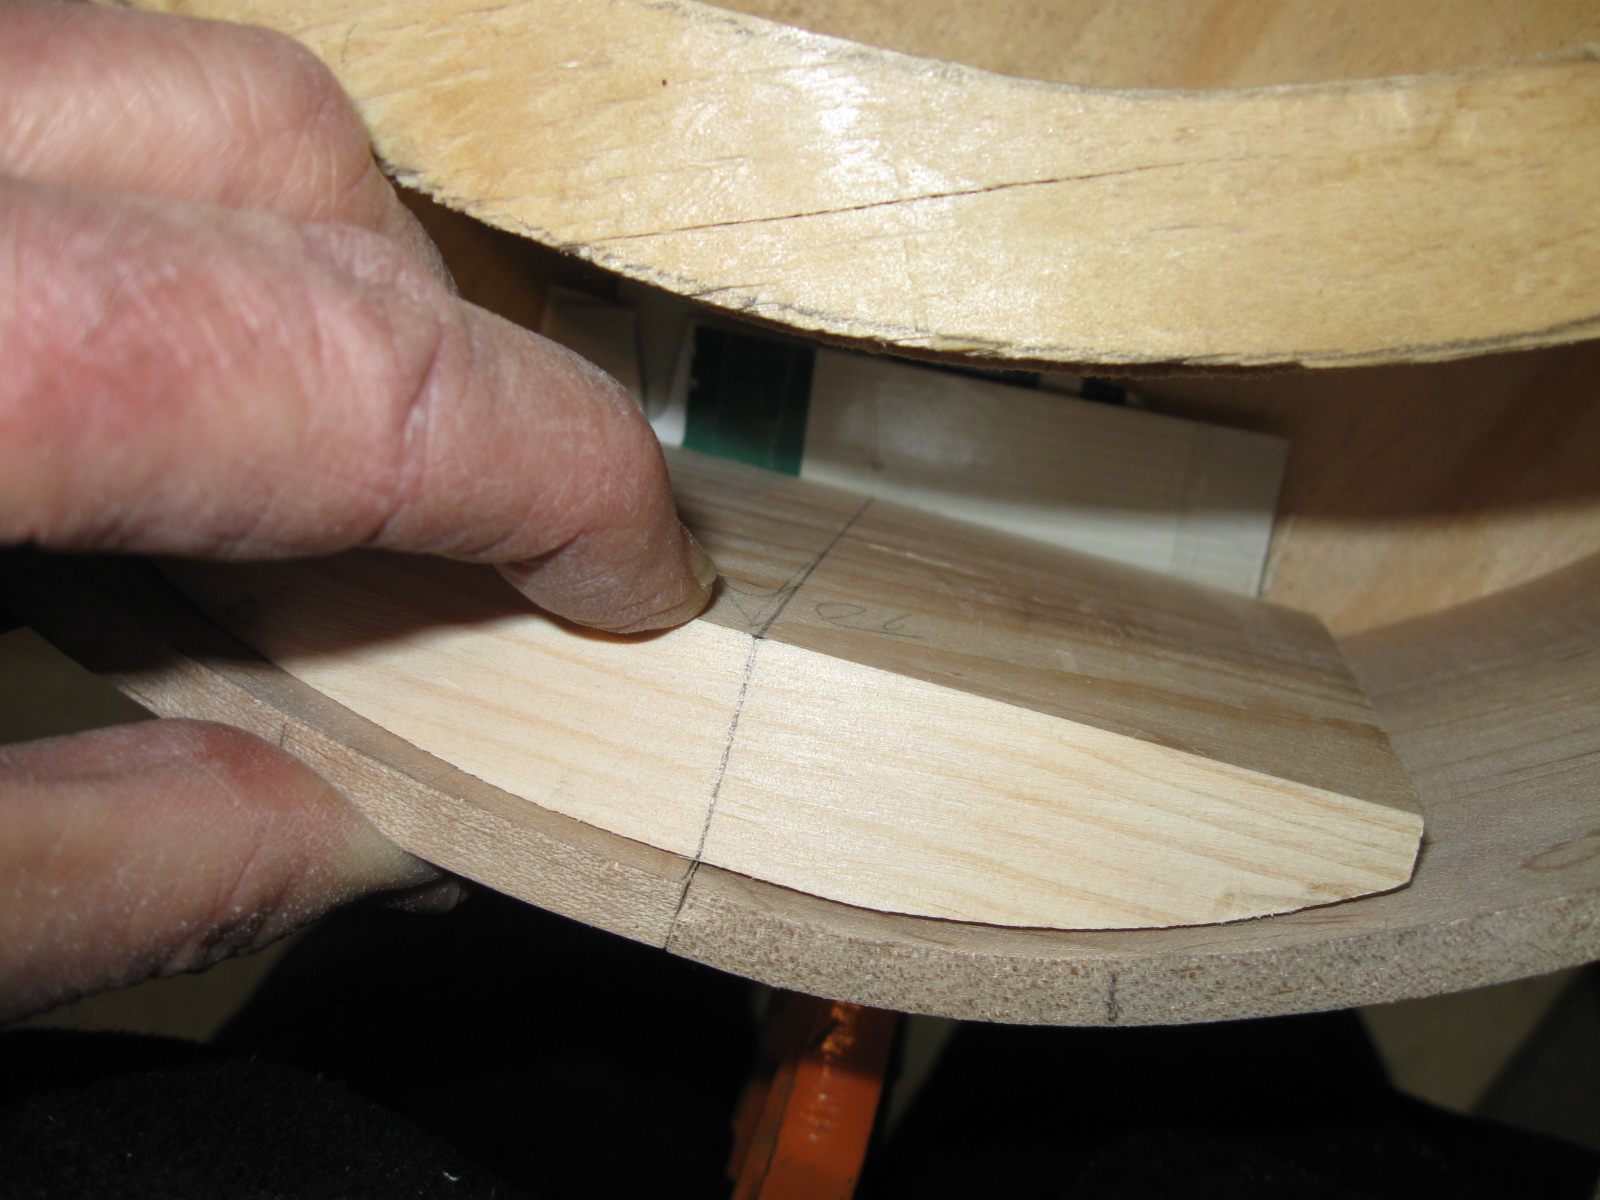
The Block is in Place
The screw holes have already been drilled in the hoop, so I marked their locations on the block. I could then look at it to make sure that there is sufficient wood to hold everything together. Looks pretty good.
The Marks are Where the Screws Will Go
I clamped the heel block in place using a C clamp
Hey! I got some new C clamps. Pretty red. Nice, huh?
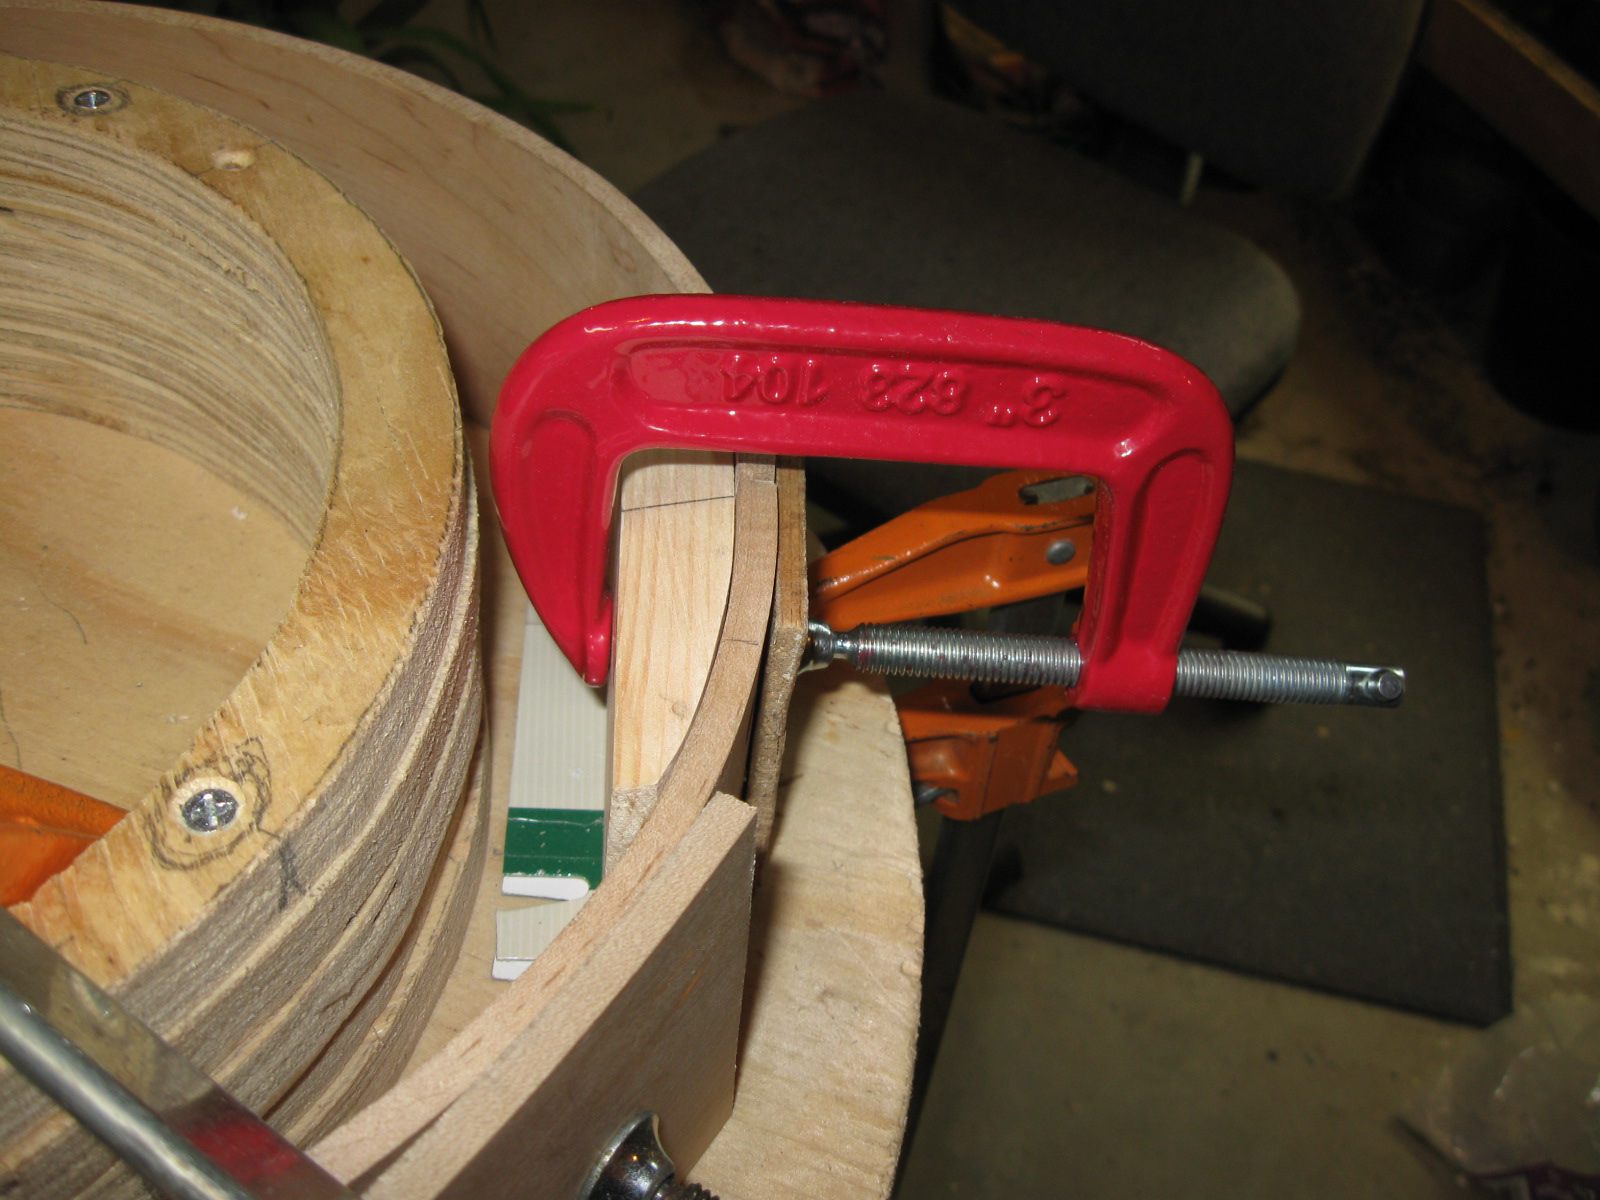
The Heel Block is Held In Place By a Pretty C Clamp
To avoid drilling too deep into the heel block, I put a flag on the 7/64" drill bit. The flag is 3/4" from the tip, measured using the screw itself.
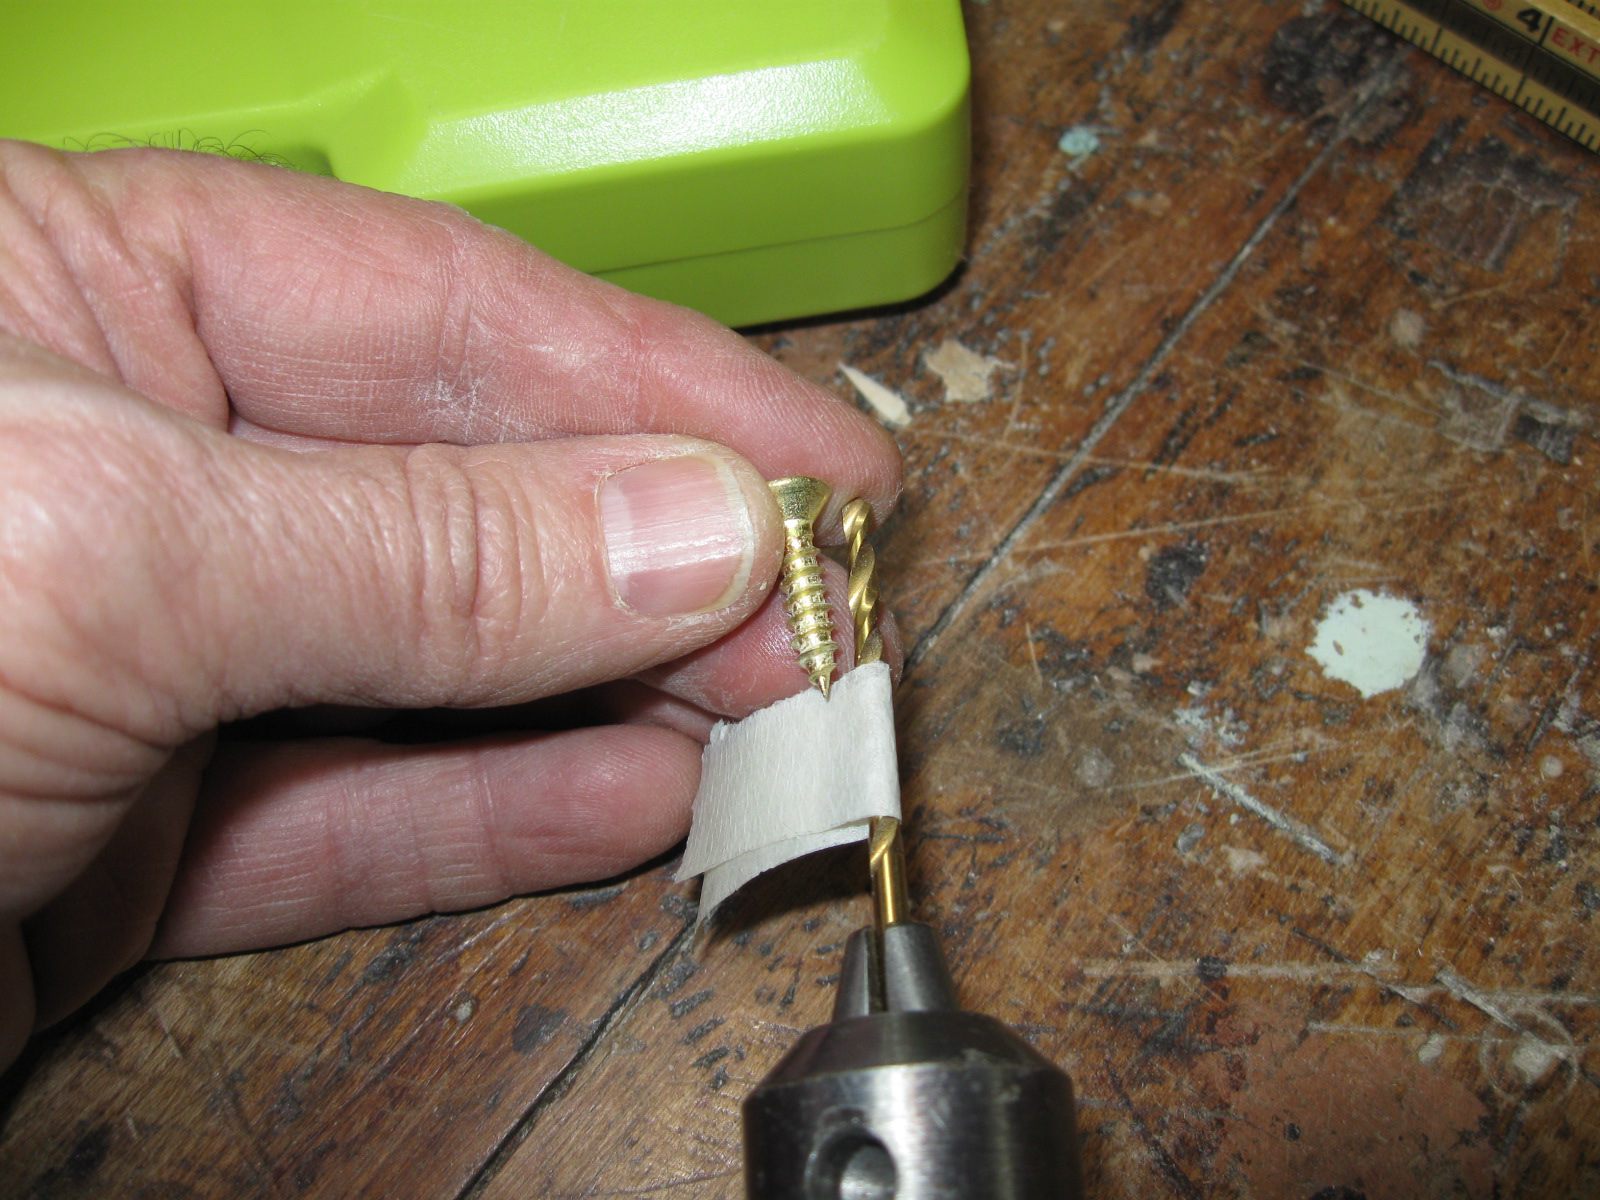
A Flag on the Drill Bit
I simply drill the pilot holes until the flag is at the surface of the wood.
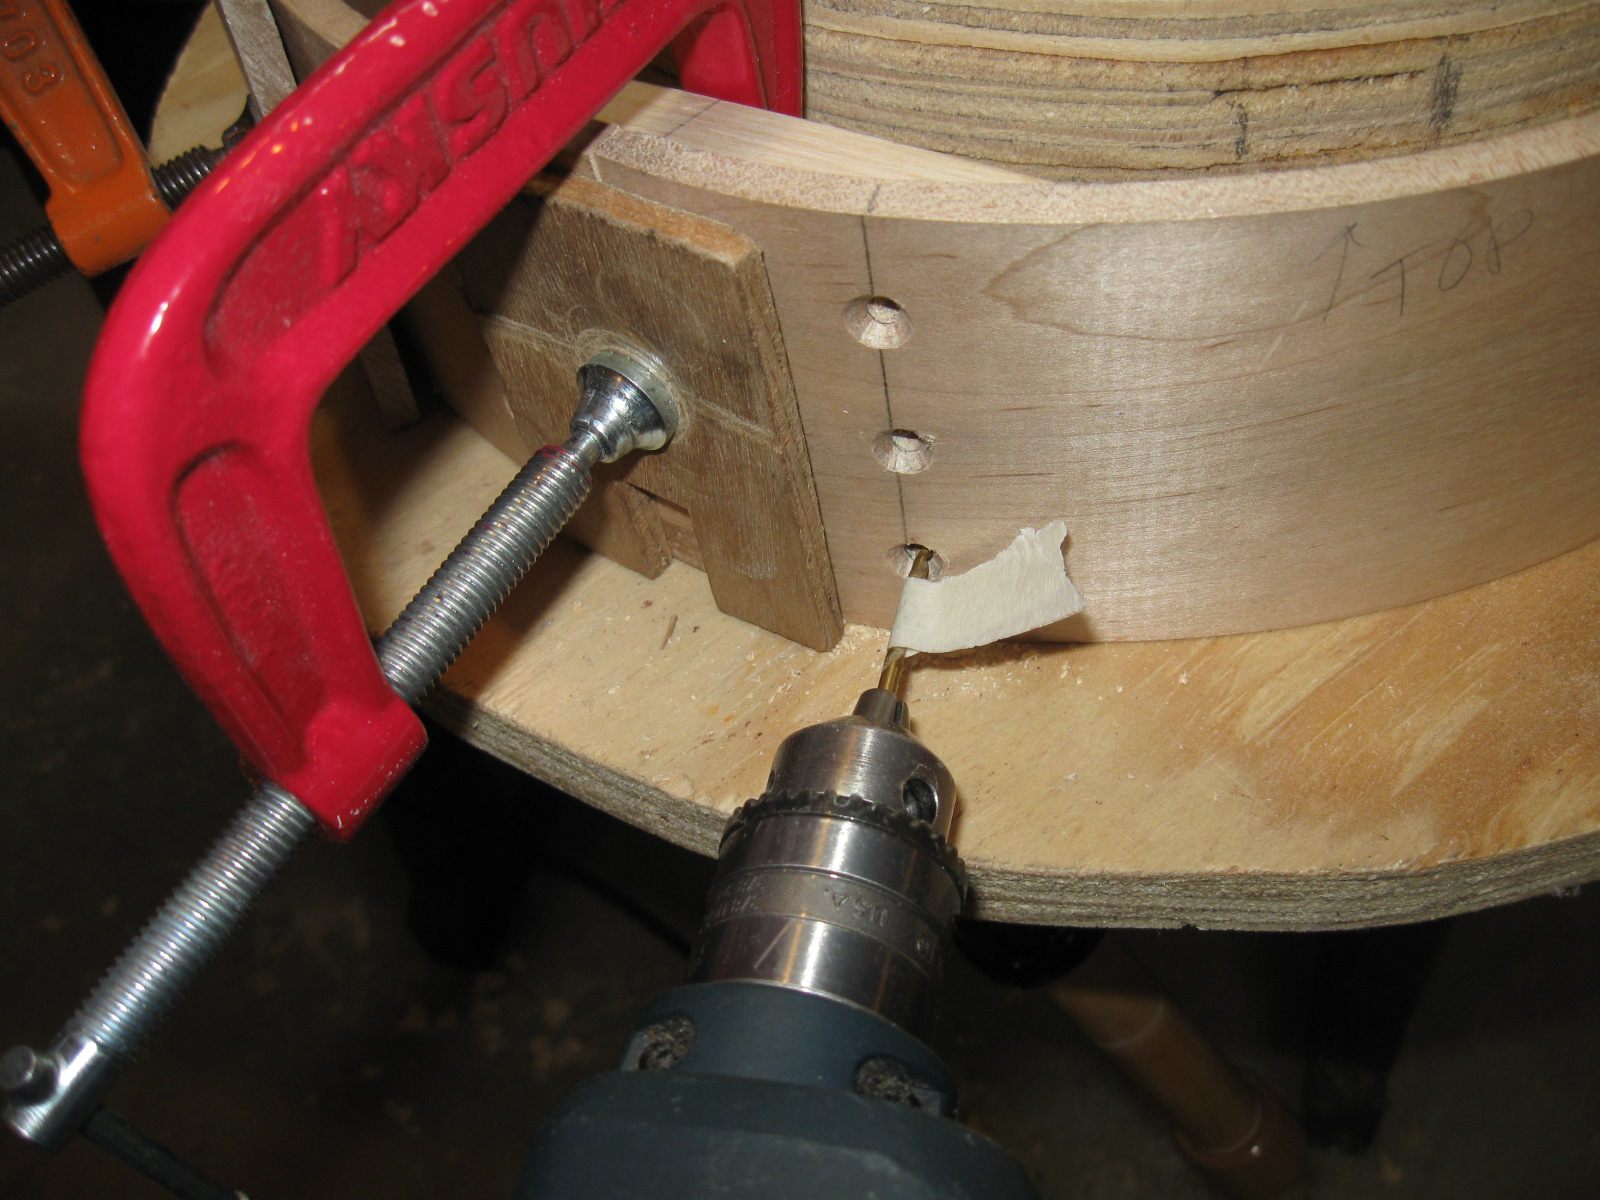
The Flag Tells Me When to Stop Drilling
Screw the screws back into the block.

Put the Screws Back In
Remove the hoop from the form, and there you go. The hoop is back together. Looks pretty good.
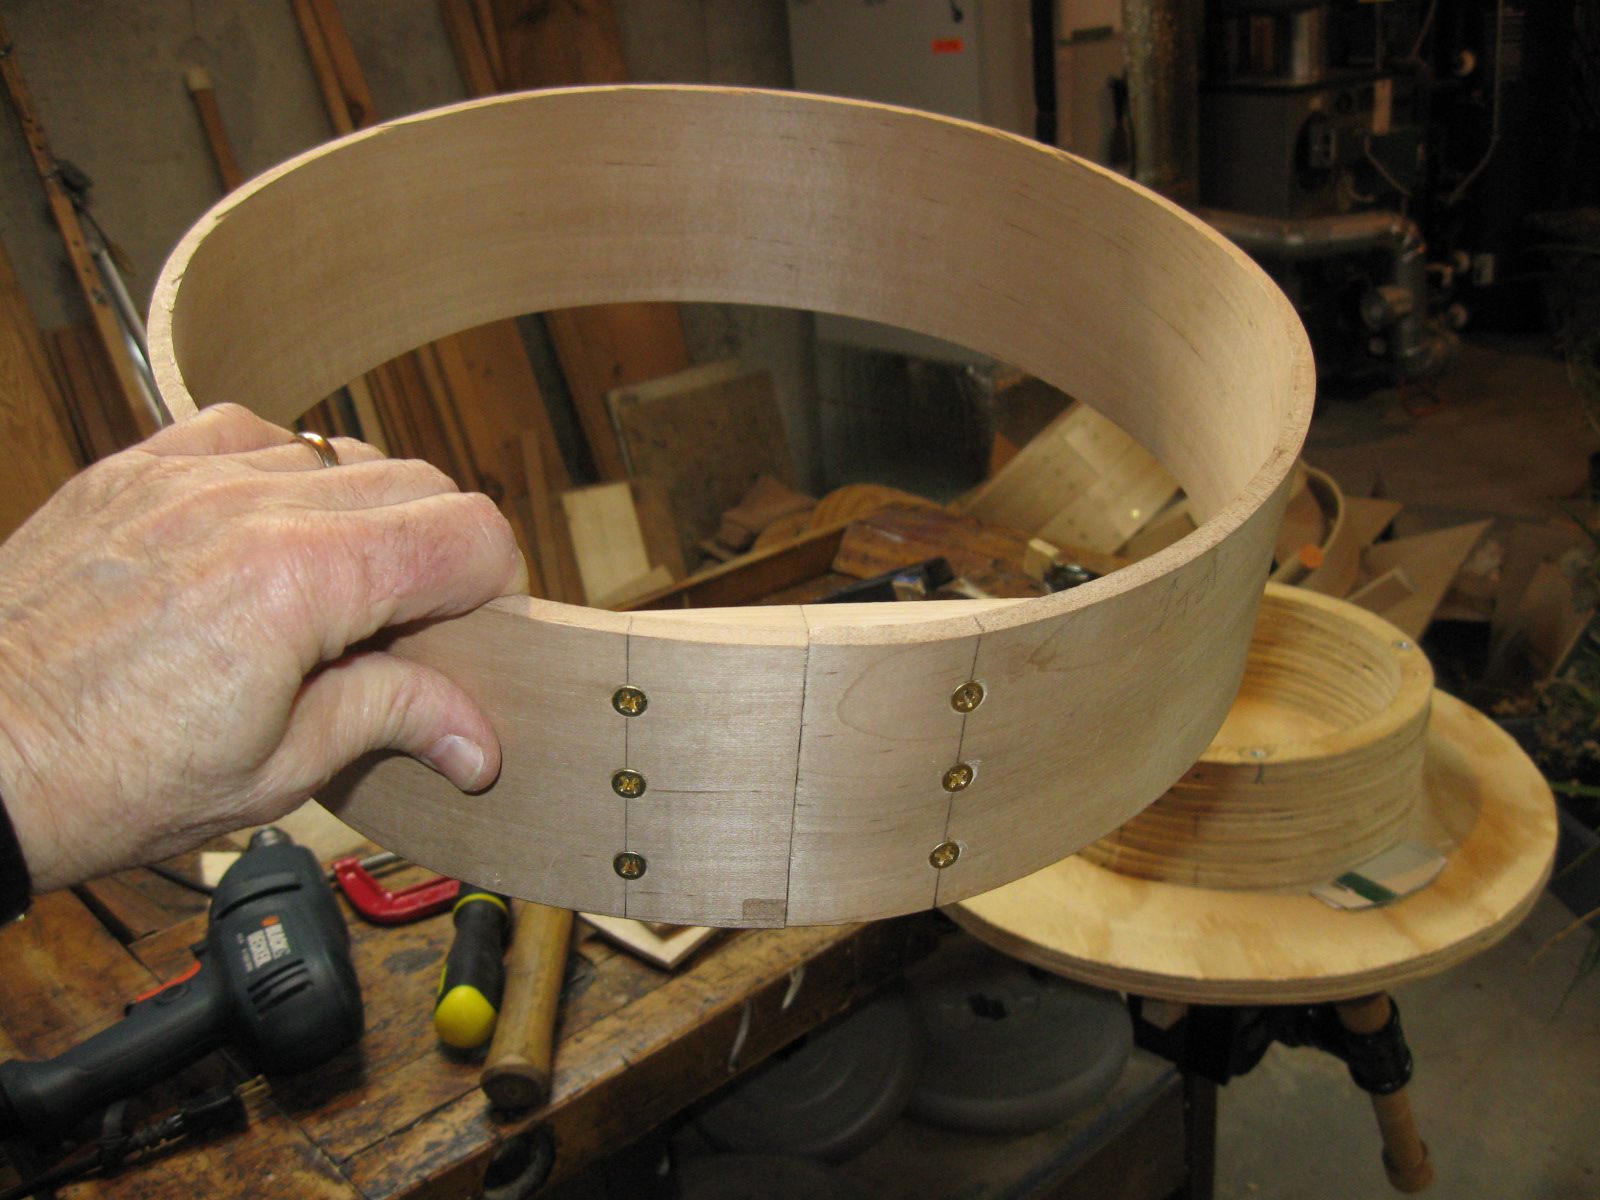
The Hoop is Back Together
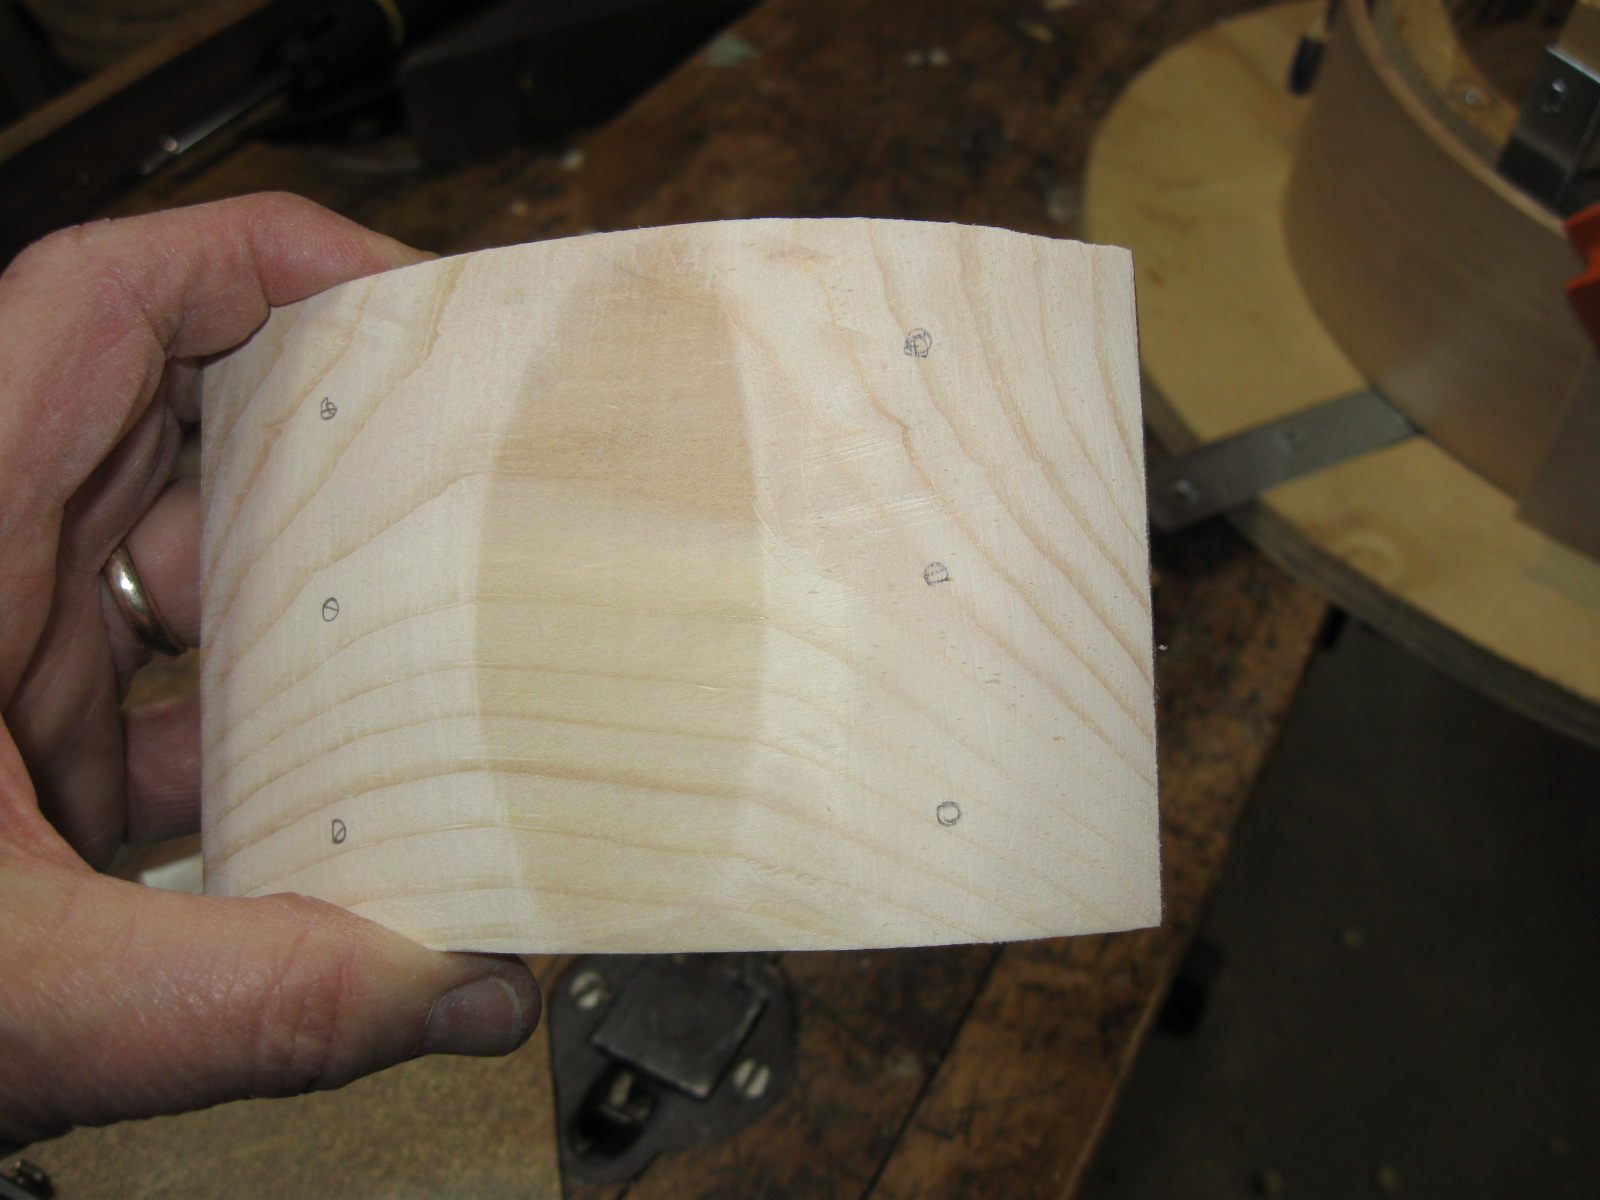
Here is that new heel block from the inside. The grain goes left and right now instead of up and down. Looks like there is plenty of room between the top of the block and where the head will go.
The New Heel Block
The photo below shows the new block from the bottom of the hoop. You can see that the fit is not perfect. The radius of curvatures of the ends of the board at that point do not match up exactly, so there is a bit of a step where the two ends meet. It looks pretty sloppy, but I will cut that down later and make it look better at least from the outside. When the banjo is done, there will be a tailpiece going through a hole in that gap anyway, so it will probably not be very noticeable.
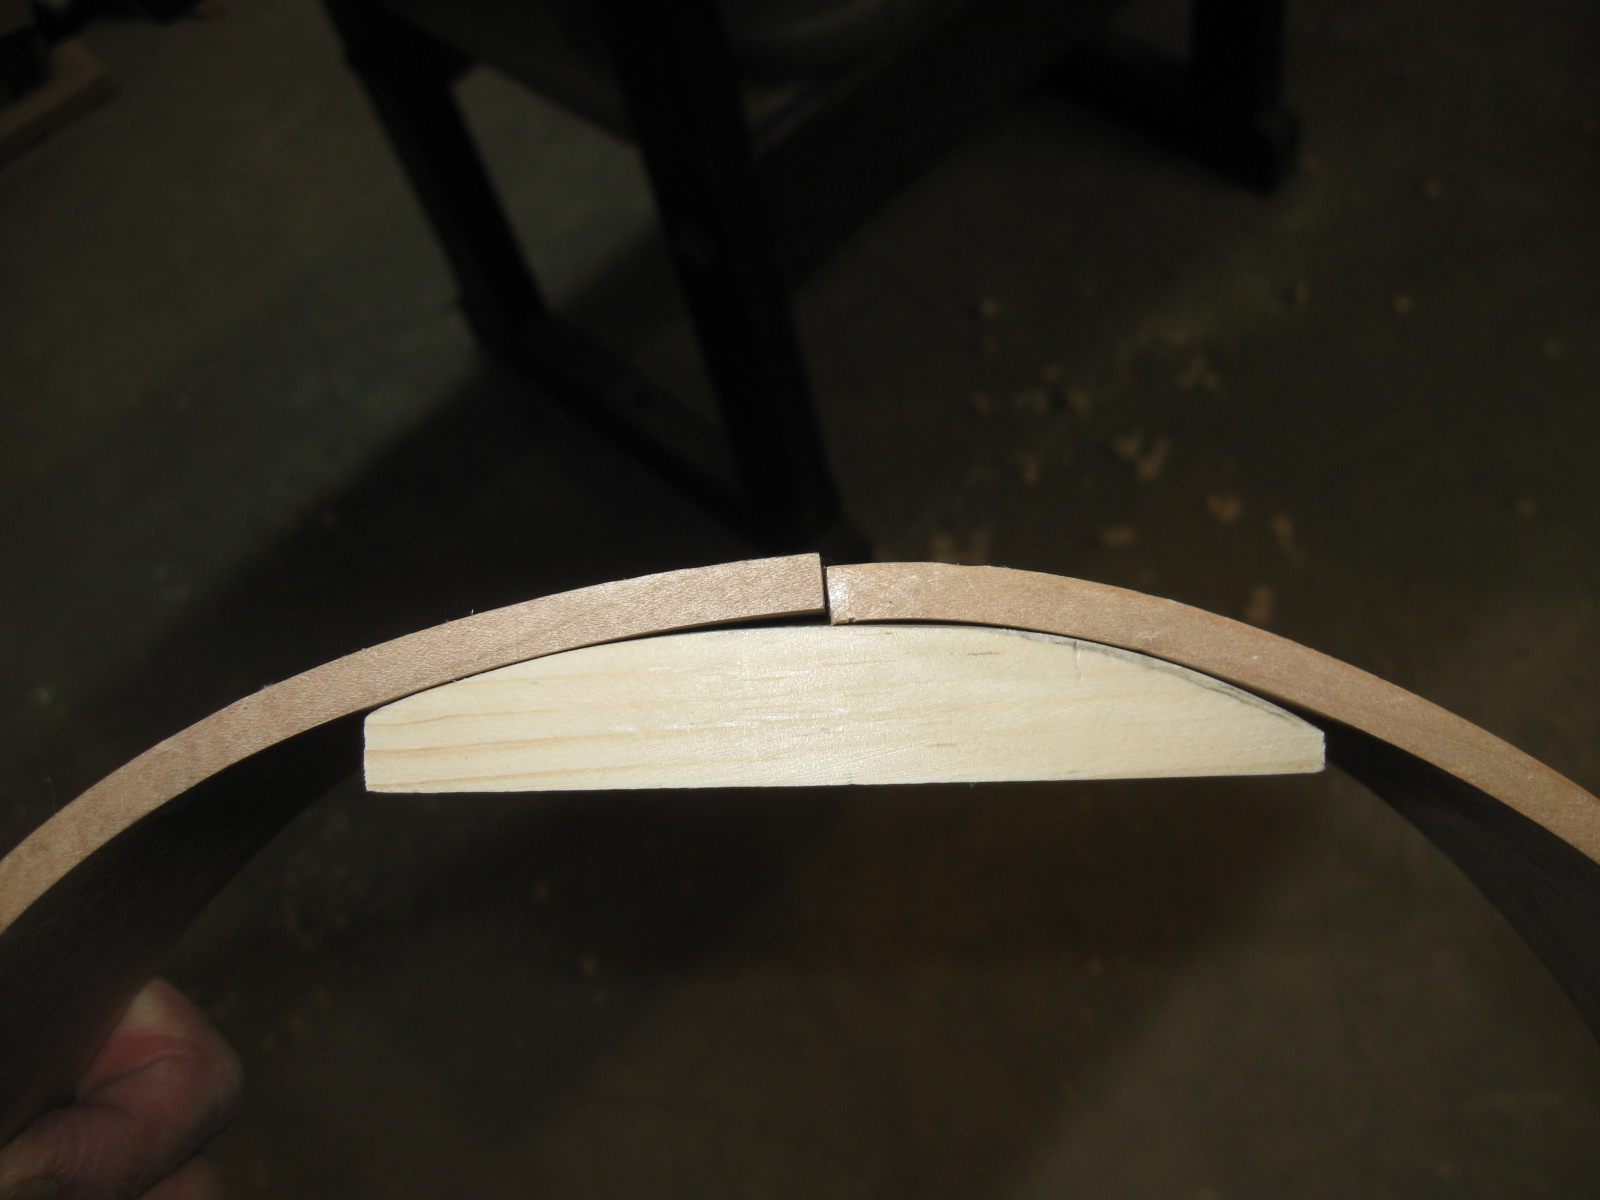
There Are Some Gaps
You can see that step goes all along the hoop if I hold it so that the light shines on it just right.
I Will Have to Knock That Down Later
That's it. I am finished... again. This time really. I mean it. Well... unless I decide to replace that baffle in the steam box with a bigger one to try and get rid of all the egginess of my hoops. If I do that, I might write another addendum to this. You never know what is going to happen.
Click on the DEB logo at the bottom of the page and it will take you to my Dead Easy Banjo page where you can follow my (mis)adventures as I build a banjo out of this hoop.