The steam box is back on the bench this week. I have decided to put a baffle inside the box over the hole where the steam comes in. I want to spread out the steam at that point to distribute it more evenly over the center of the board. I think that the center of the board is becoming super heated and bending more than the rest of the board, thus making the pointy part of the circle. By doing this upgrade I am hoping to remove the egg shape from the bent wood.
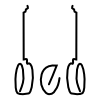
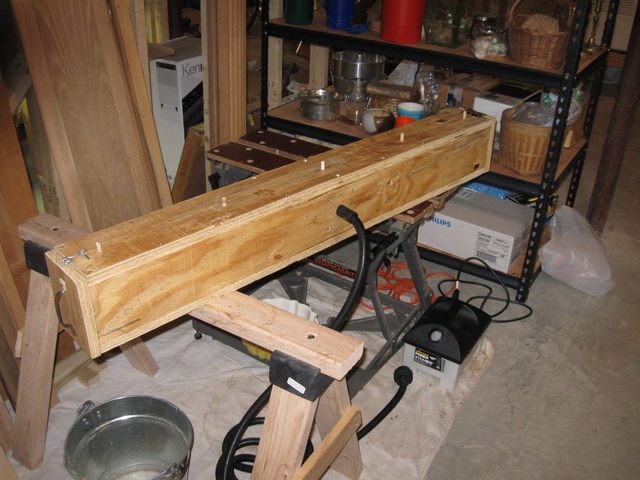
Here is the box on the bench.
The Steam Box is on the Bench
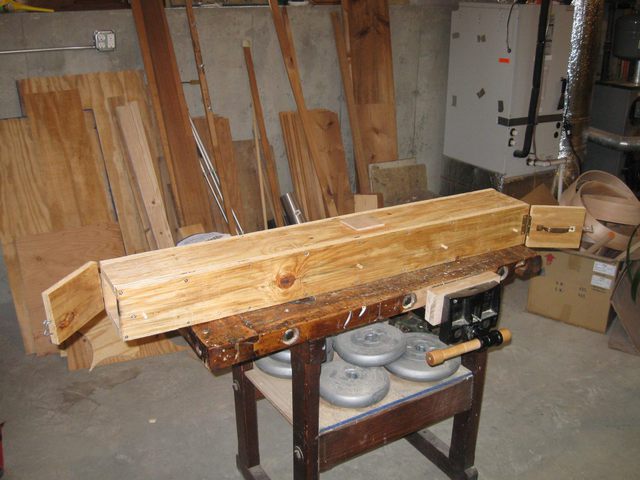
I pulled the wooden pegs out of the holes with some pliers. They had swolen in place somewhat, but they were not too difficult to remove.
Pulling the Pegs Out Using Pliers
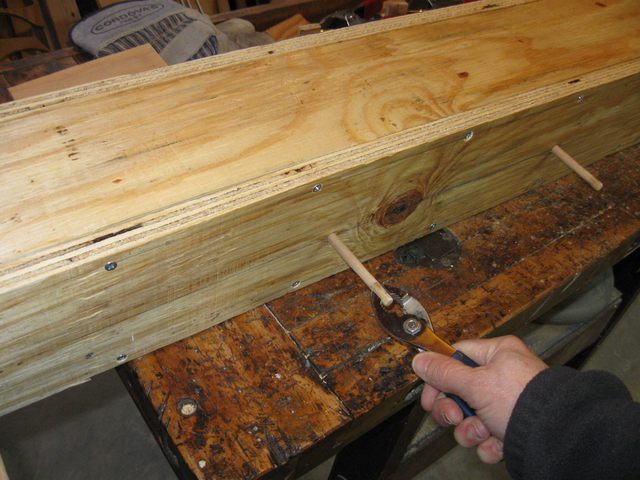
Then, I took one side of the box off to expose the steam hole. I cut a small piece of 1/2" plywood that I had lying around. Here is where it will go over the hole.
I Will Put a Piece of Plywood Over the Hole
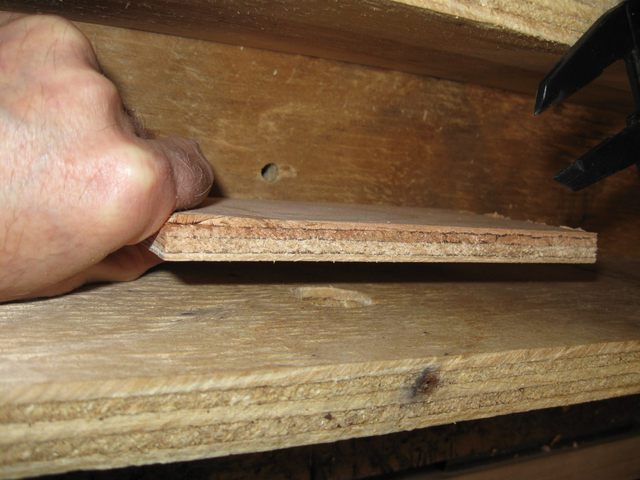
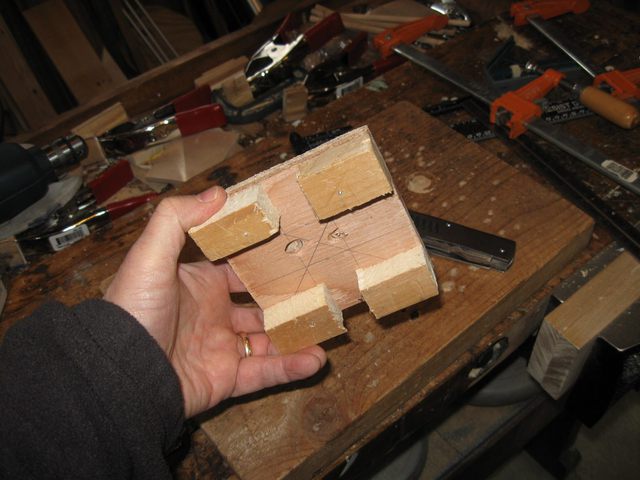
So, then here is the baffle.

The Baffle
I clamped the baffle to the bench and drilled some holes through it angled out from the center toward the ends. That will allow some of the steam to come out and hit the board in the center... but not all of it.
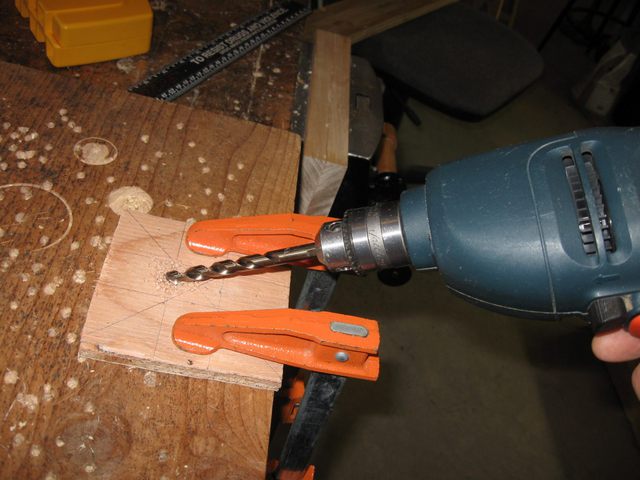
I Drilled Some Angled Holes
Here are the holes as seen on the side of the baffle that will be next to the steam hole.
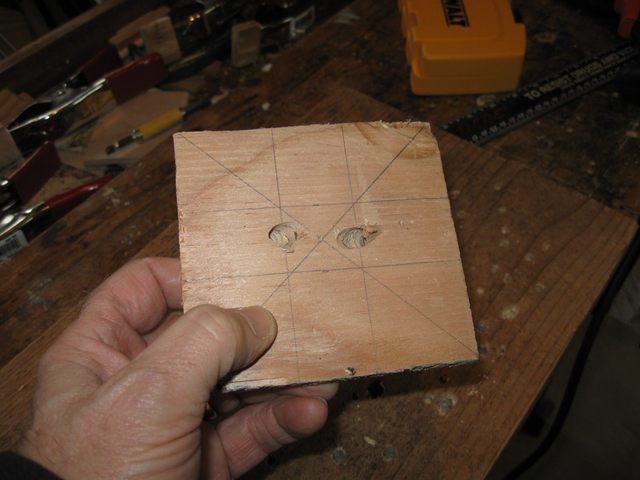
The Holes on the Bottom Side
Turning the board over, you can see where the holes come out on the top side.
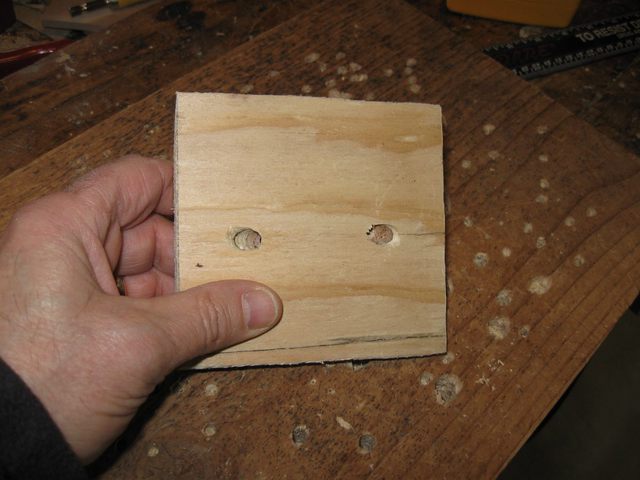
The Holes Come Out on the Top Side
The next thing I need is some feet to hold the baffle up off the bottom of the steam box. I made them out of a pine scrap that I had sitting around.
This is where I can feel justifiably self righteous for keeping all of those leftover wood scraps in the shop. Since I never throw anything out my shop is a mess, but I always have some scraps lying around to make random small parts out of.
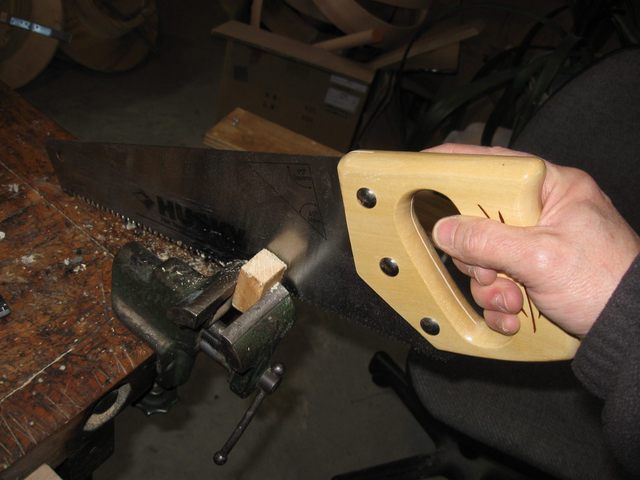
I Sawed Some Feet From a Board
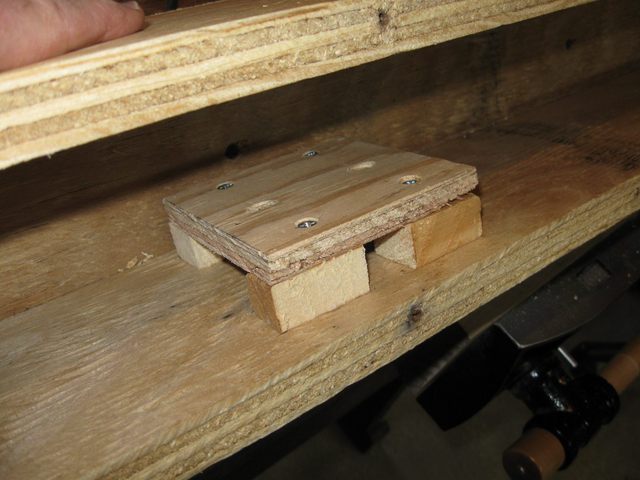
Here is the baffle with the feet secured to it. I screwed the feet on using four #8 screws (of course).
The Feet Are Screwed To the Baffle
Here is the top of it.
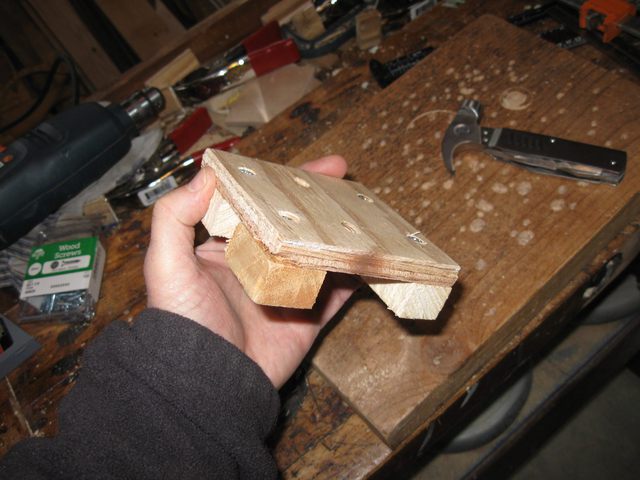
The Top of the Baffle
I marked off the location of the baffle on the bottom of the steam box. I want to screw the feet to the bottom of the box from the outside. So I measured carefully through the center of the hole to find where the screws need to go.
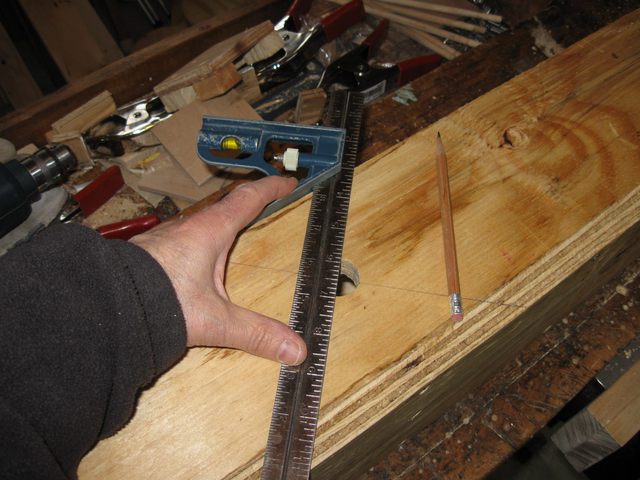
Marking the Diagonals of the Baffle
I drilled the holes and then put four screws into the bottoms of the feet on the baffle.
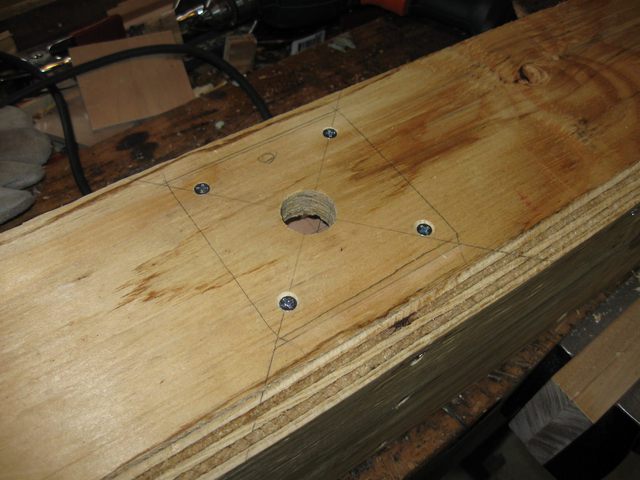
There is One Screw For Each Foot
Here is the baffle on the inside of the box.
The Baffle is Mounted Inside the Box
From the bottom you can see that the steam hole is centered under the bottom of the baffle.
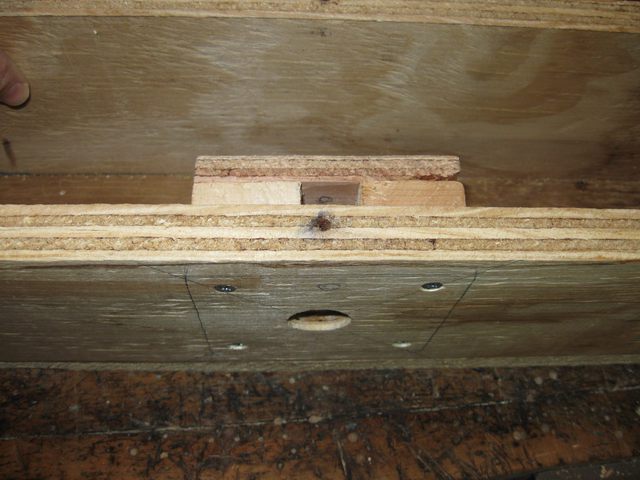
The Baffle is Centered Over the Steam Hole
Stepping back, you can see the placement of the baffle in the center of the box.
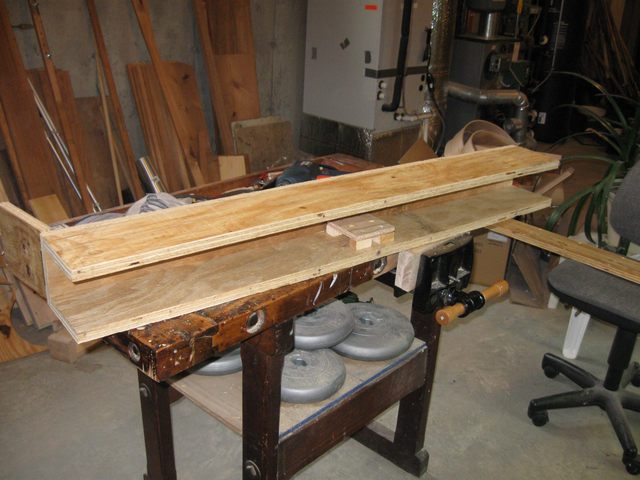
A Wider View of the Baffle in the Box
I screwed the box back together, and then pounded the wooden pegs back into their holes.
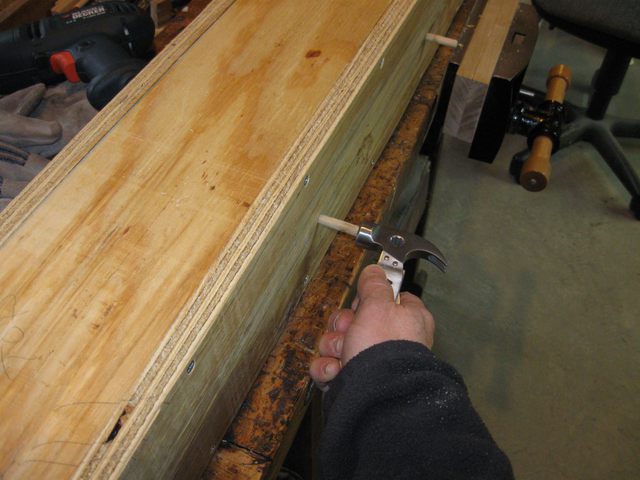
Installing the Pegs Back Into Their Holes
Looking down the tube, you can see that the baffle sits just under the center peg. The board will ride on top of the peg, and hopefully the baffle will distribute the steam evenly over the board at that location.
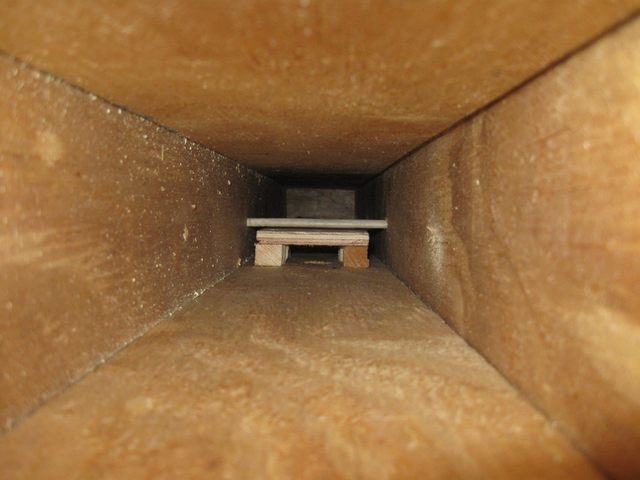
The Peg Sits Right Over the Baffle
I stuffed the steam hose back into the hole in the bottom of the box. The hose is just a friction fit in the hole, but no pressure builds up inside the box, so it stays in OK.
The Upgrade is Done
There was no time to try it out today, so that will have to wait a few days. I think that I now have a better steam box anyway. Can't wait to try it out.