It has been a long time since I have looked at this project. A whole Winter has gone by. I don't know where the time went, but I think that most of it went into unpacking after our move into this new house.
Anyway, I am back on the project, and it is time to make some circles. How many circles do we need? Well there is the 18" main plate, then we need enough circles to stack into a cylinder that will be the same height as the hoop wood.
The hoop wood (i.e. the board that I will actually bend into a circle to make the hoop) is a 4 foot long 4" by 1/4" board. It is piece of maple that is 1/4" thick by 4" wide.... which is actually only 3 1/2" wide. A "1/4 X 4" board, is really 1/4" by 3 1/2" if you measure it. That doesn't make much sense, but that is the way it is. The way they name wood sizes is very confusing, so it is always better to just measure it. Speaking of odd sizes, the 3/4" plywood really isn't 3/4" thick anymore either. It is really 23/32" thick. So we have to measure the wood if we want accurate results.
The hoop wood is 48" by 1/4" by 3 1/2".
Odd isn't it that the length and thickness are accurate, but the width is off by 1/2". The 4 foot long board is actually 48" long, and the 1/4" thickness is actually 1/4" thick, but the width of the 4" board is 3 1/2". Strange. But that is not true of a two by four, which is 1 1/2" by 3 1/2". That is off in two dimensions. However, a four foot length of two by four is still 48 inches.
But I digress.
The hoop wood is 48" by 1/4" by 3 1/2", so we need a bending cylinder of at least 3 1/2" in height.
The plywood is 23/32", which is 0.71875"
3.5 / 0.71875 = 4.86956521739
So we will need approximately 5 layers of the 3/4" plywood to cover the full width of the hoop wood.
5 * 0.71875 = 3.59375
That is 3 and 19/32 inches. Now, there's a nice, round number. Since the hoop wood is 3 16/32", we will have surfeit of 3/32" in the height of the cylinder. Cool.
The first thing I need to do is to mark the 18" plate. I want to cut out the largest piece first to maximize the use of the plywood. So I measured 9" from the corner of the plywood.
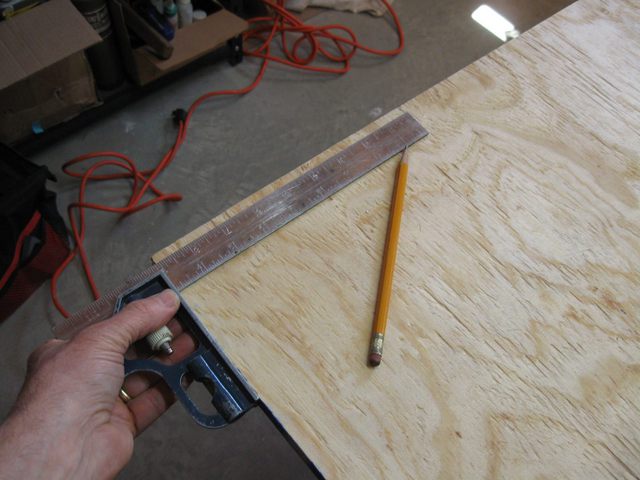
Measure 9" In from the Edge
Then I measured 9" from the corner going the other way.
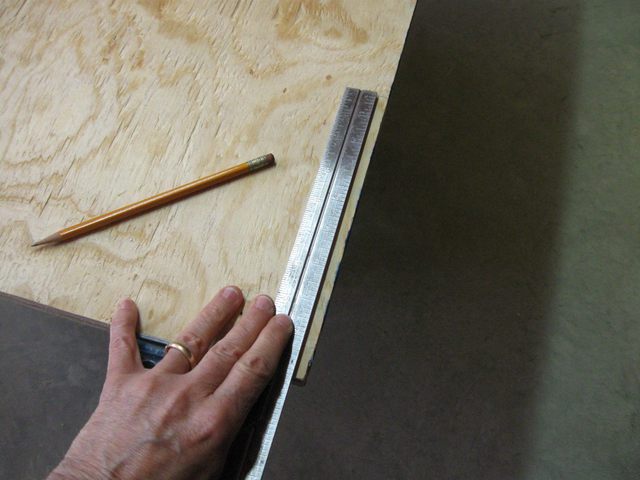
Measure 9" In from the Other Edge
The intersection of the two positions marks the center of my 18" wheel so that the edge of the wheel will coincide with the edge of the plywood. Then, I tapped a small hole at the center point using a 7/64" drill bit and screwed down the marker.
Marker Screwed to Center Point
Here's a closeup. I tightened the screw just enough to hold the marker down flush with the plywood, but not so tight that it restricts the movement of the marker around the circle.
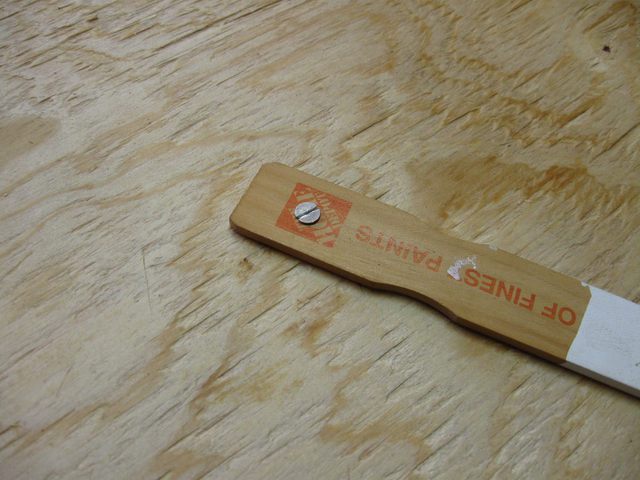
Closeup
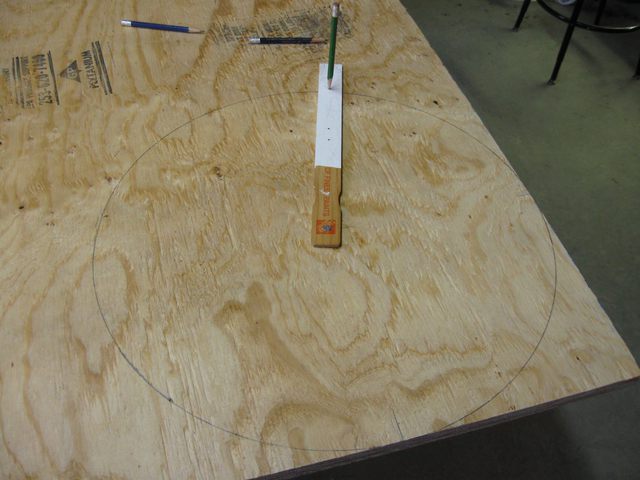
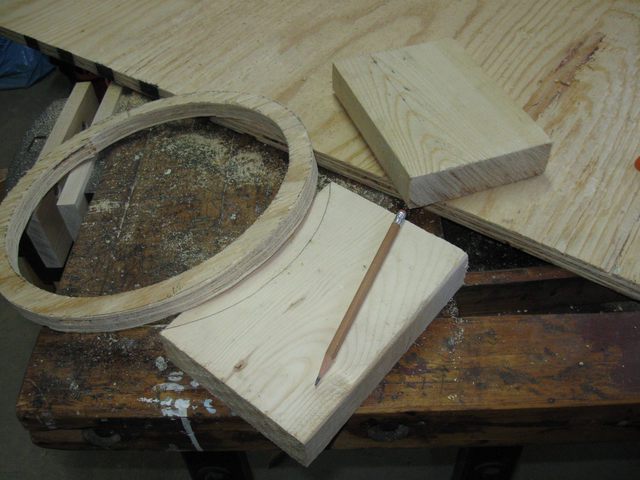
Then, all I have to do is put a sharp pencil into the 1/16" hole and move it around the circle.
Drawing the Circle
Those other two holes that are visible in the marker are for drawing the rings that will make up the cylindrical part of the form. The outside hole is at 6" to draw the 12" circle, and the inside hole is at 5 1/4" to draw the 10 1/2" inside circle. The ring itself will be 3/4" thick with an outside diameter of 12".
By the way, I destroyed a lot of pencil leads drawing that circle. The plywood is rough, and I have to put a very sharp point on the pencil to get it through the 1/16" hole. They snap off easily. Here is a photo of the completed 18" circle.
Circle and Destroyed Pencils
Next I cut out the circle using my old saber saw. It is a cheap, crappy saw, and the blade pops out of its holder regularly, so I just go slowly and try to keep my toes out of the way.
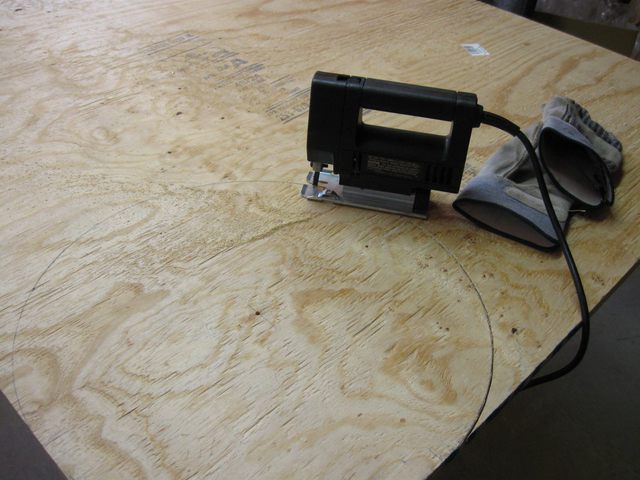
Sawing Out the Circle
Well there it is. A circle of plywood that is 18" across. Good start.
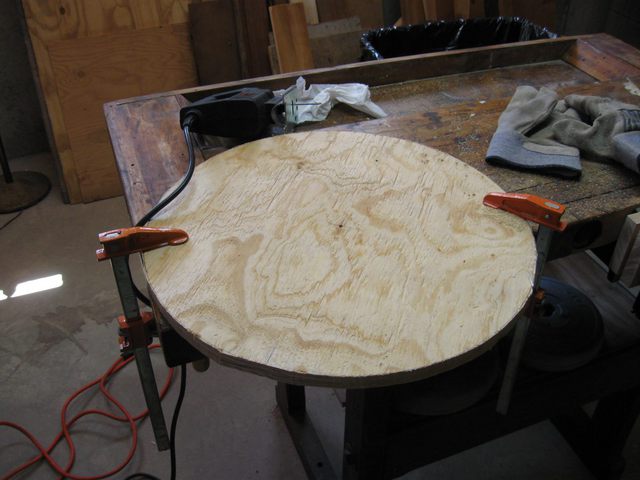
18" Circle
Here is a photo of the plate clamped in the bench vise. You can barely see the lines that I drew to mark where the 12" ring goes.
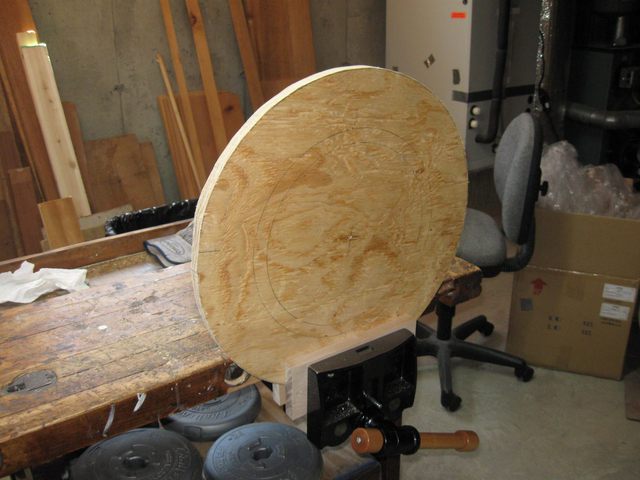
Plate Clamped in the Vise
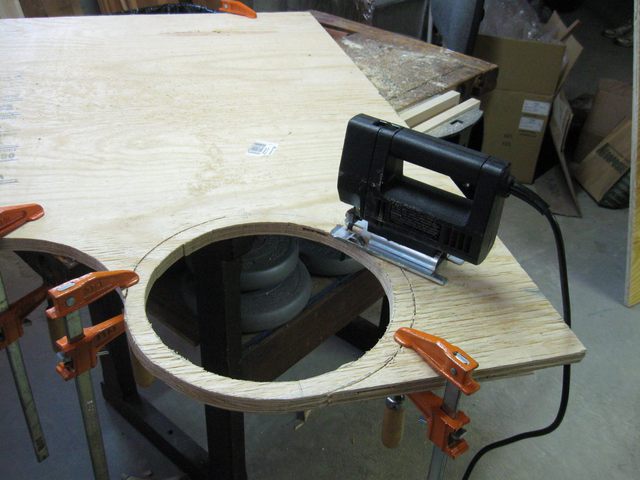
To cut out the 12" ring I started by cutting out the inside circle. I drilled a pilot hole that was big enough to fit the saber saw blade into and then cut around the circle.
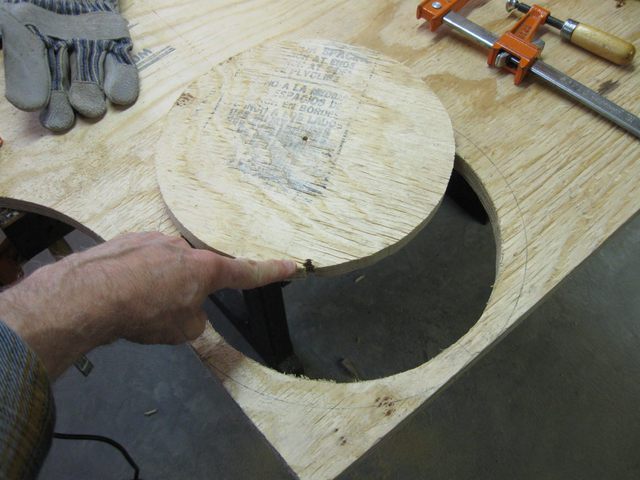
Pointing at the Pilot Hole for Saber Saw
Once the inside circle has been cut out, I cut around the outside circle to free up the ring.
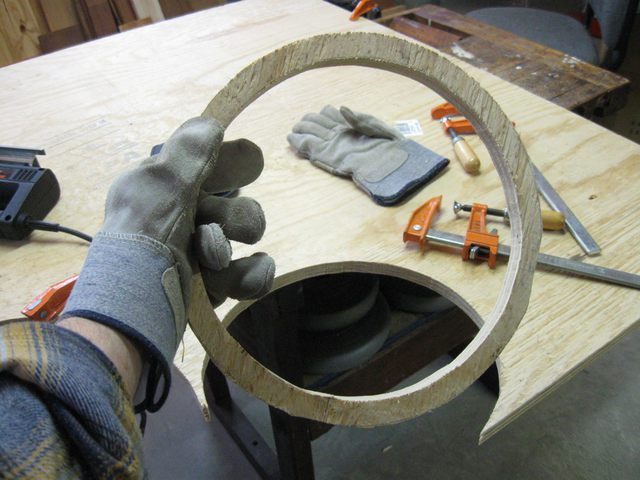
The First 12" Ring of Plywood
Using the marks that I made on the 18" plate I centered the ring on the plate and screwed it down using four #8 1 1/4" wood screws. I placed the wood screws 90 degrees apart.
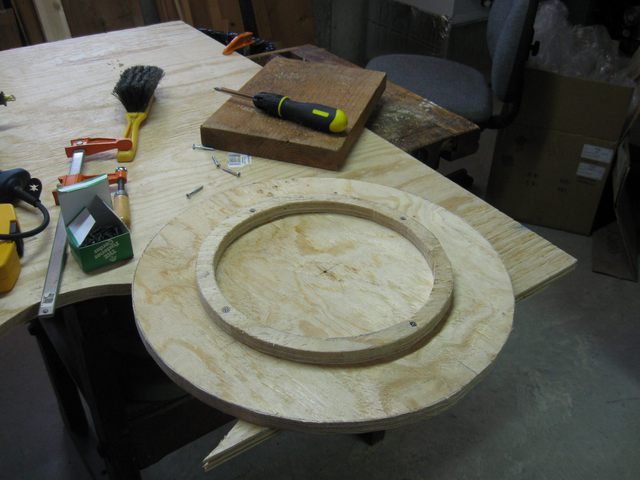
Ring Screwed to the Plate
The way I screw the things together is to use #8 wood screws with a Phillips head. The screws are 1 1/4"long from the very top of the screw to its point. The reason for that length is that the plywood is not quite 3/4" thick, and I do not want the points of the screws to poke through the bottom piece of the wood, so the 1 1/2" screws would be too long. Two layers of the plywood are 46/32" thick. The 1 1/2" screws are 48/32" long, while the 1 1/4" screws are 40/32" long. So the 1 1/2" screws will go all the way through both layers of the plywood, and the 1 1/4" screws will not.
I drill two different sized holes in the two layers of plywood in order to get the screws to work properly.
The part of the screw nearest the head has no threads on it. It is supposed to slip inside of the hole in the wood piece nearest the head. The threads are intended to bite into the bottom piece of wood and thus draw the two pieces together. So the hole in the top piece of wood needs to be large enough to allow the screw to twist freely in it, and the hole in the bottom piece of wood must be small enough to allow the threads to bite into the wood.
The shaft of the screw without the threads is 11/64" across. The shaft of the screw on the threaded part is 7/64" across, not counting the threads. So I drill a hole that is 11/64" in the top piece of wood and a hole that is 7/64" in the bottom piece of wood and screw them together. Here is a drawing to illustrate the situation.
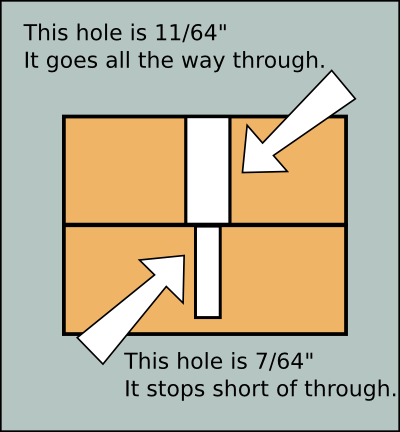
The Holes in the Two Boards
When I drive the screw into the two holes, you can see that the upper shaft will slip in the hole, and the lower, threaded shaft will bite into the wood.
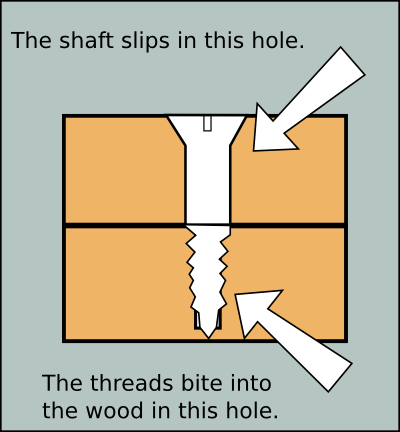
The Screw Pulls the Two Boards Together
If the hole in the top piece of wood were as small as the hole in the bottom piece of wood, the shaft of the screw would bind in the hole, and that would prevent the two boards from being pulling tightly together.
Back to cutting the rings.
The first ring seems to have worked out OK. I just need to do it four more times to get all 5 rings.
Cutting the Next Ring
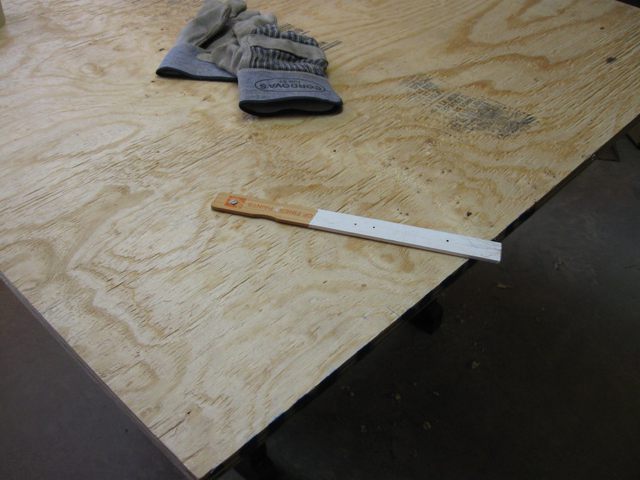
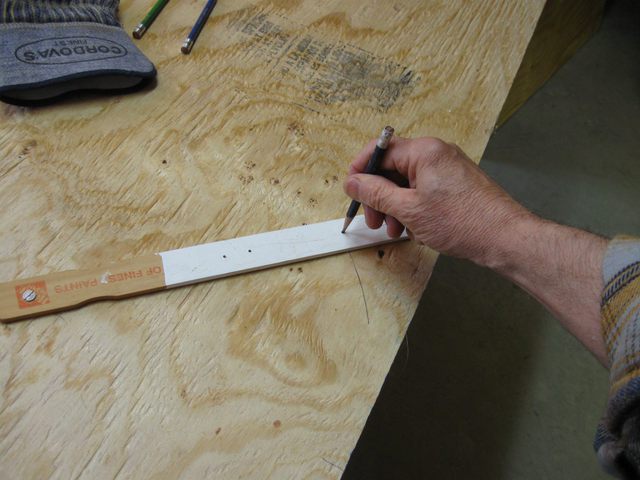
The other thing I need to do is to make a device to push the hot wood down to the circular form. The plan is to use some two by fours with a circular arc cut out of them. The arc must match the curvature of the form, so I marked it with one of the rings.
Marked for 12" Arc
That is it for today. I ran out of time. Next time I will finish the construction of the form.