I am going to move this project on to the next step. I am tired of trying to bend the wood only to see it fail for one reason or another, and I want to see if I can make a hoop. I have one fairly decent piece of wood that bent OK, so I am going to see if I can make use of it.
I do not have the tools or skills to scarf the joint on the ends of the wood and glue them together in the traditional way. Instead, I am going to break with tradition and see if I can butt joint the ends and glue them to a strap piece between the two ends. Here is a diagram of how it will work.
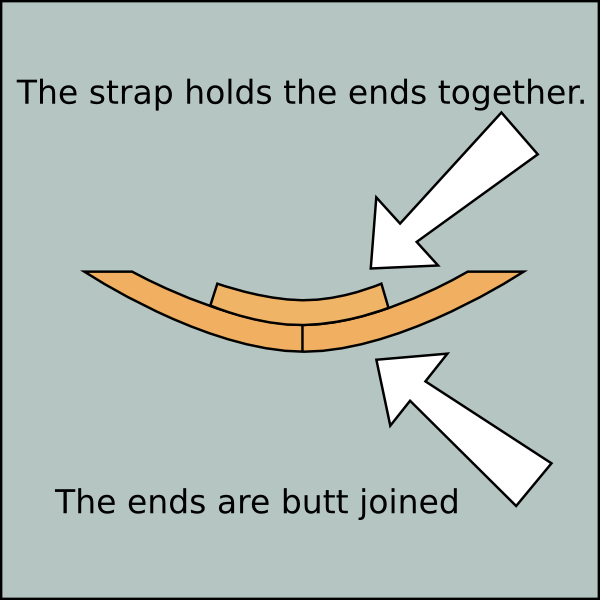
The Strap Holds The Ends Together
I need a piece of wood that has the same curvature as the hoop that will bridge the joint on the inside of the hoop. If I glue the ends with several inches of overlapped strapping, that should be strong enough to hold the ends together.
To make a strapping piece, I decided to cut it out of the fractured board that I tried to bend a while ago. As I pointed out before, it makes use of the destroyed wood, and it buries my mistake. Here is the piece of wood that I will sacrifice to make a strap.

The Fractured Board To Be Sacrificed
I cut the ends off of it and got rid of them.
The Ends Are Gone
I measured off a few inches of the wood and cut it off with my panel saw.
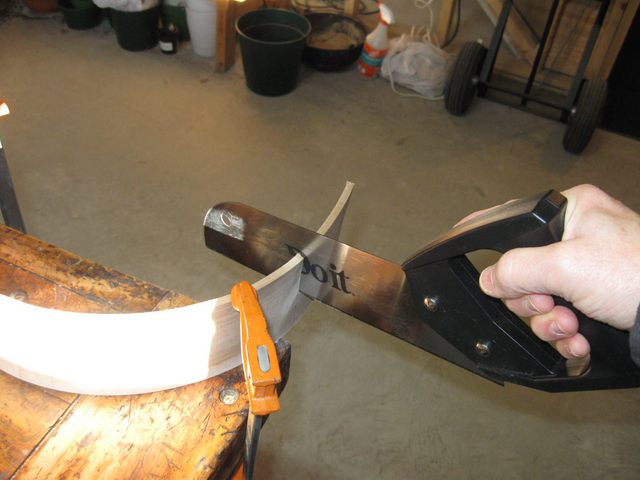
Cutting a Strap With The Panel Saw
That did not work very well because the panel saw kept binding in the kerf. I think that there are stresses in the bent wood that would not be there if the wood were straight. I think that the kerf is closing up on the saw blade. So I turned the board over to saw in the other direction.
The Board Is Clamped On Its Back
I switched to my mitre saw because I have sharpened it and set it up properly and it does not bind.
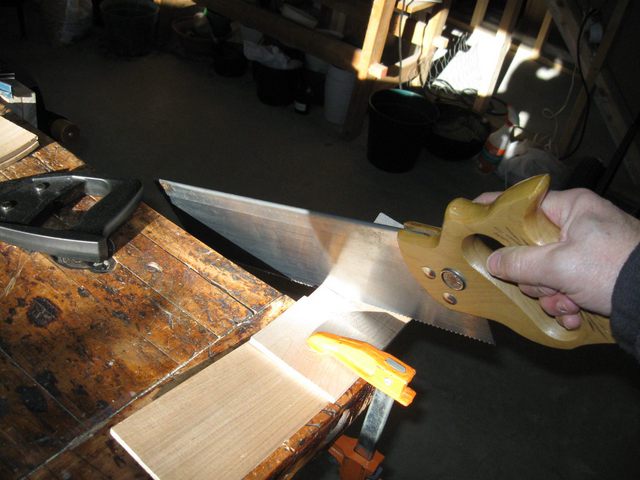
The Mitre Saw Works Better
So here are some straps to use for glueing the ends of the hoop together.
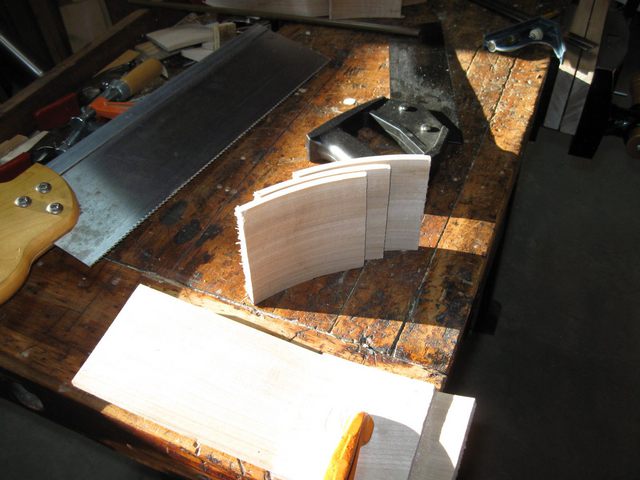
I Cut Three Straps From That Board
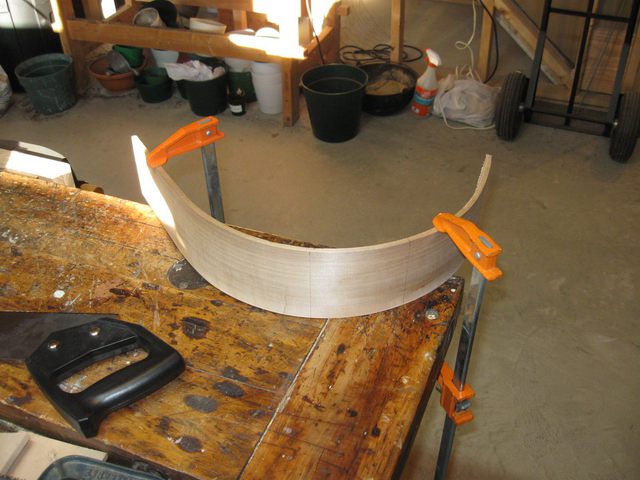
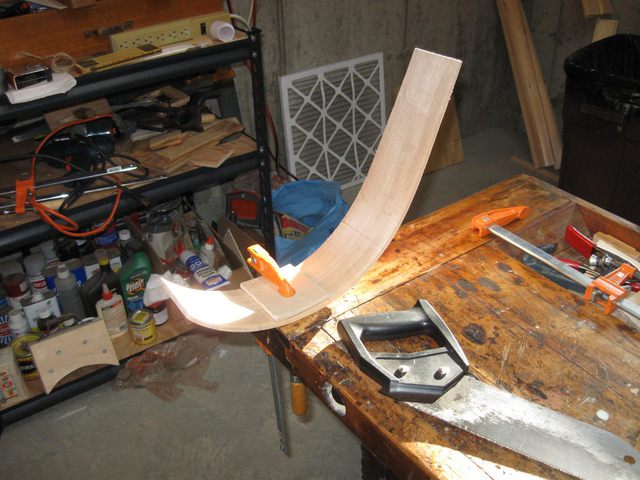
I am going to use the bending form to help glue the hoop together. It will provide a convenient platform for clamping the pieces.
I put the hoop on the form and squeezed it together to see if I can make a 13" hoop out of it. It looks pretty good. The yardstick is set at the 10" mark on the left, and it is measuring 23" on the right.
I Can Squeeze the Hoop To a 13" Size
While I was squeezing the hoop at a 13" diameter, I marked on the ends where I need to cut off the excess.
Marking the Where to Cut Off the Ends
Then I clamped the hoop down to the bench the same way I clamped the one that I cut up for the straps.
The Hoop is Clamped to the Bench
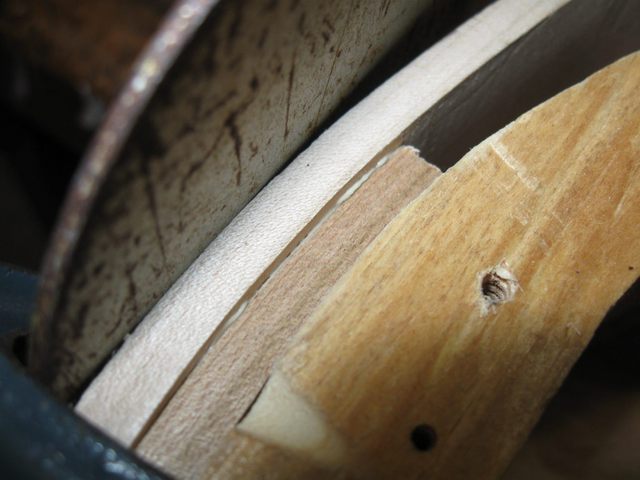
Here is a closeup of the marks where the cuts will be made.
Closeup of the Marks
I sawed the ends off using my mitre saw.
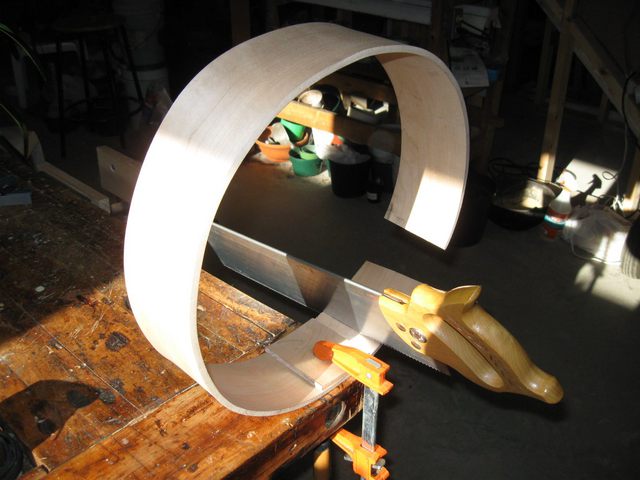
Cutting the Ends Off
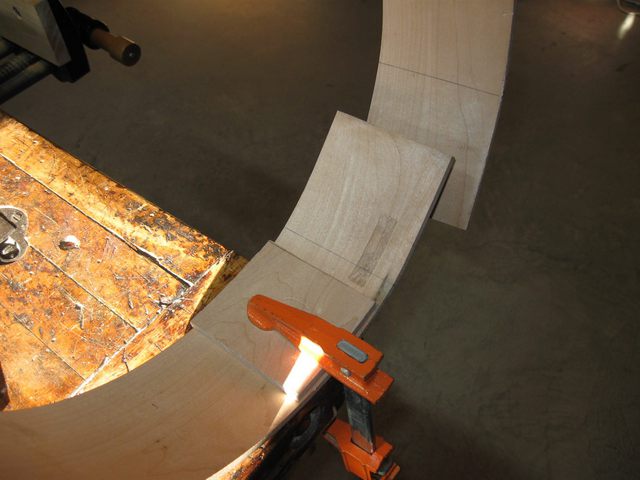
I dry fit the hoop and the clamps to see how I can glue this together.
Dry Fit to See How This Will Work
To make sure that I don't glue the hoop down to the form I put some masking tape on the plate.
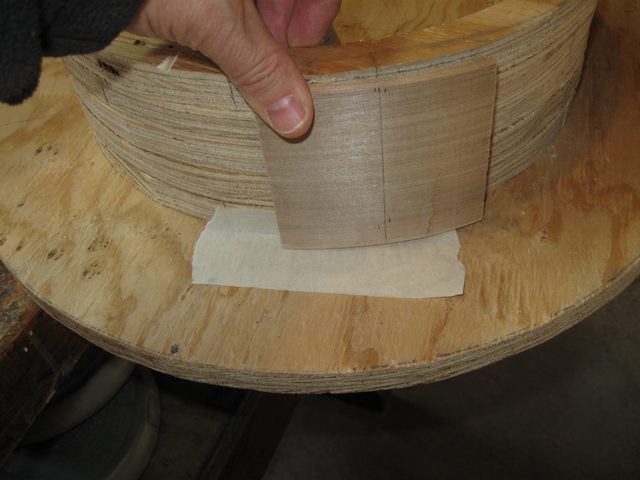
Masking Tape Will Keep the Glue Off
I put glue on all the surfaces of the strap and the hoop ends and then clamped it tight to the form. I clamped it tight enough to squeeze out a small small bead of glue from between the boards.
A Bead of Glue Means the There Is Enough Glue
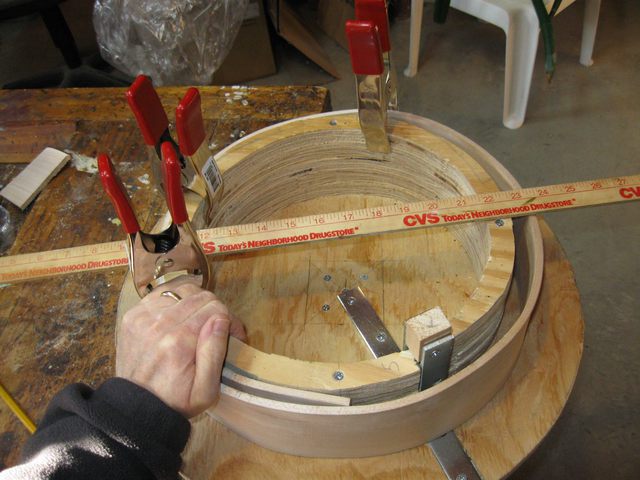
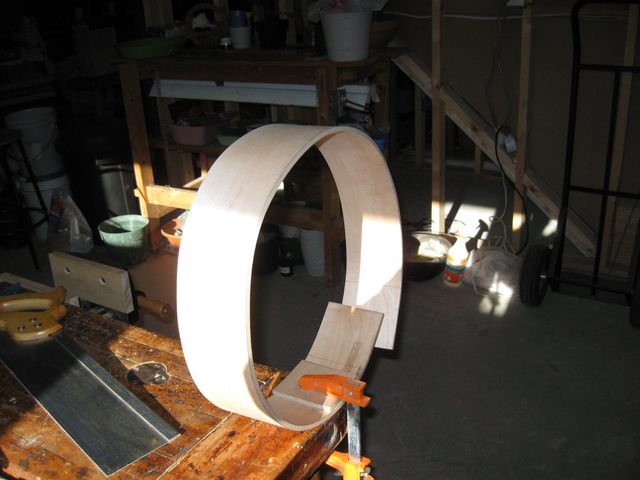
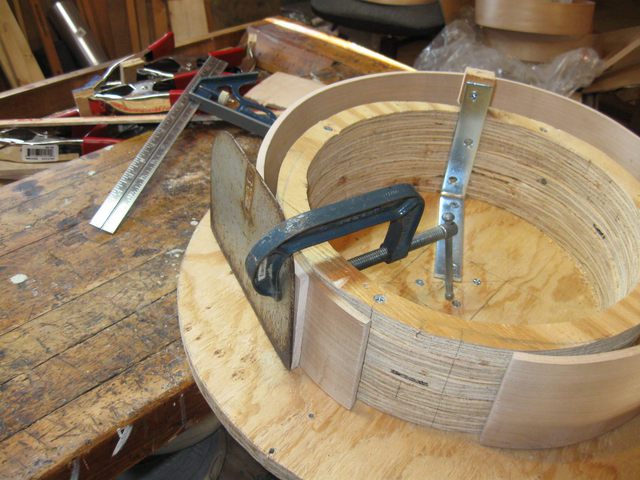
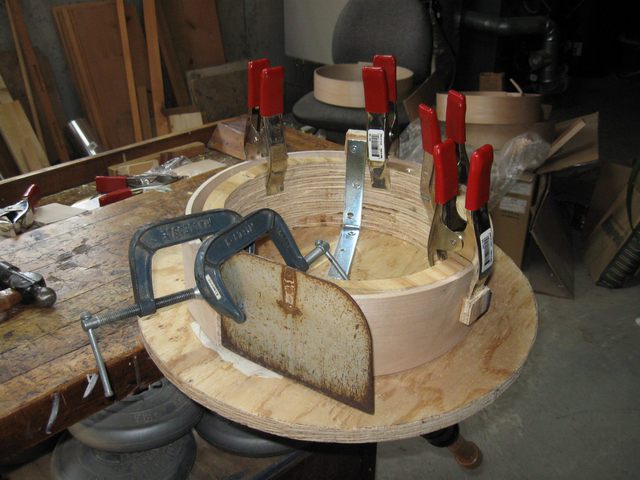
Here is the whole thing glued and clamped to the form.
Glued and Clamped
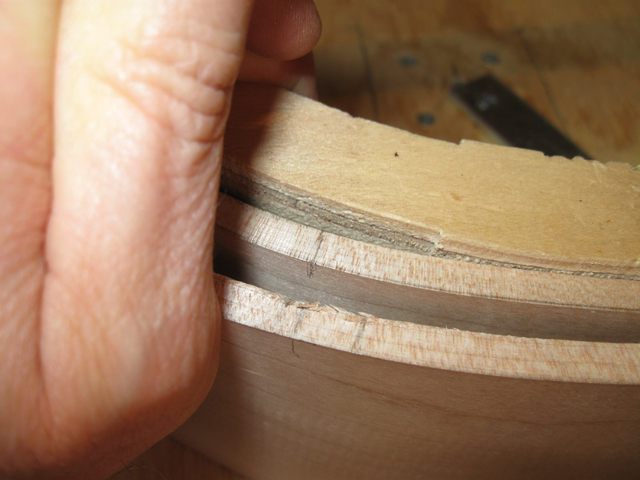
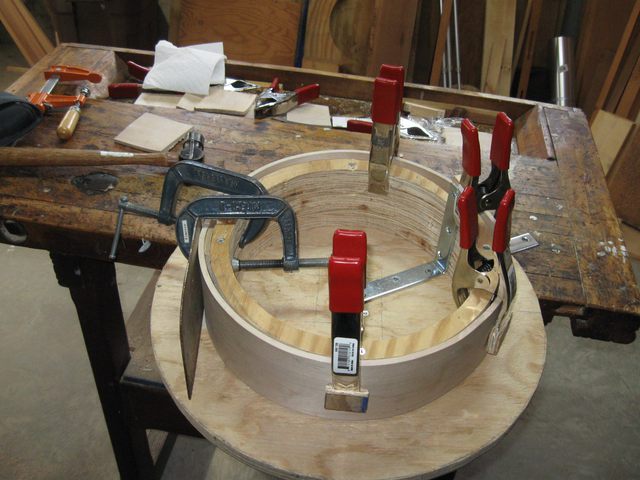
Here is a closeup of the clamping.
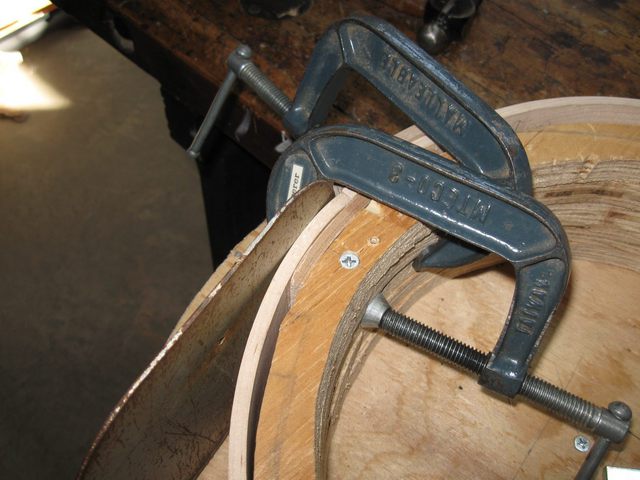
Closeup of the Glue Joint
That oddball clamping caul on the outside is the blade of an ice chipper that broke off last Winter. The weld broke as I was chipping ice, and the blade came off. That was a mess because it is impossible to find an ice chipper in the middle of the worst Winter in decades... everyone was sold out. To make things even worse, as I went into one of the Big Box stores, I passed a guy who was leaving with the last one they had. Dang!
The Blade of My Broken Ice Chipper
The blade is very thick steel, so it makes a really sturdy caul for clamping this glue joint tightly.
Oh, and to finish the ice chipper story, I did find one in an independent hardware store..... I got the last one.
I will let this dry for a day and then see how it looks after I take off the clamps.