I have decided that trying to bend 1/4" wood using just a heat gun is not going to work. I am going to try to steam the wood first and then bend it around the form. That is the traditional way to bend wood anyway. I was just trying to get away without building a steamer and all that entails.
First of all, I had to redesign the bending jig to put it in a horizontal orientation and clamp it in the vise. I will never be able to bend hot wood around the form in the vertical orientation because the vise will be in the way. From what I have read, you only have a few seconds to bend the wood once it has been steamed.
In order to clamp it horizontally, I need something on the back side of that large wheel to put in the vise. So I took a couple of two by four blocks and screwed them together. Then I put some #8 screws into it to attach the block to the center of the plate.
Drilling two holes for each screw is a bit time consuming, so the last time I was in the hardware store, I bought this tool to make things go faster.
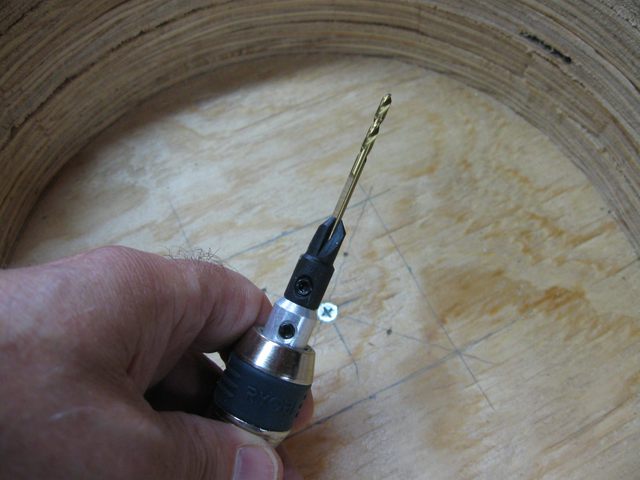
Awesome Screw Pilot Hole Drilling Tool
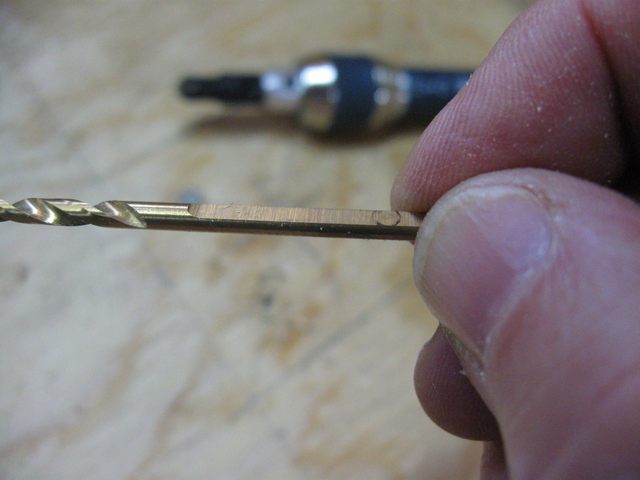
That is a special purpose pilot hole driller for #8 wood screws. All in one shot it drills the pilot hole, the through hole, and also cuts the recess so that the top of the flat head screw will be flush with the surface of the wood. All you have to do is drill the hole. The depth of the hole is set by loosening the set screw and pushing the drill bit in or out of the chuck, then tightening the set screw again.
So I drilled a couple of holes, and then I swapped in my Phillips head drill bit to seat the screws with my drill. I am automated now fer sure.
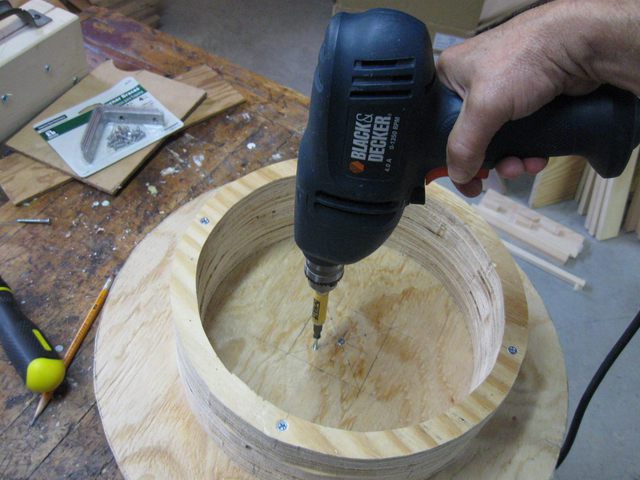
Seating a Screw the Modern Way
Well, shoot! The drill bit keeps coming out of the chuck. Once it is stuck in the wood, it is a bear to get it out. I had to twist it out with a pair of pliers.
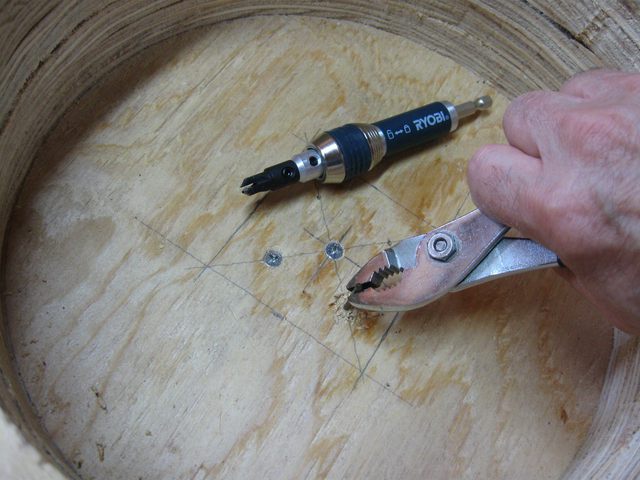
Extracting the Bit from the Wood
I even cinched down the hex set screw really tight. Look at this. The steel shaft of the bit is dented where the set screw was screwed into it. The bit still comes out. Dang.
Marks Made by the Hex Screw
I don't have time for this. I went back to making two holes for each screw. I put a flag on the 7/64" drill bit so that I will know how deep to make the hole and not drill all the way through the plywood.
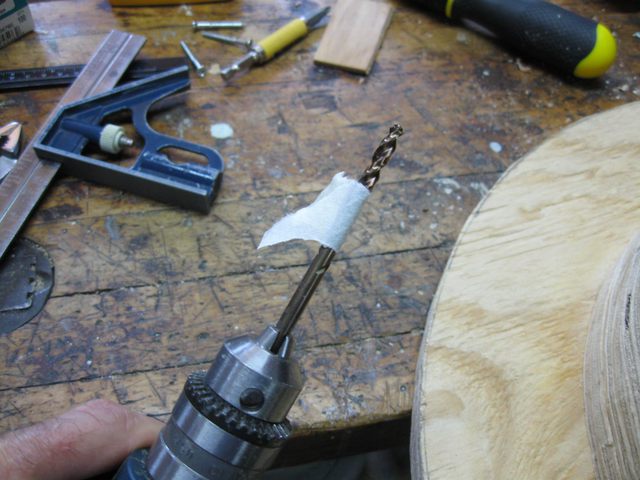
The Flag is Less Than 3/4" Up
I got it done anyway. Here is a photo of the 2 X 4 block attached to the bottom of my circular plate.
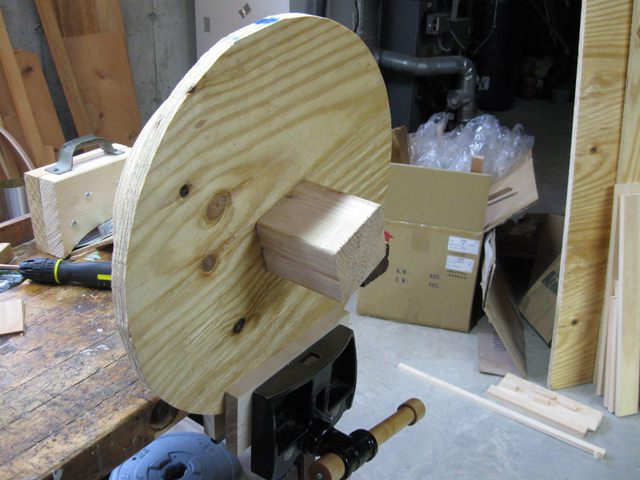
Wooden Block for Clamping
I screwed it to the plate with 5 screws so that it won't twist when I wrap the board around the form.
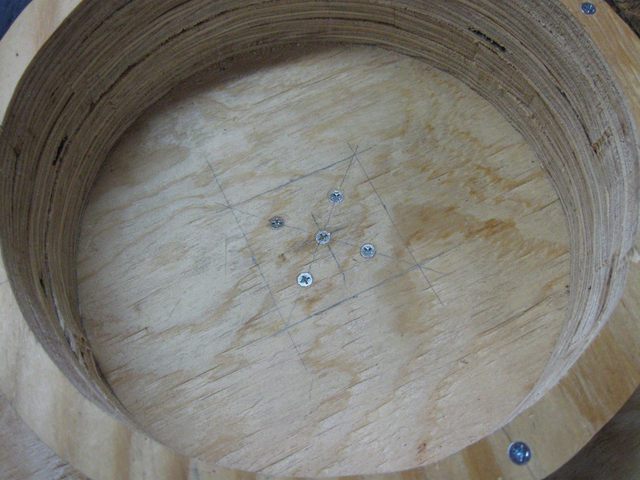
Five Screws Nicely Placed.
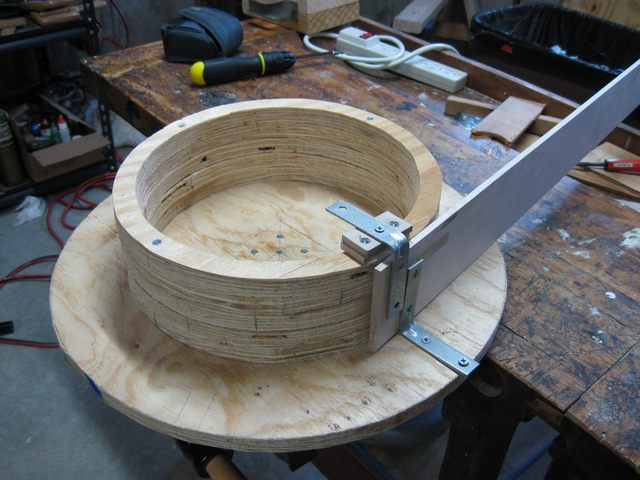
Next, I need some sort of clamp to hold the end of the board to the form so that I can bend the board around it. I decided to make one out of a steel angle bracket in order to make it nice and sturdy. The photo below shows a 3" angle bracket in place on the form.
Since the form is 3 1/2" tall, the three inch angle bracket does not go all the way up the side. I need to make it cover the whole distance somehow, so I tried propping it up with a 1/2" piece of wood.
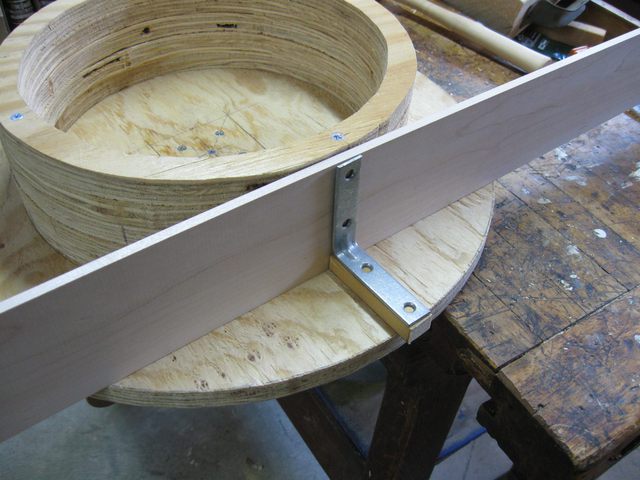
Three Inch Angle Bracket and Shim
That isn't going to work because when I wrap the board around the form it will run into that shim on the other side. I need to do something else. My next idea was to screw that three inch bracket down to the plate like this:
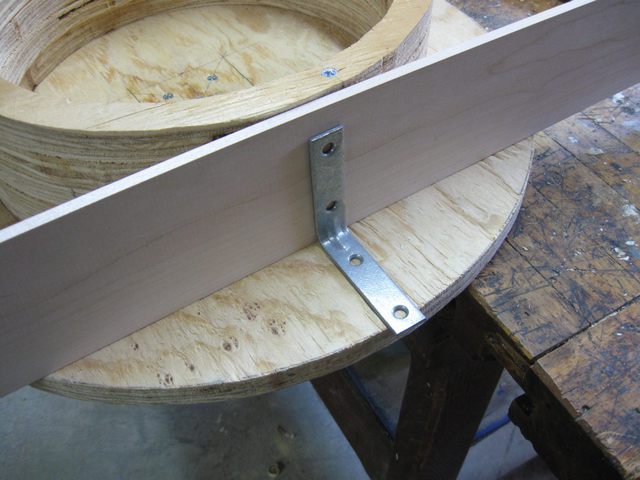
Just the Plain Bracket
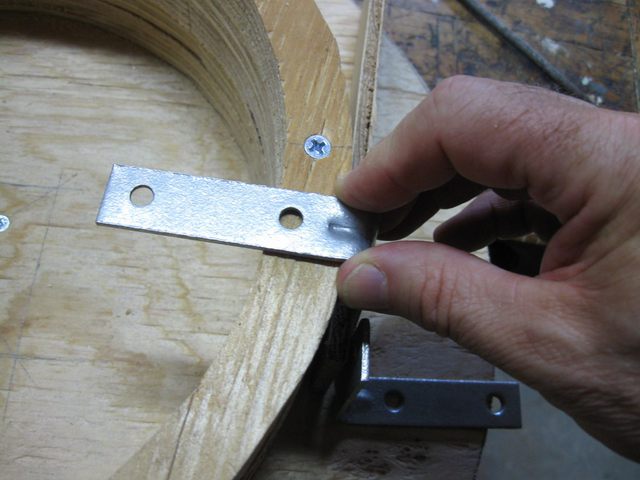
And then I will drop another bracket down from the top to cover that side of the board. But first, I had to take a notch out of the top of the form. The brackets are made with a reinforcing bump on the inside of the angle, so I need to remove some wood to make room for it. You can see the bump in the bracket at the bottom of the photo. No problem, though. My rattail file makes quick work of this chore.

Using a Rattail to Make a Notch
Here's the notch, all ready for the bracket to go into it.
Notch
The top bracket fits into it nicely.
The Top Bracket in Place
Well shoot! The bump on the other side of that top bracket is in the way of the hoop wood. The board won't fit between the bracket and the form because of the bump on it. I need to move it out of the way. So I made a shim out of some of the fractured hoop wood from my previous (failed) attempt to bend using the heat gun.
Of course, I had to make a notch in it.
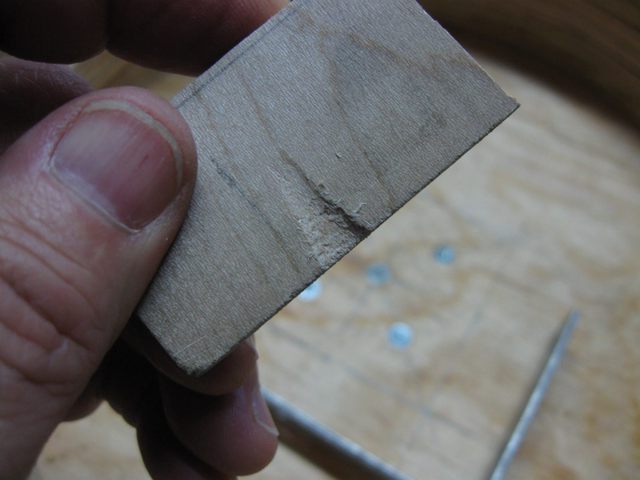
Notch, Natch
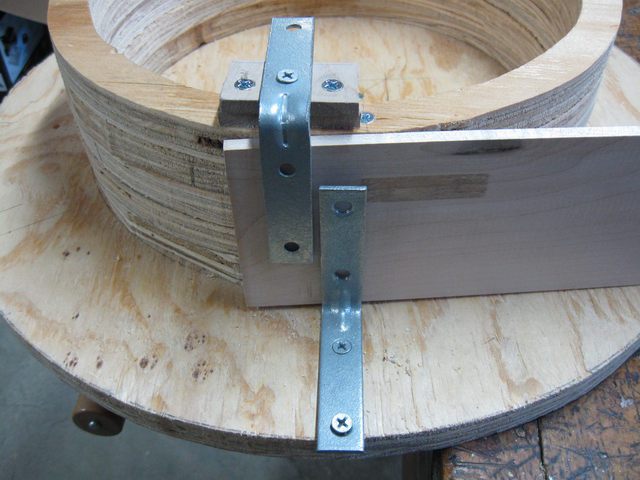
I had to stack up a couple of those 1/4" shims to get the bump out of the way. Here it is all screwed together.
Shimmed and Screwed
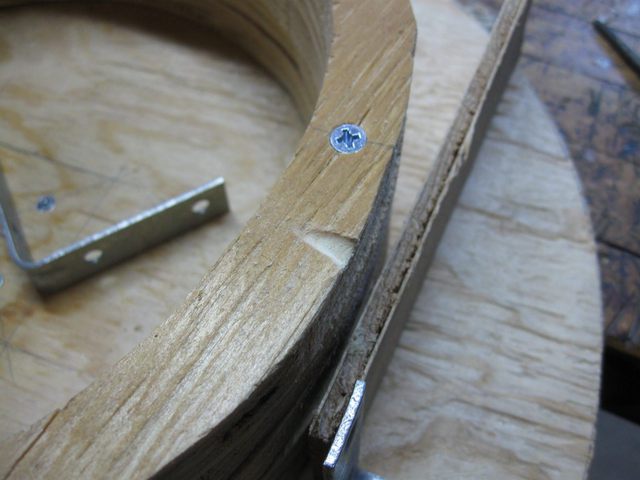
Here's a closeup of it.
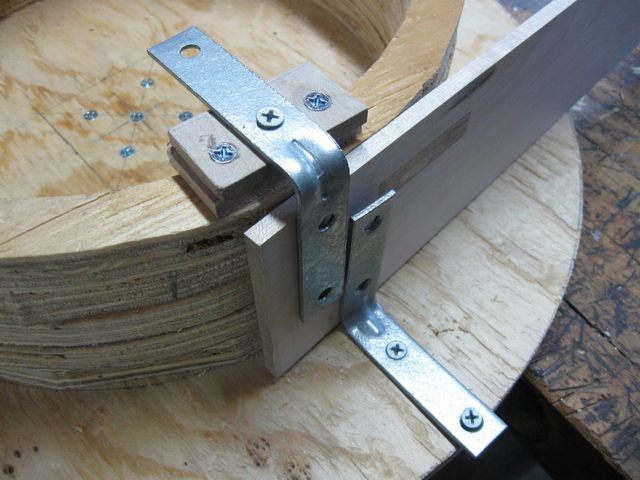
Closeup
Boy. Is that ugly or what? Well the board goes into it OK, and I think that the steel brackets will be strong enough to hold the entire end of the board and prevent it from splitting like it did when it was held by just the single bolt.
The Board Fits in the Bracket
That's all there is for today. I ran out of time. But I think this new form will work. Now all I have to do is to figure out how to make a steamer to steam the board.