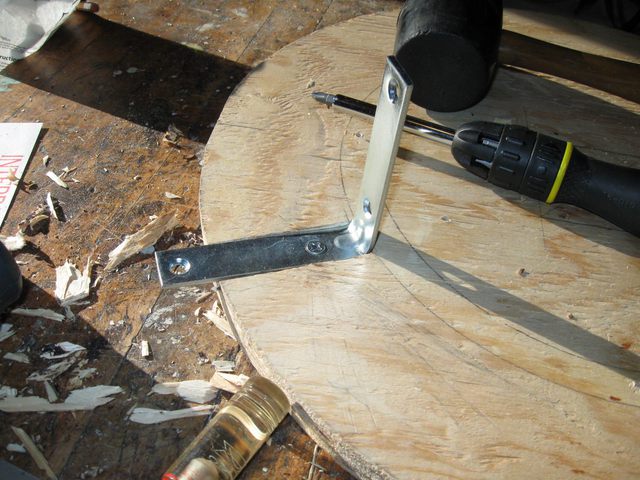
I am back working on my project on my day off. I have decided that I need to correct the design of the bracket that holds the base of the wood. Having it stick out beyond the side of the form like this is a problem. It caused the sharp bend in the wood last time I did this.
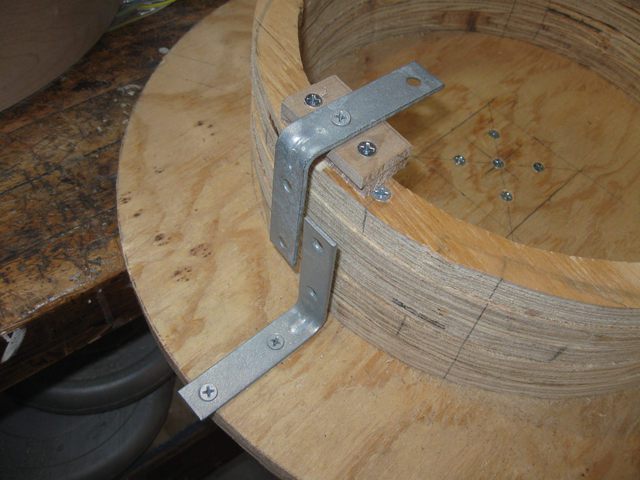
The Bracket Sticks Out Past the Side of the Form
The form is 12" across, so wrapping the wood around it once will use up about 37 1/2" of the wood, leaving 10 1/2" that will overlap. In order to have a more gradual transition in the overlap, I need to cut a notch into the form itself so that the bracket can be flush with the side of the form.
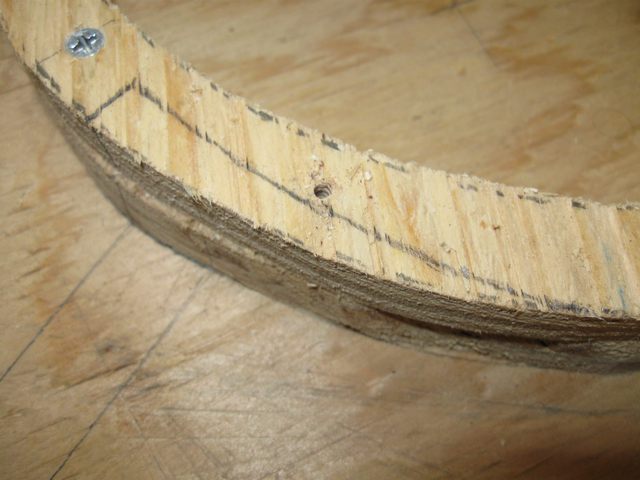
I made a template out of cardboard that is 1/4" at its widest and then gradually narrows down to transition the wood back to the surface of the bending form.
Cardboard Template for Cutting the Notches
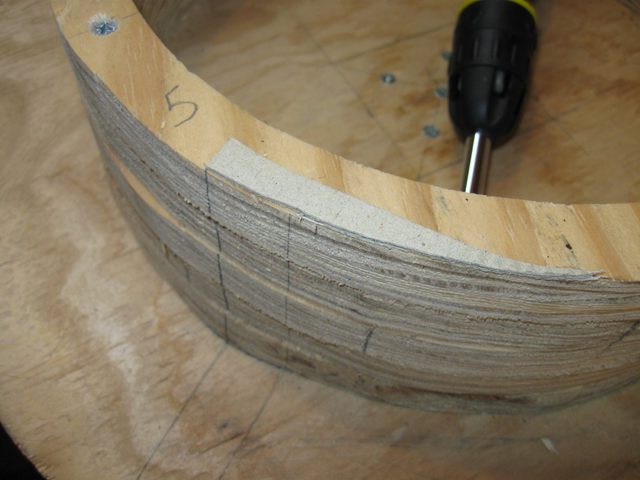
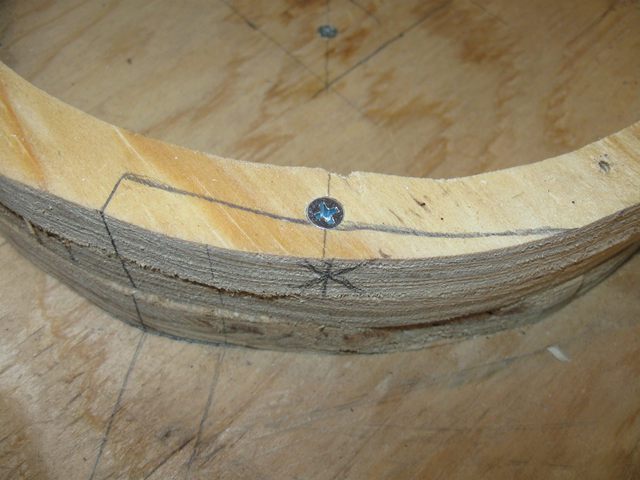
I will need to cut one notch out of each of the layers of the form in order to make a notch that goes top to bottom. I drew some lines on the form to indicate where the the notch will go.
In the photo below, the short vertical line with the X through it is where one of the screws that hold the rings together is located. That could be a problem if I cut the notch through the screw.
The Notch Goes from Top to Bottom
Watch Out For The Screw
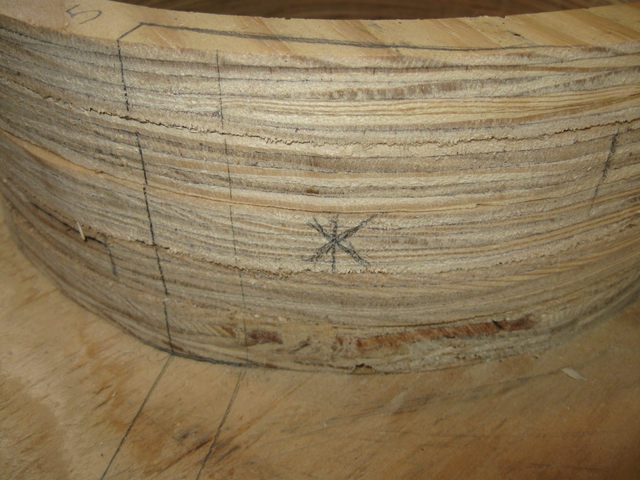
So I took off the upper rings, and sure enough, there is the errant screw, with the edge just protruding into the notch.
Errant Screw
I took the screw out to see if I will be cutting away the hole that it goes into. Looks OK as far as that goes.
At Least the Hole Won't Be Cut Away
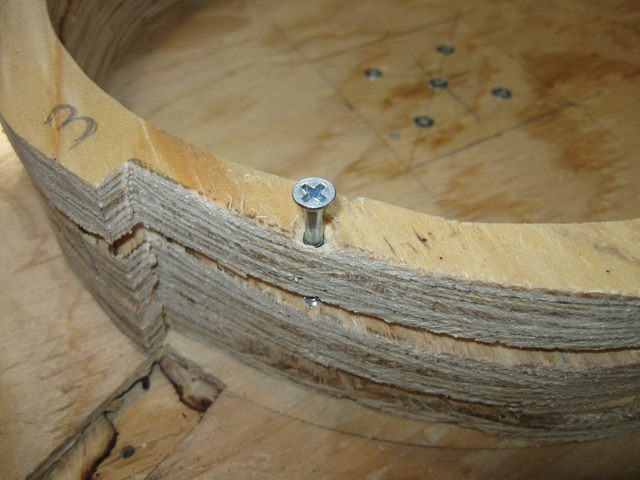
I started marking the rings for the notch at the bottom, ring 1. I need to cut the same notch in all of the layers.
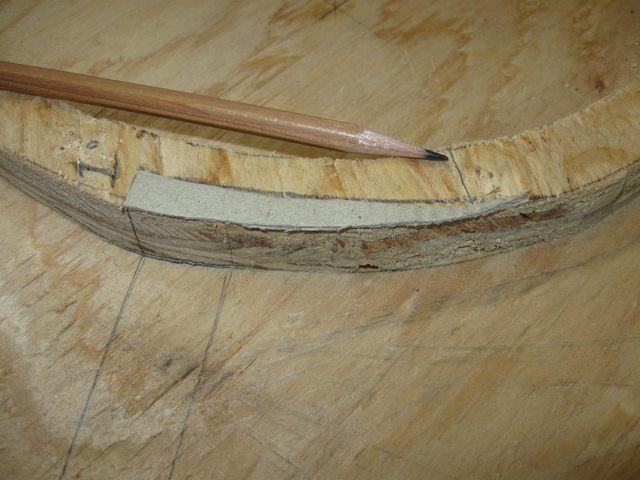
The Notch Is Marked for Ring 1
Here is the first notch all cut away. It isn't difficult to do using the saber saw.
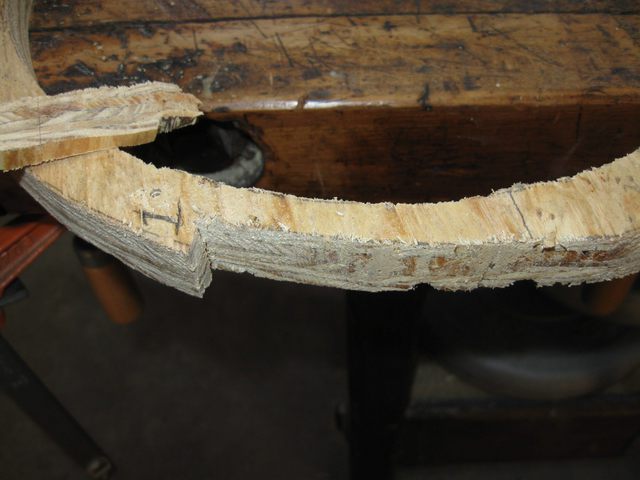
Notch Is Cut in the First Ring
At this point, all of the notches in all 5 rings have been cut, and I am cleaning up the last one using the shoe rasp.
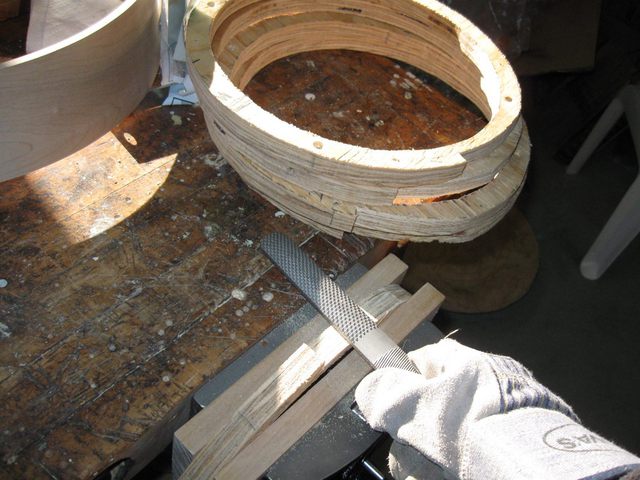
Cleaning Up Notch Five
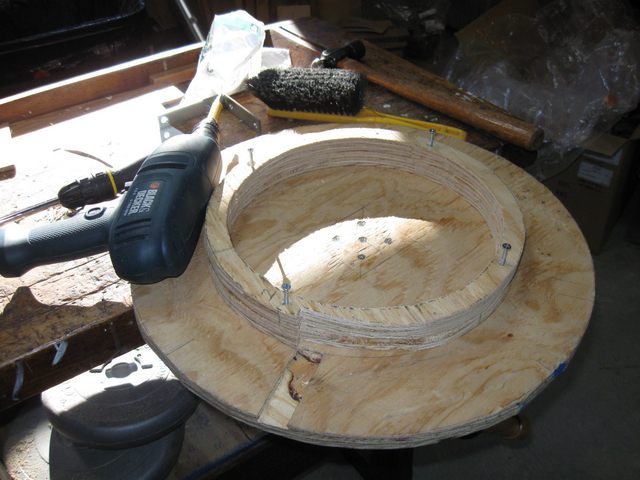
Then I screwed all of the rings back together again. It looks pretty good.
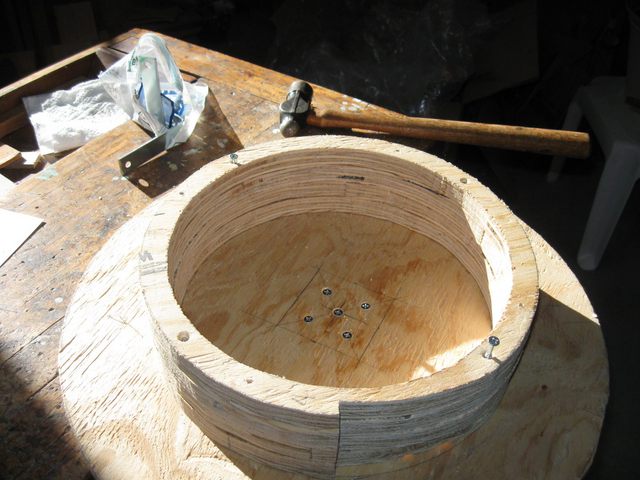
All Five Rings Reassembled
While I am at it, I also want to make sure that the angle bracket is flush with the large plate that the rings are mounted on. If the bracket is above the level of the plate, the hoop wood will be twisted on the form as it passes over the bracket. So I got out my chisel and gouged out a slot the thickness of the angle iron. I disassembled all of the rings again to do this work.
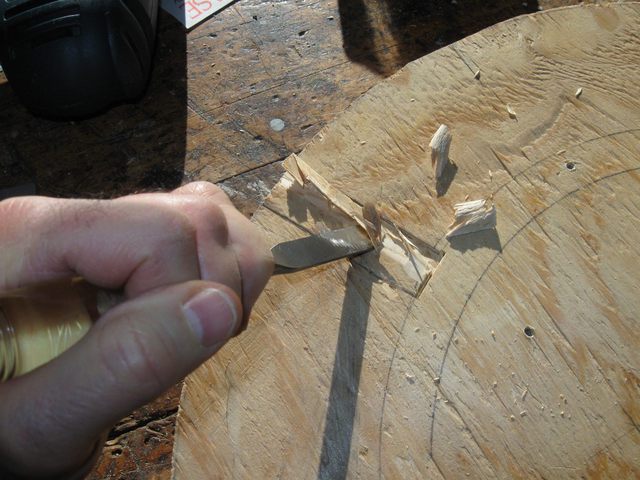
Cutting a Slot to Recess the Angle Iron
Well, OK, then this qualifies for "If I had no bad luck, I'd have no luck at all". Right where I need to screw down the angle iron I have found a huge cavity in the layers of the plywood.
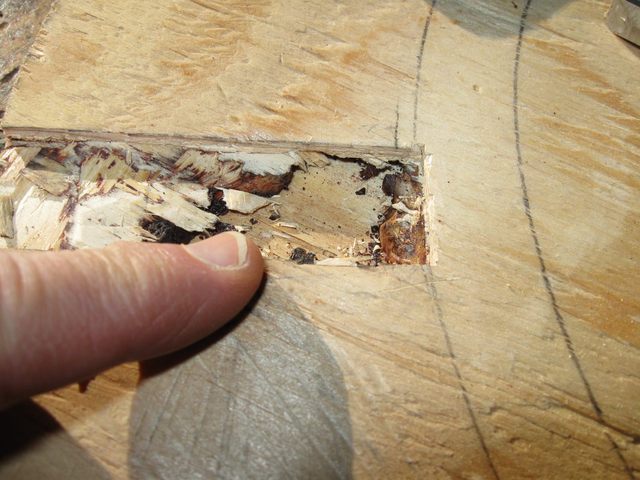
Cavity Between the Plywood Layers.
I have upgraded the size of the angle iron from a 3" iron to a 4" iron so that a single iron will span the entire height of the form. Here is the new angle iron screwed into the slot that I made. It is a little twisted, but I think it will hold. The unfortunate thing is that the one screw that holds down the angle bracke goes right into that cavity. But I am going to go with this and see what happens.
The New 4" Angle Iron
I reassembled the rings back onto the base plate.
Putting the Rings Back On
Here is that screw on the third ring that shows up in the notch.
That Pesky Screw Again
The rings are back together. If you look closely you can see the head of the screw just poking into the slot. I don't think that will be a problem. It might put a mark on the inside curve of the hoop wood, but that end will probably get cut off anyway.
You might have noticed that there is another angle iron on the inside of the form. The irons come in packs of 2, and since I have thinned the wooden ring somewhat with the notch I decided to screw the second angle iron on the inside of the form right up against the side of the form in order to reinforce the form at that spot.

Here It Is All Screwed Together
Here is a view showing the second iron screwed on the inside of the circle.
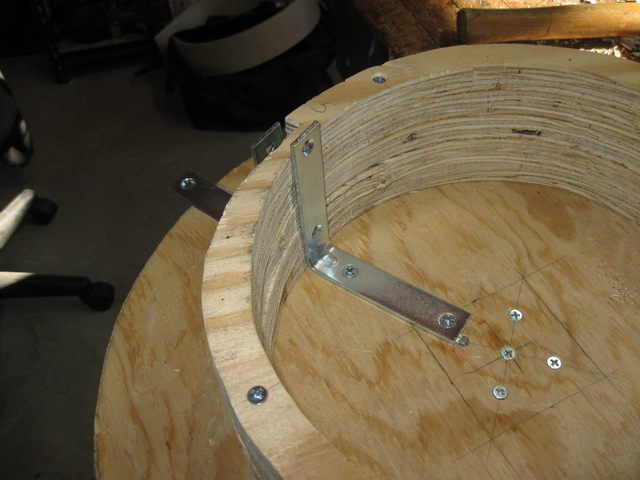
The Inside Angle Iron Supports the Form
That does it for today. I think that this new arrangement will make a better bend for the wood. I am hoping that I will be able to get a smooth overlap when I bend the next board.