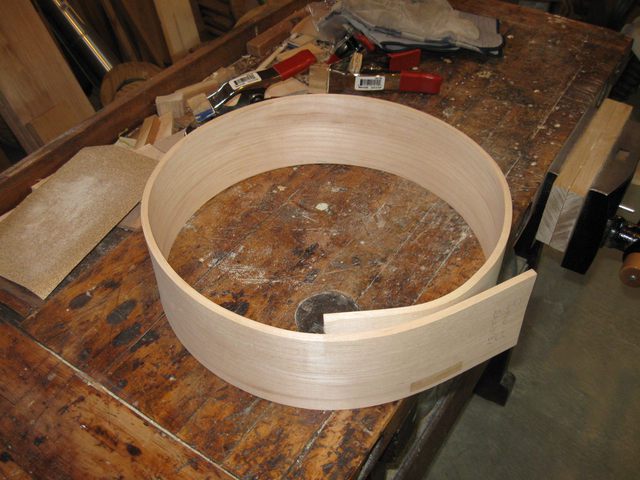
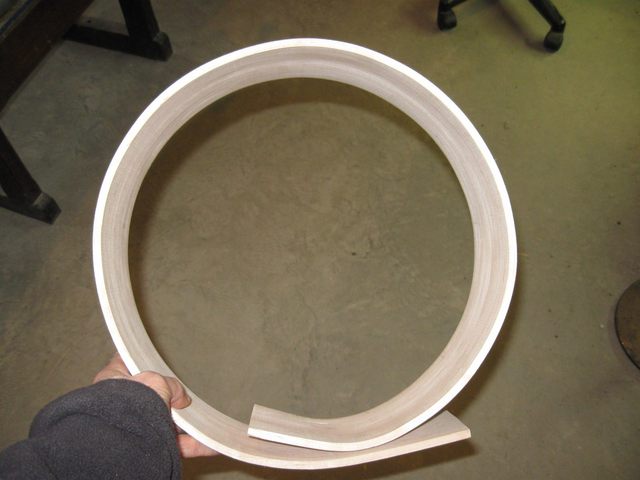
I am going to try to turn a successfully bent board into a hoop. I want to do that before I attempt to bend any more wood to see if I am making bends that can be used. But before I start that I want to take a look at the board that I bent yesterday. Here it is, taken off the form. The size is just about perfect at 13". It is also quite nicely round, with no obvious egg shape to it.
The Hoop is 13" Across
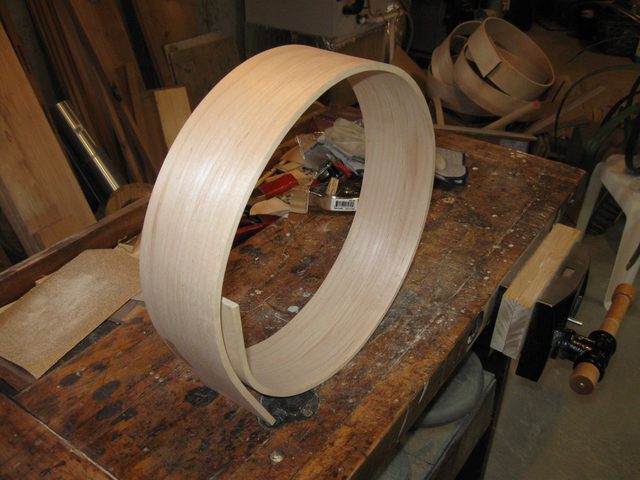
Here is a view from an angle so you can see the shape of the bend. The ends of the boards have some sharp bends where they overlapped and some straight sections out to the ends.
View From a Different Angle
Yet another angle.
Yet Another Angle
I think that there is a tiny, tiny bit of pointiness at the top of the hoop. It is hard to tell. Whatever. If it is slightly out of round it doesn't matter for a tackhead banjo.
Is This Egg Shaped, or Not?
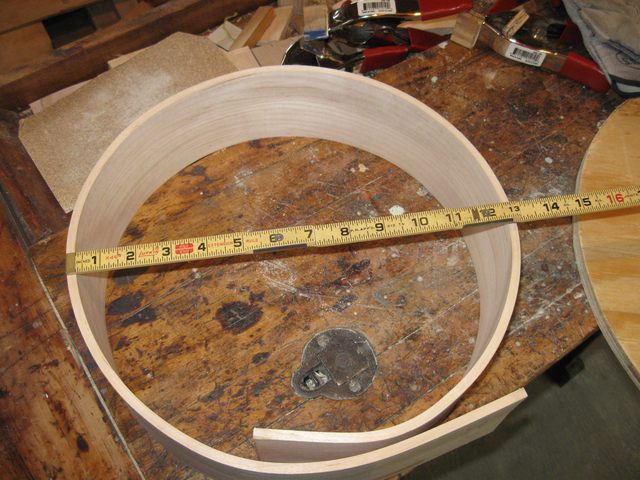
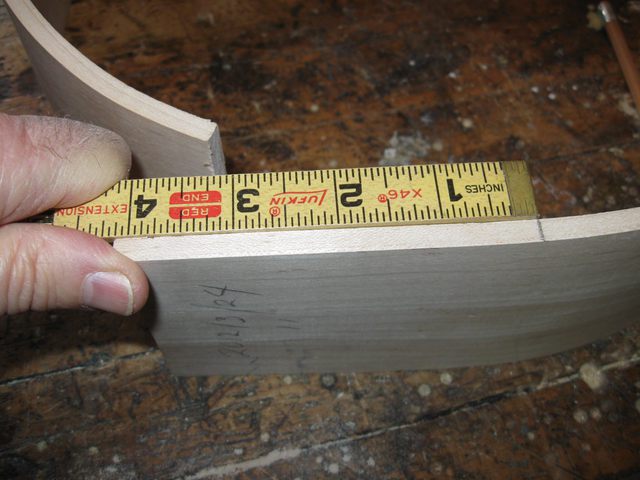
OK. Enough of that. I am going to make a hoop from the board that I bent on March 24. If you look closely at the photo below, you can see that I have marked the boards with the date on which I bent them. That way I can keep straight what material I am working on. In the photo I am measuring 2 7/8" to remove from the end of the board.
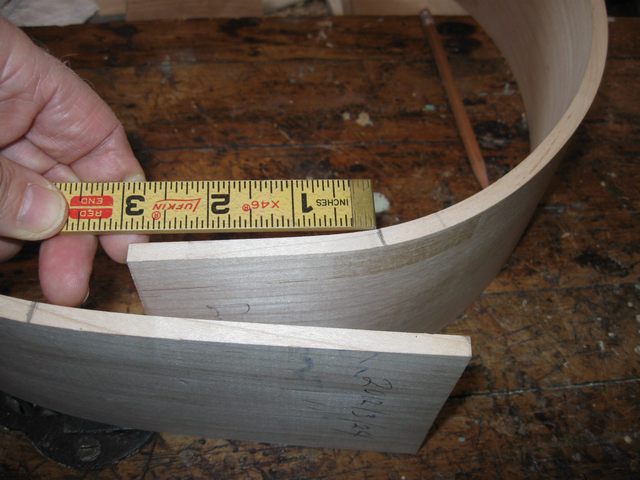
Measuring 2 7/8" To Remove From the End
In order to make this board into a smooth, round hoop I need to cut off the ends at the proper location such that curves of the two ends will match where they come together. That is a bit tricky because there are some straight sections on the ends and some parts where the curvature is sharper than it is on the rest of the board.
The plan goes like this. I am going to cut off 2 7/8" from the end of the board that went into the slot on the form. That gets rid of the straight piece that was in the slot. Then, I will remove 4 1/8" from the other end, which was wrapped over the top of the slot. That end is also straight and will not be part of the hoop. So I am removing a total of 7 inches of wood from the 48" board. That leaves me with 41" of bent wood in the circumference of the hoop.
Diameter = 41" ÷ π = 13.0507053335"
So I should get a hoop that is just over 13"" across. That is close enough to 13" to suit my purposes since I doubt I can work tight enough that 0.05" will make a difference. The trick here is to cut off all of the funky ends of the boards in order to get a clean connection where the two ends will come together while still leaving enough wood in the hoop to get my 13" diameter.
So I marked off the first end with the try square and clamped the hoop into my vise.
Marked and clamped
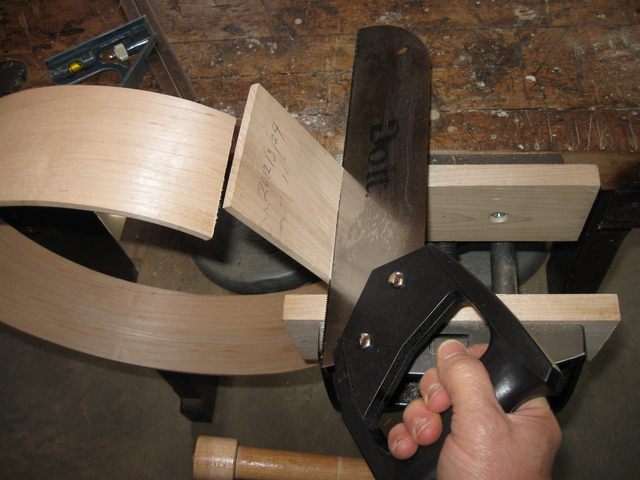
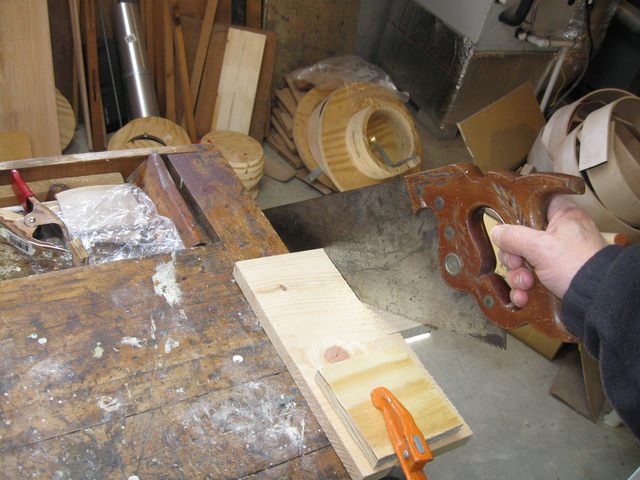
Using my panel saw, I cut the end of the board off at the line.
Cut the Board Off At the Line
So far so good. Here is the cut off piece.
The First End Has Been Cut
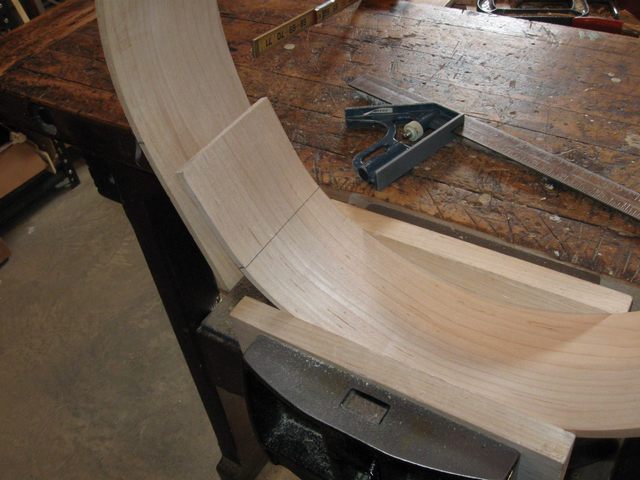
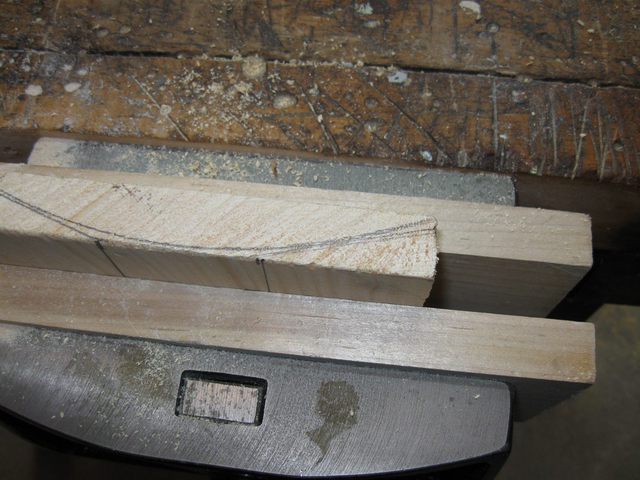
Next, I measure off 4 1/8" from the other end of the board. You can see that this puts the line right up where the straight part ends. I am eyeballing the curvature of the board where the line is marked in an attempt to match it to the curvature where I cut off the other end. The lengths to cut off came partly from eyeballing the curves and partly from calculating how much wood I need to get my 13" hoop out of it.
Mark Off 4 1/8" From the Other End
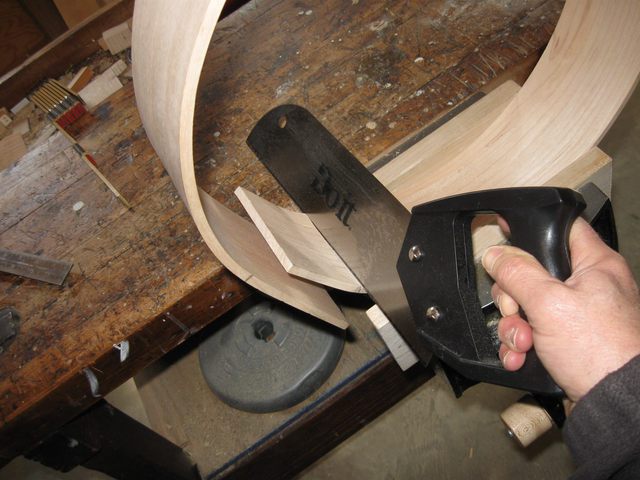
Once again I clamped the hoop in the vise and used the panel saw to cut off the end.
Cutting Off the Other End
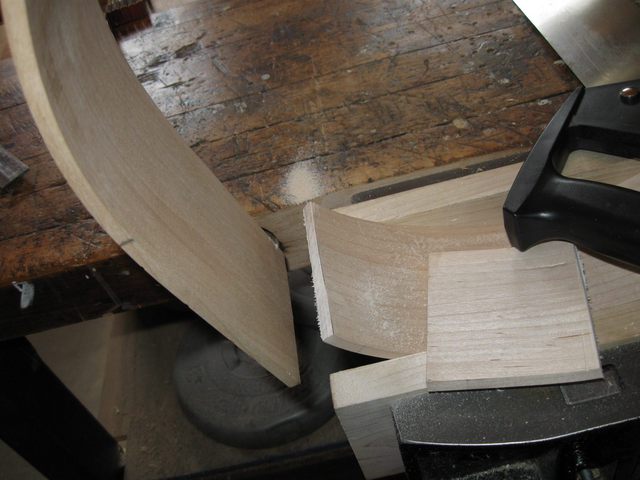
The saw was binding in the slot badly. I suspect that it is because of the stresses in the wood after being bent. The kerf seems to want to close up on the saw. So I pushed gently on the board to try to open up the kerf, and this happened.
The Wood Has Split
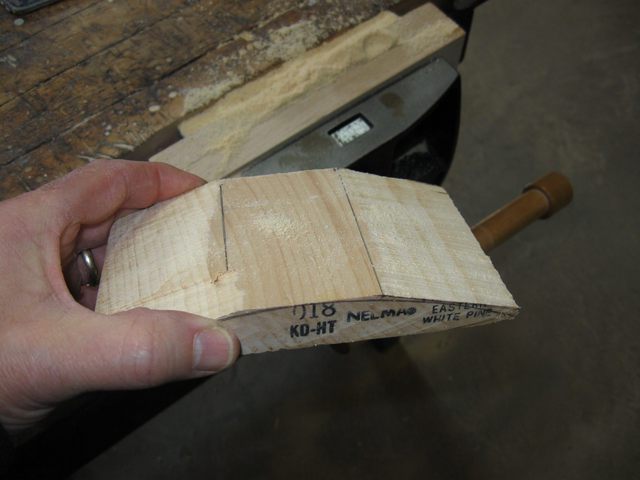
This is not good. But I don't think that it will be unfixable. I can squirt some glue into the split and glue it back together. I pressed the ends together to see how they fit. It isn't perfect, but it looks pretty good.
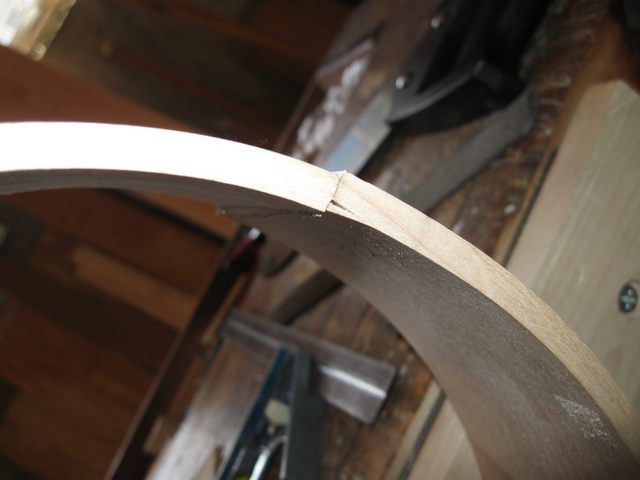
The Fit of the Ends is Pretty Good
First thing is to fix that split in the end of the board. I squirted some wood glue into the split and then clamped it tightly together.
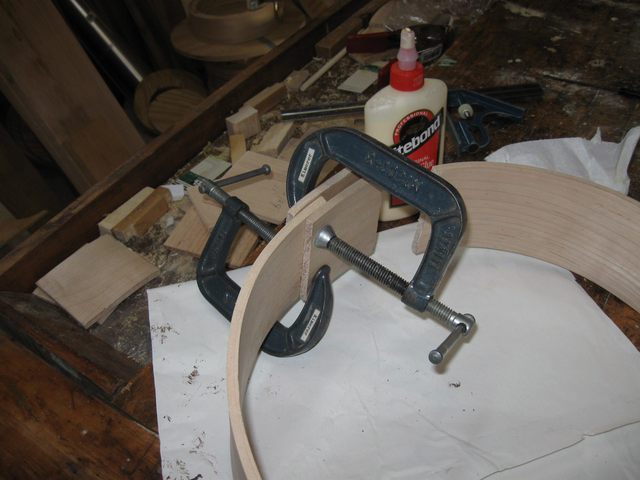
The Split Is Glued Shut
Here is a closer view of the clamped end. No crack is visible at the end of the board, so this fix should work fine.
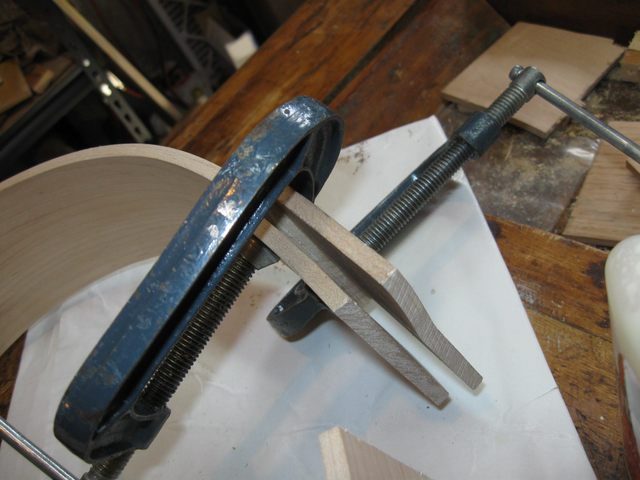
The Split in the End Has Been Closed
I am going to connect the two ends together using a heel block like I did last time. Trying to glue these together with a scarf joint will not work because the overlap that I would need to do that had to be cut off. I also could not make a scarf joint that is precise enough to hold it together anyway. The last time I did this, when I tried to glue the ends to a simple strap across them, the glue did not hold, and the hoop came apart.
So, my banjo will have a heel block in it. And to make sure that it will not pop apart later, I am going to screw it together instead of gluing it. It is a nonstandard way of making a banjo hoop, but this is going to be a nonstandard banjo anyway.
I found a piece of 1 inch scrap pine board and clamped it in the vise. Then I set the hoop on the end of it to trace the curvature that I have to cut.
Tracing the Curve Onto the Heel Block
I cut the board off to the depth of the hoop.
Cutting the Heel Block to Size
I marked straight lines on the heel block to cut away most of the waste wood with a straight saw.
Cut Along the Straight Lines
Here is the first cut at the heel block.
The Straight Cuts Have Been Made
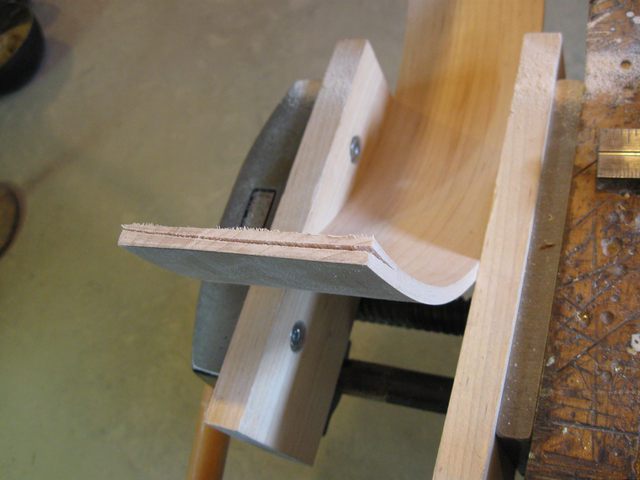
I carve out the curve using the block plane.
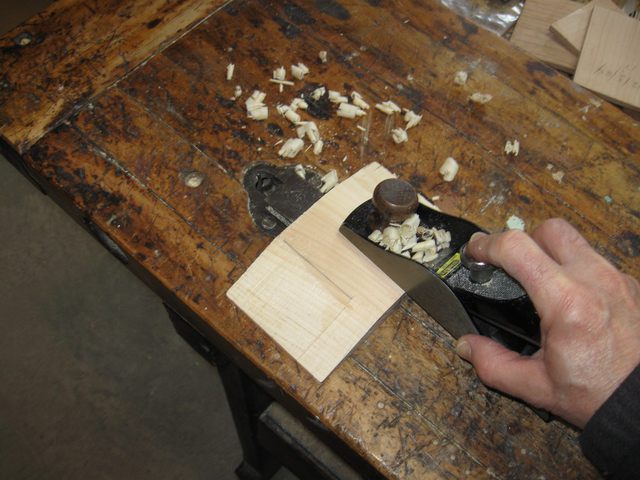
The Curve is Cut Using the Block Plane
Then I put a piece of heavy 80 grit sandpaper on the inside of the hoop and worked the heel block back and forth on it to even out the curve.
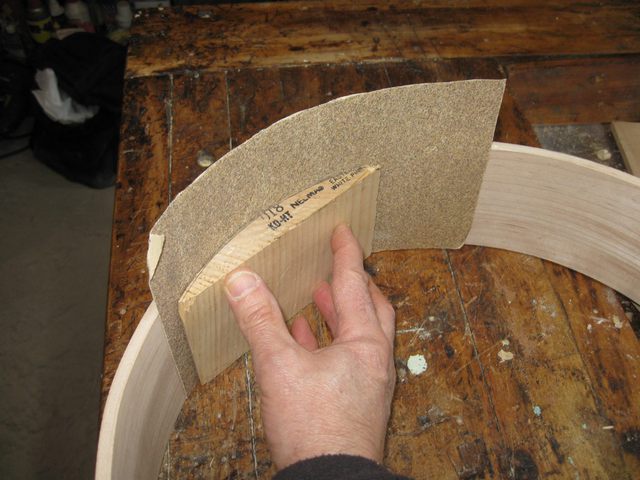
Sandpaper The Heel Block to the Hoop Curve
That won't be a perfect fit yet because I have not closed up the hoop to its final size. But it will get me close. That is all I can do today because I need to let the glue dry where I fixed the split in the end of the wood. Stay tuned.