It has been a while again since I have looked at this project - a couple of months now. It is difficult to get back to this. But I have decided how I want to soak the wood before I bend it with the heat gun. I looked for a window box tray or something like that to soak it in, but the longest one I could find was three feet. I need something that will hold a four foot board.
I finally decided on a 4" diameter PVC pipe. Since my board is 3 1/2" wide it should fit inside of a 4" pipe. So I went to the Home Depot and bought a 10 foot length of 4 inch pipe. They cut it in half for me so I would have two 5' sections. A 5' section should be long enough to hold my 4' board. And that also made it short enough to fit in my car.
Here is a photo of one of the sections of pipe.
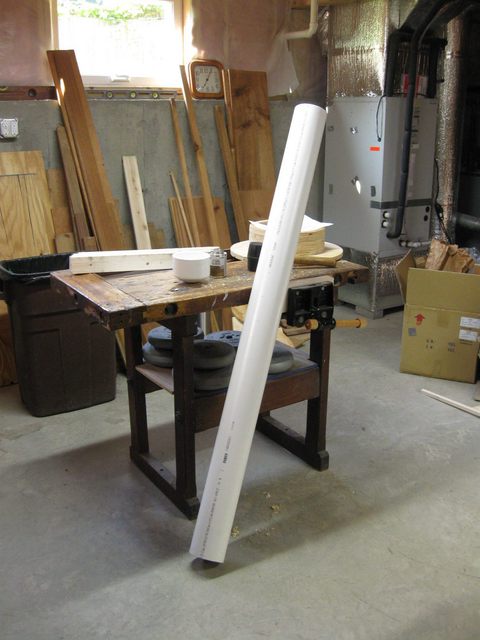
Five Feet of Pipe
Here is all the gibberish that is written on the outside of the pipe. Why do they write gibberish on pipes?
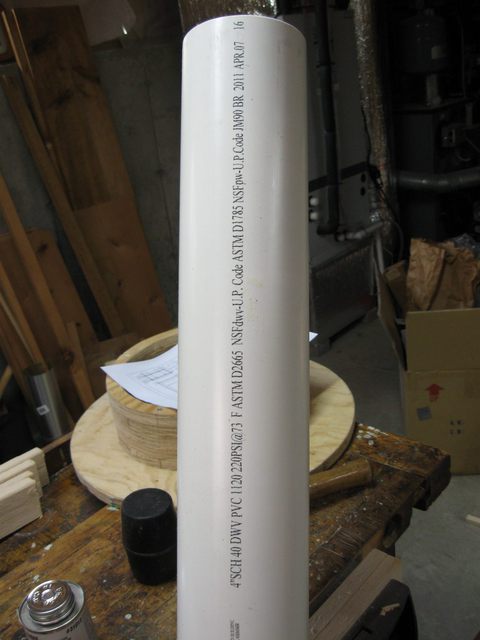
Gibberish
I also bought some PVC cement and an endcap. I will glue the end cap onto one end of the pipe and make a soaking tube out of it.
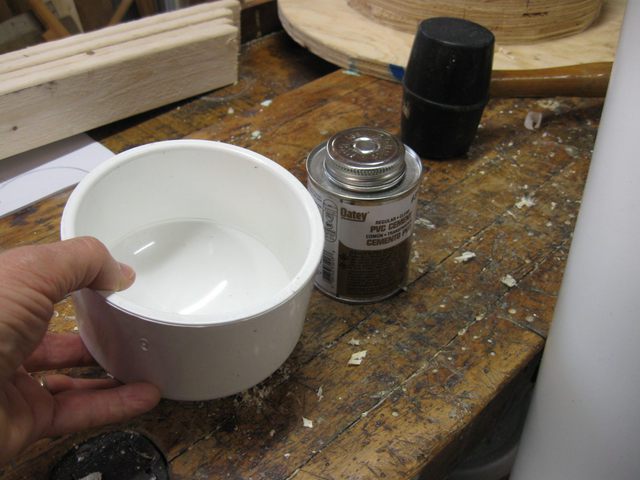
Endcap and Glue
Here is a closer snap of the PVC glue can so you can see the label. This is normal hardware store stuff, available everywhere now that pipes are made of plastic. I doubt I will use all of that glue, but that was the smallest can that they had.
This stuff is like that plastic airplane model glue that we used to snif.... I mean that we used when we were kids to glue together the plastic model airplanes. It literally dissolves the plastic and fuses it together. Powerful stuff. Bad stuff if you sniff it.... seriously... don't inhale this stuff. I plan on using it outside myself.
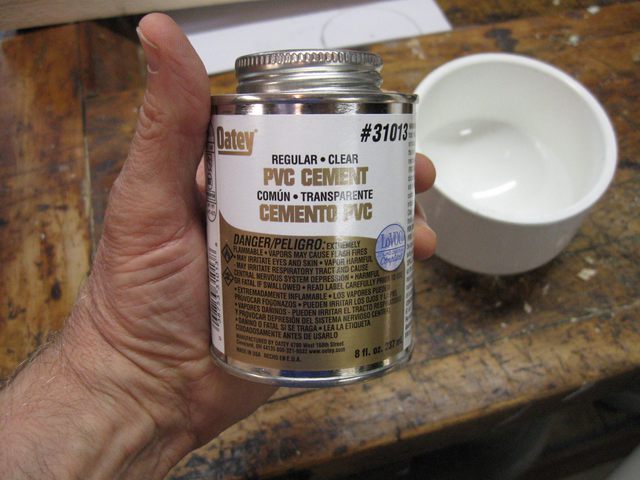
PVC Glue Label
But first I need to mark off how much of the pipe I need to put the glue on. I marked the pipe using a pencil about 2" down from the edge.
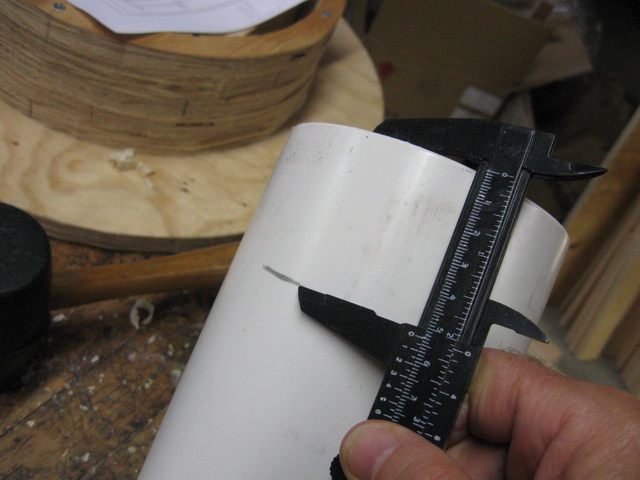
Mark the Pipe 2" Down
When a plumber is gluing this pipe together he is required to clean it with that purple stuff before gluing it. If your plumber gets done installing some of this pipe, and you don't see the purple stuff, he did it wrong. But the fellow in the store told me that it is just as good to rough up the plastic with some sandpaper, so that is what I did.
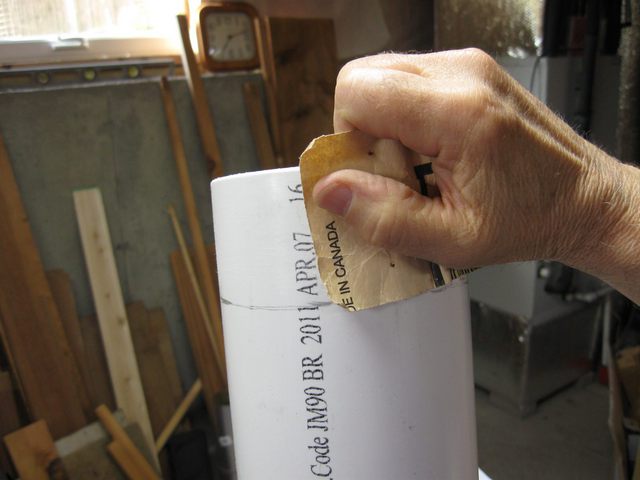
Roughing it Up
I tested the fit dry before actually gluing it together. When I put this together, I have to do it all at once.. in one movement... because once it is stuck together there is no moving it. If it goes on crooked or not all the way... it is permanent. So I dry fit the parts to make sure I know how they will go together when I do this for real.
Dry Fit
I took it outside to do the gluing in case it makes a mess or I spill something or it stinks too much. The rubber mallet is to "persuade" the cap into place if it is too tight. The channel locks are to get the top off of the glue can. The gloves are to prevent me from gluing my fingers to the pipe.
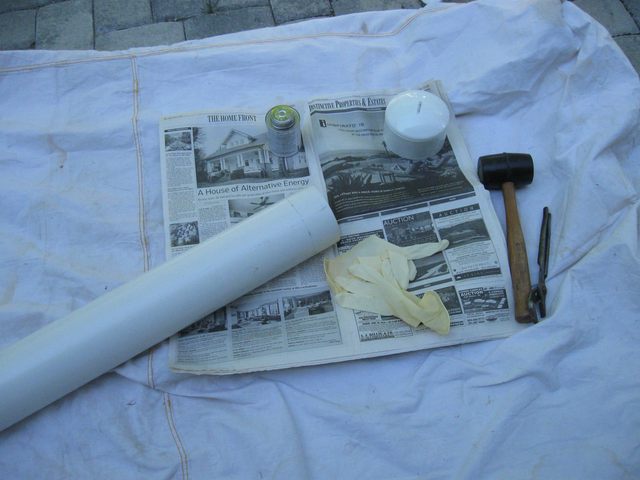
Pieces Are Ready to Go
Sorry for the blue photos. I forgot to reset the white balance on the camera when I took it outside. Some day I will have to read the instruction manual for the camera.
I don't have any photos of me doing the actual gluing because it went quickly, and I had no spare hands to take the pictures. Inside of the glue can there is a spreader attached to the lid. I used the spreader to spread glue all over the pipe above the pencil line, then I put the endcap on and whacked it into place with the mallet. It worked out pretty well.
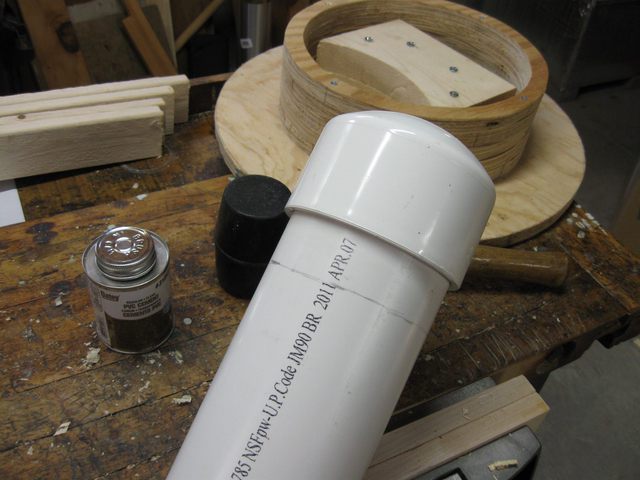
Here is a photo of the final endcap.

Endcap is Glued in Place
Now it has to dry. Next time I can put a board in to soak.