
I am convinced that the tension hoop is too small because I cannot get it to go down over the rim and the head no matter how hard I push. Therefore, I plan on making it slightly bigger. Now for some quick math to see how much bigger to make it.
Way back, when I first tried to mount the head, I did some quick calculations about how much bigger than the rim the flesh hoop needs to be. I measured the thickness of the skin at 0.015 inches and then came to the conclusion that the hoop had to be 0.015 inches larger than the rim. It actually has to be 0.030 inches larger in diameter because there is a thickness of skin on each side of the rim. Maybe that mistake is why my flesh hoop is too tight?
The flesh hoop and the tension hoop both go down over the rim and the skin head with a tight fit now, but the tension hoop is too tight to pull the skin back up through the hoop. That second thickness adds 0.030 to the diameter of the hoop. Since the fit is tight now, I am guessing that I should increase the diameter of the tension hoop by at least 0.030 inches. The flesh hoop should be OK if I just loosen it up a bit.
What I intend to do is to make a new backstrap for the hoop which has the holes a few millimeters apart. Then, when I bolt the whole thing together the ends of the hoop will be held apart a little bit, thus enlarging the size of the hoop. Now I need to figure out how far apart I need to make the holes in order to enlarge the hoop by the necessary amount.
So now for some math. The diameter of the hoop is related to the circumference of the hoop using the formula:
C = π X D
where:
C = Circumference of the circle
D = Diameter of the circle
π = 3.141592653589793238512808959406186204433 (approximately)
Don't you just love the calculators on computers?
I need to add 0.030 inches to the diameter, D. When I add that amount into the formula, I get:
C1 = π X (D + 0.030)
I have simply added 0.030 to the old diameter and given the name C1 to the new circumference. I can now multiply out the values on the right hand side of the equation and get:
C1 = (π X D) + (π X 0.030)
and since I know that π X D is just the old circumference, I get:
C1 = C + (π X 0.030)
and if I multiply out the actual numbers on the right hand side, I get:
C1 = C + 0.09424777960769379715131851063536494450545
OK. Enough of that, I am going to round the number to something that I might be able to measure.
C1 = C + 0.09425
There. Now you can see that I need to just add 0.09425 inches to the circumference of the hoop to make the change that I need. Isn't that fun? What is that on a ruler? If I multiply 0.09425 times 32 I get 3.0159 32nd
of an inch. I just round that down to 3/32 and I am done.
My calculations tell me that I need to split the ends of the hoop apart by 3/32 inch in order to increase the diameter of the hoop by 0.030 inch. Since I rounded down, and the fit was pretty tight before, and I am not all that great at measuring stuff, I decided to round it up again to 4/32, which is just 1/8 of an inch. So, I measure it with a micrometer, mark it with chalk, and then cut it with an axe.
The first thing I did was mark off another piece of brass strapping and then square it up for cutting.
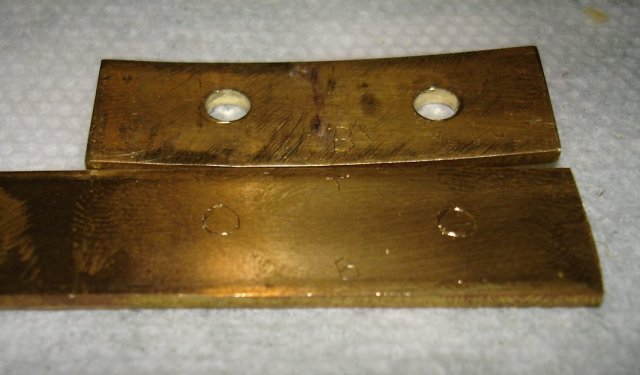
I put the old backstrap onto the new one and marked where the holes are on the old one.
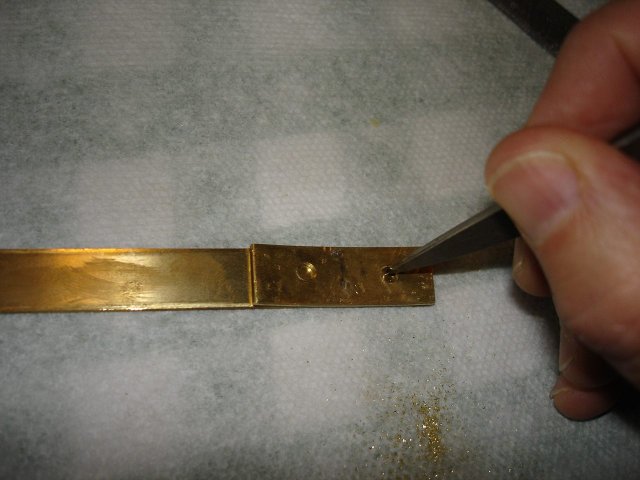
I made circular marks around the inside of the holes. You can see them here.
I took the strap out to the bench and cut it off with my hacksaw. Then I took my center punch and punched it on the outside edge of each of the circles. Here is a photo:
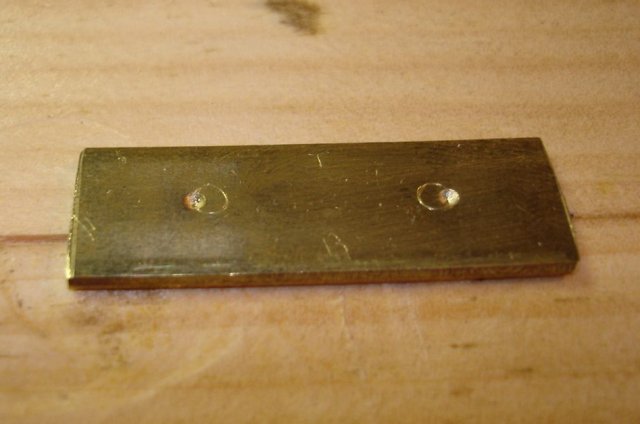
My logic went like this. The holes that I drilled in the old backstrap were 9/64, which is just over 1/8 inch. So if I drill the centers for the new holes at the ouside edge of the old holes, that will move each one about 1/16 inch (the radius of the old hole) to the outside. By moving both holes, 1/16 inch they end up 1/8 inch farther apart than the old holes. So that is what I did. I drilled out the new holes and then peened the new backstrap into a slightly curved shape to fit the curve of the hoop. Here are all the parts.
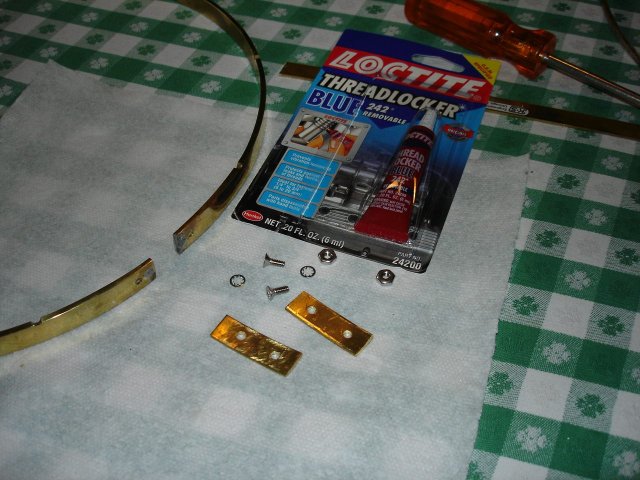
As you can see in the photo, I have gone back to the hardware store (a different store again) and procured some lock washers and Loctite®. When I took the previous backplate off I found that the nuts had come loose. Once I have this thing assembled I will not be able to tighten the nuts since the screw heads will be between the hoop and the rim, and they will just spin in the holes. The lock washers and Loctite® should keep them screwed together.
I assembled the hoop and the new backplate, and here is the new joint.
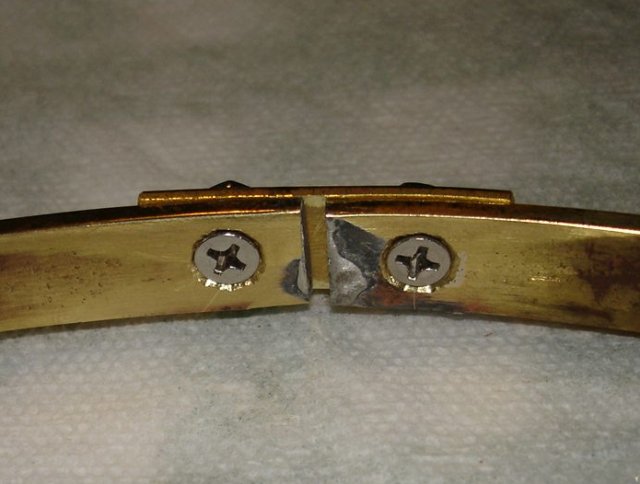
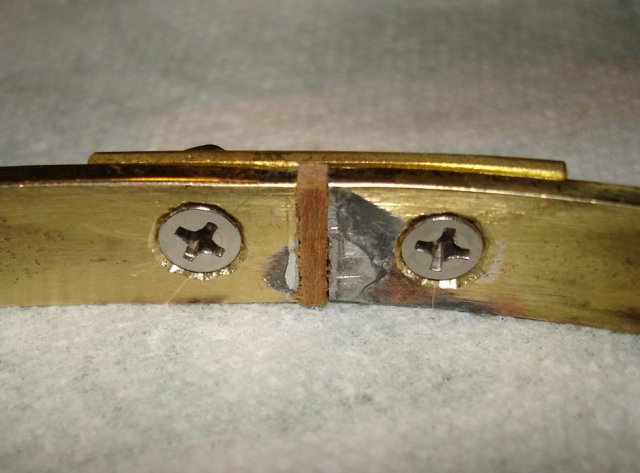
I did not like the looks of that gap. It looks as though it might tear the head, so I went back out to the shop and made a small wooden plug to stuff into the hole.
Here is the joint from the outside of the hoop. You can just barely see the edge of the lockwashers.
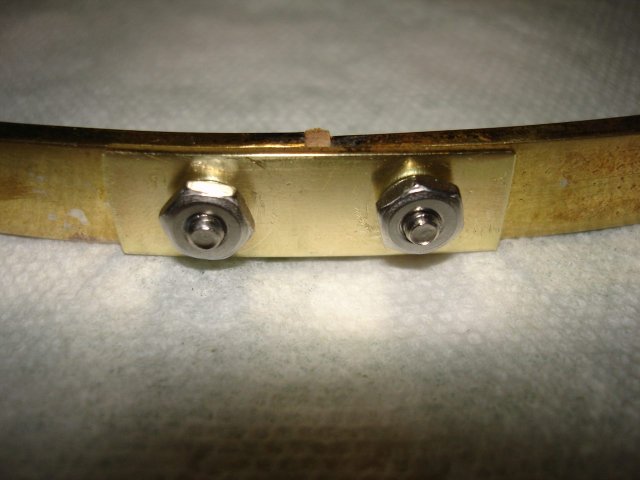
After I took the photos I measured the gap between the ends of the hoop. It is just about 3/16 inch, which is a bit smaller than I had intended. However, it is close to my original estimate of how much I had to make it in order to make the hoop fit. I will try it, and if it works, great; if it does not work, I will make another one.
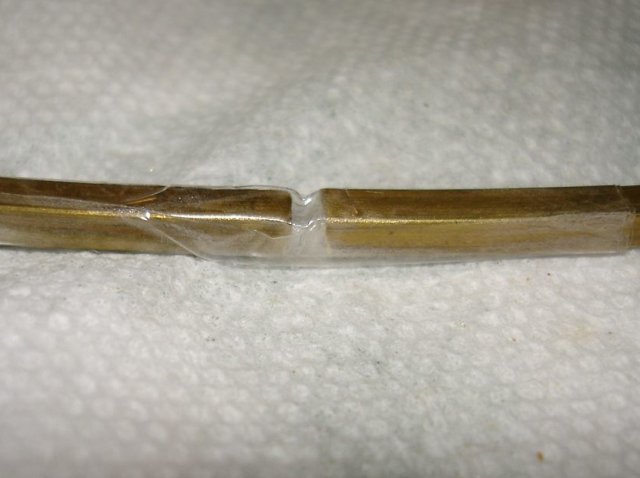
The last thing that I wanted to do today was to stretch out the flesh hoop a bit. It fits over the head, but it was a tight fit. Here is a photo of the joint on the flesh hoop.
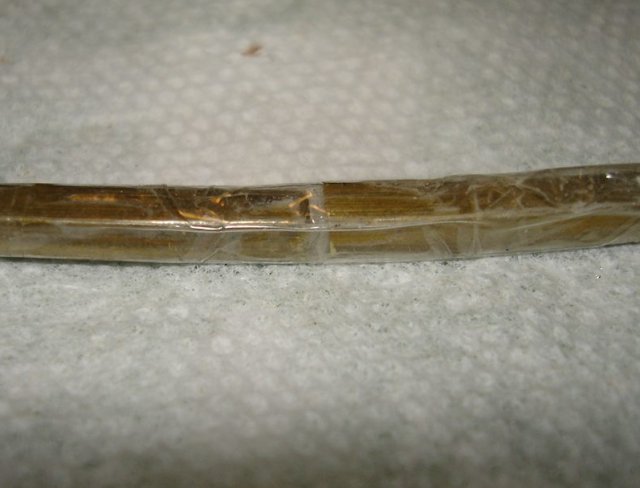
I took the tape off and then opened it up a bit and taped it back together.
That's it. I am now ready to try mounting the head again, but that is for another day.
It took me 2 1/2 hours to do this chore, including the time to go to the hardware store (again).