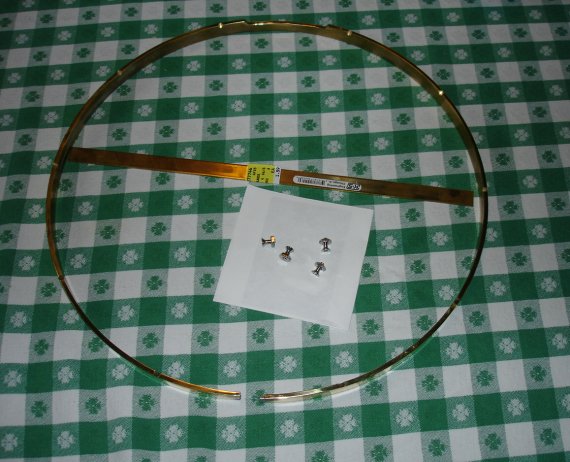
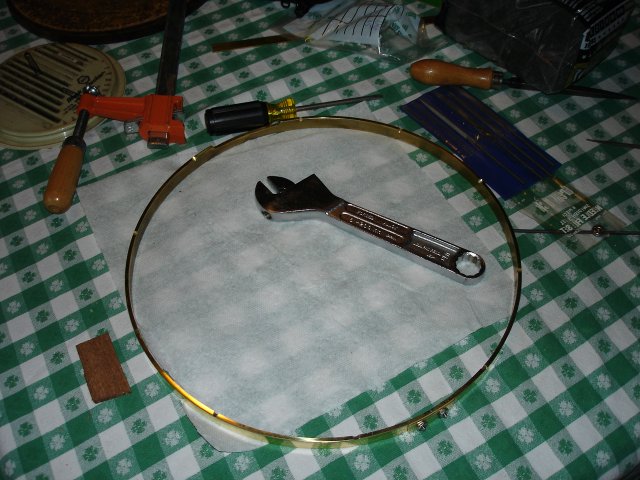
I took another trip down to the hardware store to see what I could come up with to fix the tension hoop joint. I went to a different hardware store this time. My idea was to bolt the thing together with a brass backstrap across the joint. One fellow at the hardware store looked at the hoop and said that a brazer would really have to know what he was doing to make a joint like that hold. He did not know any place where I could get the joint done correctly. I decided to go with the screws. Here is what I came home with:
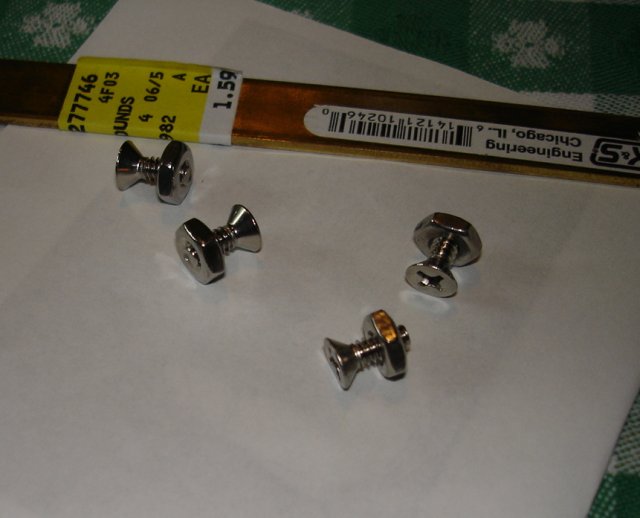
The bar in the middle of the hoop is a brass strap that is 1/2 inch wide by 1/16 inch thick and 12 inches long. I will use it to make a plate to go over the joint in the hoop. It cost me $1.59 in 2006 dollars.
The screws are stainless steel flathead machine screws. I got stainless so that they will not rust, and they will be stronger than brass. They are flathead screws because they must be flush with the inside of the hoop after I install them. The screws are 3/8 inch #6 screws. I paid $0.15 for each screw and $0.06 for each nut. This is not going to be an expensive patch. Here is a close up of the screws:
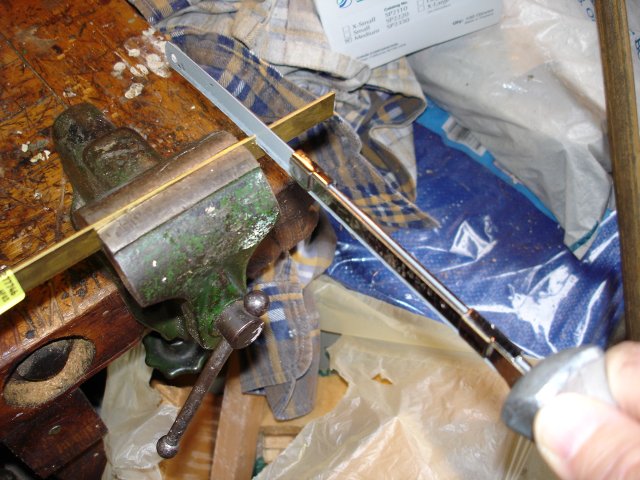
To make the plate, I cut 1 1/2 inch off of the brass strap. I just used my hacksaw for that work. The brass is really soft, and this only took a few minutes.
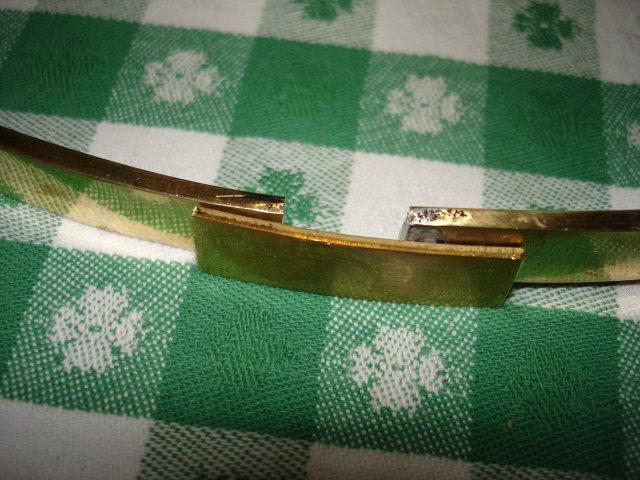
Once I had the plate cut off, I filed the sharp corners off of it and then peened it into a curved shape. To bend the plate, I simply held it with pliers over the round end of the vise in the photo above and tapped gently on it until it was the correct shape. That part of it was a lot easier than I had anticipated. Here is a photo of the plate sitting next to the broken joint.
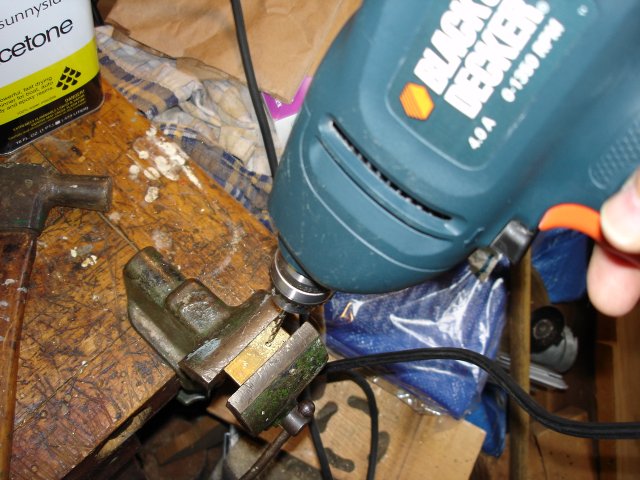
The next step was to drill some holes in the brass tension hoop next to the joint. The screws will go through those holes and through holes in the plate and then be fixed with the nuts on the outside of the hoop. I drilled out the holes using a 9/64 inch drill bit, which is just slightly larger than the #6 screws.
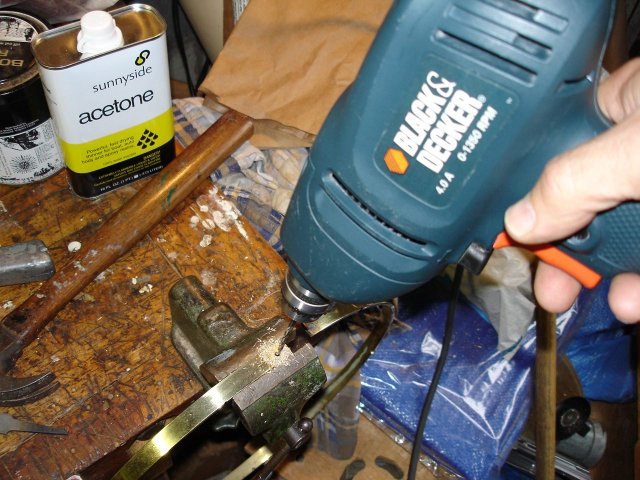
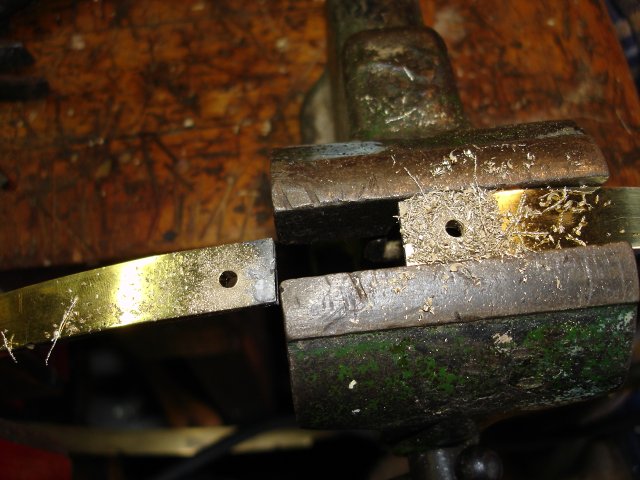
Here are the holes in the hoop.
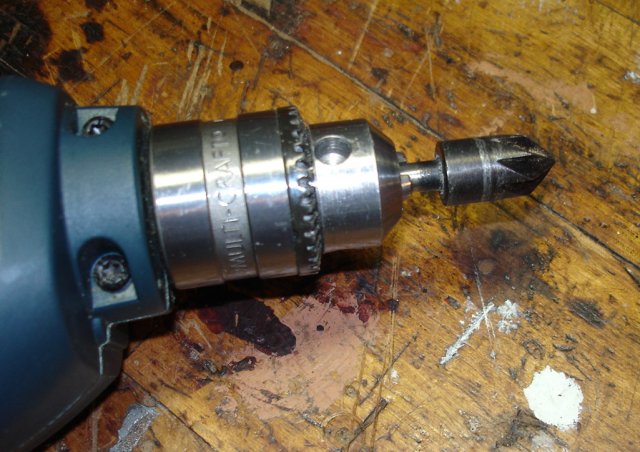
Next, I had to counter sink the screw holes so that the heads of the screws will be flush with the inside of the tension hoop. Here is my countersink:
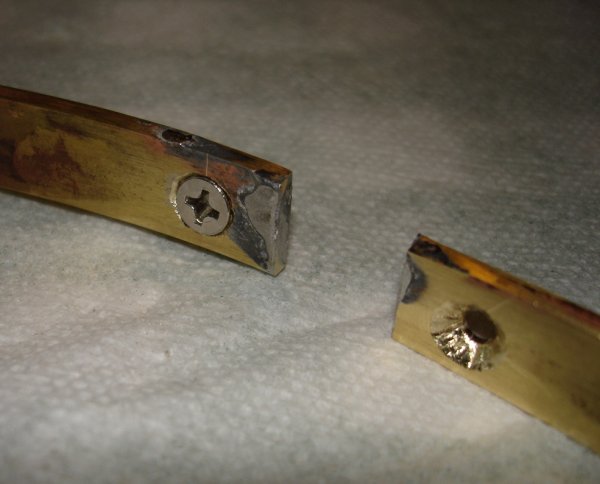
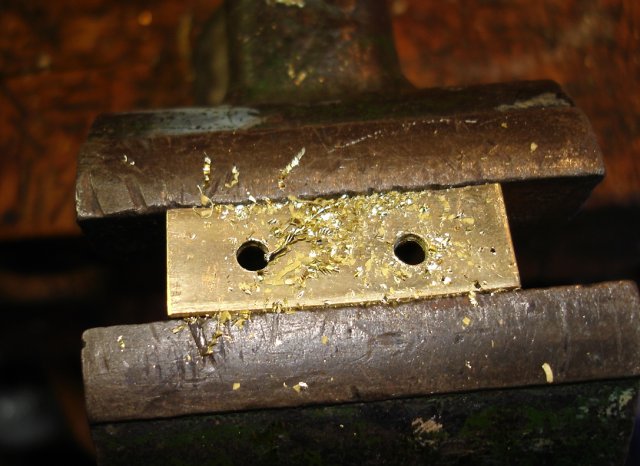
This tool works great on wood, but it chatters a lot when I use it on metal. That leaves the hole choppy and scalloped. I finally had to take my needle files to the holes to smooth them out. That took quite a while. Here is a photo of the resulting holes. I have put a screw in one of them to show how the head is flush.
Here is another picture of the holes with the plate sitting behind them.

I clamped the hoop shut and marked on the plate where the holes were in the hoop. Then I went back out to the bench and drilled out the plate holes.
Here they are:
I filed the sharp edges off of the plate again and then shined it up a bit with some steel wool. Then, I bolted it to the hoop using the screws. Here it is from the outside:
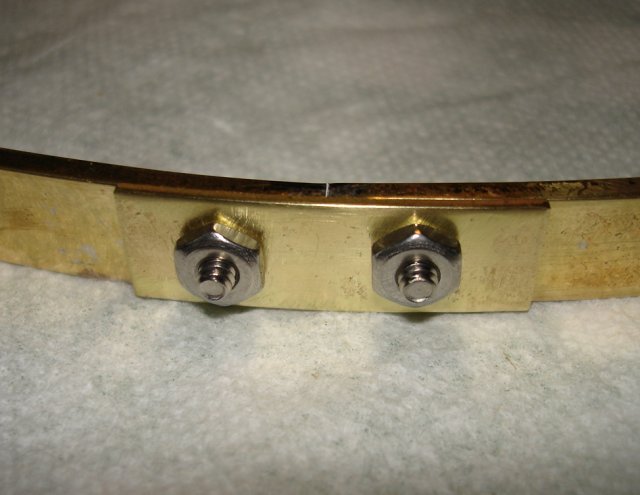
And here it is from the inside:
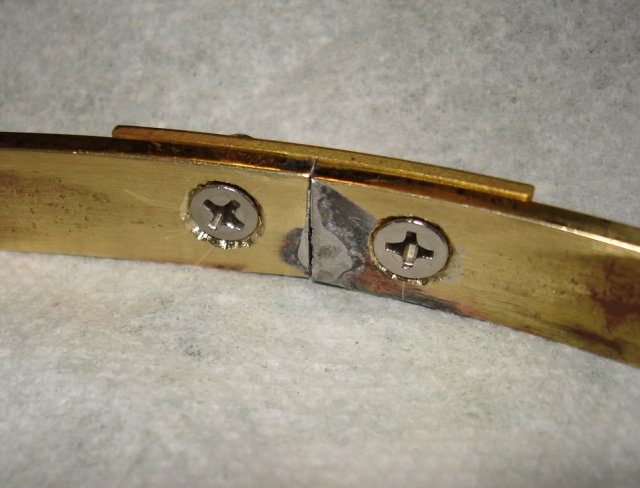
Well, that is that. Here is the hoop all fixed.
It actually looks better than I had thought it would. While the steel bolts are not accurate to the period, they do not look totally out of place. Anyway, it is what it is. This joint looks as though it may hold.
It took me about three hours to do this job, if I include the time to go to the hardware store, and I fully intend to include it.