
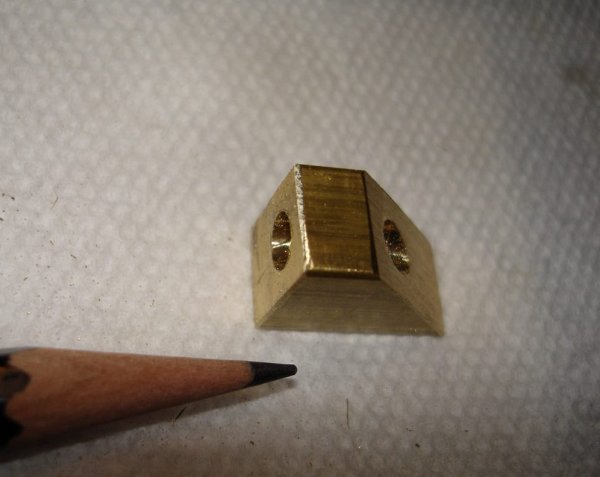
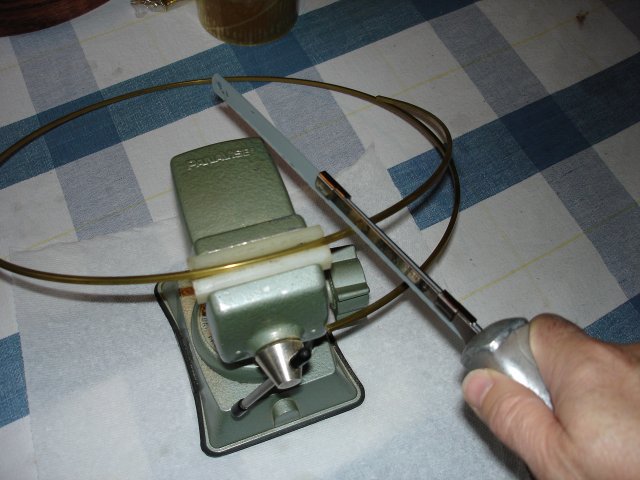
The next thing to do is to mount the head. But as I was handling the pot with the shoes on it I noticed that there are a lot of sharp edges on the shoes. So I took a closer look and here is what I saw:
If you look closely right where the pencil is pointing, you can see a little wire that has been left there by whatever was used to cut the brass. Those little wires are sharp! In fact, there was a sharp edge like that on just about every corner of every shoe.
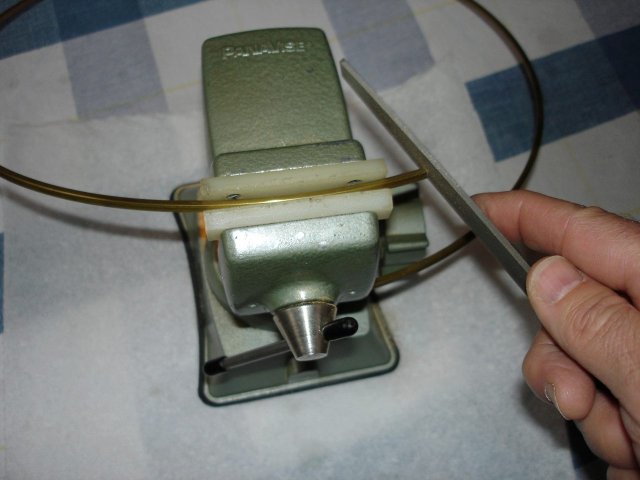
I do not want to be cutting my hands when I play the banjo, so I removed each shoe from the pot and then took a file and knocked the edge off of every corner of every shoe. This did not take long because the brass is soft. I ended up with little chamfers on the edges of the shoes. Pretty cool looking.
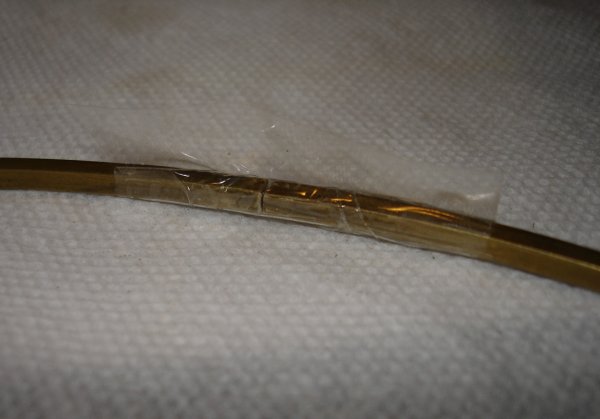
The flesh hoop is made of square brass rod rolled into a circle. The hoop is rolled, but it is not cut to size. Here is a photo where you can see that there is quite a lot of overlap left.
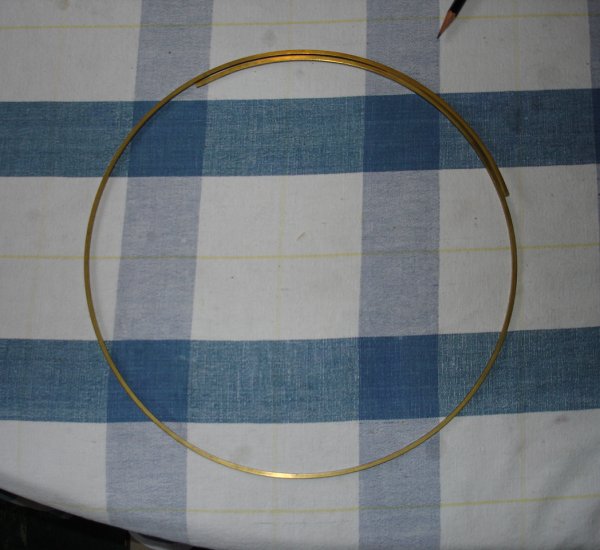
The challenge here is to cut off the end of the brass rod to make the flesh hoop exactly the right size so that there will be room for the head to fit between the hoop and the pot, but so that the hoop will not be too large and cause it to interfere with the hooks.
Ideally, the diameter of the hoop will be larger than the pot by one thickness of the head. You can see this in the illustration below:

Figure 1.
The yellow parts are the flesh hoop (underneath) and the tension hoop (on top). The pot is colored brown, and the head is colored tan. You can see in the illustration that the head goes between the flesh hoop and the pot one layer thick, but it goes between the tension hoop and the pot two layers thick.
This all has to fit together properly or it will not grip the head properly for stretching.
Just for grins I got out my micrometer and measured the thickness of the head in several places. It measured about 0.015 inches. So, after I cut off the extra from the end of the flesh hoop and butt the two ends together the hoop should be 0.015 inches larger than the pot.
These close tolerances are difficult to achieve with only hand tools. For example, if the hoop has a clearance from the pot of two thickness of the head, 0.030 inches, it might not be tight enough to hold the head in place. The difference in diameter of the hoop between one thickness of the head and two thicknesses of the head is only 0.015 inches. Doing a little mathematics, that means that if I cut the rod too long by as little as 0.047 inches the clearance will be twice what it should be. That is only 1.2 millimeters. I don't think that I can measure it that accurately.
What I decided to do was to put the hoops onto the pot and then mark it in place. First, I put both the flesh hoop and the tension hoop onto the pot to check it out. Here is what it looks like.
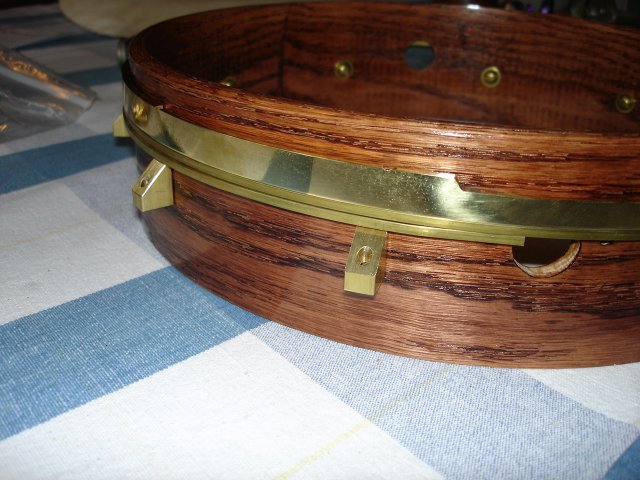
They actually look pretty close. The curve of the flesh hoop was slightly smaller than the pot, so I had to stretch it slightly to get it over the pot. When I looked down from the top I could see light between the flesh hoop and the pot where the hoop was not perfectly round. I guestimated that if I averaged out the gaps I would have somewhere around a head thickness if I marked it while it is on the pot like that. I had to just eyeball it.
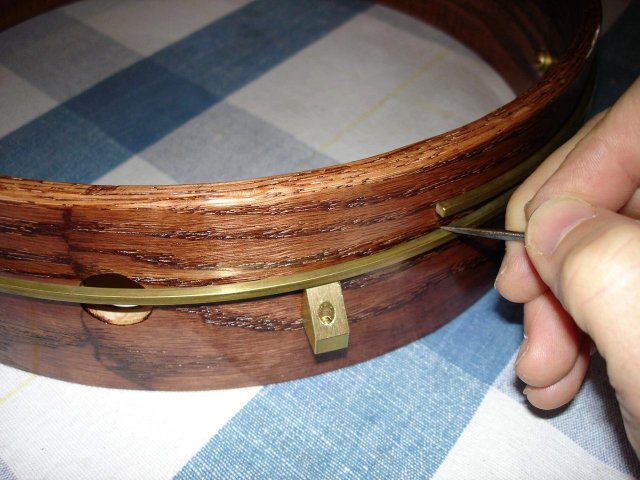
I took off the tension hoop, and then moved the flesh hoop into what looked like a good position and marked it with my scratch awl.
Then I put the hoop into my small vise and held my breath and cut.
... and filed the end of the cut smooth.
Finally, I taped the ends of the flesh hoop together using some packing tape, as suggested in the directions.
Here is the end result. I have placed both of the hoops on the pot to see how they line up.
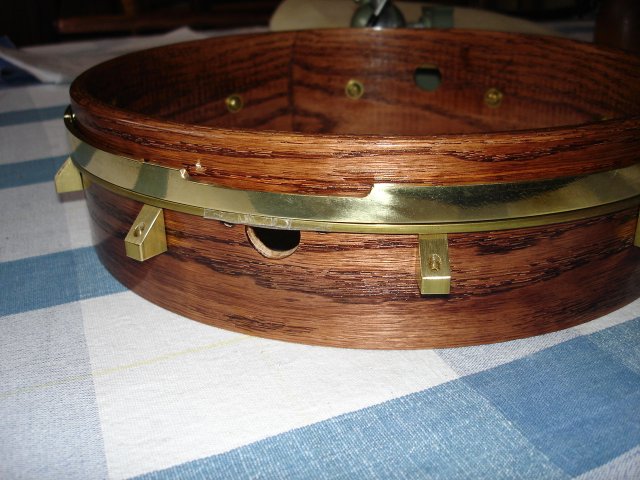
Well, it looks OK to me. I guess that I will find out how I did when I try to mount the head. This part of the project took me about an hour and a half to complete because I had to file down all of those shoes. But it was fun.