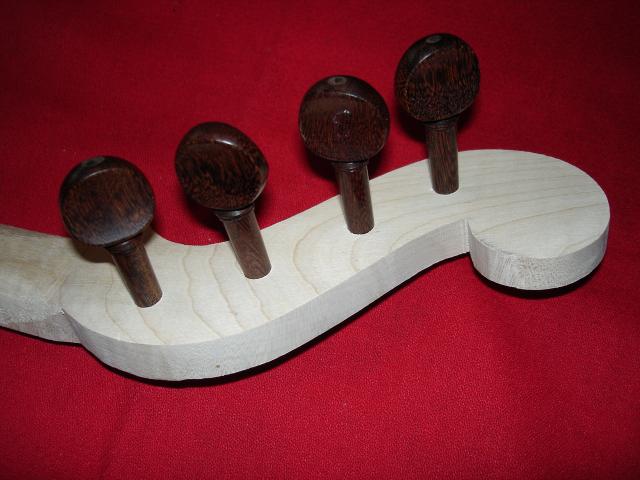
The banjo came with some really beautiful pegs. Take a look at these beauties!
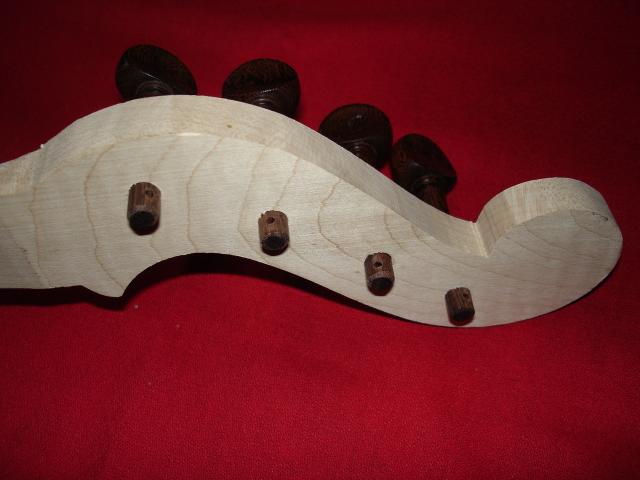
Here is a photo of the bottoms of the pegs.
The instructions say that each peg is fitted to the hole that it is in and that they should not be moved around. For that purpose the pegs have been marked with numbers. Well, if you look very closely at the photo above (click on it to get a larger view), you can just barely see a marking of some kind on the peg that is second from the right.
They must have been marked with tailor's soap or something, but it has rubbed off. I decided to mark them with more permanent markings before taking them out of the holes.
Oh, but first, here is a look at the 5th string peg in its hole.
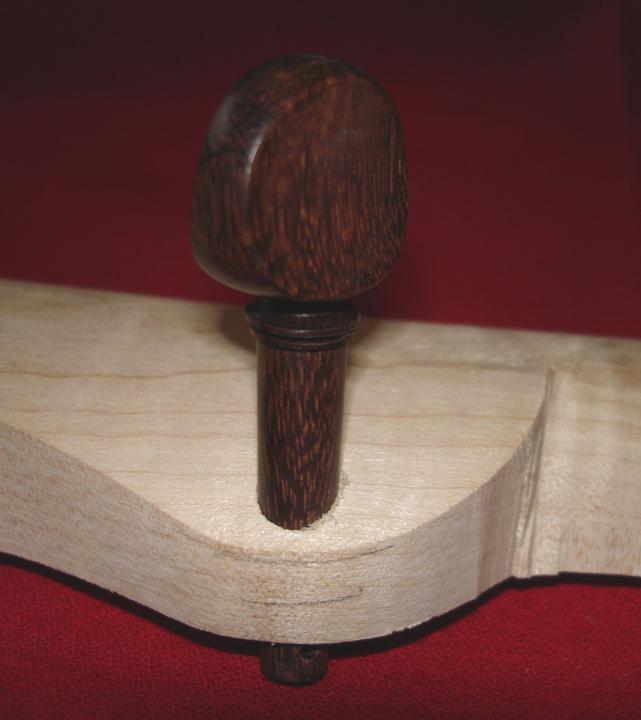
See the "5" marked on it? It's there. Click on the photo.
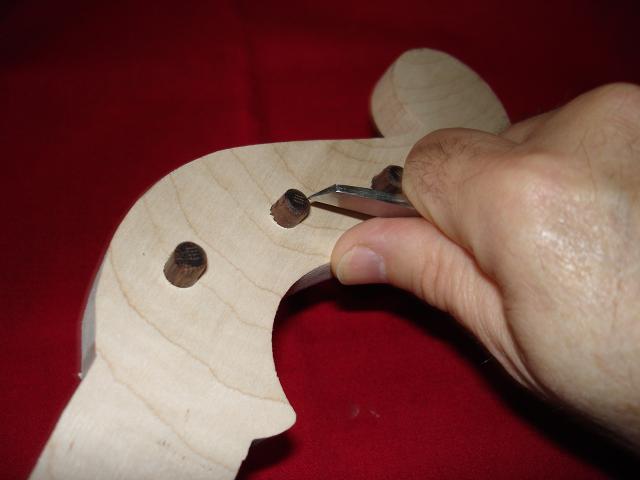
Here is the tool that I chose to use for marking the pegs permanently with their hole number.

The tool is called a "burin", and it is used for wood engraving. I have tried my hand at wood engraving in the past, so I have a set of these tools. Wood engraving is a printing technique from the 19th and early 20th centuries wherein an image is carved into the endgrain of a slab of boxwood, and then the wooden block is used to print the cutting. It is similar to a woodcut, except that the image is cut into the endgrain with a burin instead in the side grain as it is with a woodcut.
This is the perfect tool for what I am going to do since I plan on cutting a number into the end of each peg, and that is the endgrain of the wood.
I would not expect you to have a wood engraving burin lying around, but what I did could probably be done with a sharp chisel or a even a pocket knife. I just took the burin and carved the number of the peg into the end of it. The markings are very difficult to see, so it should not detract from the appearance of the instrument, and yet it is a permanent marking. Here is a photo.
This work took just a few minutes to accomplish.
If you look very closely at the photo, you can just barely make out the markings on the ends of the pegs. I used Roman numerals since they were easy to cut. I even put a V on the 5th string peg, even though it is a different length than the others.