You can probably guess from the title of this chapter what the outcome is, but I will relate the details anyway.
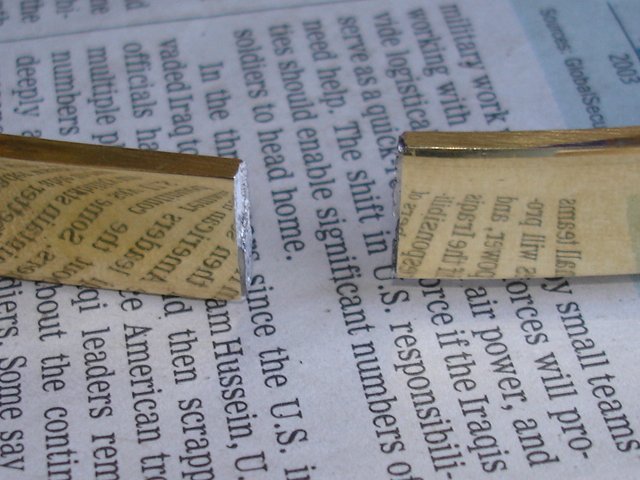
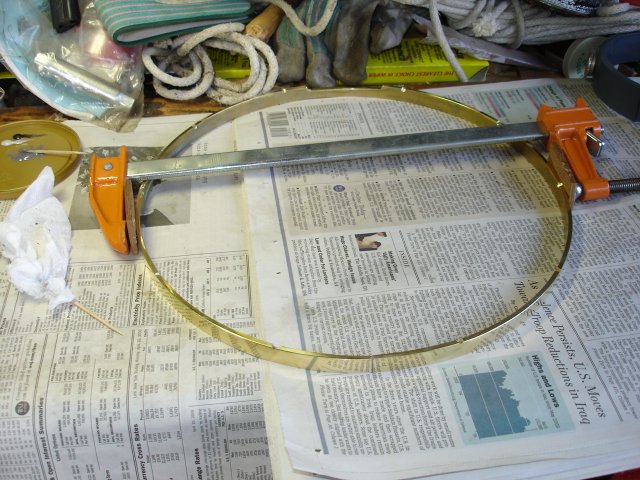
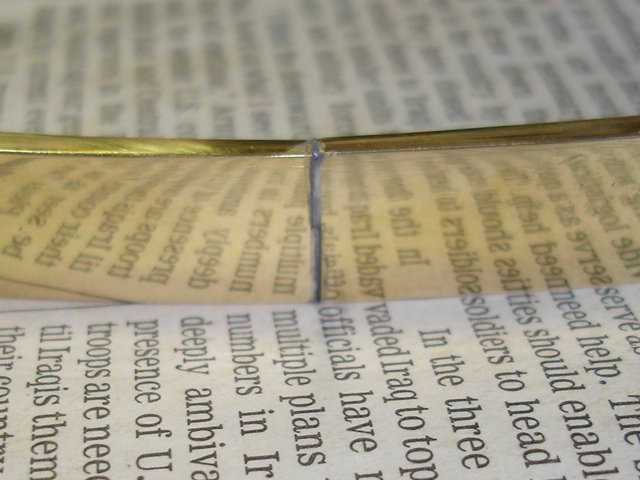
I took the head and the hoops off of the pot because I was done for the day. Later I took a close look at the joint. Here it is in closeup:
You can see that the joint was, indeed, made with silver solder and there is quite a lot of it. It looks as though the solder itself has broken. I did some research on brazing and found the following information.
Brazing is done by melting a "solder" of some sort in a small joint between two metal pieces so that it adheres to them and connects them together. The solder is generally an alloy that is different from the metal being joined and melts at a lower temperature. Hence, brazing can be used to connect metals of different kinds together. The metal pieces being joined are not melted in the process. Hence, the solder acts as kind of a glue.
This is different from welding, in which the same kind of metal is used for the "solder", and the metal being joined is, itself, melted in the process.
There are actually different kinds of brazing solders which melt at different temperatures. They are used for joining different types of metals, which also have their own characteristic melting points. Sometimes, a range of brazing solder will be used for one job so that a first joint can be made with a higher temperature solder, and then a second joint can be made using a lower temperature solder without fear of weakening the first joint while making the second.
The crazy things that you learn on the internet!
In order for the solder joint to hold, the gap between the pieces of metal should be small. That is because the solder simply glues the pieces together, and the strength of the joint depends on the strength of the metal being joined. The strength of the solder itself is typically not that great. This is similar to a regular glue joint when glueing wood, wherein a large gap will make a poor joint because the glue will fail.
So, what is a "small" joint. From what I have read, the gap between metal pieces in a brazed joint should be less than 0.005 inches, and ideally it should be 0.0015 inches.
So, curious me, I got out my magnifying glass and my micrometer and I attempted to estimate the size of the gap in that joint. What I came up with was about 0.025 inches, which is about five times bigger than the maximum and about 16 times bigger than the ideal gap. This gap is larger than the typical 4th string on a banjo, so you can see that it is huge in the microscopic world.
What happened here is that the solder broke. In fact, if you look again at the photo above you can see the bulge of solder on one half of the joint where it broke.
I emailed Bob Flesher my sad story, and he said that I could try to get it brazed myself, or I could send it back to him and he would fix it. Being the adventurous type, I decided to give it a try.
Here is what I did.
I work in a place that makes industrial equipment. They have tools that can carve springs out of solid graphite (it sounds strange, but they really do that). They have tools that can cut stainless steel with a hot wire. They have drills and lathes and NC equipment and you name it they got it. So it was a no-brainer to just take it to work.
Nope. They don't do brazing. The closest thing I could find was one old dried-up tub of flux.
The next thing to do was to look for a brazing shop or a welding shop of some kind. I could not find one close, nor could I find the time during business hours to drive around asking those places to take on this small job.
My next move was to decide to learn how to braze it myself. I went to my friendly local hardware store (yes, there are still some of those in business, and we have one). I asked about brazing the joint using a simple hand torch since getting into an oxy-acetylene setup would be quite expensive. What they told me was that I could do silver solder with a can of MAPP gas on an air torch, but not bronze solder. Also, I would have to heat it for quite some time with a big flame, and that would probably wreck the shiny brass and discolor it.
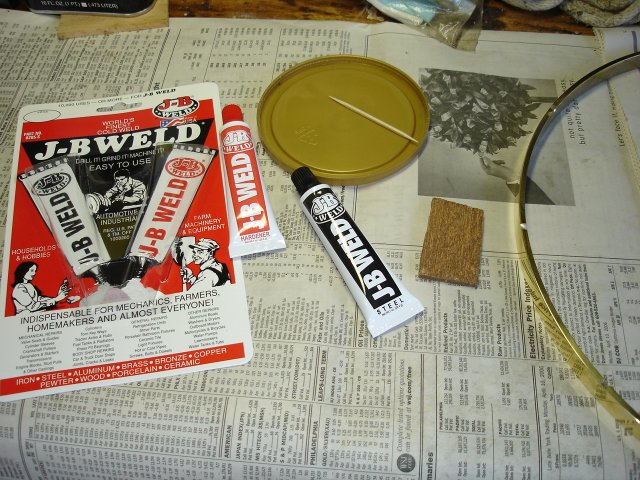
Then, they suggested a new technology called, J-B Weld, which is a special epoxy with liquid steel. This stuff is reported to hold engine blocks together it is so strong. This will hold it, they said. So I took home some J-B Weld
OK. Enough of this banter, here are some photos of my adventures with J-B Weld. Here is the stuff I bought sitting on the bench with the broken hoop:
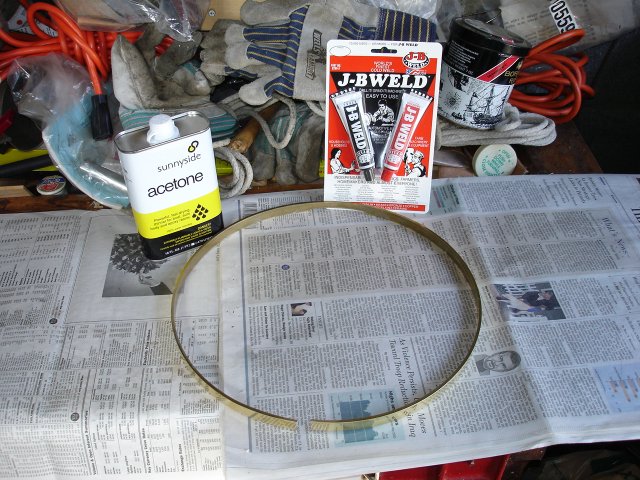
The acetone is used to clean off the joint and remove any trace of dirt or oil. Here is the glue all ready to go. You mix it like regular epoxy.
I save the plastic tops off of coffee cans for mixing epoxy glues on them. Here is the glue all mixed:
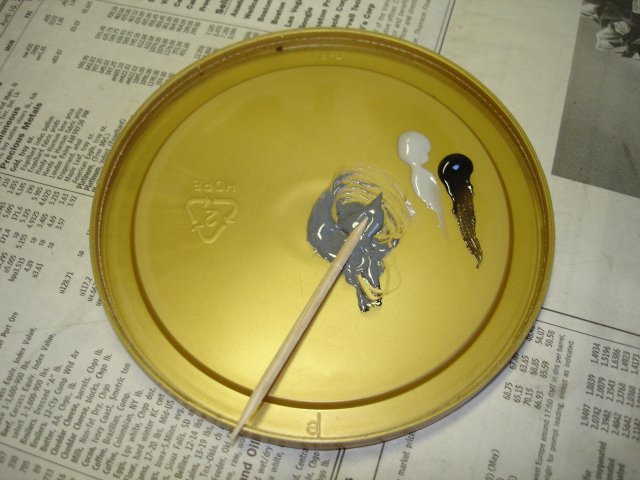
The two dollops of glue show what it looks like as it comes out of the tube, and it turns gray when you mix it. So I mixed it up and took a tiny bit of it on a toothpick and glued the gap shut. Then, I clamped it.
Here is the glued joint.
J-B Weld says to let the glue set up for six hours before moving, and then let it cure for 15 hours before using. I let it set up on the bench for six hours, and then I moved it inside where it was warmer for the rest of the drying time. I let it dry for 21 hours.
The next day, I took the clamp off to see what I had. It stayed together for a moment, and then, pop it came apart again. The glue had the strength of rubber cement. Here is that pesky, broken joint again.
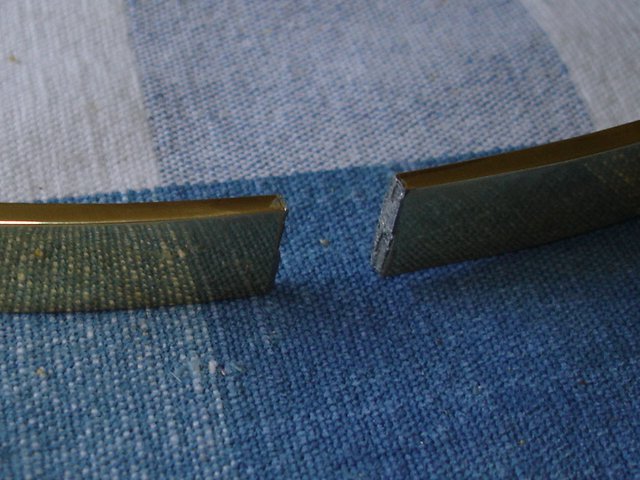
To be fair to J-B Weld, I suspect that the glue held and the solder broke again. I don't know. Look at the photo and come to your own conclusion.
Well, that is why this is called the "Sad Chapter". I have sent my tension hoop and the pot along with it back to Bob for fixing. I guess these sorts of things are best left to the pros.
If I may wax philosophic for a bit before I hang up this long chapter, this is a problem with kits in general. I bought the kit because I do not have the equipment nor the expertise to make some of the parts. If I did have those skills, I would simply fix the problem or make a new part. But in that case, I would not be buying a kit. Since I cannot make all of the parts, I am stuck when a part breaks. This appears to be an inherent danger in building kit banjos, and if things go wrong they can take a long time to finish.
Ah well. It's fun anyway. It isn't as though I have a deadline or anything.
I now wait in grand anticipation of the return of my tension hoop so that I can continue.
How long did this step take? I suppose that if I wanted to be persnickety, I could take credit for the full 21 hours that I waited for the J-B Weld to cure, but that would not be fair. I did not add in the time I waited for the finish to dry. So, given the time it took to research the problem and to get to the hardware store and to do the glue job, I am going to add in two hours to this job. But it certainly took a lot more calendar days than that to wade through it.