Now that the dowel stick is glued into the neck, it is necessary to attach the neck and dowel firmly to the pot. I had glued the dowel into the neck early in the morning, and by afternoon it was dry enough to procede with the next step.
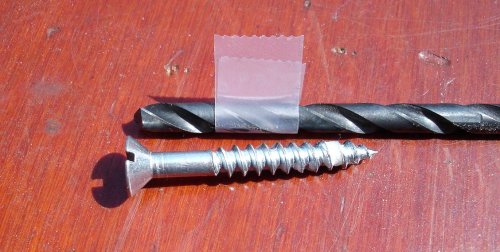
The neck is attached to the pot using two brass wood screws. Brass screws are pretty, and they will not rust, but the metal is soft, so some care must be taken not to break them or strip them while screwing them into that hard maple neck. Because of this, Bob has included a steel screw in the kit. The steel screw is used to "tap" the holes in the neck. The steel screw will not break while cutting into the wood, whereas the brass screws might. Maple is a hard wood. Once the threads have been cut into the wood using the steel screw, the brass screws can be safely used to hold the neck together.
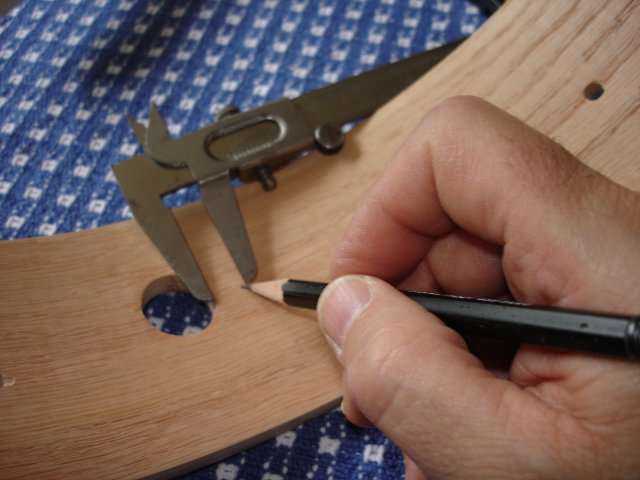
The first thing I did was to mark where the holes go. I looked at the heel of the neck to make sure that I would have lots of wood to screw into and that I would not poke the point of the screw out of the neck in some unfortunate place. The directions suggest putting the holes about 1/2 inch away from the where the dowel stick goes through the hole in the pot. I decided to use 3/8 inch instead because the 1/2 inch location looked precariously close to the edge of the neck to me. So, I set my calipers to 3/8 inch and marked where to drill the holes with my pencil.
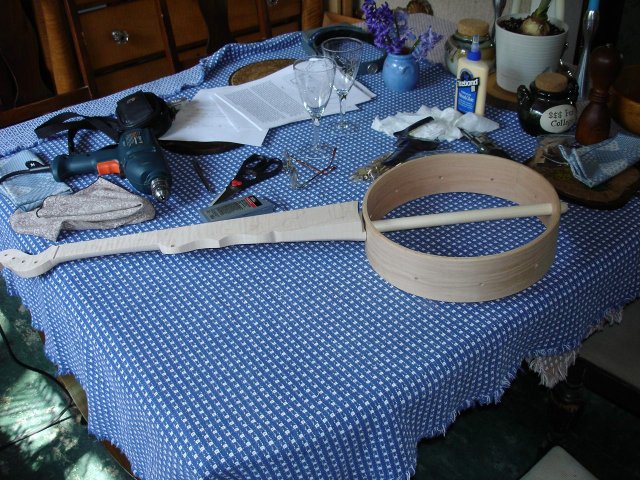
Then I took the whole thing out to my Workmate and clamped it up. Here is a photo of my setup.
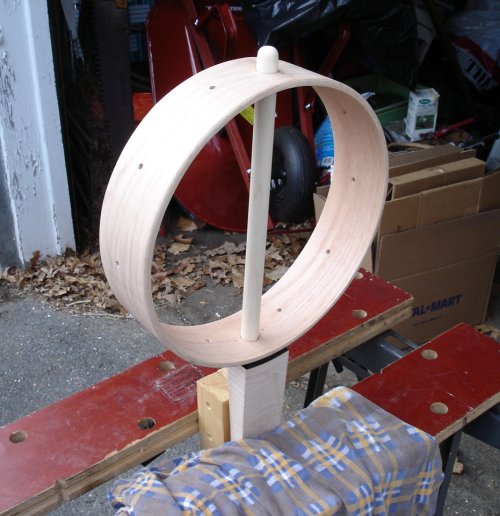
I used my homemade neck rest as a clamping caul again to avoid crushing the neck in the clamp. I also put an old shirt between the fingerboard and the clamp to keep from marring the fingerboard. The pot is set onto the dowel so that I can align the neck while I am drilling the holes. The surface of the fingerboard must be parallel to the top of the pot if the banjo is going to play properly. That alignment must be done while I am drilling the holes.
In order to avoid drilling too far into the neck I put a flag on the drill bit. The flag is simply a piece of transparent tape that is put on the drill bit as far up from the tip as the length of the screw.
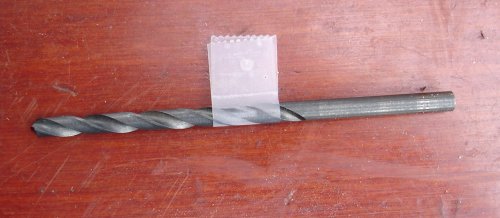
The drill bit is a 5/32 inch bit. It just matches the size of the screw shank so that I will not be forcing the screw shank through the wood and possibly splitting the neck. The threads of the screw then cut into the wood to hold it all together.
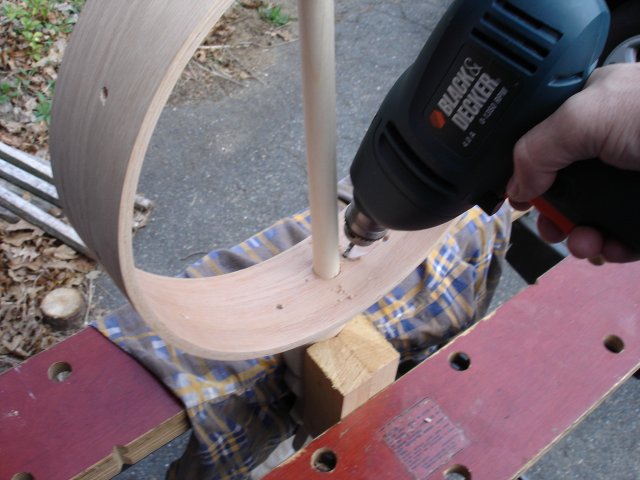
To drill the holes I held the pot and neck together with one hand while sighting down the neck to keep it parallel with the top of the pot and then drilling with the other hand. You want to make sure that you have the pot right side up when you do this since it would be easy to orient it the wrong way. The rounded edge of the pot should be exactly level with the fingerboard. This is a tricky operation, but doable. Here is a photo showing how I drilled the holes at an angle as per the kit instructions. You cannot see me holding the pot and neck with my left hand since I needed that hand to take the photo. I have not yet figured out how to take photos with my teeth.
.. and from the other side so you can see the angles better...
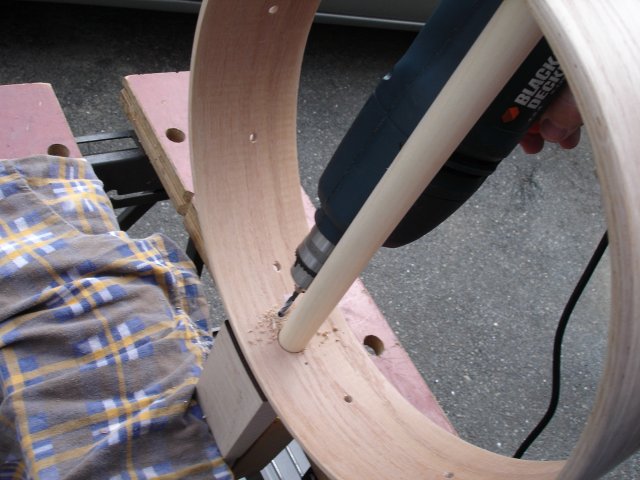
The drill bit is angled up toward the finger board and inward toward the center of the neck. This the way the kit instructions describe it.
The next step is to drill a larger hole through just the pot since we do not want the threads of the screws to bite into the pot wood. The skirt of the screw, which has no threads, passes cleanly through the hole in the pot. I put a flag on the larger bit so that I will know how deep to drill the larger hole.
Notice that the flag is far enough up on the drill bit to make the hole go only as deep as the skirt of the screw. The white crud on the end of the screw is soap. I always lubricate screws that I am putting into hardwood with soap. It makes the job a lot easier. Just scrape the threads of the screw across a cake of hand soap.
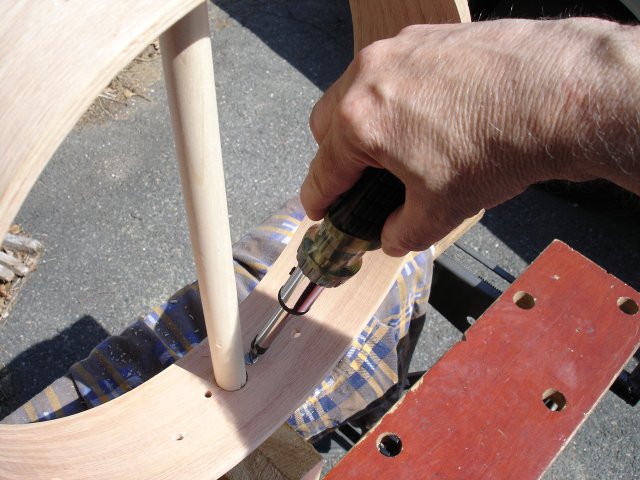
Once both holes were drilled, I screwed the steel screw into each hole in turn to cut the threads into the wood. Then, I backed out the steel screw and installed the brass screws to see how I did.
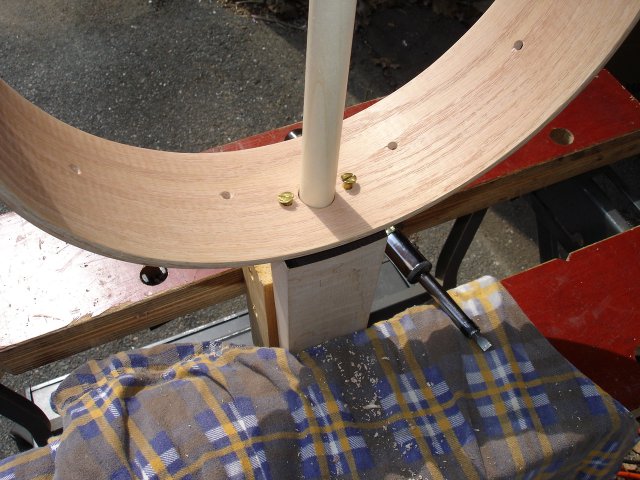
Here is a photo of the neck and pot screwed together so that you can see the parallel alignment of the neck with the pot. It is looking pretty good at this point. I have left the brass screws sticking out just a bit so that when I do the final assembly there will be some extra wood to sink them into.
The brass screws went in sweet and easy with no hint that they might get damaged. I lubricated them with soap as well, and it just goes together nicely.
Finally, here is the whole banjo screwed together.
It took me about one hour to screw the neck to the pot. It was a lot easier to do than I thought it would be.