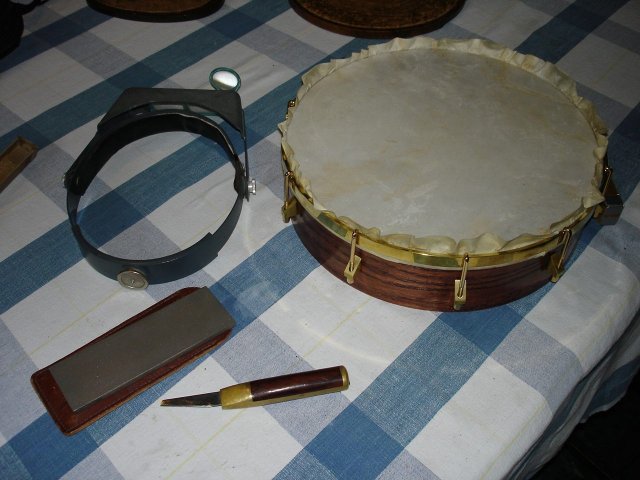
Well, I finally got the head stretched with the help of my persuader. That is not the way it is supposed to go on, but I was stuck. Actually, I looked up the original directions by S.S. Stewart, published in 1887, on frets.com. These are the directions which are the basis of the directions in the kit. In the original directions, it says, "Every banjo player who wishes to put on his own heads (banjo heads, of course), should provide himself with SIX LONG HOOKS to be used especially for this purpose, as shown in cuts Nos. 2 and 3."
The long hooks are used to hold the hoop on the rim when the hoop is still high up. Then, I suppose you can gently pull the hoop down over the rim instead of whacking it with a mallet. The regular hooks in the kit are too short to do that. I had to have the hoop almost all the way down before the hooks would go through the shoes far enough to expose any of the threads.
I would suggest that making or finding some long, steel hooks would be a useful thing to do when attempting to mount this skin head... or buy a rubber mallet.
But now it is a week later, and my banjo head is dry. It looks pretty good actually. It is time for me to trim off the extra skin around the outside. In fact, it looks very much like the woodcut in the instructions that came with it.
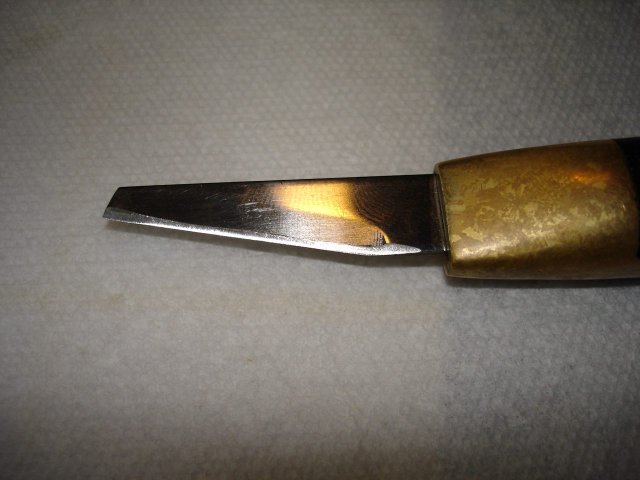
This is going to be a bit worrisome because I do not want to nick the head with the knive and ruin it. I have a very sharp knife to use for this. It has a sharp point that should be fairly easy to control. Here is a photo. I sharpened my knife at least a half dozen times as I went around the hoop.
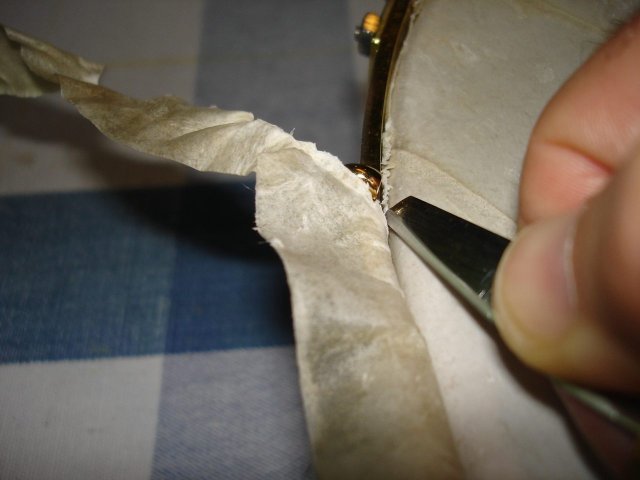
I started cutting by the neck joint and proceded around the hoop slowly. Here is a photo of the head right after I got started.
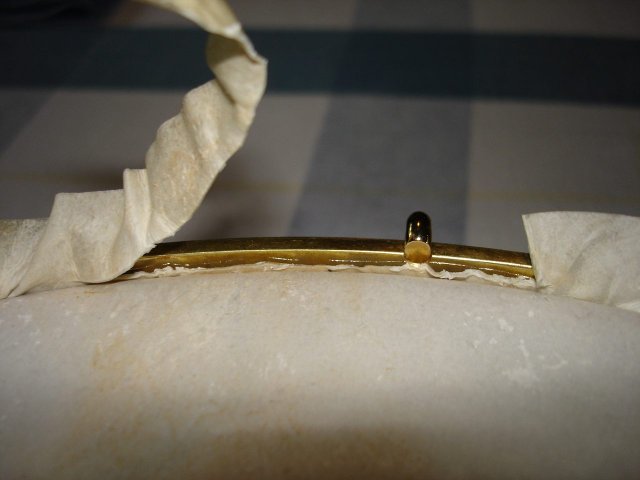
If you look closely, you can see in the photo where the knife has actually cut into the brass of the hoop. Ugly! But it is what it is. It won't hurt the hoop.
The cutting went pretty smoothly since the knife was so sharp. I did have some interesting places where the skin had bunched up when I pulled it up between the hoop and the rim, like this:
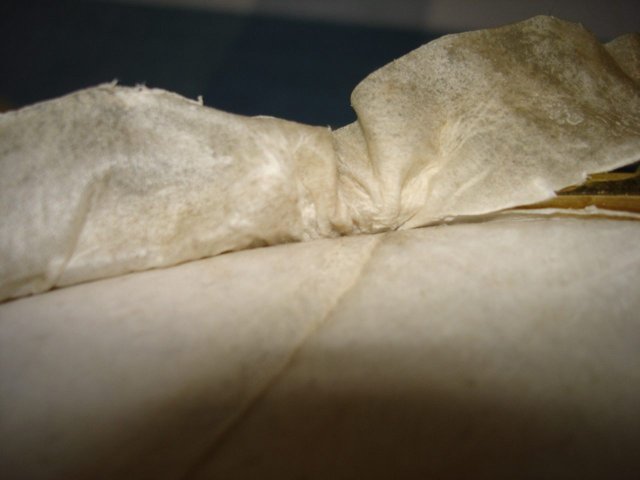
I just made several gentle passes with the knife until I had cut through all of the layers. To cut the skin off, I angled the knife down into the notch between the hoop and the rim and tried like crazy to keep that sharp blade from cutting the part of the skin that is stretched over the rim.
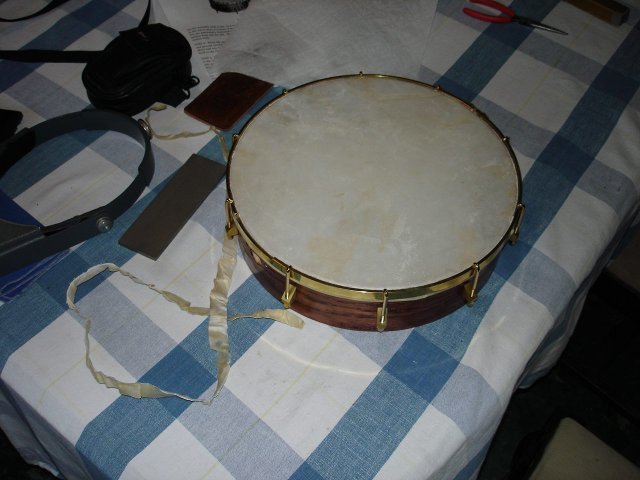
After about half an hour I was done. This was really not as hard as I thought it would be. Here is a photo of my new banjo pot.
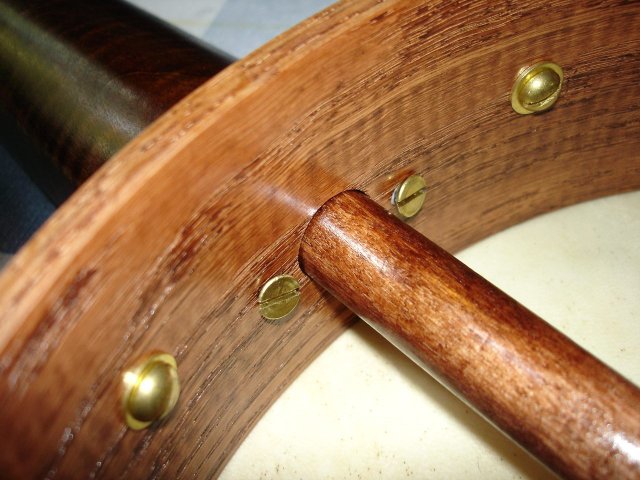
Wow! That is really looking cool! I still had some time left, so I decided to go ahead and put the neck on it. The neck is attached with two brass screws. Here they are:
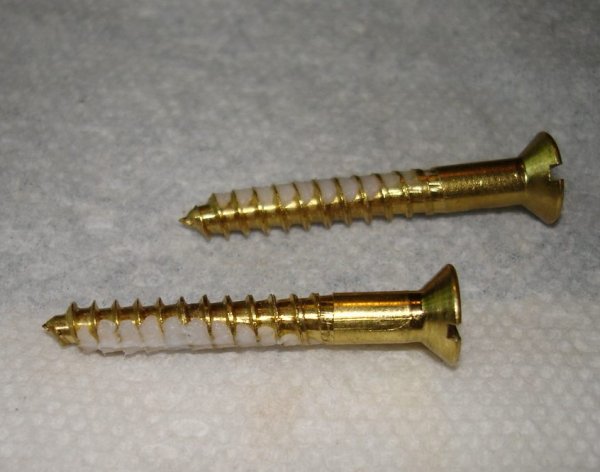
The white stuff is just hand soap. I use it to lubricate the screw threads. Brass screws are very soft and easy to strip out. I slipped the dowel stick into the rim and screwed in the screws. I had already tapped the holes with the steel screw supplied in the kit, so they went in easy.
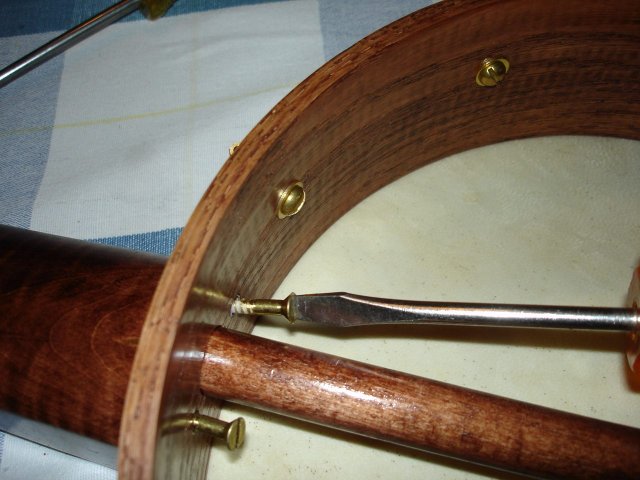
Here are the screws all seated.
And finally, here is the whole thing.
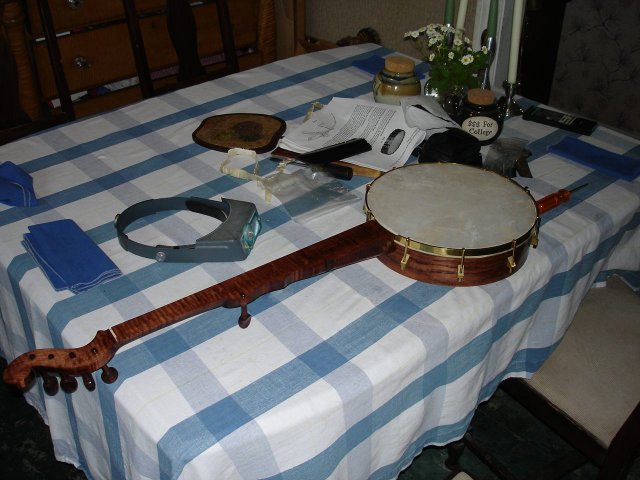
Wow! This is starting to look like a real banjo!
It took me about an hour to trim the head and attach the neck.