I had a little time today to go down in the shop, so I decided to clean up the lumpy gappy joint on my banjo hoop. I posted the long story of how I bent the hoop for this banjo on another page, Bending Banjo Hoops. The hoop that I ended up with had some issues with the joint between the two ends of the board. You can see those issues at this page, Addendum. Scroll down to the bottom of the page to see the what the problems were. Today I am going to even out that joint.
For your convenience, here is a photo from the other page that shows the problem. The two ends do not match up very well, so there is a gap between the two surfaces where the ends join. One side of the joint jumps up above the other. I need to smooth that out so that the head will stretch across it properly and not tear.
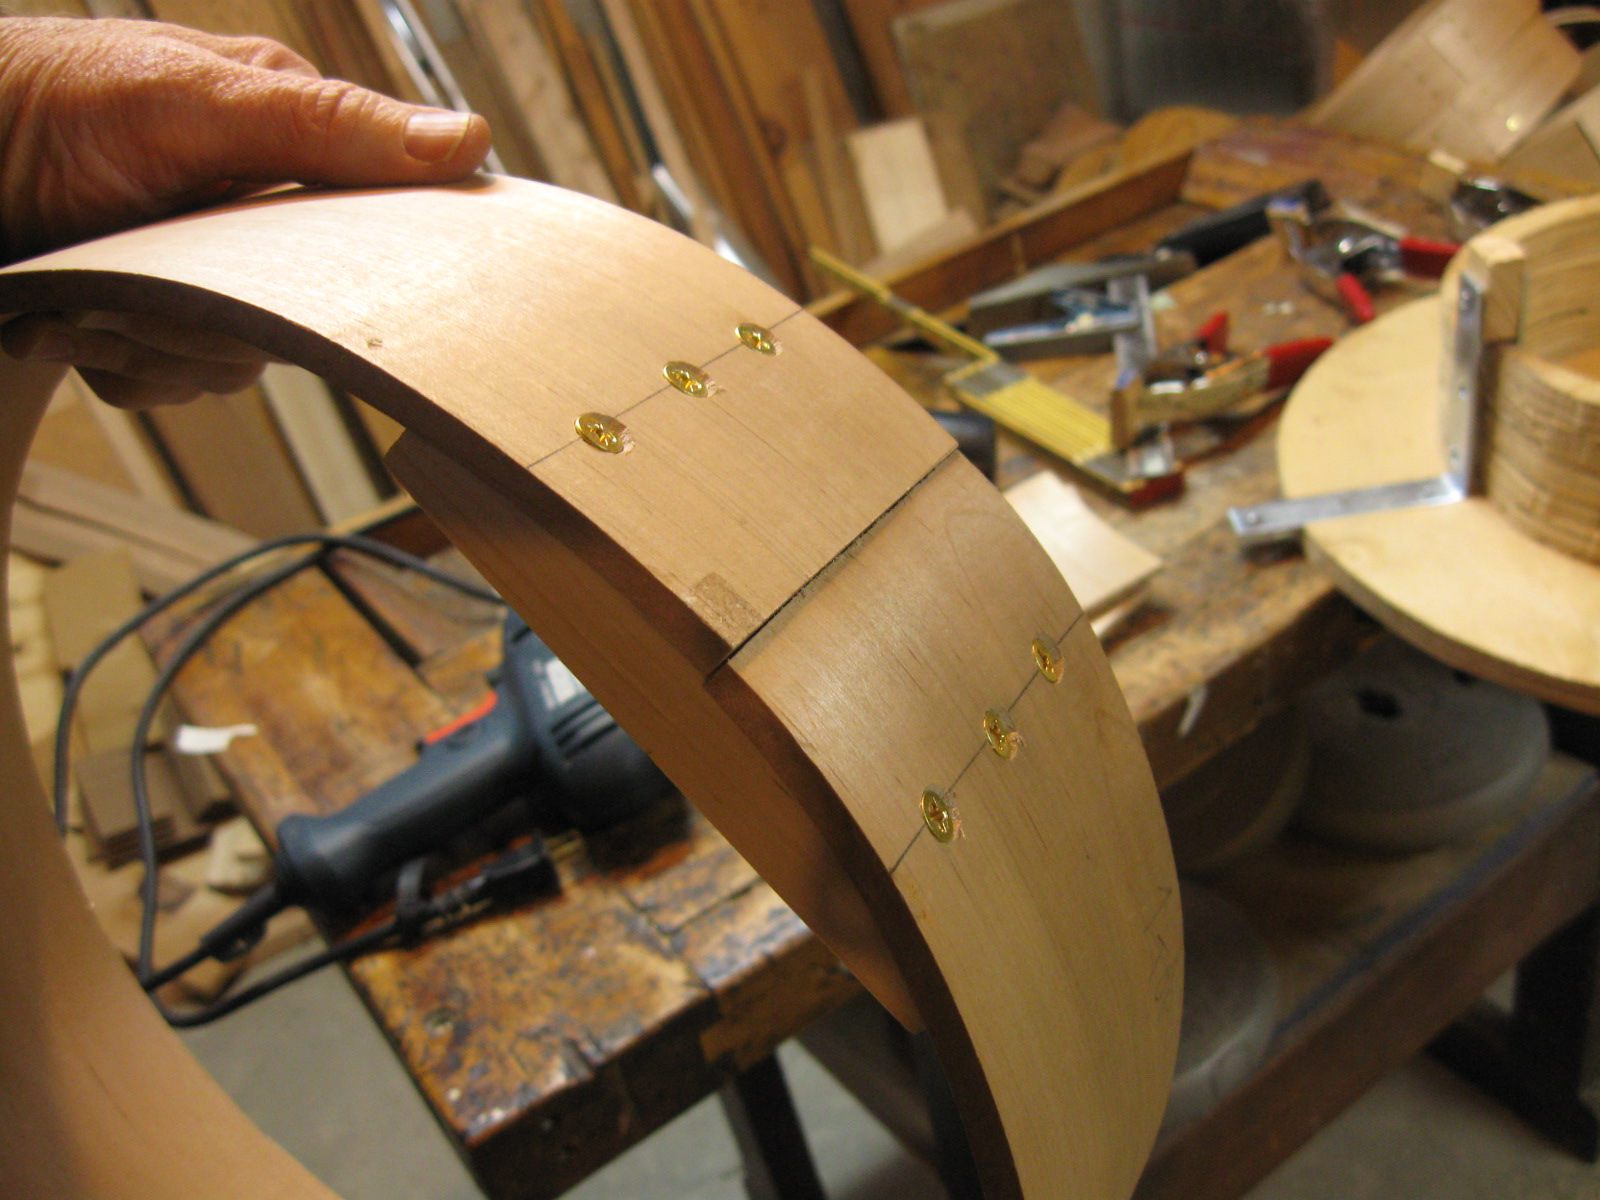
This Joint is Jumpin'
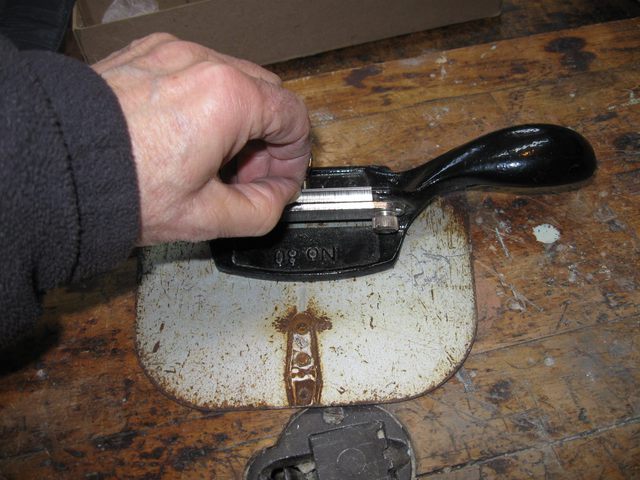
The best tool I can think of to cut the joint down is my cabinet scraper. Here is a photo of it.

The Cabinet Scraper
It is basically a holder for a card scraper. It has a sole to control the depth of the cut, so it is a bit easier to use than a plain card scraper.
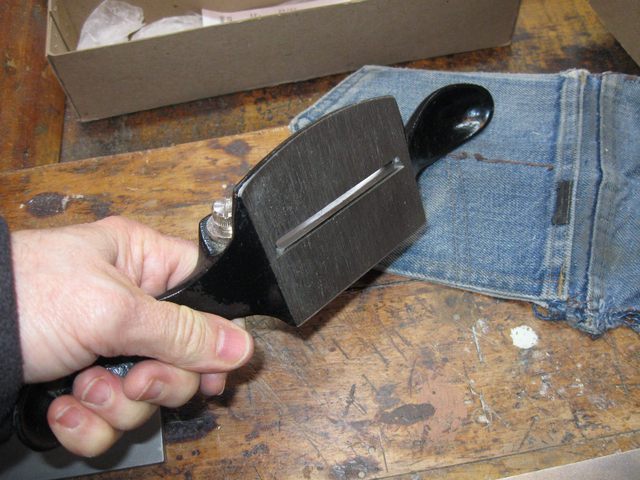
There is a Sole to Control the Cut
Here is the blade. It has a bevel on it like a plane iron, but it is not used like a plane iron.
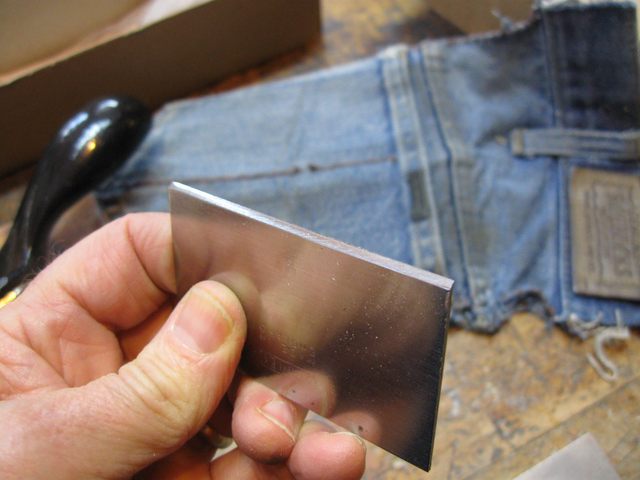
This Uses a Beveled Scraper Blade
You sharpen this scraper blade like any hand-held scraper with a burr on the edge. When it is sharp, it looks like this drawing.
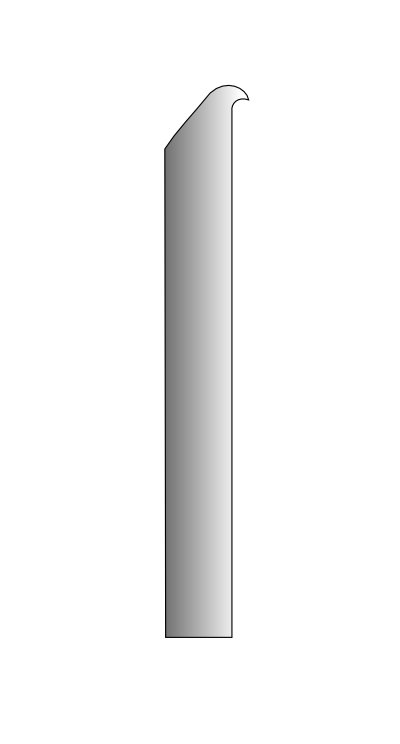
The 45° Bevel is Bent Into a Burr
The scraper is put down on the wood in a vertical orientation with the burr facing forward. It is the burr that cuts the wood when the scraper is pushed along the surface of the wood. That allows it to take very fine cuttings from the wood.
Stanley planes and scrapers arrive in fairly rough condition as far as the blades go. A new blade requires a bit of tuning before it is sharp enough to use. Some fancier tools have all of that hand work done when you get them, but the Stanley tools come in fairly rough condition. Once the blade has been set up, they make fine tools.
The blade is sharpened to a single, simple bevel before bending the hook. The back has to be made flat before the bevel can be ground.
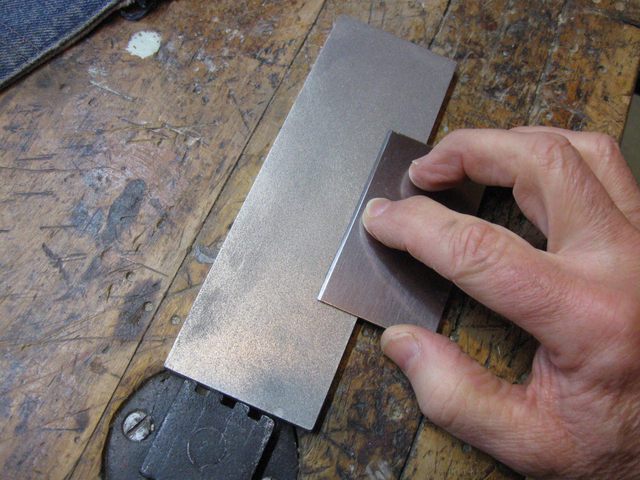
Grind the Back Flat on the Stone
You can see in the photo below that the blade is somewhat concave on the back. I had to grind the back of it until the flattened part covered the entire edge of the blade. The lighter sections at the top of the blade are where the steel has been ground flat.
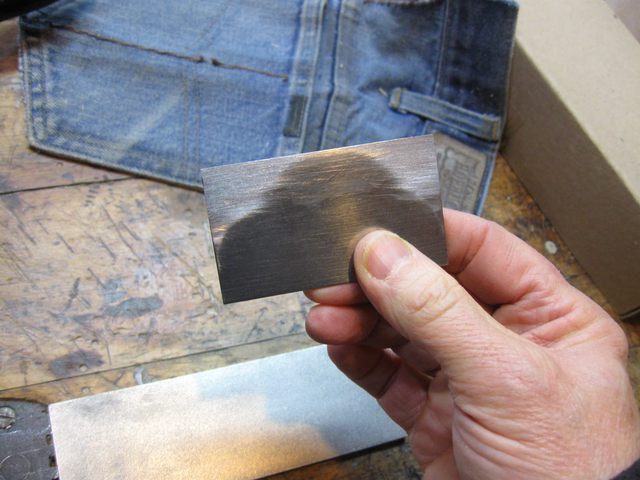
The Back is Concave
Once the back of the blade has been flattened, I ground the bevel to sharpen the edge. At this point I am using a coarse grit stone. I honed the blade through the fine and extra fine grits on the stones.
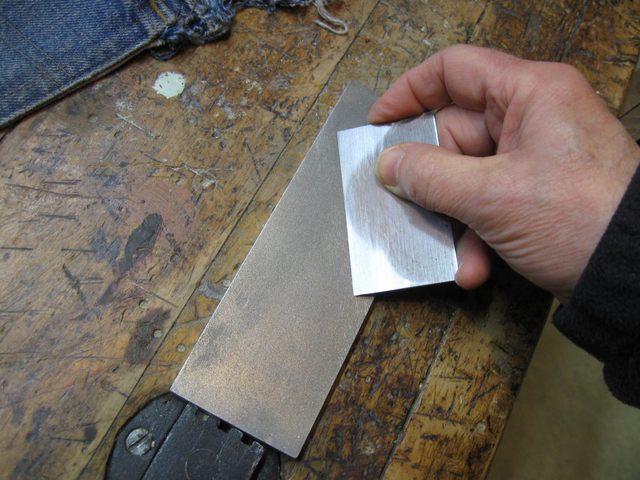
Grind the Bevel to Sharpen the Edge
The next step is to use the burnisher to bend the edge of the blade into the hook. The burnisher is very hard steel, and it easily bends the sharp edge into a hook. I gently pull the burnisher across the edge of the blade increasing the angle slightly each time.
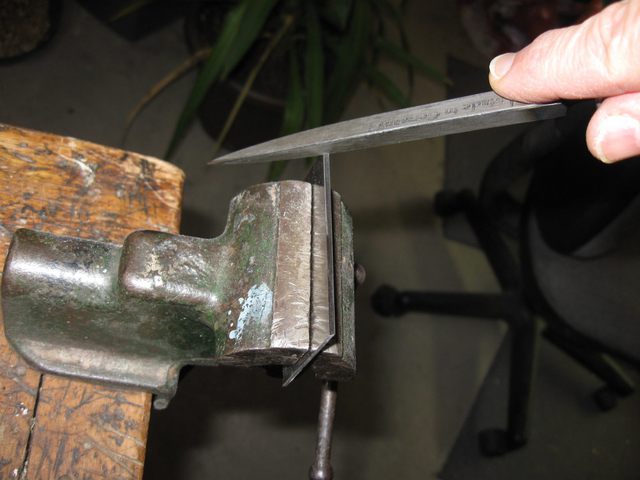
The Burnisher Bends the Hook
Setting up the blade in the cabinet scraper is easy. I just put the scraper body down on a flat, hard surface and drop the blade into it. The flat, hard surface I am using is the steel blade that broke off my ice chipper two years ago.
So I drop the blade in the slot until it is sitting on the steel surface and then I secure it with the two thumb screws. At that point, the edge of the scraper is exactly aligned with the sole of the scraper body. The depth of the cut is set using the set screw that presses against the back of the blade and bows it out slightly. As it gets bent outward, it extends very slightly below the sole of the scraper. I can get a very fine adjustment for the depth of cut with this tool. It is much easier to set up than a plane.
Setting Up the Scraper is Easy
Here is an image showing the fine cuttings I can take from a piece of scrap pine.
The Scraper Can Take Very Fine Cuttings
Here is a closeup.
A Closeup of the Shavings
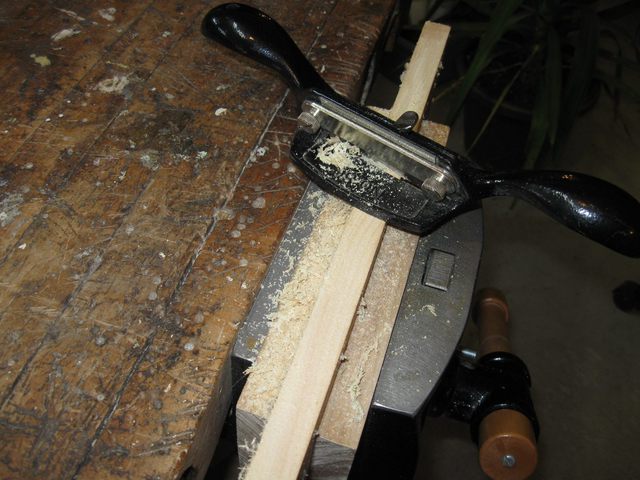
I clamped the hoop in the vise and used the cabinet scraper to cut away the high side of the joint to make a smooth, even transition between the ends.
Scraping the Wood Away From the Joint
You can see below where the scraper has cut away some of the wood.
The Scraper Cuts Very Fine Shavings
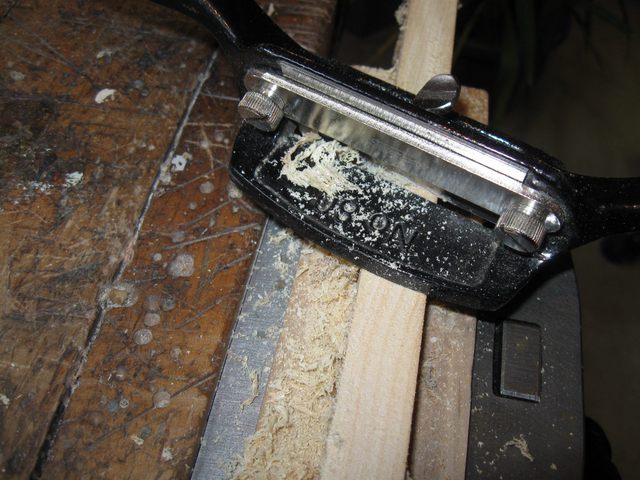
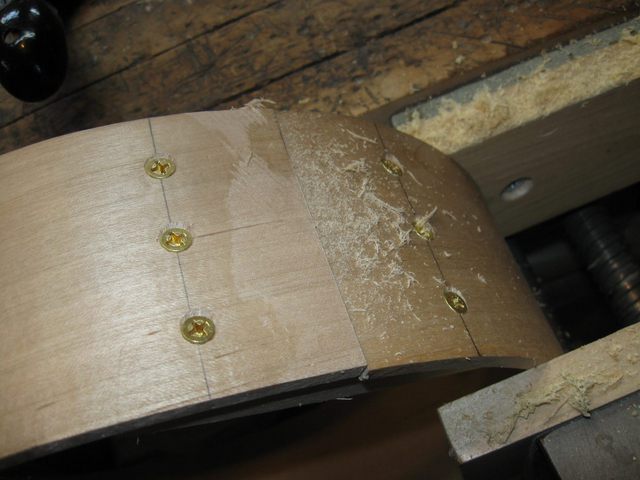
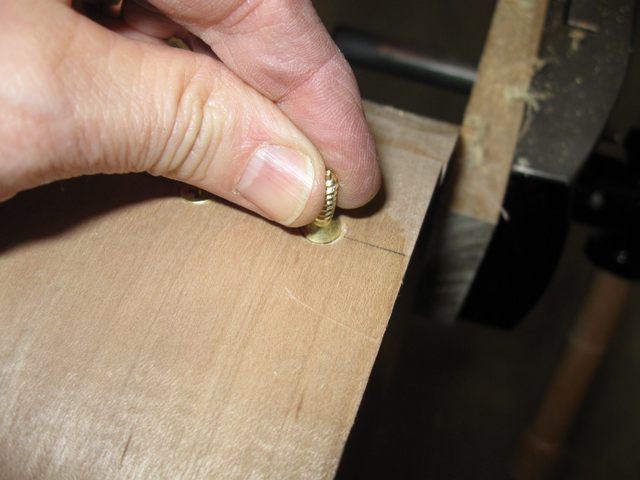
While I was doing that I noticed that the scraper blade was hitting the tops of the screws. The blade was getting nicked, and the heads of the screws were being damaged. So I took them out to recess them into the wood some more.
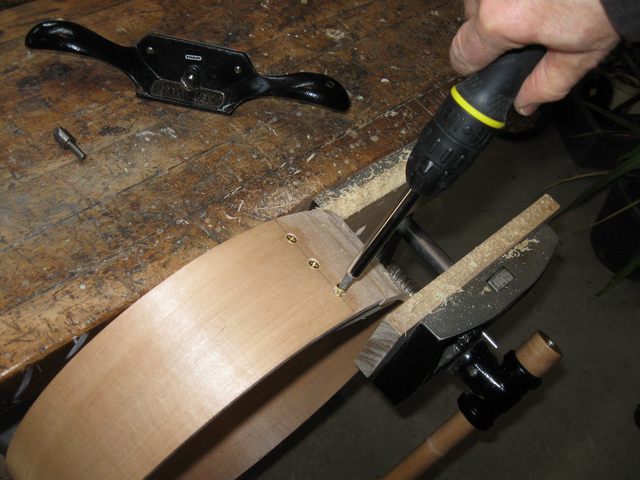
Removing the Screws to Recess Them Better
If I do one screw at a time, I don't have to clamp the hoop in the form. The ends are held together just fine by the other 5 screws. I also discovered that I have much better control over the recessing tool if I use the hand drill instead of the electric drill.
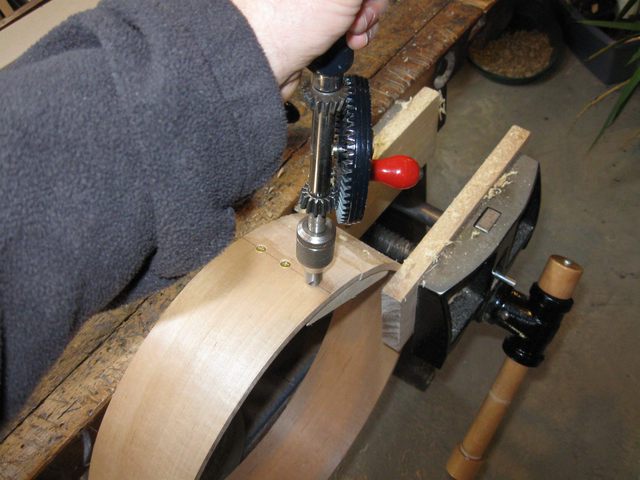
Using the Hand Drill to Recess the Screws
Here is the hole that the screw head fits in. Hmmm. It looks a bit crooked.
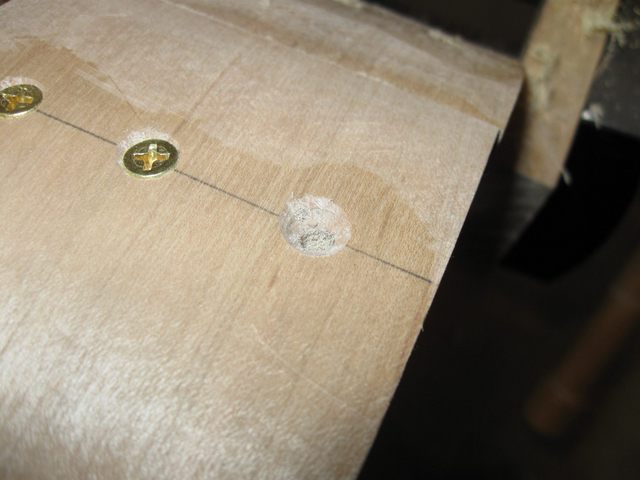
This Hole Looks Crooked
I cut it a bit deeper (and hopefully straighter) and checked to see if the entire screw head will fit down in the hole.
The Screw Head Fits Inside the Hole
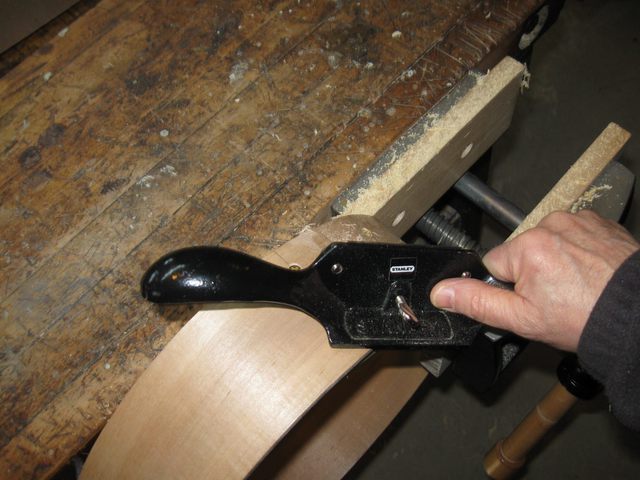
After checking all of the screws, I went back to scraping the wood to even out the joint.

Back to Scraping
Once the scraping is done, I finished it off with some 60 grit sandpaper.
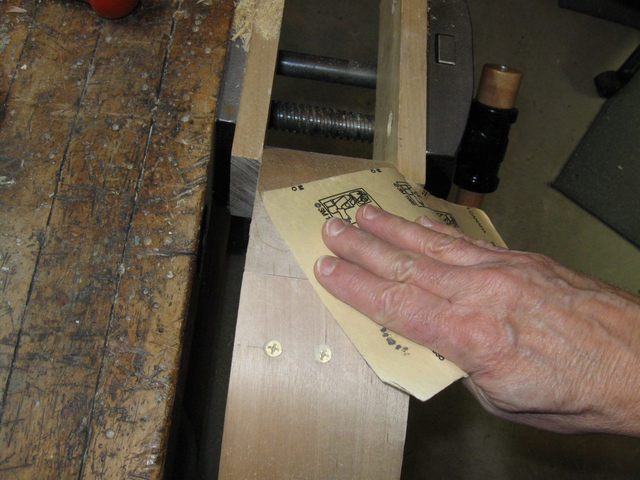
Finish Off With Sandpaper
Here is the joint. It isn't beautiful, but it is better than it was.
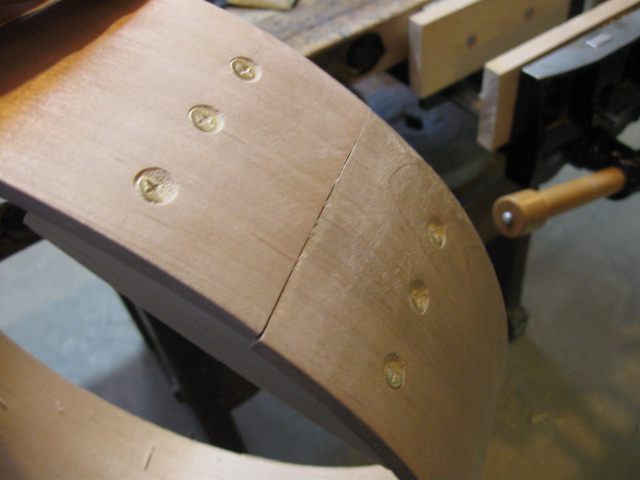
The Joint is Better Now
From the bottom, you can see that the two ends are even on the outside of the hoop, even though they are still mismatched on the inside.
The Joint From the Bottom
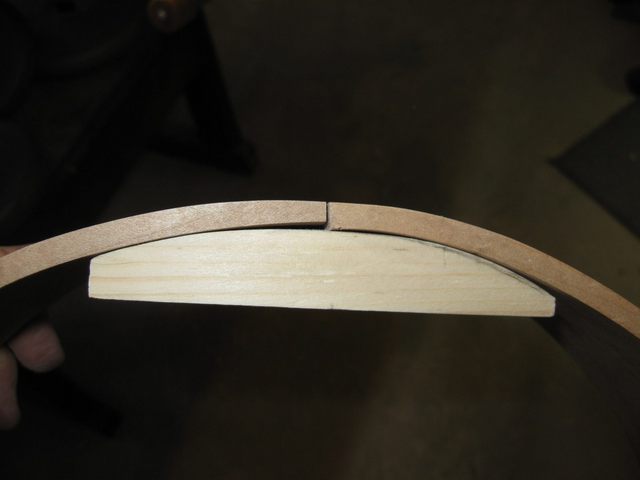
Looking at the top of the hoop, we have a similar situation. The hoop is a bit flatter and less round on that side now, but that just makes up for the pointy bit on the other side of the hoop, ne c'est pas?

The Joint From the Top
That's all. The hoop will look and feel better now that the joint has been smoothed out, and you won't be able to tell from the outside that the inside is crooked after the banjo is all put together. The skin head and tailpiece will cover up that end.

The Hoop is Ready to Go
Maybe next time I will start working on the neck blank.
