Today I put the stain on the banjo. The color of the maple is way too light for my taste, so I color it a nice honey color. That brings out the figure and makes it look old. That will happen naturally over time, but it takes years. Before I started, I cleaned up the bench to get rid of the sawdust and chips that I had left there.
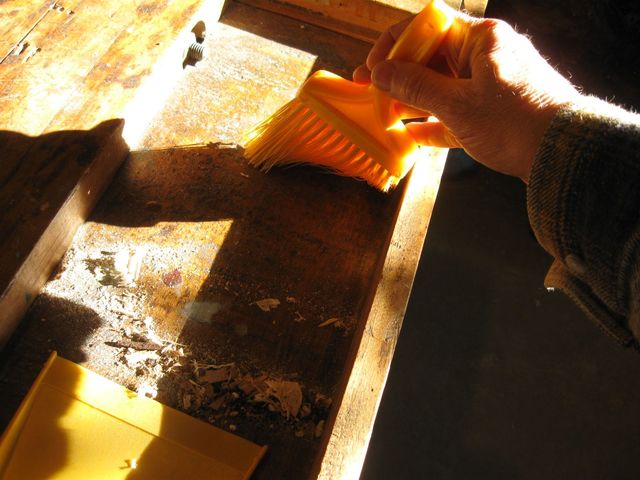
Sweeping Up the Sawdust
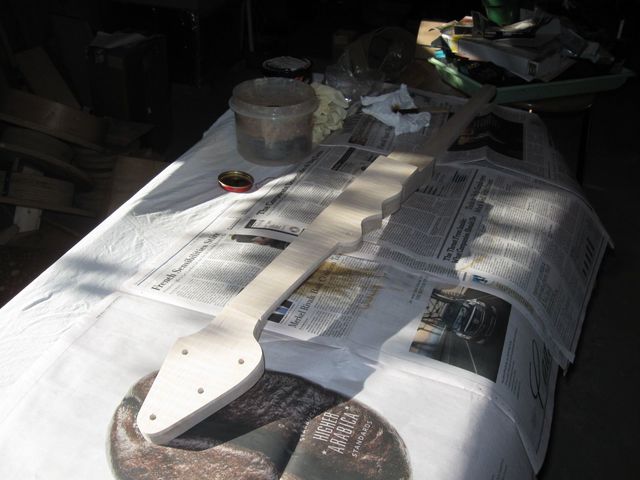
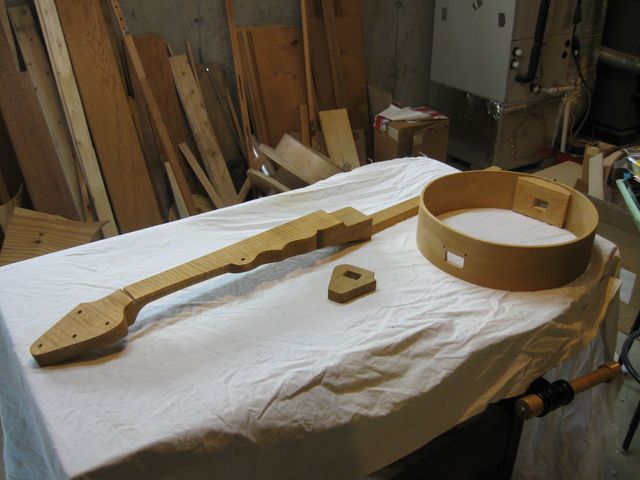
OK. Here is the last look at the pasty white banjo parts before they get darkened with the stain.
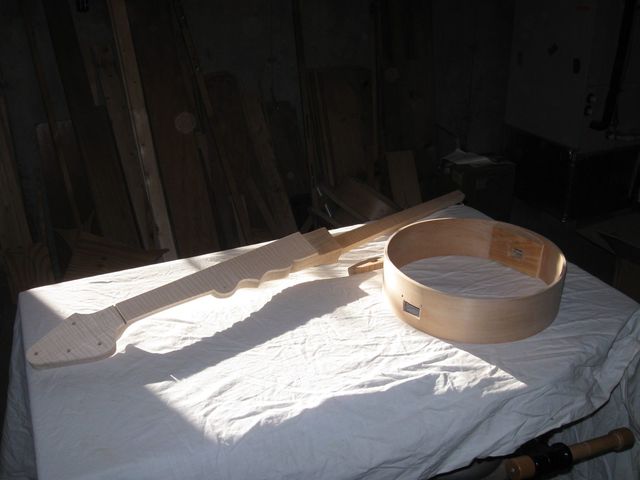
These Parts are Looking Pretty Pale
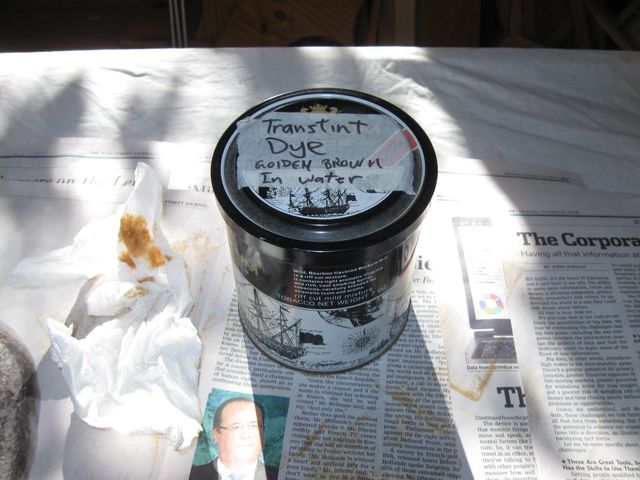
I started by staining the tailpiece. That is the smallest part, and it is also the easiest to replace if I should mess this up. Here are the parts. The stain is still in the can.
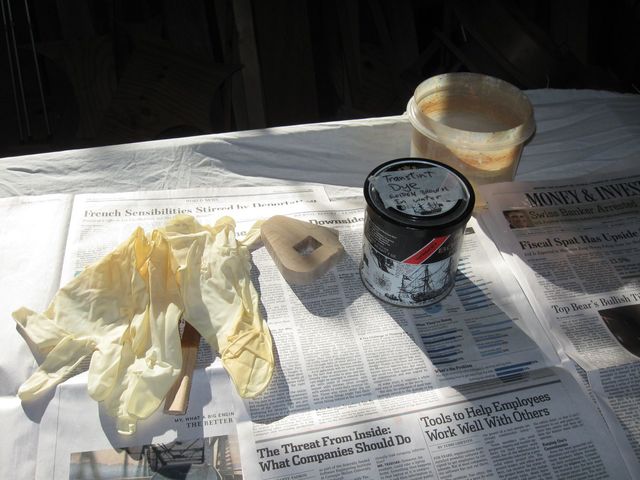
Everything Ready To Start
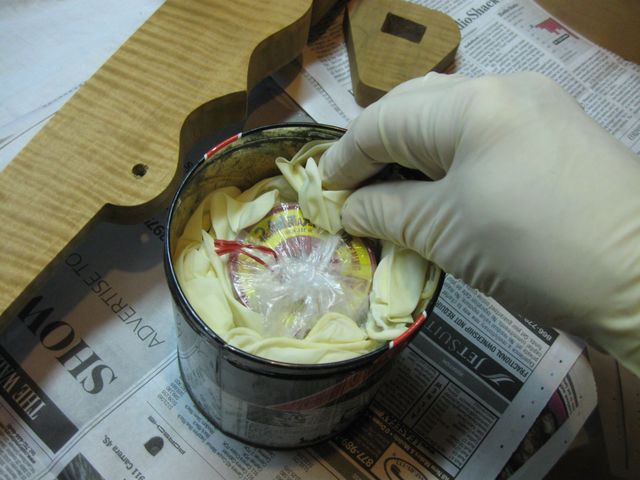
I unpacked the jar of stain from the can and put it into a plastic tub. That is in case I knock it over or something. It is less likely to make a mess if it is in the tub. In a laboratory that is called "Secondary Containment". I could have used some secondary containment in September when I turned over a bottle of black India ink while I was demonstrating my techniques in Pen & Ink drawing. What a mess. But that is a different story. Back to staining a banjo. The bottle of stain is in a plastic tub to avoid a possible disaster.
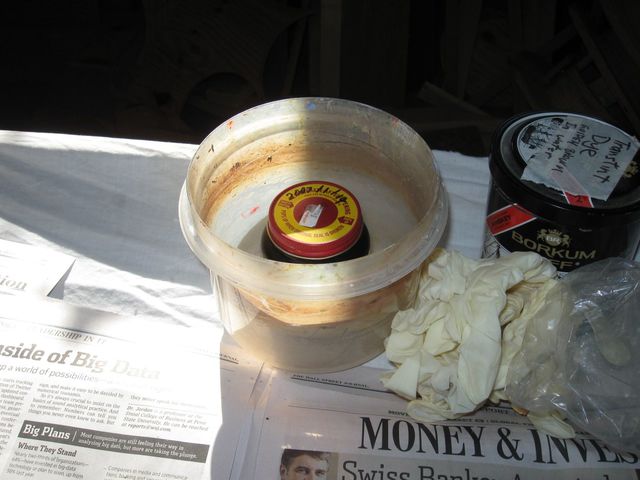
The Tub Protects Me from My Stupidity
Also, I do not want my hands coming out of this looking like I am a life-long smoker, so I wear rubber gloves throughout the whole procedure.
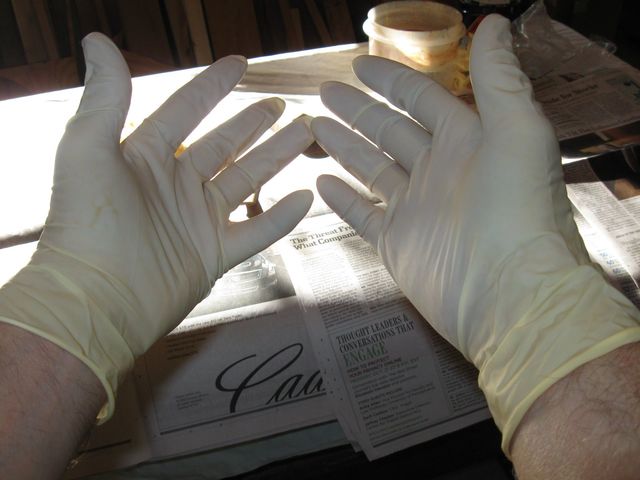
The Gloves are Necessary - Don't Skip Them
I stirred the stain to make sure that it is still workable.
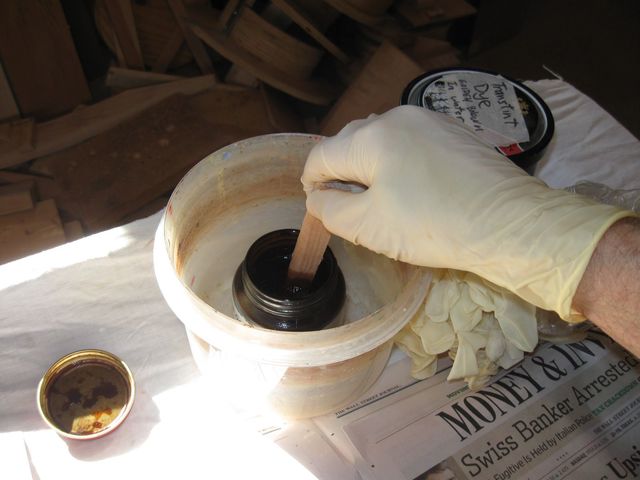
Stirring the Stain
I did not take any pictures while I was staining the tailpiece because I didn't want to get stain all over the camera or spill the stain or some other stupid thing. So here is the tailpiece after the stain had been applied. Notice how the stain brings out the curl on the edge of the wood.
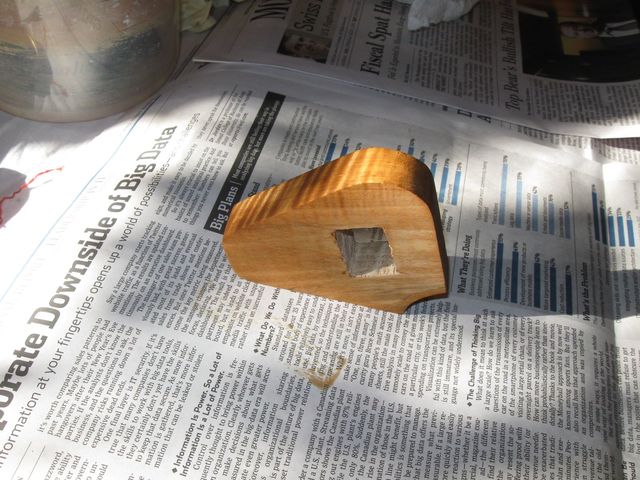
The Tailpiece is Stained
What I do is I dip a piece of paper towel in the stain and then rub it on the wood. I can just use my fingers because the gloves protect my hands from getting stained as well. I stained the hoop next. Here it is in its white glory.

Before Staining
And here it is after staining.
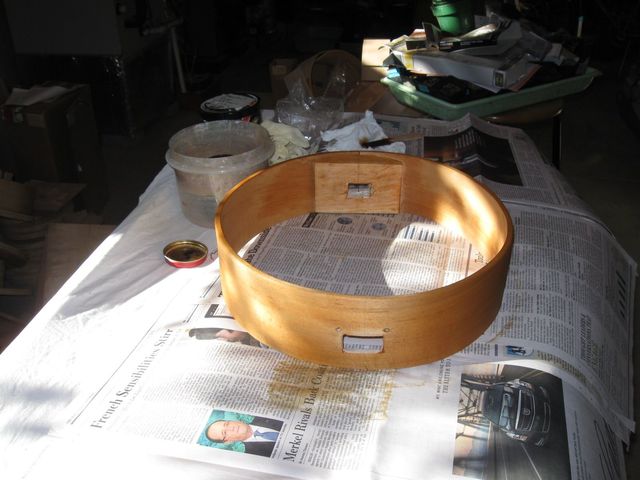
After Staining
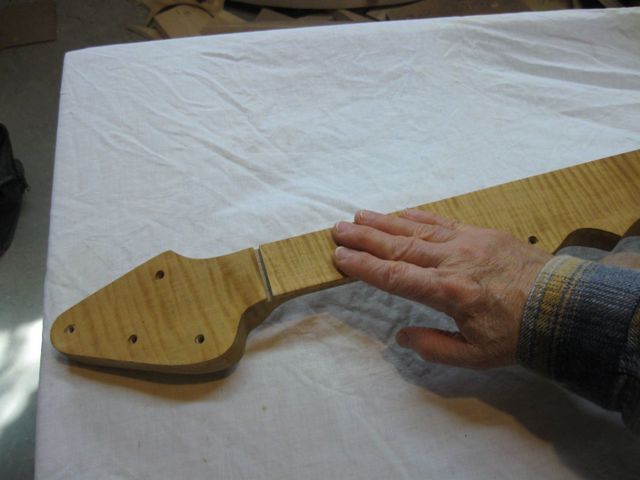
Finally, I stained the neck. Here it is before.
Before Staining
And here it is after the stain has been applied.
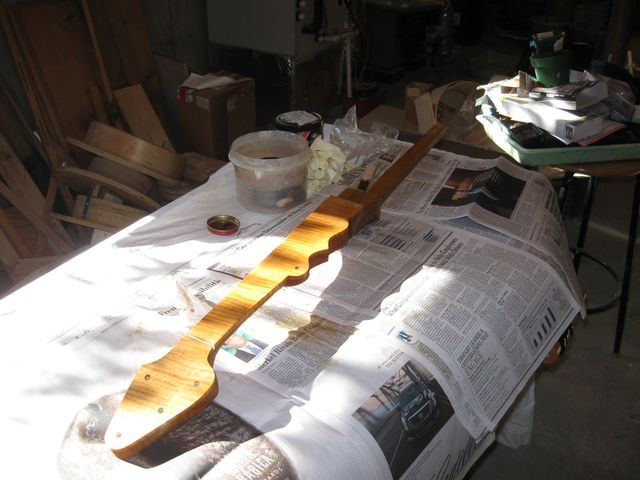
After Staining
The sunlight was coming in the window and playing havoc with the exposure. Here is a better photo of all the parts after I set them out to dry.
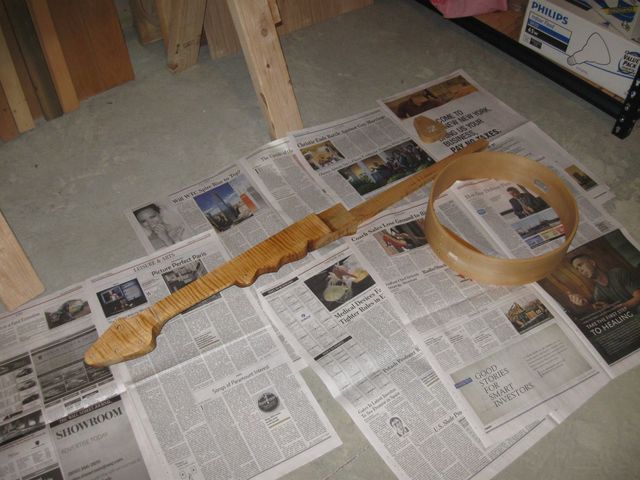
All the Parts
I took a look into the jar of stain, and noticed that the level has not gone down very much at all. This is the 4th banjo I have stained using this jar of diluted stain. Looks like I could do another dozen or so before I had to replenish this.
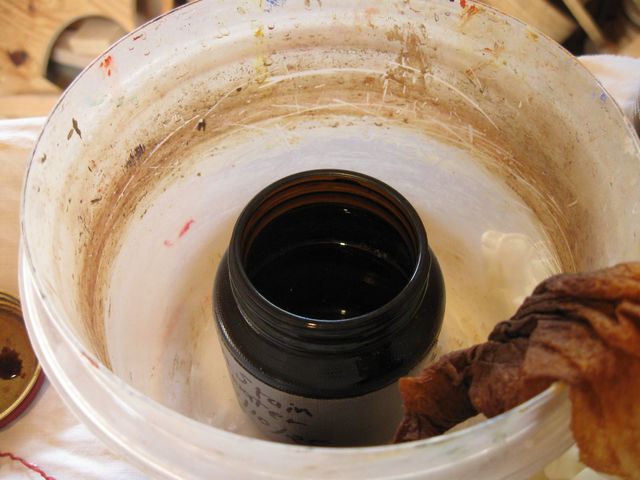
This Is Not Empty
So, I screwed the lid back on and packed it all back into the can again for next time. I only need to stain each banjo once, so I am done with this stuff until I have another banjo ready to go.
The Stain is Back in the Can
Tick tock. Tick tock.
Zip forward a few hours, and the parts are dry. Here they are on the bench. They look pretty good. I like the color.
The Parts are Dry
If I feel the surface of the finger board, it feels a bit rough from the water.
The Surface is a Bit Rough
But I can smooth it out now with a rough cloth. All of that wet sanding has made that possible.
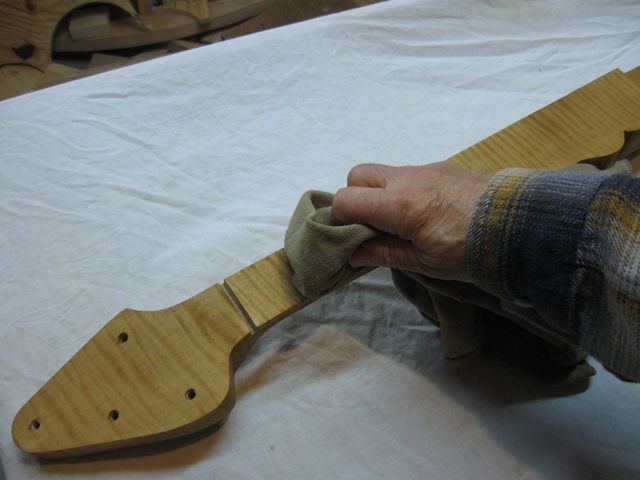
A Rough Cloth Buffs the Neck
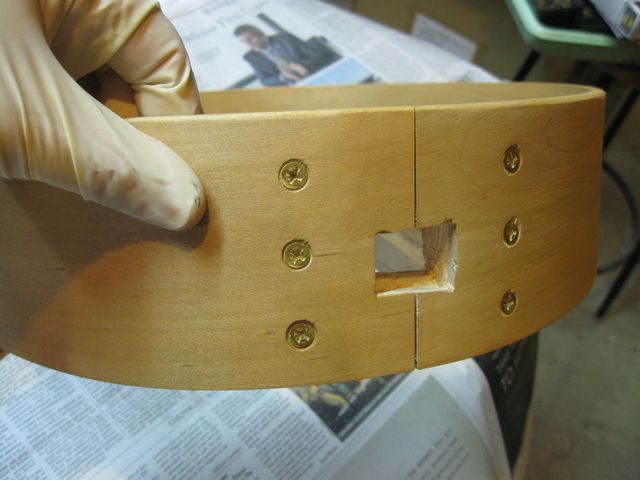
Then I looked a little closer at the hoop. I noticed that there is a pale place near the hole where the tailpiece of the neck will be. This is the result of uneven application of the stain.
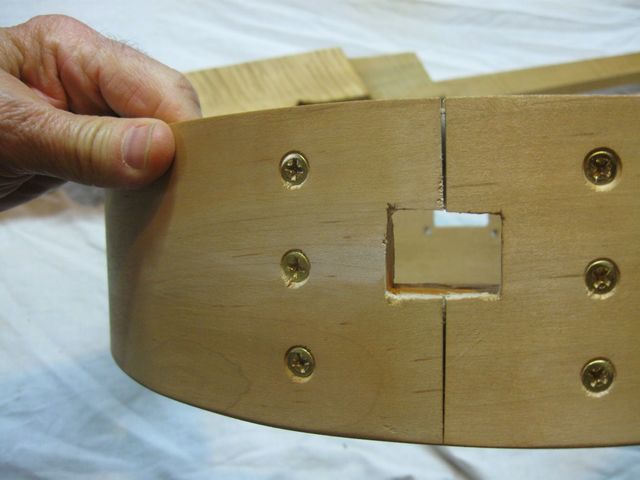
Missed a Spot!
I wasn't going to leave it like that, so I had to unpack the stain again.

Had To Get Out the Stain Again
Stir it up.
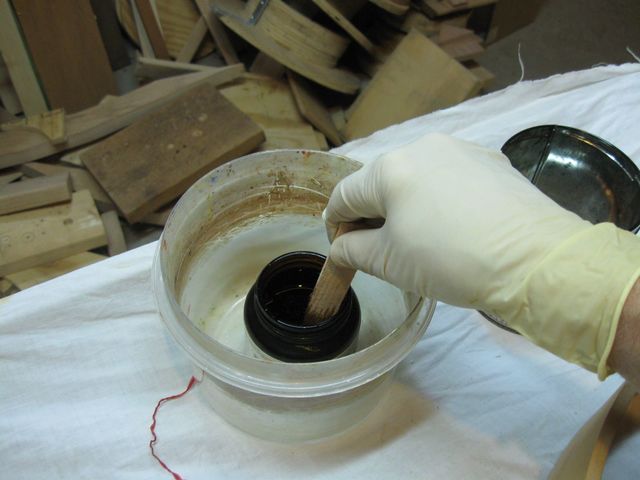
Stirring the Stain
Dip a piece of paper towel in it. This time, I picked up only a very small amount of the stain in the paper towel and let it dry somewhat. I want to carefully blend the new stain into the old stain so I have to be careful or I might cause a worse problem.
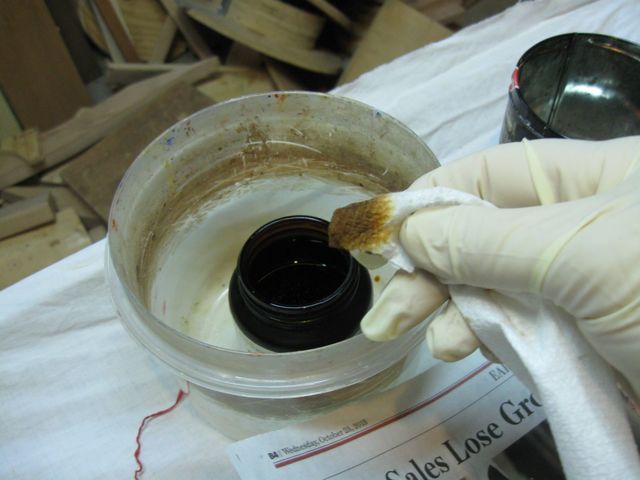
I Picked Up Just a Little Stain
I sort of scumbled it into the wood, feathering the new stain into the stain that was already there.
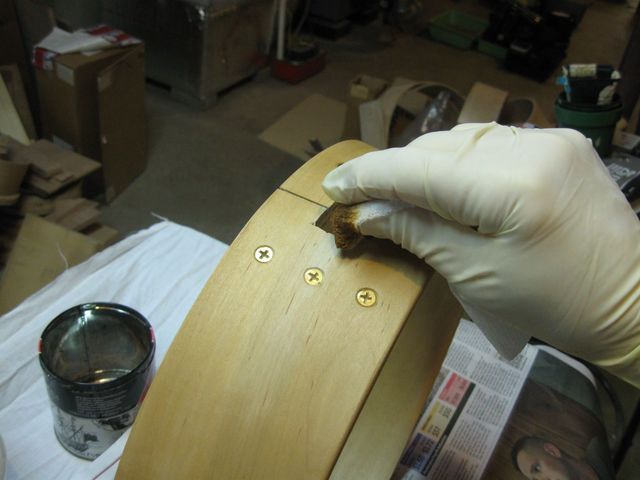
I Gently Scumbled the Stain Into the Wood
There you go. You can hardly tell that this is a patch job.
The Bad Stain Job is Fixed
Then I packed the stain back into the can for the final time until the next banjo. Really. I really mean it this time. No more staining until the next banjo.
Packing the Stain Back Into the Can (Again)
That went fairly well considering the possibilities for failure. I didn't even spill the stain. I have to decide what to do next. I think I might try tacking the head onto the hoop next. I must put the head onto the hoop before I put the finish on the wood, so I can do that any time now. After that, I have to put on the finish, make the pegs, make the bridge and the nut. I am getting close to finishing this banjo.
