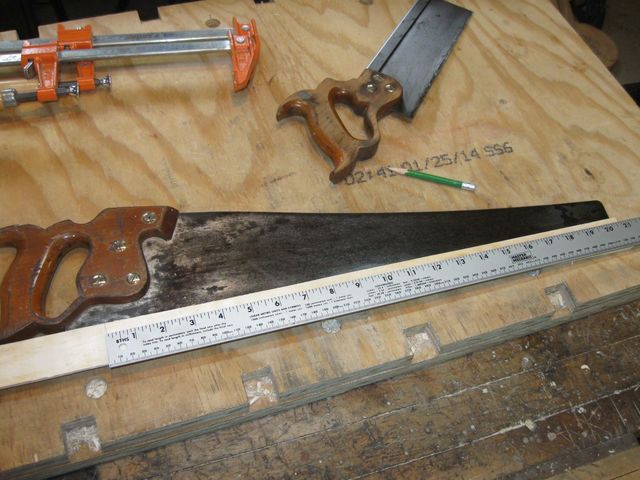
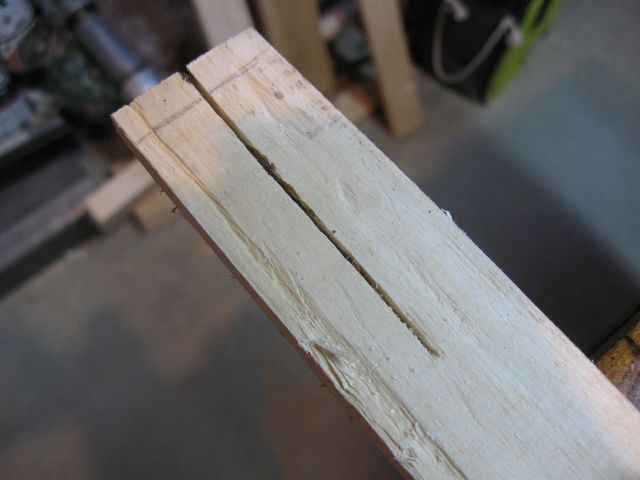
In order to practice bending the sides of my dulcimer with wood that is more like the Mesquite I will be using, I bought a strip of Red Oak at the BBHIS (Big Box Home Improvement Store). The board is 6 feet long, and 1" by 2". Because of the strange way that wood is numbered, the board is actually 0.75" thick and 1.5" wide. Since my dulcimer sides will be 1.5" wide, that should be a good test of whether or not I will be able to bend the actual sides when I get around to it. It won't be perfect because Oak is not Mesquite, but it should be close.
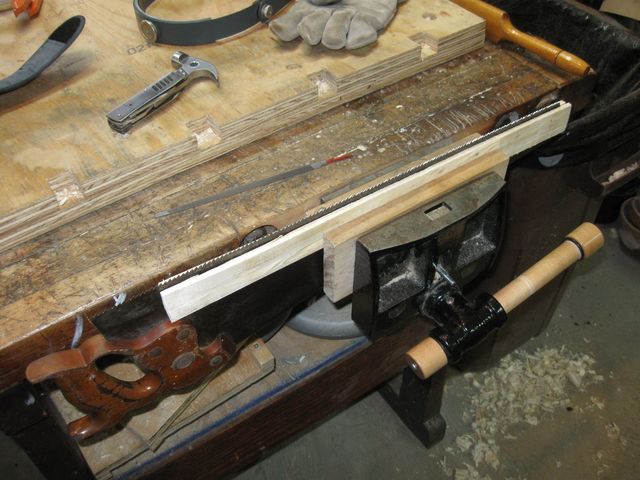
But I need to rip that .75" board into strips that are closer to 1/8" instead. That is going to be a lot of sawing. I will cut the 6 foot board in half first so that I have two 3 foot boards, but even so, that is going to be a lot of sawing.
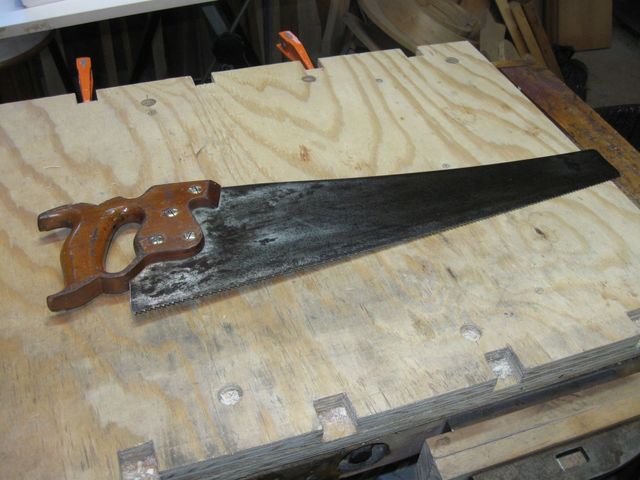
I have an old rip saw in the tool box that I inherited from my Father in Law when he passed away in 1989. By the time I received it, the saw had already spent many years in his outside shed, and it was a dull, rusty derelict. However, it is a rip saw with 7 Points Per Inch (PPI) instead of the 5 1/2 PPI that my other rip saws have. I think that the smaller teeth will do a better job of ripping my hard wood with less tearout. So I thought that I would attempt to restore it and keep it for ripping thin strips of wood for sides and pot laminations.
The first thing I did was to take a bunch of 120 grit sandpaper and sand the rust off of it. That took a few hours, and I did not photograph that process. I will simply mention that there was a lot of rust. Here is a photo of the saw after I scraped the rust off of it and oiled it.
Making a Sharpening Jig
In the photo I was measuring a piece of scrap wood to make a sharpening jig for the saw. That is just two pieces of wood to clamp around the saw blade while sharpening the teeth. The wood needs to be about 20" long.
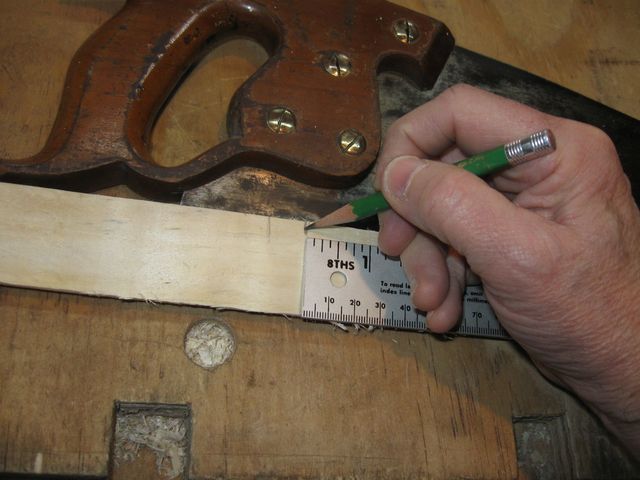
Marking For a Cut
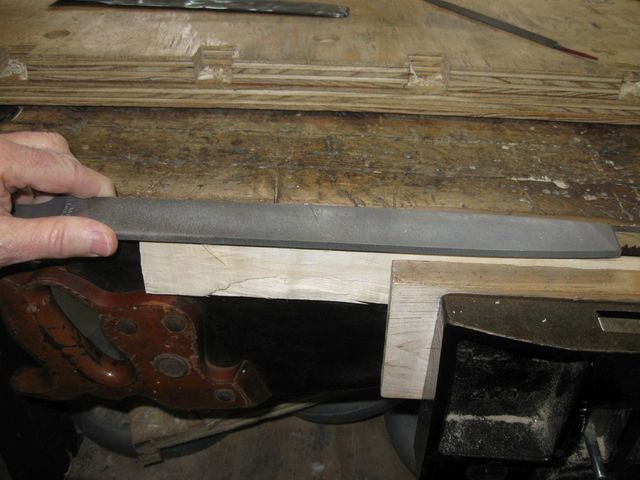
After cutting the wood, I clamped the saw between the two pieces of wood in the vise and jointed the saw teeth. Jointing is done by taking my bastard file and running it up and down the tops of the teeth to file off the points.
Filing off the Points of the Teeth
This part has always seemed to be counter intuitive to me. I am trying to make the teeth sharper, so I start by filing off the points of the teeth. Wha? But, here's the point, (get it? here's the point?). Take a look at the teeth after I started filing them down.
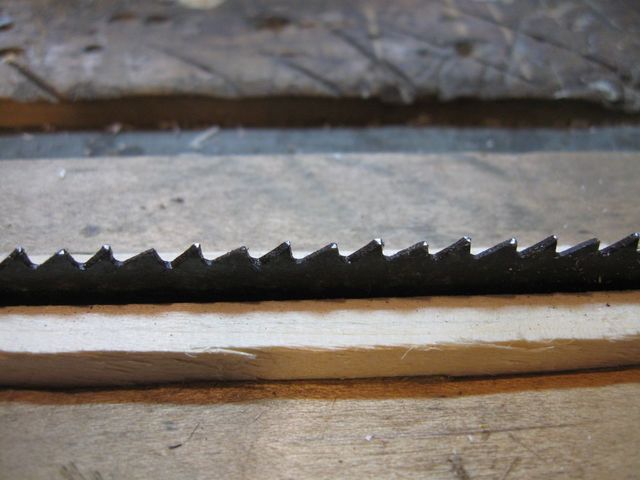
Look at the Shiny Flat Spots
You may notice that most of the teeth have a shiny flat spot on the point, but some of them do not. Here is the photo with the errant teeth circled.
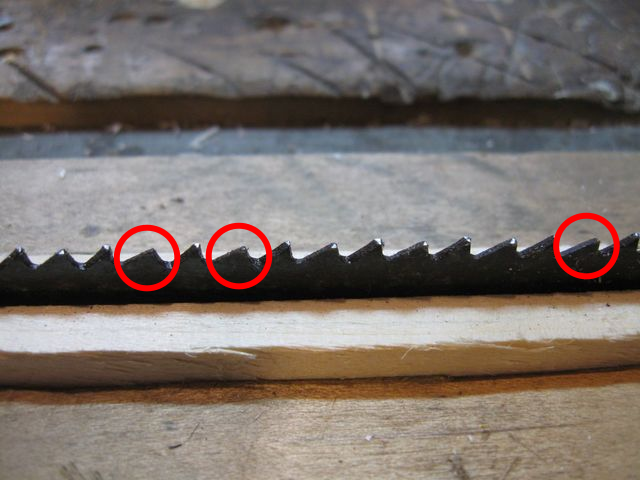
The Circled Teeth are Shorter than the Rest
The saw teeth are not all the same height. The file cuts down the high teeth, but does not touch teeth that are lower. So the goal of jointing the teeth is to make all of them the same height for a more even cut. After a while, more of the teeth show the flat spot on top.
More Teeth are Jointed
I think that the teeth on the far right of the photo are actually flat on top, but you can't see the reflection because of the angle of the light. Anyway, I jointed with the file until all of the teeth have a flat spot on the point. That ensures that all of the teeth will be the same height when sharpened.
After jointing the teeth, sharpening them is a matter of filing each tooth into a chisel shape until the flat spot on the top disappears. I did that to each individual tooth. Some demonstrators say that you should file each tooth the same number of strokes with the file, but that will not work in this case because that would leave some of the teeth with the flat top. Since it is not necessary to joint the teeth every time you sharpen it, I can go back to the mechanical sharpening techniques next time.
I filed each individual tooth with whatever number of strokes it took to remove the flat spot and put a chisel point on the tooth.
I Wear a Glove because My File Has No Handle
Here's a hint: Get a file that has a handle. Mine does not, so I wear a glove to keep the tang from poking holes in the palm of my hand.
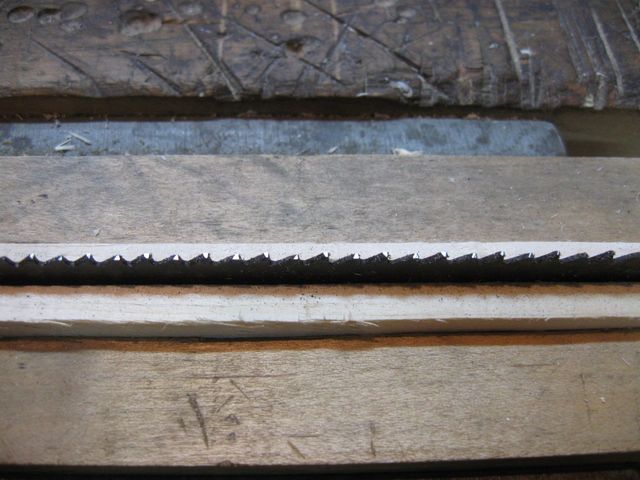
I don't think that this saw has been sharpened for over 50 years. As I said, when I received the saw in ~1989 (28 years ago) it had already spent so many years abandoned in the shed that it was covered with rust. You can clearly see in the photo below the difference between the shiny sharpened teeth and the old unsharpened ones.
The Metal is Bright Where Sharpened
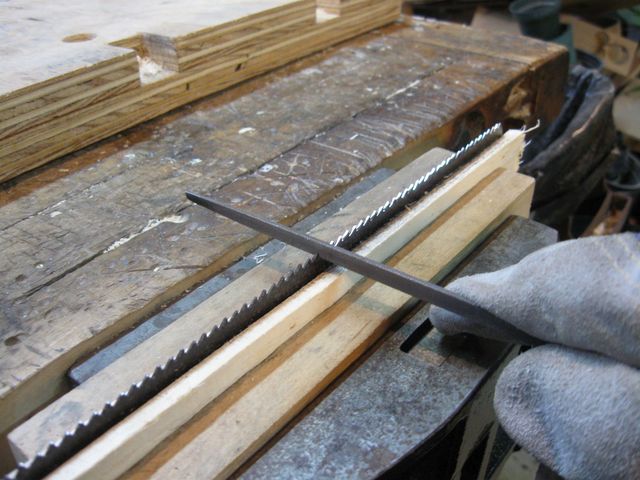
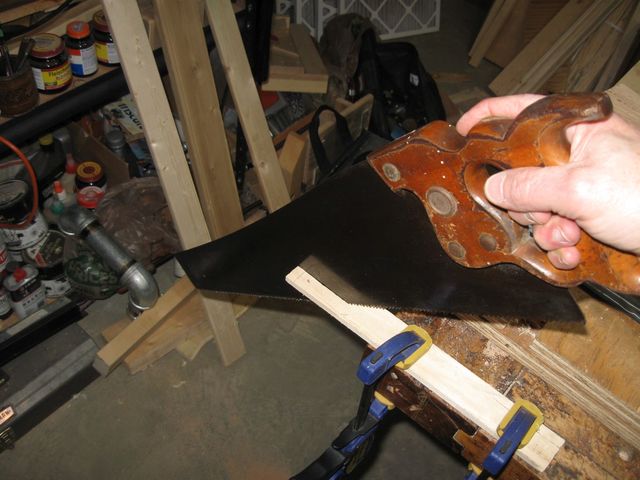
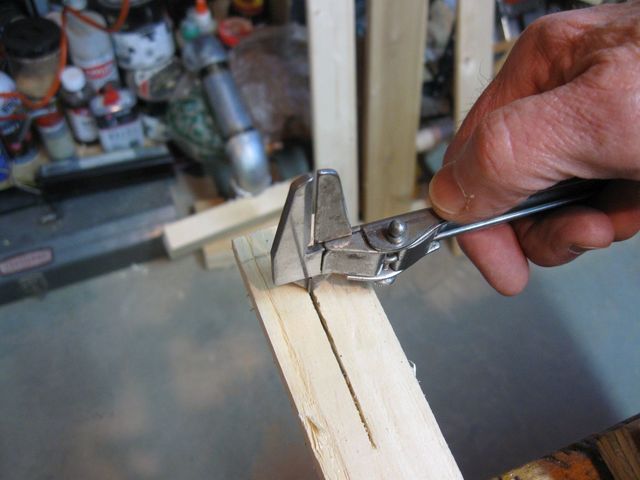
Right after sharpening the teeth, I took a cut on a piece of scrap wood. The cut was very thin and clean. You can see it in the photo below. It is the one that is pointed to by the green pencil.
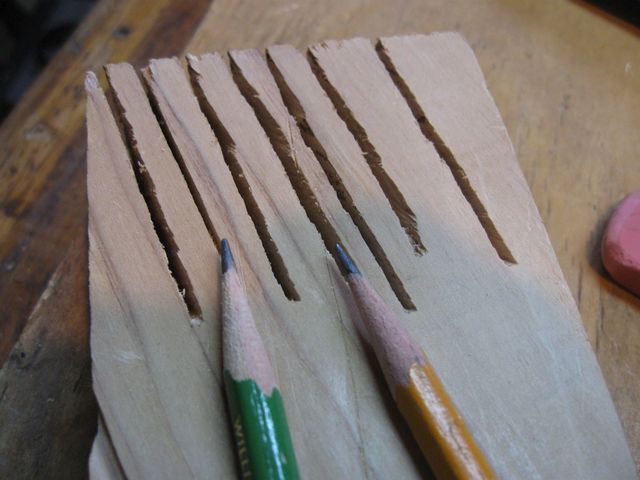
Nice, Clean Cut
Unfortunately, the saw was binding in the cut when I did that, which would be a problem when I started ripping 3 feet of hard wood. So I decided to set the teeth on the saw for a slightly wider kerf. After setting the teeth, I took another test cut with the saw. That cut is the one pointed to by the yellow pencil in the photo above.
Yikes! That is one ugly, ragged, jaggy, too-wide kerf for sure. I think I might have overdone the set on the teeth. So I took some of it out.
Using a trick I saw on a Paul Sellers video, I mounted my ball peen hammer in the vise to use as an anvil, and then using my little multi-purpose tool hammer I gently tapped the points of the teeth down the length of the blade to flatten them a bit.
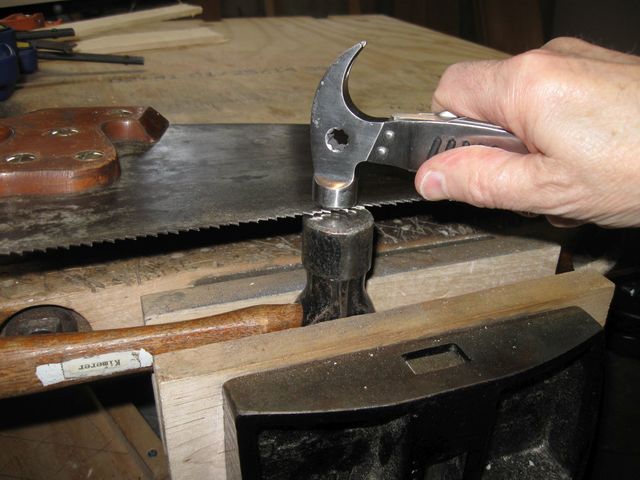
Flattening the Teeth
After I peened the teeth back down I took another cut and then went back to the hammers to try again. The multiple cuts that you can see in the block of wood are the multiple test cuts I made after peening the teeth. So it took several iterations to get the cut back to what I want. The jagged edges of the cuts are from the teeth being set unevenly, so I also eyeballed the teeth along the edge and did my best to make sure that each tooth was set the same amount as the others.
The result was the cut that is pointed to by the yellow pencil in the photo below.
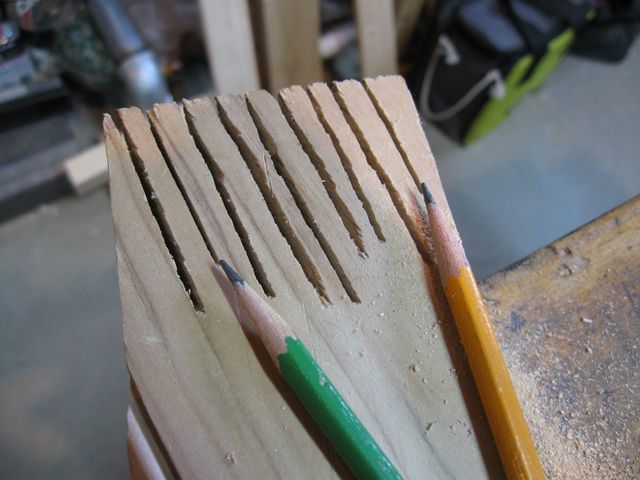
The Last Cut
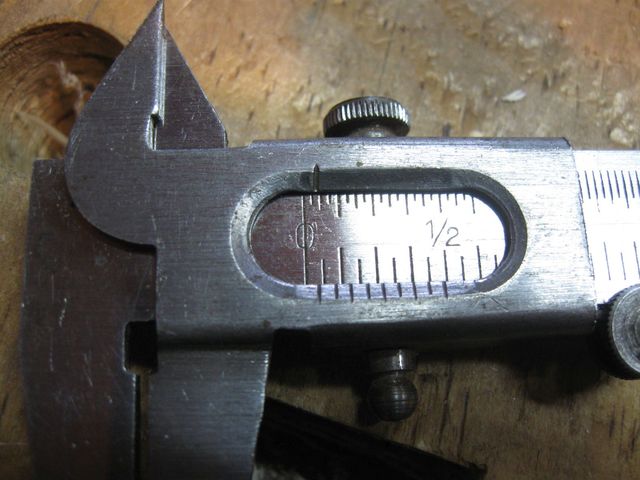
That last cut is a bit more wide and ragged than the first one I took, but the saw was not binding in the slot anymore. I took a measurement of the kerf with my vernier caliper to see just how wide it is.
I Measured the Width of the Cut
Here is the result. Exactly 3/64". That is just 1/64" under the assumed 1/16" kerf I added into the calculations of my rips.
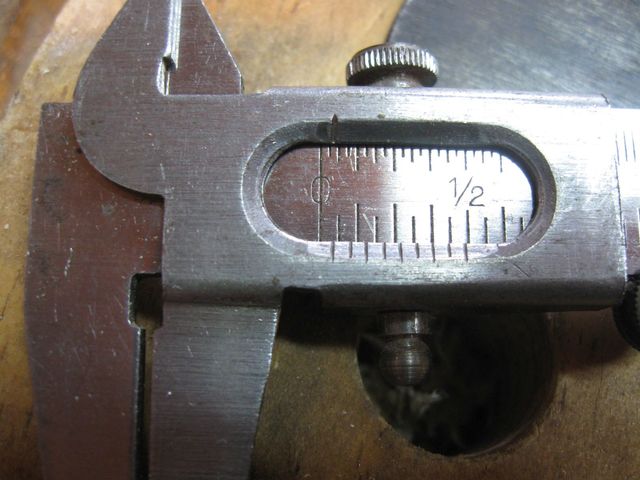
The Kerf is 3/64" Wide
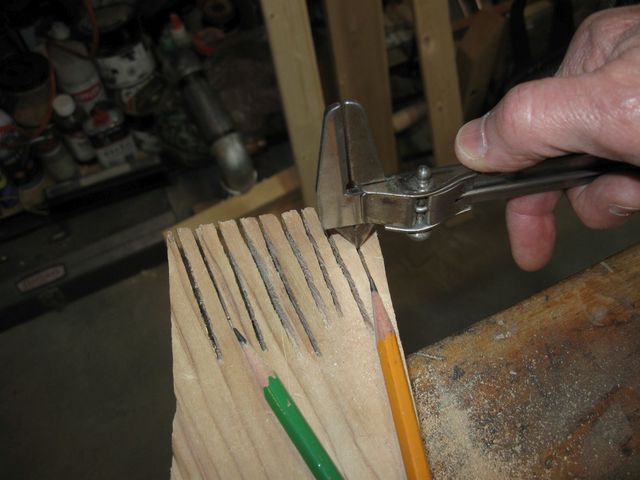
By the way, the vernier scale on the bottom of the sliding part, under the main scale, is a really cool device that allows me to read this caliper to 1/128" accuracy. In this day of digital readouts, the vernier is an anachronism, but it still works. In the photo below I have circled the marks I am looking at.
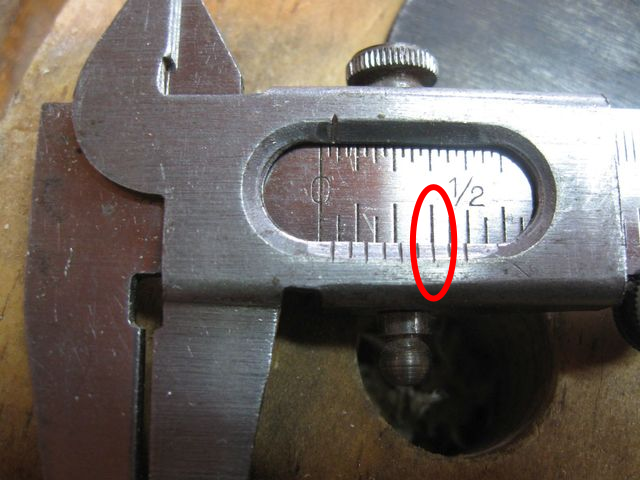
The Bottom Scale is the Vernier Scale
The vernier scale on the sliding part (on the bottom) has the marks offset by 1/128" so that they do not line up with the marks on the stationary scale.... except for one mark, which will line up with the upper scale where the offset of the scale is exactly a multiple of 1/128". The longer marks on the bottom scale represent 1/64" and the shorter marks represent 1/128" offsets. So, as you can see in the photo above, the only vernier mark that lines up with the upper scale is the third 1/64" mark, therefore, the measurement is 3/64"
Pretty cool, hunh?
OK. Back to sharpening the saw.
All that banging on the teeth to take out some of the set has dinged up the edges of the teeth, so I put the saw back into the vise and touched up the chisel points.
Touching Up the Teeth
That should just about do it. So I clamped down a different piece of wood and took a kerf in it.
One Last Test of this Saw
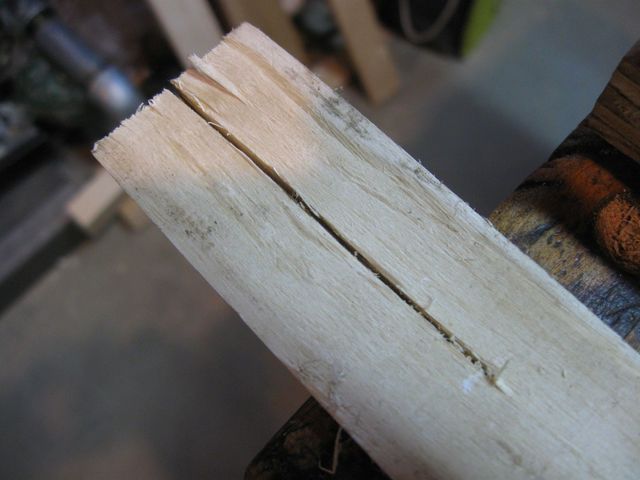
Here is the result from the top.
The Kerf
I took a measurement of that kerf as well.
Measure the Width of the Kerf
Here is the result.
The Kerf Measures 3/64" Again
I turned it over to take a look at the bottom of the cut. It looks a bit ragged.

Looks Like Some Tearout
But after I pulled away the threads, it looks OK.
Not That Bad After All
Keep in mind that this piece of wood is that trashy plaster lath that I bought for another project. It is very green, so it does not cut cleanly at all. The real test will be on the oak.
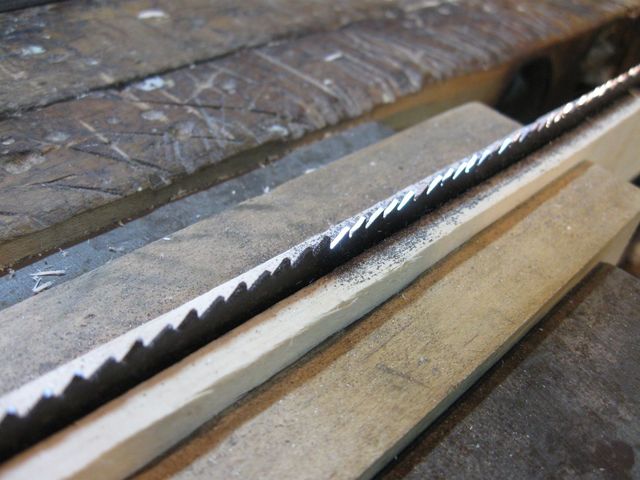
My Restored Saw
I even polished the nice brass screws that hold the handle on.
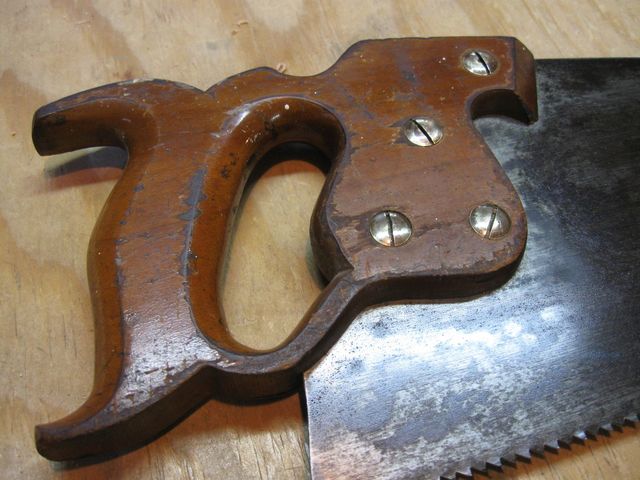
The Saw Has Brass Screws
I think that I will keep this saw as my fine resawing tool because of the thin kerf and fine set of the saw. It also has smaller teeth than my other rip saws, 7 PPI instead of 5 1/2 PPI. I will be able to sharpen this saw several times without resetting it, so it will be quicker next time.
Here are my calculations about using this saw to rip thin stock
out of my oak. The oak is 0.75" thick. If I saw it in half, with
a kerf that is 3/64" (0.046875") I will end up with two pieces of
wood, each being 3/8" minus half of the kerf,
0.375 - 0.0234375 =
0.3515625.
Then I will resaw each of those two pieces into two
other pieces, where the the width will be 0.3515625 - half of the
kerf, or
0.17578125 - 0.0234375 = 0.15234375
Translating that
number into fractions, we get 9.75 64th's.
If we assume 0.75 64th's will be eaten up by my
crappy control of the saw, that still gives me 9/64" of wood.
And if I lose another 64th inch from bad
saw control, 8/64" is 1/8", which is a recommended thickness for sides.
That is the theory. What could possibly go wrong?
Next time we will see how it cuts.
