I finally got back to this project. I think the last time I looked at it was sometime in February. Anyway, it is a dreary day, so I disappeared down to the basement to cut out the pieces for the neck blank.
I am going to take all of the pieces out of a single board of curly maple that is 6 feet long by 3 1/2" wide. There isn't a lot of spare material here, so I printed out the plans and measured carefully.

The Plans for this Neck
Here is the plan for the blank again in case you don't remember from my previous posting.
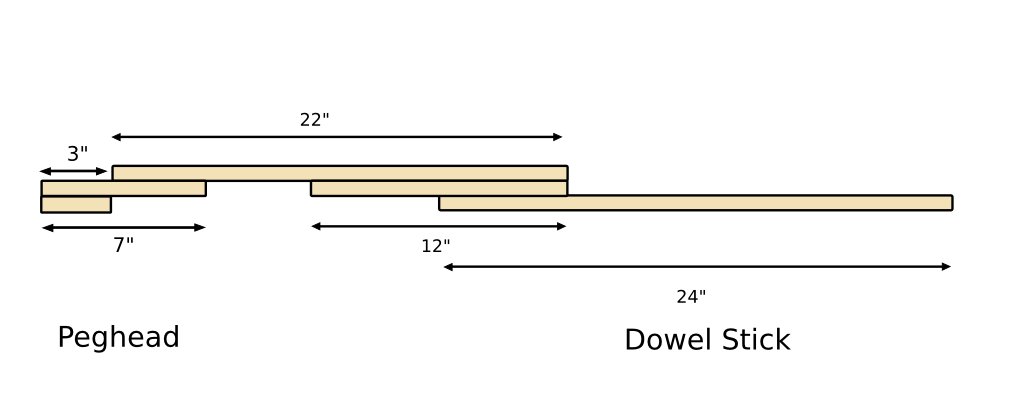
Neck Blank
There are five pieces to cut out of the board, not including the tail piece, which I hope to get out of the tail end of this board. Here are the sizes of the pieces.
- 3"
- 7"
- 22"
- 12"
- 24"
I am going to cut them in that order, from the peghead down to the heel. The purpose of that is to keep a unity of grain, color and figure by taking the successive pieces out of the board in the order that they will appear in the neck.
Well, that was the plan anyway. I found a chip that has been broken out of the board in an inconvenient location where the 12" neck piece is to be cut out.
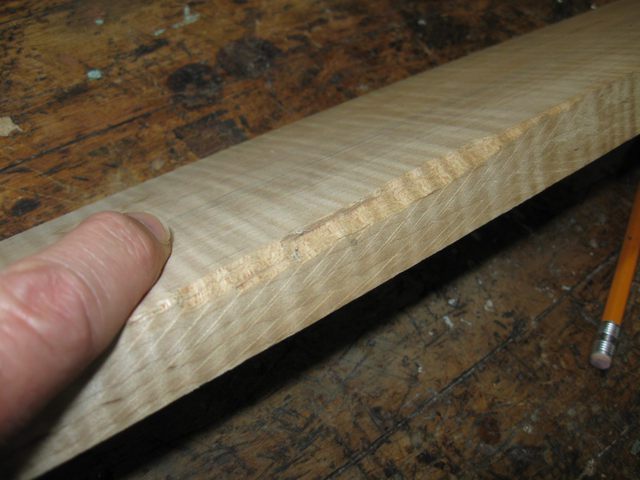
Inconvenient Chip
I am not sure if that chip will show up in the carved neck or not if I leave it in the 12" piece. If I cut the 24" dowel stick out of that part of the board I can rest assured that the chip will not cause a problem because I cut the dowel stick down to 1 1/2" wide. I don't want that chip showing up at the heel of the neck. So I cut the 24" piece out first and then the 12" piece. They will be out of order, but that probably won't make much of a difference in the end.
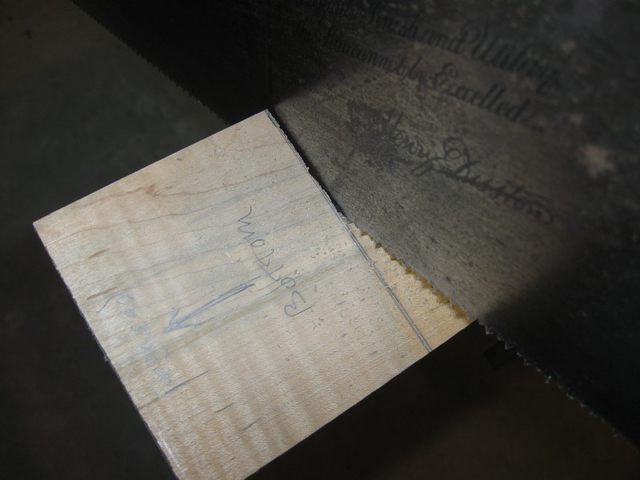
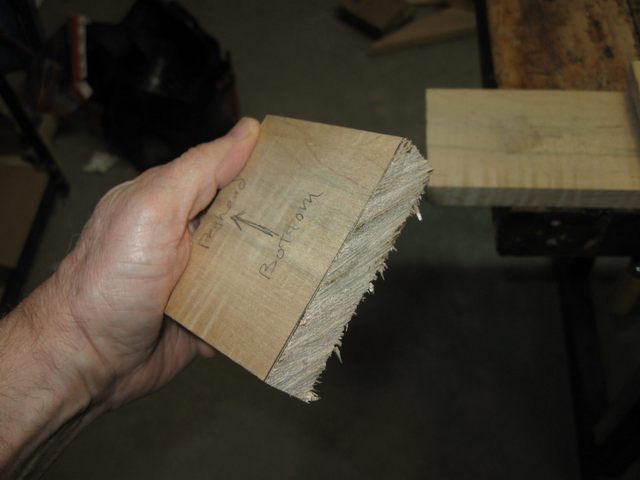
To make sure that I don't scramble the boards after they are cut, I marked each piece with an arrow pointing to the peghead end of the piece. I also marked each piece "Bottom" to indicate that the marked side goes on the bottom of the neck, away from the finger board.
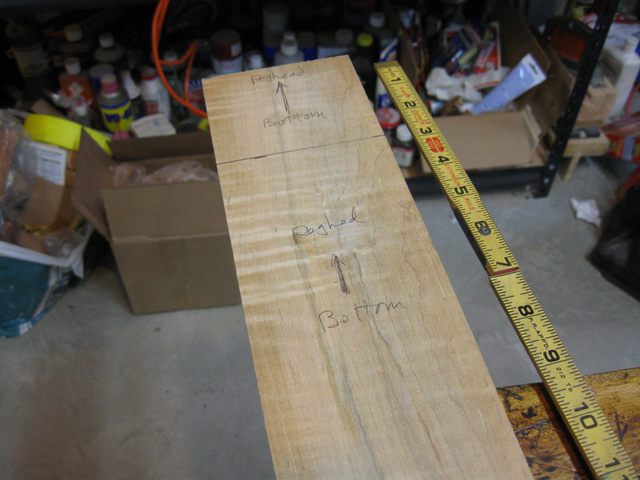
Markings
If you look in the photo above, you can see that I initially measured the length of the pieces with my Red End rule. But when I checked it with my Master Mechanic rule the lengths differed. I checked the Master Mechanic against my steel rule, and it appeared to agree better than the Red End did, so I am using the Master Mechanic rule instead. I marked off 3 inches for the first piece. You can see that there are two different lines from marking the spot using the two different rules.
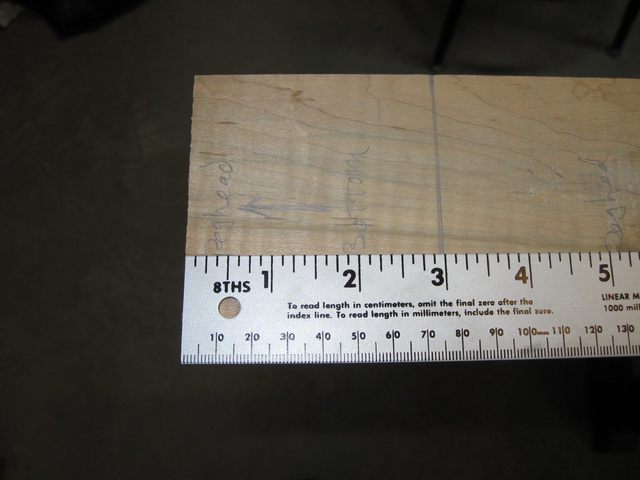
Marking Three Inches
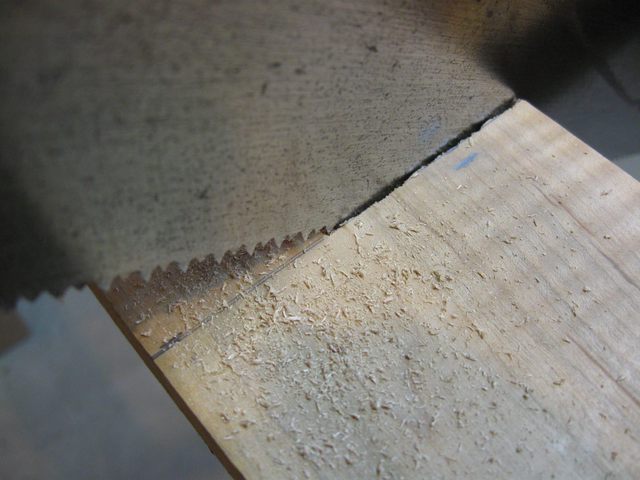
I squared up the lines with my try square and then cut off the piece using my crosscut saw and "Splitting the line on the waste side".
That quote, "Splitting the line on the waste side", is an instruction I read when I was learning to cut dovetails by hand. It means that the saw blade cuts half way through the pencil line while keeping the blade on the side away from the precise measurement. That way, I will not be cutting sawdust off the end of the board and making it shorter than I intended.
Splitting the Line on the Waste Side
It took me a while to figure out what that meant, and it is a tricky thing to do, splitting a pencil line in half with the blade of a saw. But once I got the hang of it, I could cut a board to a fairly precise length. Of course, the sawdust comes out of the next piece of wood, so I have to measure the next piece after the cut has been made. Here is the first piece of wood cut to exactly 3 inches.
The First Piece
After I made the first cut, I measured the board for the next cut, which was 7". I got a little carried away marking the line and destroyed another pencil.
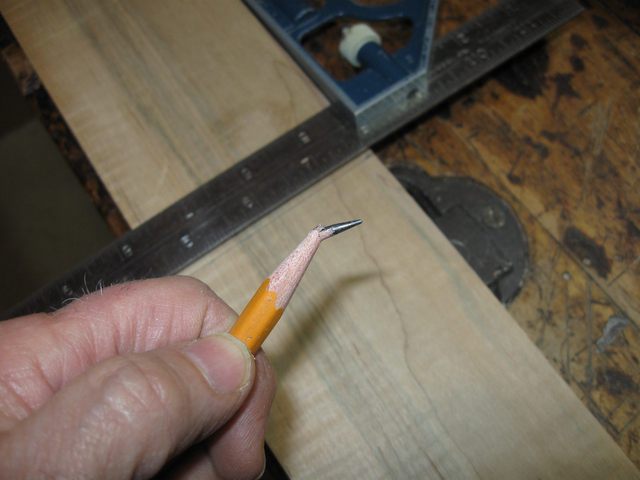
Destroyed Pencil
I go through a lot of pencils like this.
So I marched down the board, measure then cut, measure then cut. As I got toward the end of the board, cutting pieces 4 and 5, I had to flip the board around and cut from the other end. At this point, the "waste side" is on the other side of the line.
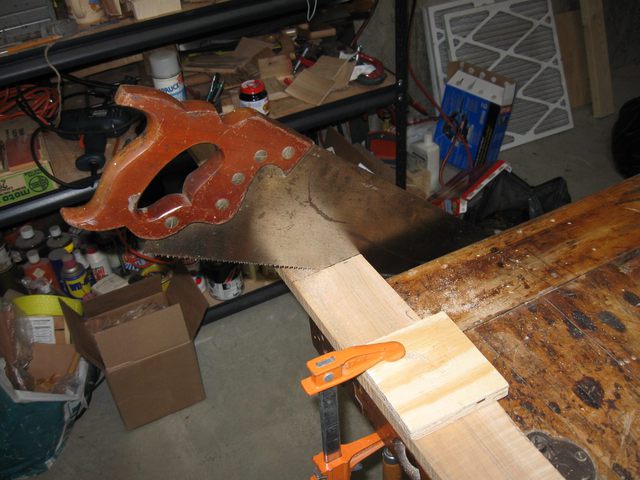
Flipped the Board
It is the same deal, though. I split the line on the waste side.
Splitting the Line
After I finished cutting out the pieces, I lined them up on the bench the way they will be glued.
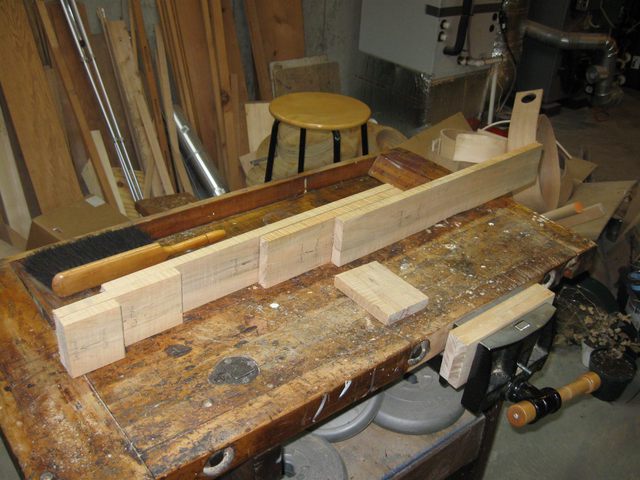
All Together
The extra piece is what was left after I cut all the other pieces out of the board. I will try to get the tail piece out of that one, but I don't know if I will be able to do that since the end is checked a bit.
While I was at it, I picked out a piece of fancy wood to use for the finger board. I like this one because it has both grain and figure in it.
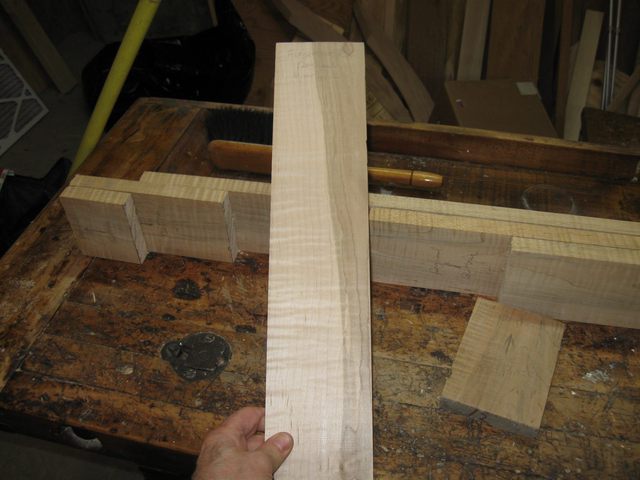
Finger Board Blank
That is all I did today. I would like to glue the blank together, but it is still a bit chilly down here. The basement is warming up now that it is Spring. It was 55 degrees all Winter, and now it is about 64 degrees. But the glue likes it to be around 70 degrees, so I might have to wait or move it upstairs to glue it.
