To finish the pegs, I am going to put some TruOil® on the buttons of the pegs. The shafts have to remain free of finish if they are going to work properly in the holes. The pegs must fit exactly in the tapered holes in the peghead so that the friction between the pegs and the peghead is enough to hold the strings. It is just friction between the wood of the peghead and the wood of the peg shaft that keeps them from slipping. I described how the pegs work on a previous page, see Theory of Tapered Pegs. If there is oil finish in the holes or on the shafts of the pegs, that will mess up the friction and the pegs won't work.
So I am going to put some finish on the buttons of the pegs, but not on the shafts.
I needed to make a jig to hold the banjo pegs while I put the finish on the buttons. I found this scrap of wood in the wood pile.
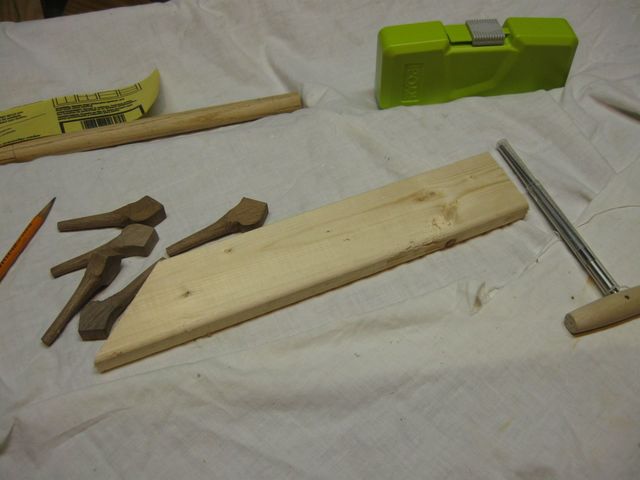
This Board Will Hold My Pegs
I drilled five holes in the board that I can stick the pegs into to hold them. I used a 1/4" drill bit just like I did on the peghead.
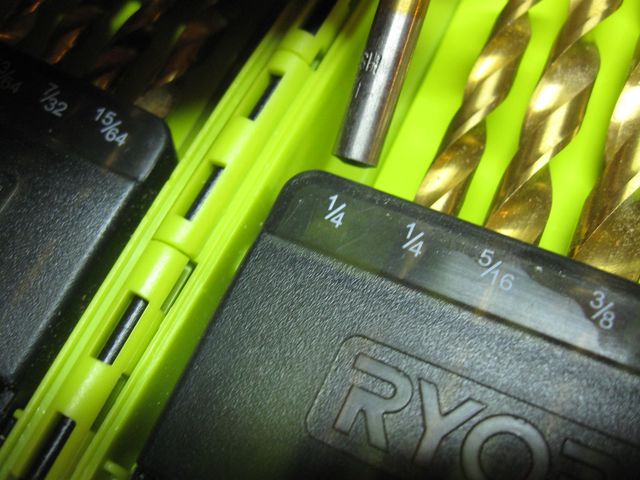
I Start With a 1/4" Drill Bit
Since this is just a rough jig to hold the pegs temporarily, I eyeballed some locations and drilled them out.
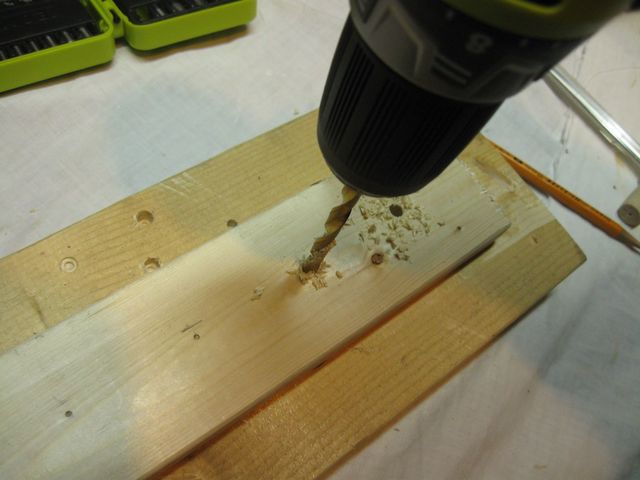
Drilling the Holes
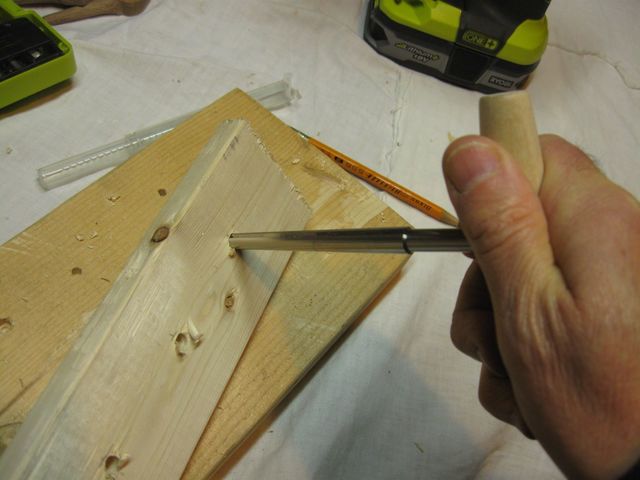
Then, I got out one of my favorite tools..... my Violin Peg Reamer.
This is a sharp auger type tool that is tapered to a 30:1 taper. It is normally used to ream out the peg holes in a violin peg box. Using this tool guarantees a fit between the violin pegs and the holes in the peg box. It works fine on banjos too. I will use it to make the holes in the jig to hold my pegs.
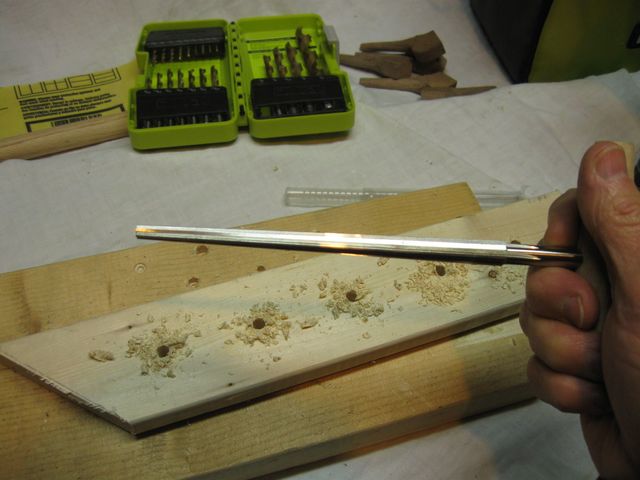
My Violin Peg Hole Reamer
You can see in the photo below that the pegs don't fit in the 1/4" holes that I drilled.
It Doesn't Fit
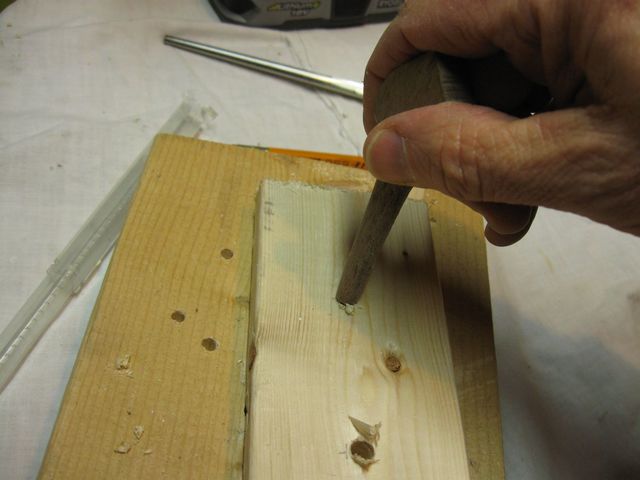
So I just stick the reamer in the holes and turn it gently, and the reamer tapers the hole. This is how I made the testing hole that I used last time when I was shaping the pegs. I reamed out the holes just enough that the tips of the pegs will fit in them.
Reaming Out the Holes
The tip of the peg now fits into the hole. So I can jam the peg into the hole to hold it for me when I put the oil on the button.
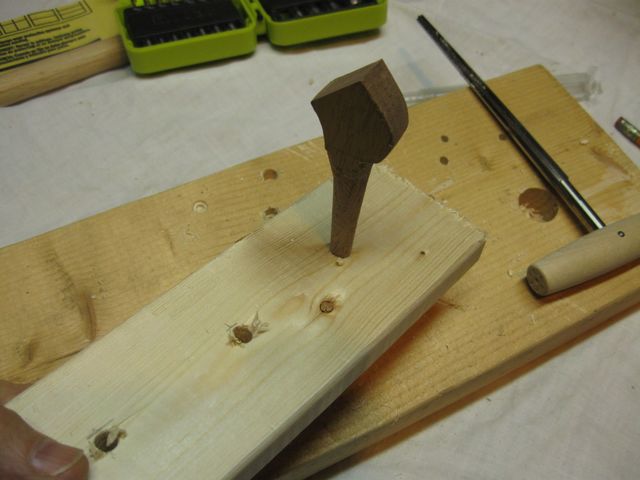
The Tip of the Peg Fits in the Hole Now
I put a flag on the reamer so that I would not go into the holes too deeply and make them too big. I don't want the pegs to go all the way through.
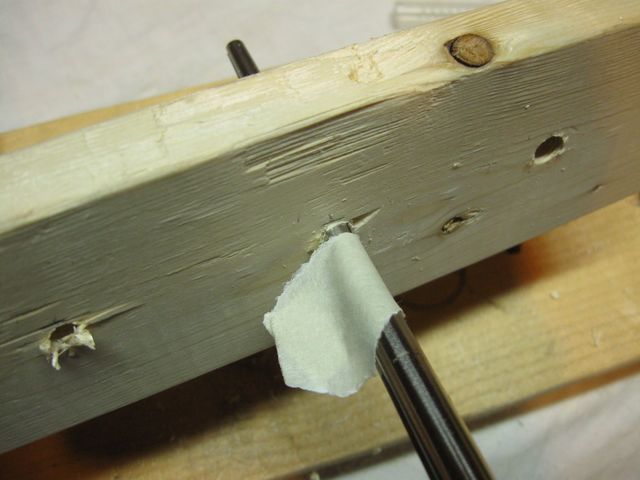
The Flag Tells Me When to Stop Reaming
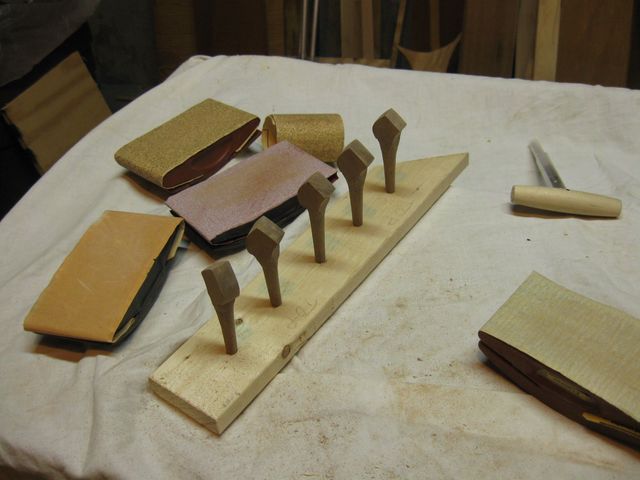
There they all are, standing at attention and waiting for their first coat of oil finish.
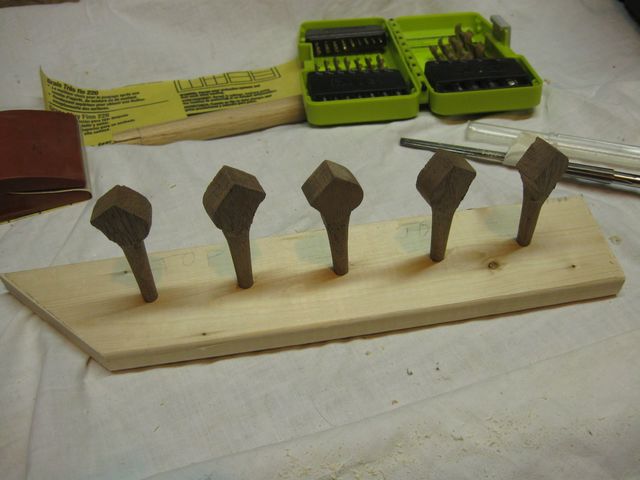
Ready To Receive the Finish
While I was doing this, I noticed some unfortunate tearout on one of the pegs. I always have trouble with tearout when I am working wood. I guess I handle the tools too roughly. Maybe I can sand it out later.
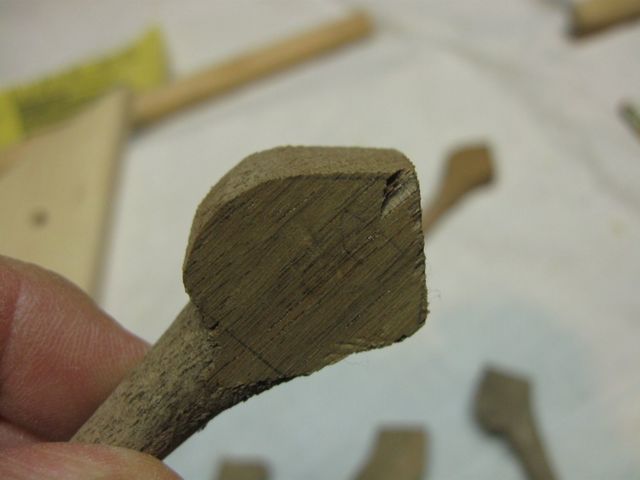
There is an Ugly Chip Missing on the Button
I put a new sheet of 220 grit sandpaper on my sanding block. I will use it to sand the buttons down prior to finishing.
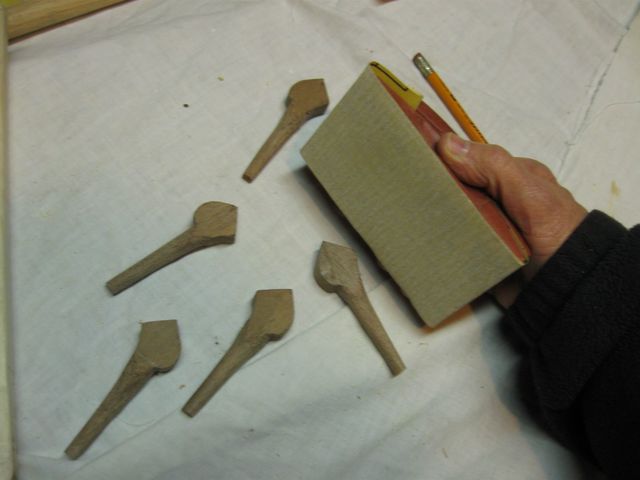
Sandpaper on the Sanding Block
To sand the concave parts, I wrapped a piece of sandpaper around a piece of 3/4" dowel that was lying around from a previous project.
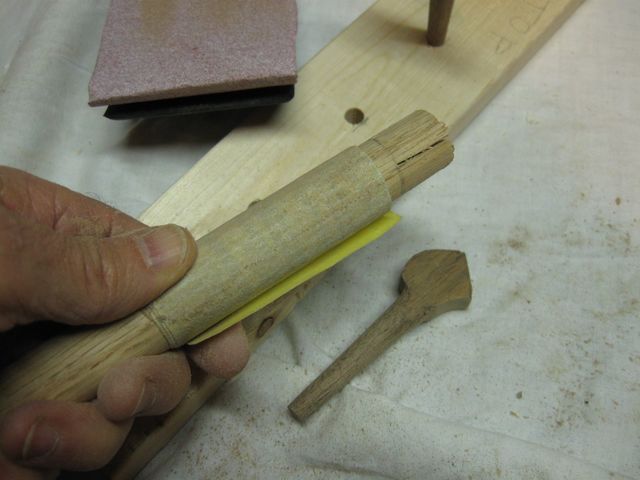
A Dowel Will Allow Me to Sand the Concave Part
No need to bore you with photos of me sanding banjo pegs. After a while, there they are, sanded and standing in the jig ready to be finished.
The Pegs are Sanded
That is it for today. I didn't get to the finish. It is, after all, a weeknight so I must hie myself off to bed and put on the finish next time.
