The next step in building this banjo is to mount the skin head on the hoop. I have mounted skins on banjos with tension hoops and I have mounted skins on banjos with gourds, but I have never stretched a skin over a wooden hoop. I have to tack the head down to the wood, and getting the tacks into the wood without a pilot hole of some sort is not going to work. When I tacked the heads to the gourds, I just pushed the tacks into the gourd with my thumb. A gourd has the density of balsa wood, so that was easier than it would be with a hard maple hoop.
Because of all that, I decided to do some experimentation with the tacks before I go 'live' with the head. I needed to figure out how to get the tacks into the hoop with a minimum of fuss because when the head is wet, things get a bit dicey, and I don't want to be messing around with the tacks. I glue the head down around the edge, and I have to get it done before the glue dries and before the head dries or it makes a mess.
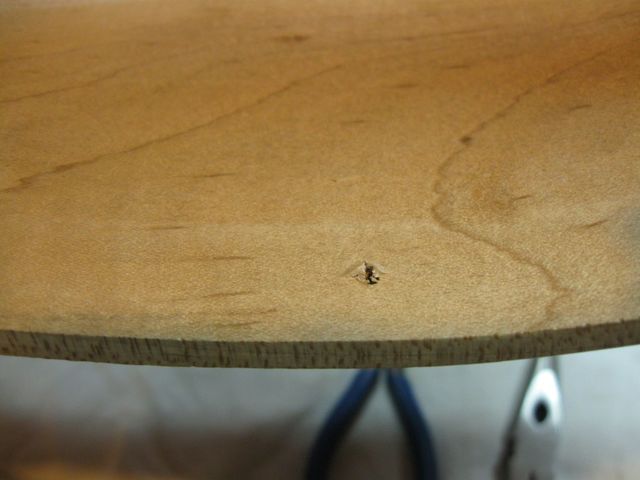
I fetched a failed hoop out of the scrap pile to experiment on. You might remember this one if you read my project where I described how I bent the hoop for the banjo. This one split while I was trying to bend it.
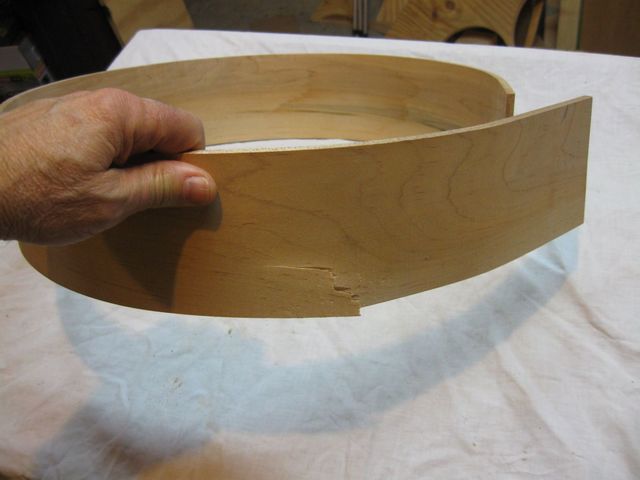
This is a Failed Attempt at Bending a Hoop
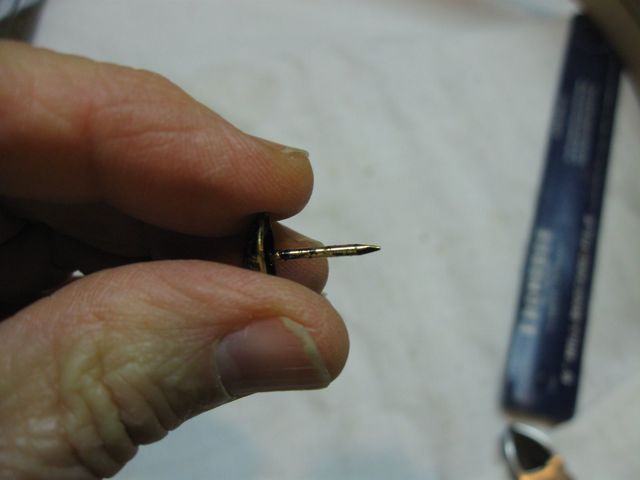
Here are the tacks. They are regular upholstery tacks from the hardware store. Nothing special there. The 7/16" refers to the diameter of the head. I don't know what the pin size is, so I need to measure the diameter of the pin to see if I have a drill the correct size for a pilot hole.
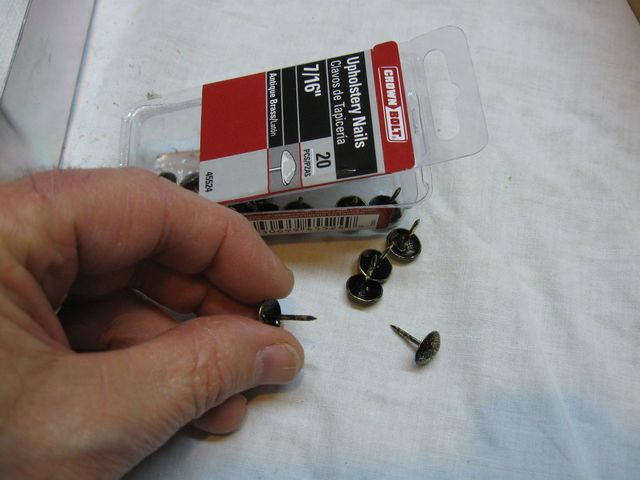
Here Are the Tacks
I have a really nice caliper that I use for measuring such things. I got it very cheap on sale at the woodworking store. It is easy to use, easy to read, and very accurate.
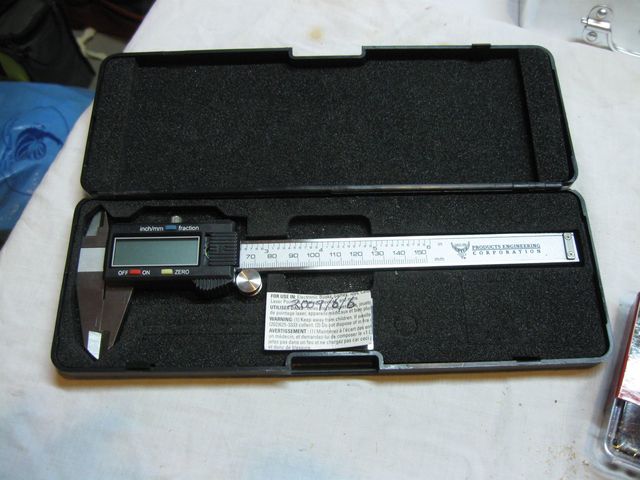
This is My Very Nice Caliper
Here is the fly in the ointment. The battery.
This is an LR-44 Battery - Not Cheap
These calipers eat batteries, even when they are off. After going through several LR-44 batteries at 5 bucks a pop, I started taking the battery out to keep from draining it while the caliper sits in the box.
I guess that is why the caliper was on sale for such a low price.
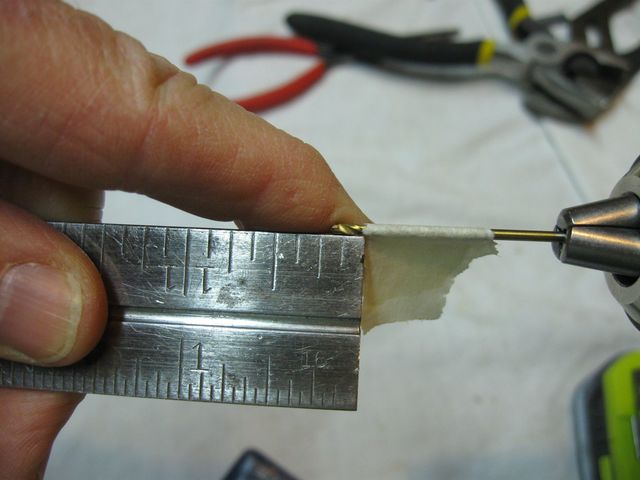
I don't use the caliper very often, so I just keep the battery out of it and in the box. Then I put the battery in just before I measure something. I measured the thickness of the pin on the tack. It is 3/64" thick.
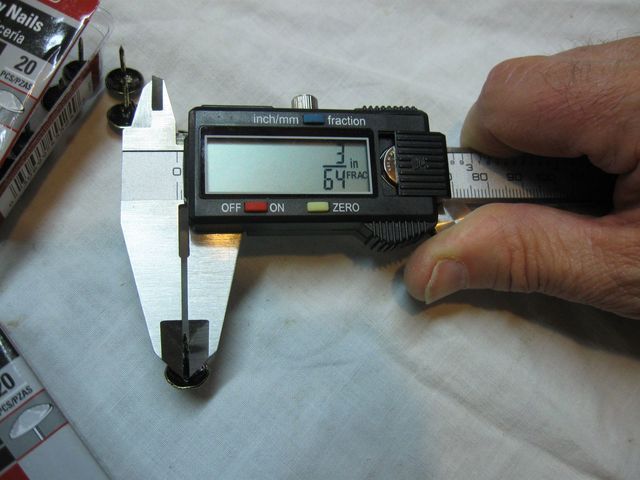
The Tack Pin Shaft is 3/64" In Diameter
Looking in my drill set, the smallest drill bit I have is 1/16", which is 4/64".... dang.
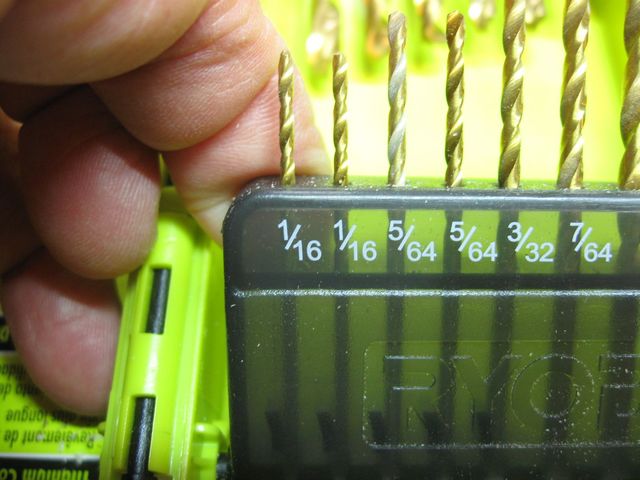
My Smallest Bit is 1/16"
Well, I was just experimenting, so I tried the bit anyway to see what would happen. I put it into my drill.
The Drill
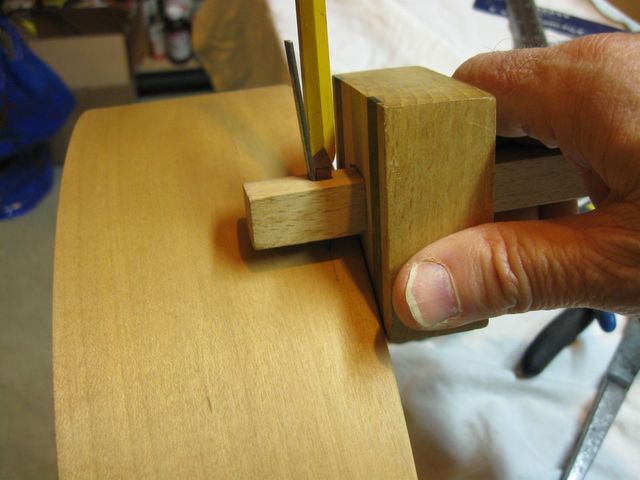
Before I drilled the hole, I needed to mark on the hoop where the hole was going to go. The tack heads are 7/16" in diameter, which is very close to 1/2". So if I put the tack hole down 1/4" from the top of the hoop, the edge of the tack head will be just about even with the top of the hoop. I want it to be down farther than that because the edge of the hoop is rounded. So I set up my marking gauge to put a line at 3/8" down from the edge.
Set Up the Marking Gauge for 3/8"
Then I marked a line at the 3/8" point on the hoop.
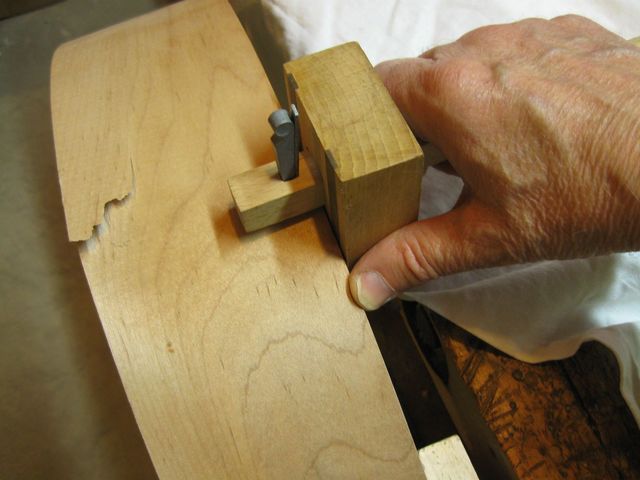
Marking the Hoop
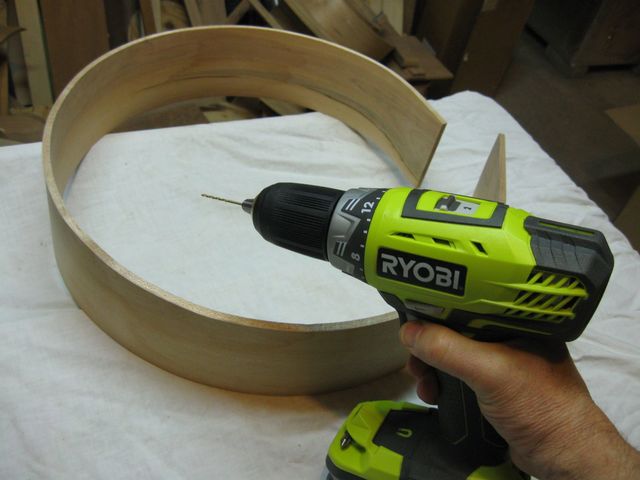
I don't have to be very accurate with this because I am just experimenting. I drilled out a 1/16" hole in the wood.
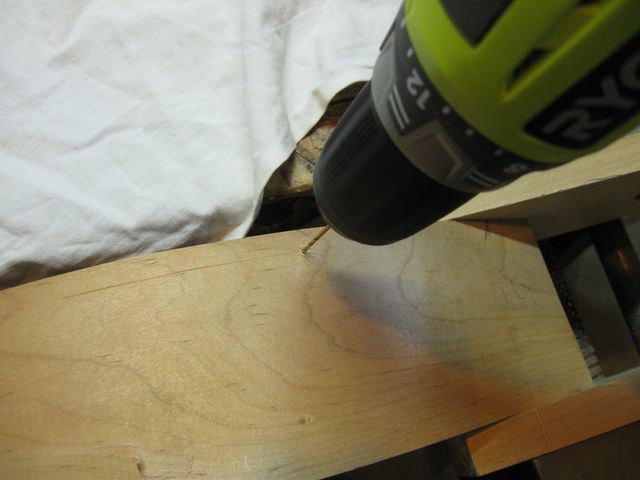
Drilling the Hole
Just for grins, I drilled it all the way through the wood.
I Drilled it All the Way Through
I put the tack into the hole....
Put the Tack Into the Hole
And let go of it.

Oops. It just falls into the hole.
That is not going to work. It just falls into the hole. And it falls out of the hole just as easily.
I need to find a way to make the tack fit tightly in the 1/16" hole. One idea I had was to bend the shaft of the pin. That will make it jam somewhat in the hole. Here is the bent pin.
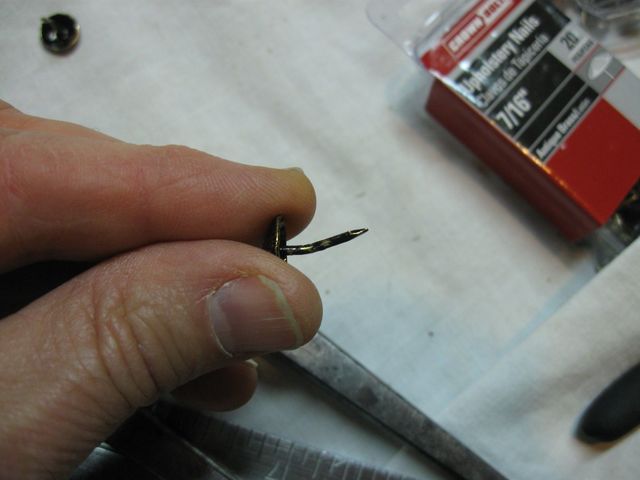
I Bent the Pin to Make A Tight Fit
It went into the hole a bit crooked to start.
Crooked
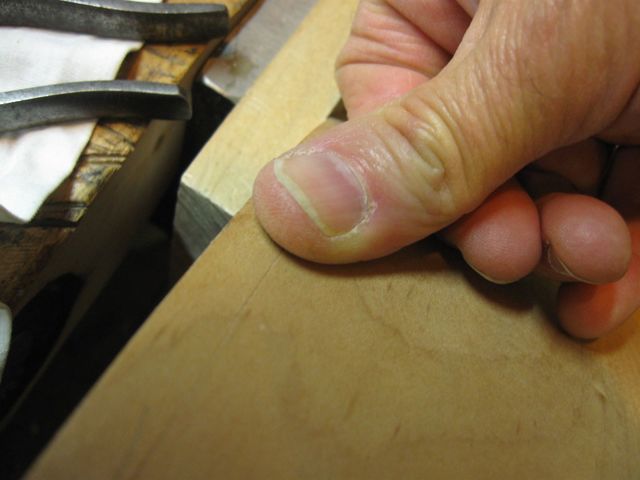
Then I pushed it into the hole with my thumb.
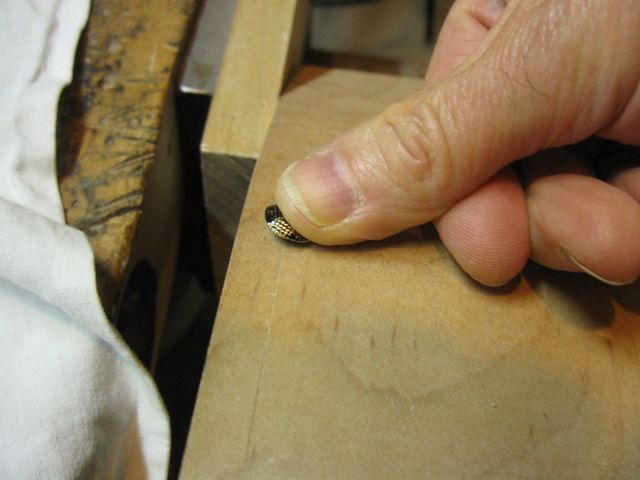
Push the Pin Into the Hole
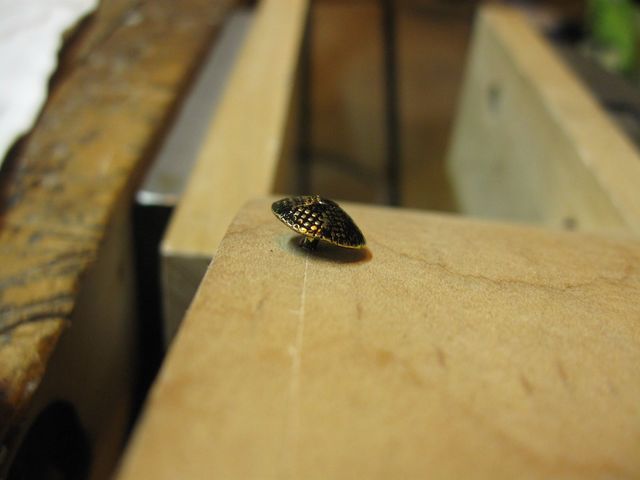
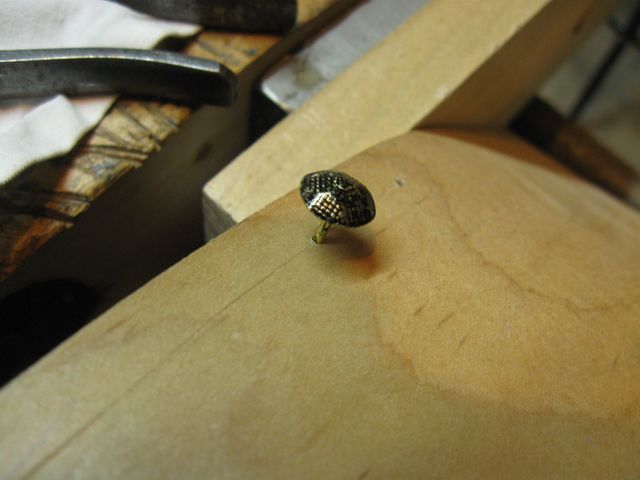
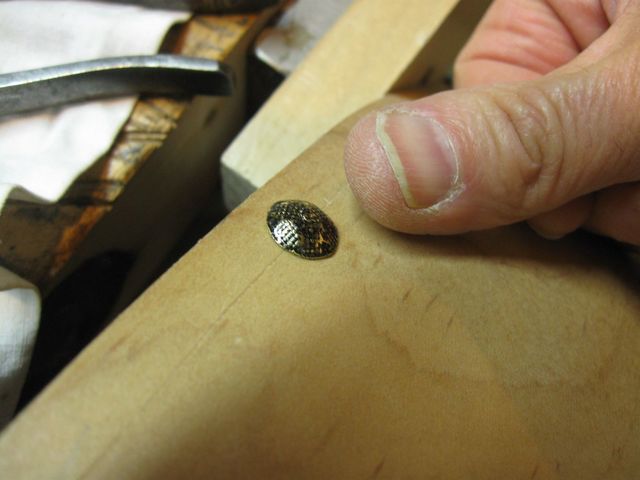
There it is. It snapped in fairly snugly.
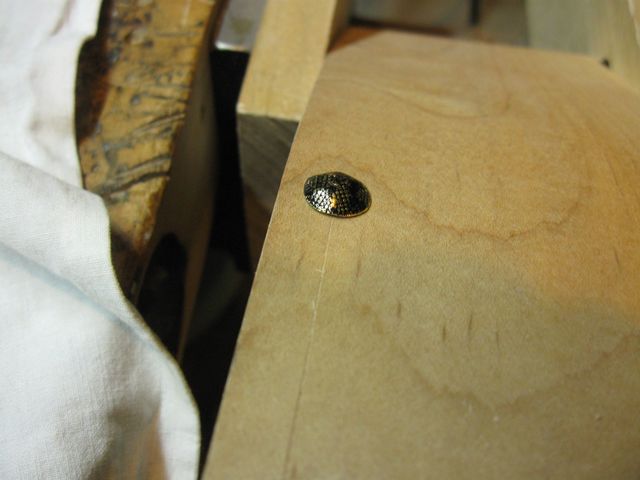
The Tack Stays in the Hole
When I turned the hoop upside down, the tack stayed in the hole. This is good.
Unfortunately, the sharp end is left poking through on the inside. On a gourd, that is not a problem because once the head is on the gourd, there is no way to get in there and get stuck. The back of this hoop will be open. Fingers can find their way into the hoop and onto those sharp points.

The Point Goes All the Way Through
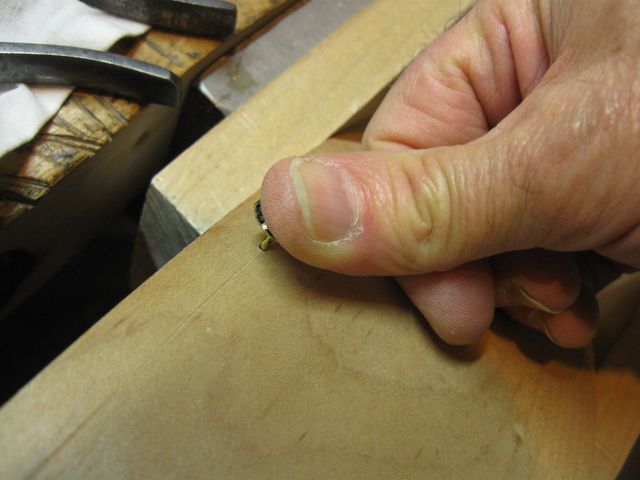
I managed to snip the point off with my side cutters.
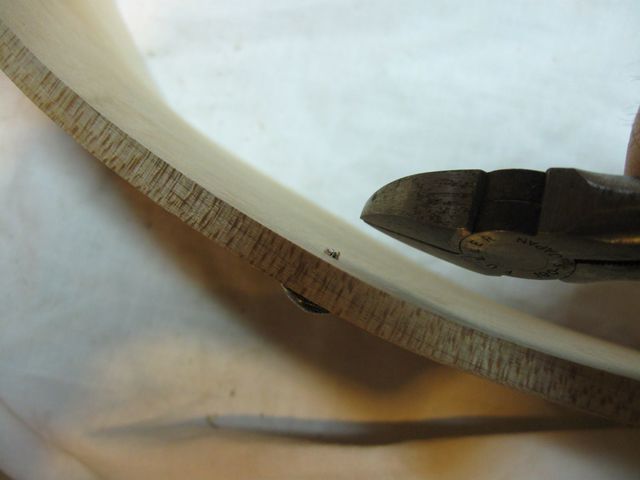
The Sharp Point is Gone
Here is the truncated tack. I put it in and out of the hole a few times, and it seems to be tight enough to stay in place. It's kind of an ugly hack.
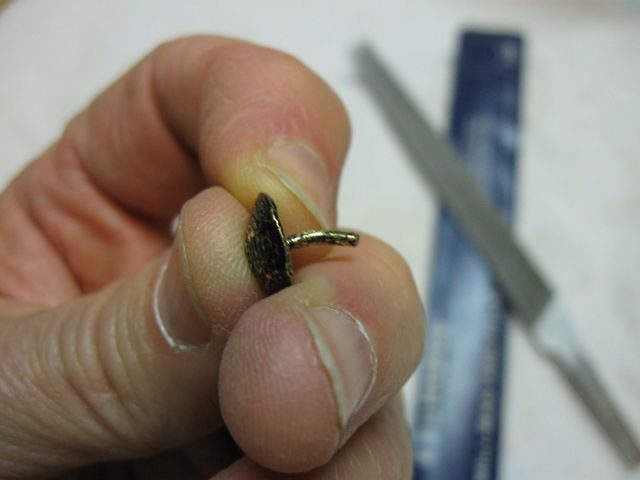
The Bent and Truncated Tack
I might have to go with that technique. I do not have a smaller drill bit.
Before I went on to the real hoop, one thing that I wanted to change was the way I used my marking gauge. The gauge has a knife edge in it for making the mark. I don't like that because it cuts the wood, and it will be on the outside of the hoop and visible. Even though it will be under the head, I don't like the cut. So I will mark the real hoop using a pencil. I might be able to erase a pencil line after drilling the holes.
I found a pencil that I had previously modified for this purpose. I had made it skinny so that it will go into the hole in the marking gauge.

Skinny Pencil
It fits in like this, wedged in place with the knife edge that is usually used to cut the wood.
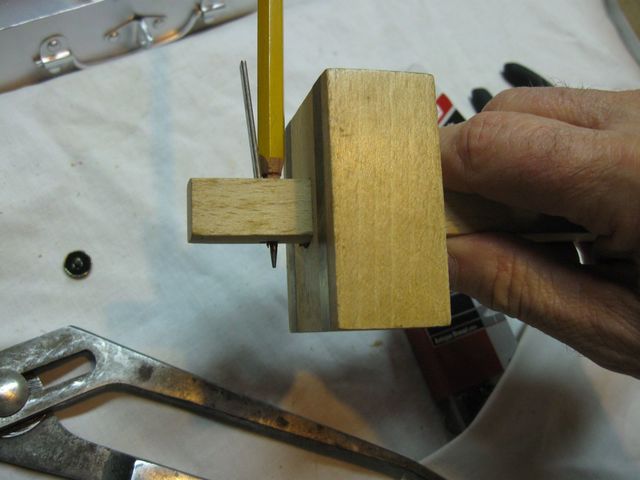
The Pencil is Wedged
To make sure that I got a clean line, I took it out and sharpened it on some sandpaper.
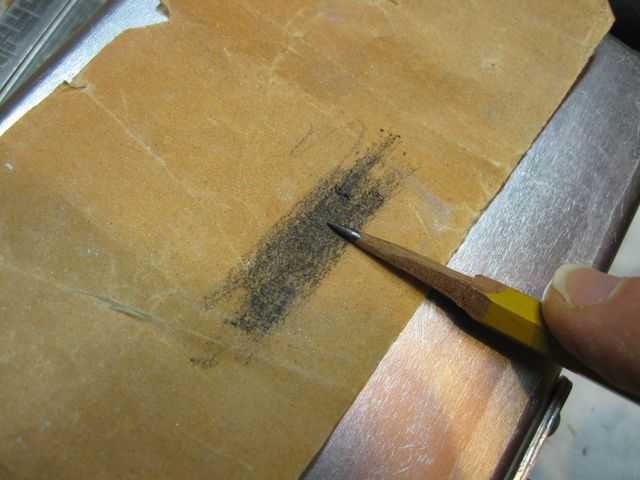
Sharpening My Pencil
I put the pencil back in and set up the marking gauge to make a line 3/8" from the top of the hoop and marked a test line for a couple of inches.
Marking the Real Hoop
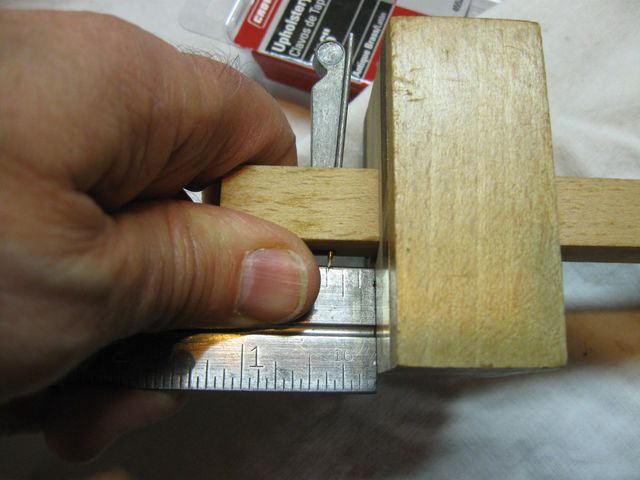
Measuring the test line confirms that it is 3/8" down from the edge.
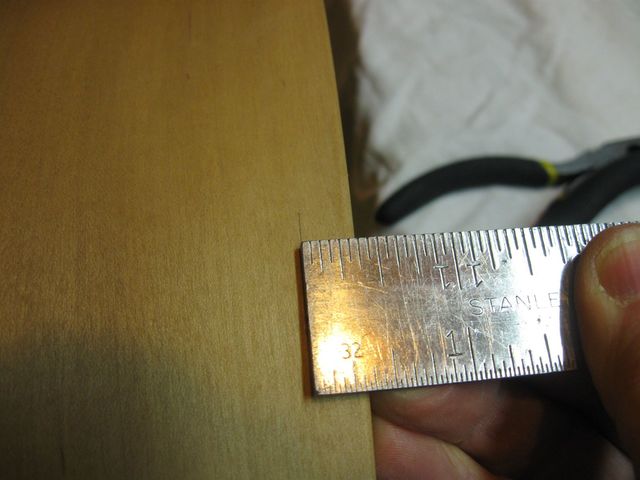
It Really is 3/8"
Looks OK. So I extended the mark all the way around the hoop. Here is the mark where I will put the tacks on the hoop.
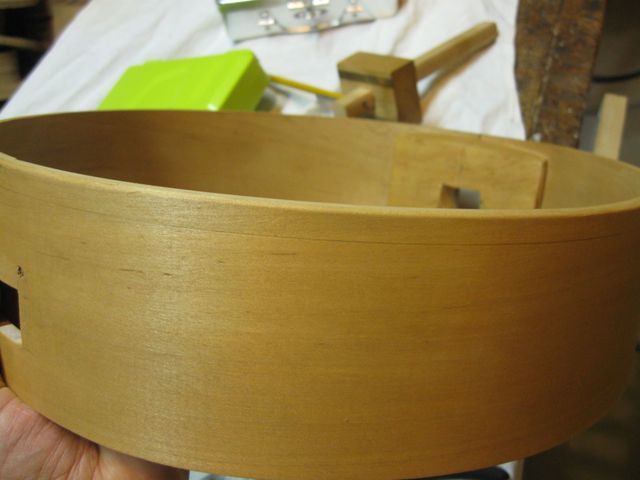
I Marked it All the Way Around
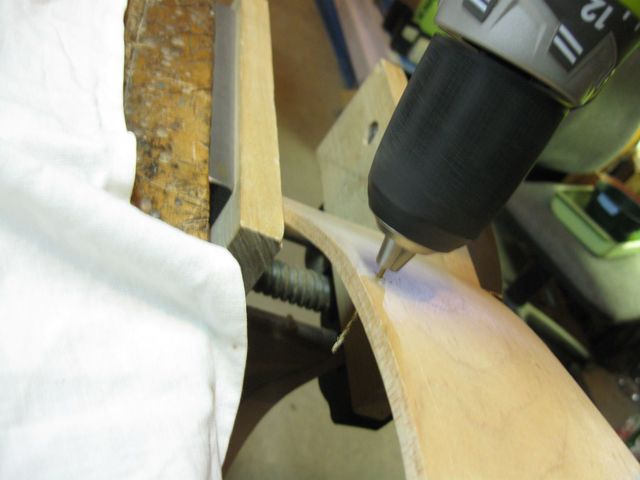
While I was thinking about it, I decided that bending the tacks to make them fit in the hole is an ugly way to do this. So I decided to run a different experiment. I decided to drill only part way through the wood to get the tack started, and then maybe I can push the tack the rest of the way through.
I measured off 3/16" on the drill bit and put a flag there.
Put a Flag So I Know When to Stop Drilling
I drilled a second hole until the flag was at the surface of the wood, which should make the hole 3/16" deep, 1/16" shy of the other side of the wood.

Here is The Second Hole
Looking on the inside of the hoop, there is no second hole, so the drill did not go all the way through.
There is Only One Hole on This Side
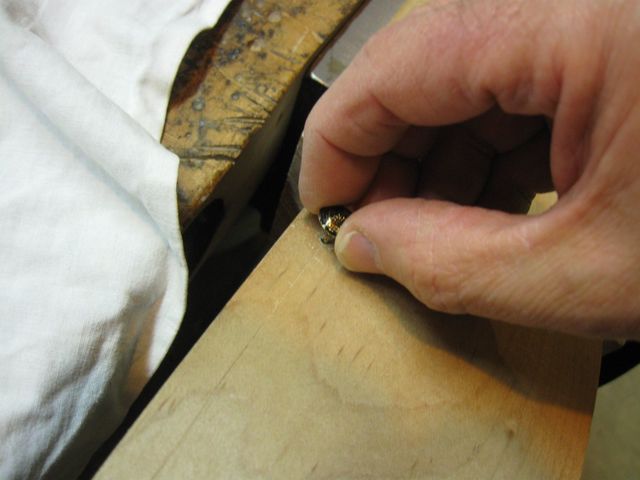
I found a straight tack that I had not bent.
Get a New Tack
I stuck it in the new hole.
The Tack is In the New Hole
I pushed really hard on that tack, but is was not going to go through that hard wood.
Pushing Really Hard on the Tack
I finally gave up and got the hammer out and pounded it into the hole. That was pretty easy.
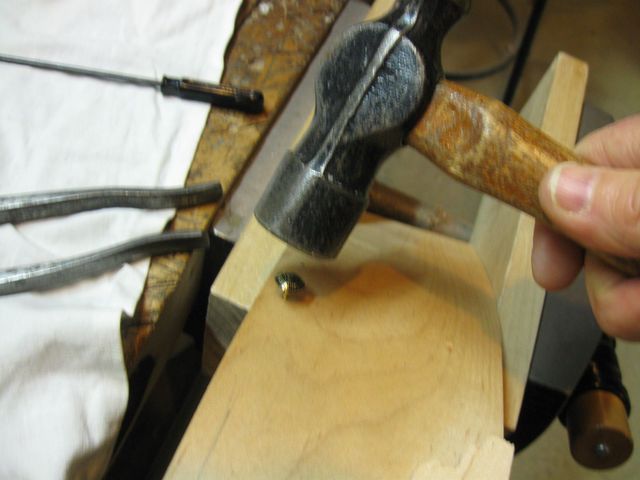
Pounding the Tack Into the Hole
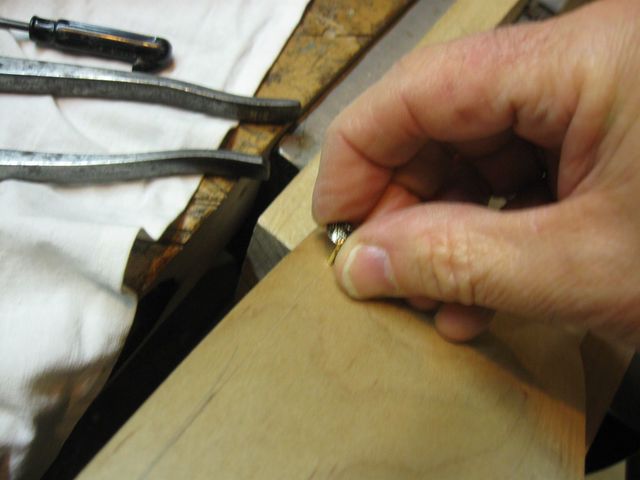
Pushing from the other side, I took the tack back out.
Removing the Tack from the Hole
Then I put it back into the hole....
Putting it Back into the Hole
.. and I pushed it with my thumb.
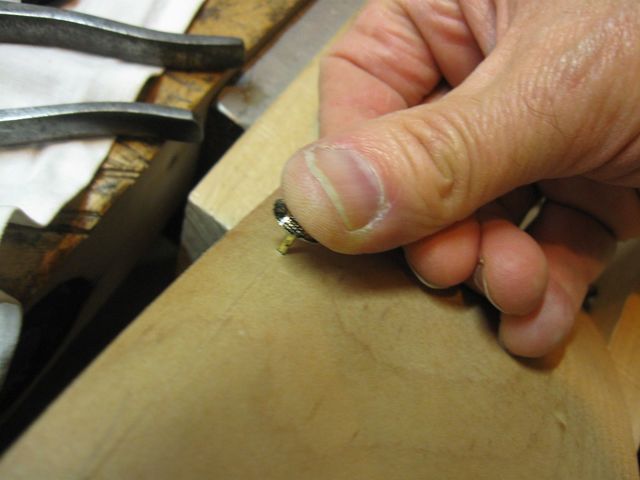
Pushing With My Thumb
Slam Dunk. The tack went in.
The Tack Went Back Into the Hole
And there it is.
The Installed Tack
I put the tack into and out of the hole a few times to see if it would loosen up. It went in snugly every time. So I think I have my procedure. I will drill all of the holes 3/16" deep. Then I will pound all of the tacks into the holes and remove them. After that, I should be able to push the tacks through the skin head and into the holes with my thumb as I stretch the skin.
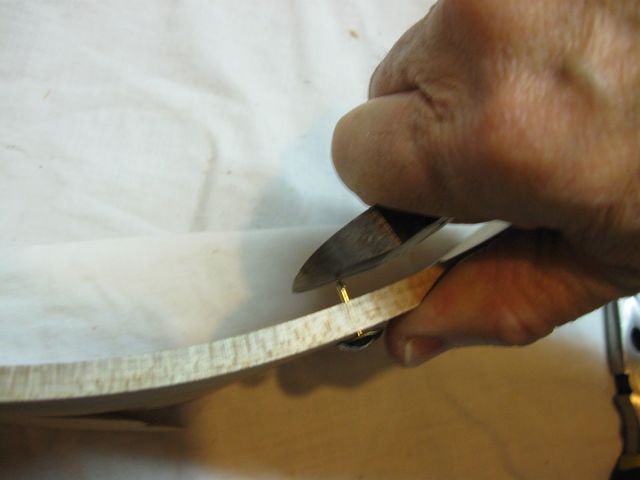
I still have that nasty point sticking out inside of the hoop. I tried to cut it off with the side cutters from the bottom of the hoop. Once the skin head is on the hoop I will not have access to the tacks from the top.
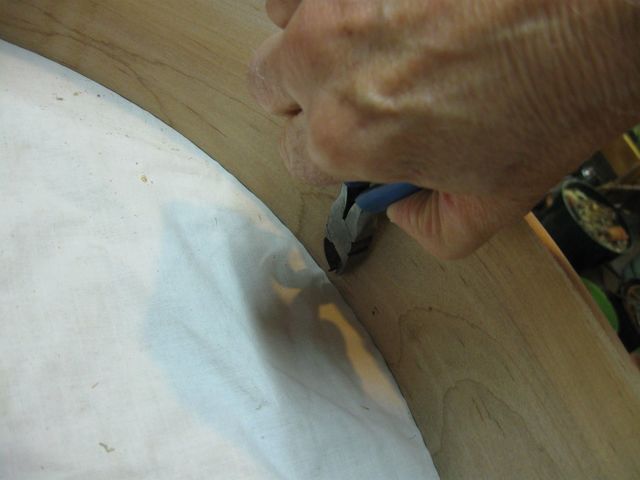
Trying to Cut Off the Sharp Point
That didn't work. I could not get enough force on it to cut the pin. I will have to figure that one out later. I ran out of time and energy.

The Sharp Tack Point Obstinately Remains
I suppose I could just leave the tacks like that. They are pretty inaccessible on the inside way up by the head. It just bothers me.....
