I have been off of this project for a while now to solve a problem that I have been having. It appears that I have developed an allergy to the wood, and I have been off puzzling out what to do about that. I developed a rash on my face, an inflamed nose, and clogged up lungs. The doctor suspects that the wood dust is causing an allergic response even though I have begun to wear a dust mask while working. He recommended putting in a dust collection system.
So I did some research about dust collection systems. Installing a dust collection system when you use power tools is not difficult at all since the systems are set up for that purpose. There are connections on the tools where you can plug in the hoses and it all just works together.
Not so much when you use hand tools.
There is no dust port on a card scraper.
So I decided to build a downdraft table to see if I can simply suck the dust into my shop vac before it gets into the air. The downdraft table is just a table with a top that is full of holes that go into a vacuum box. The dust is sucked into the box through the holes and filtered out of the air. The online examples of downdraft tables generally use a surface made of pegboard or something like that, and if you are using power sanders on it that will work fine. But I need to press down on the table to use my planes and scrapers, so I will need to build a more robust surface. I designed a box in my head and then bought some 1 inch common pine boards for the job. What could possibly go wrong with that?
Here are the boards.
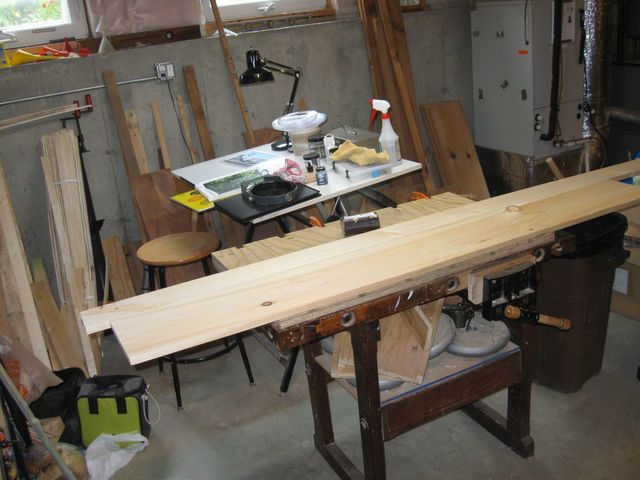
The Raw Materials for my Downdraft Table
To connect the box to my shop vac, I bought a hose adapter system.
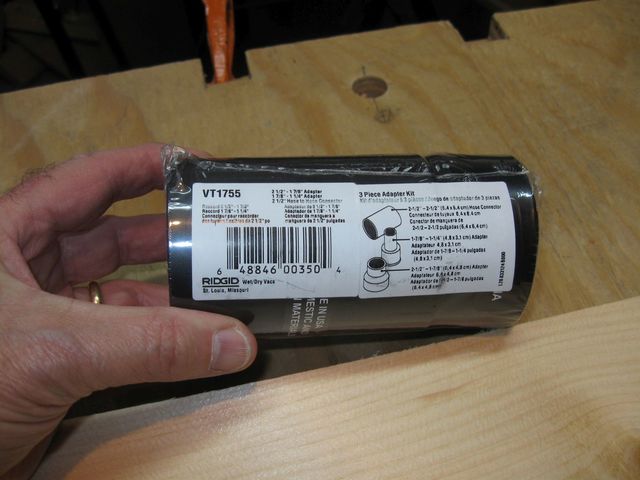
This Has Three Adapters In It
Here is the BOM and cost (in 2017 dollars).
| Item | Cost | 1X5-8FT COMMON BOARD | $8.12 |
| 1X10⁻⁶FT COMMON BOARD | $11.22 |
| RIDGID 1-7/8" TO 2-1/2" ADAPTER | $8.47 |
| SALES TAX | $1.74 |
| TOTAL | $29.55 |
So, I have about thirty bucks invested in this system so far.... and, of course, the shop vac, which I have anyway to clean up my messes. The connectors may be different for you if you have a different shop vac. Mine is the smallish one with the 1-7/8" ID hose.
The three adapters in the kit are the straight 2-1/2" to 2-1/2" hose connector, the 2-1/2" to 1-7/8" adapter, and the 1-7/8" to 1-1/4" adapter. Since my hoses are the 1-7/8" size, I will use the 1-7/8" to 1-1/4" adapter, sticking the small end of it into the box and sticking the shop vac hose into the adapter.
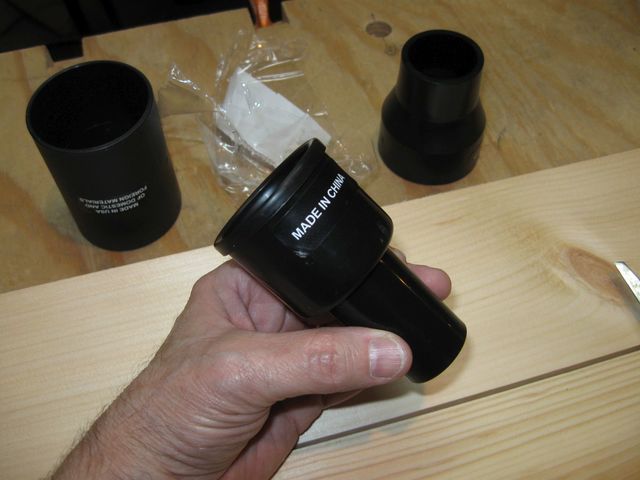
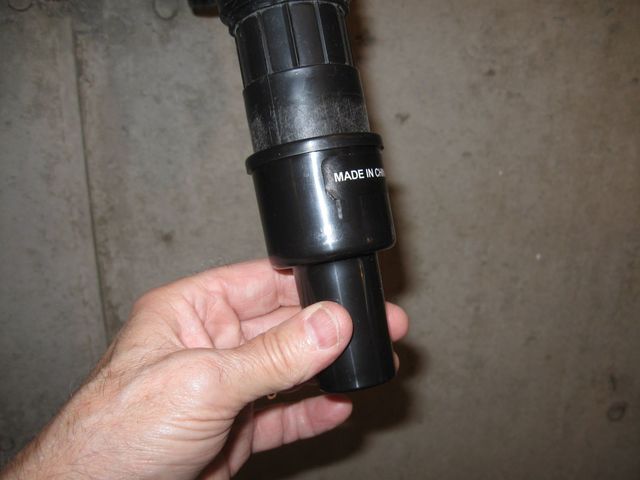
This Is the One I Will Use
I am guessing that this might be made in China.
So the end of my hose will go into this wide end of the adapter.
This Is the Widest Part
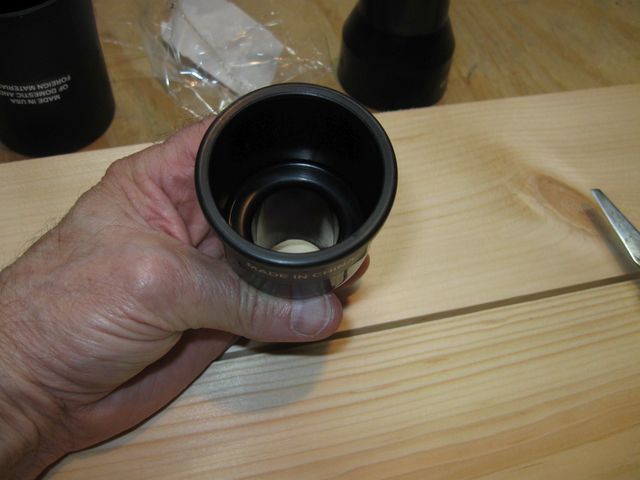
If I bury the whole thing into the box, the hole I drill will have to be less than 2" across.
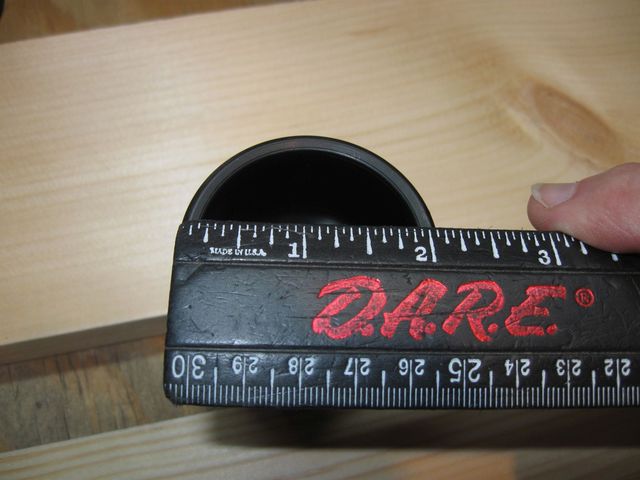
The Outside Diameter is About 2"
It does fit my hose just fine.
The Adapter Goes On the Hose Like This
The wider board, the 1 X 10 board, will be used for the top and the bottom of the box. The box will be 3 feet long, so I will get both of those parts out of the 6 foot board. I marked off 36".
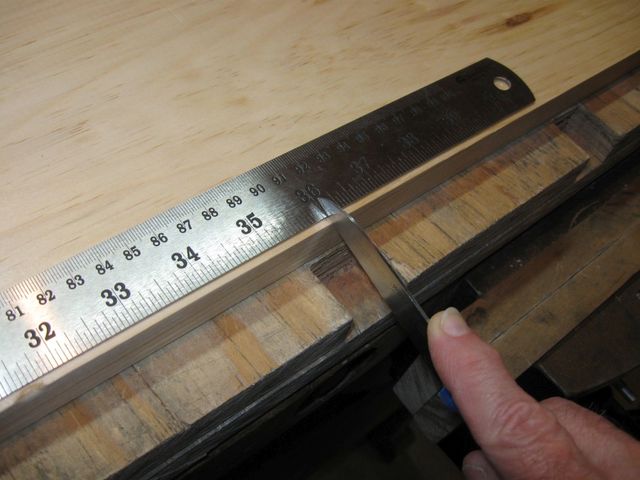
Marking Off 36"
I won't bore you with the rest of the measuring and marking and cutting. All of the parts came out of the two boards. Here is the list.
| Count | Nominal Size | Actual Size |
| 2 | 36" X 10" x 1" | 36" X 9 3/16" X 3/4" |
| 2 | 36" X 5" X 1" | 36" X 4 1/2" X 3/4" |
| 2 | 12" x 5" x 1" | 10 11/16" X 4 1/2" X 3/4" |
Don't get me started on the screwy way that lumber is sized. In short, a 1 X 10 board is not 1" by 10".... it is 3/4" by 9 3/16"... it isn't 9 1/2"... and it isn't even 9 1/4" anymore..... they have scraped off yet another 1/6" from the actual size, making it only 9 3/16" wide. It is just like the "pound" of coffee now that has 12 ounces in it. My major complaint is not so much the shorting of the material but that it complicates the measurements and calculations that I have to do when designing projects.
I plan on butt joining and screwing the sides onto the bottom piece so that the bottom piece is completely encased inside of the sides. By building the box that way, instead of screwing the sides down to the top of the bottom piece, I will maximize the width of the box at 9 3/16", sacrificing 1 1/2" of depth. If I put the edges on top of the bottom piece, I would get the maximum depth of 4 1/2" but the width of the box would be reduced by 1 1/2" to 7 11/16". I would rather have the additional width and give up the height.
I dry fit the pieces to see what it will look like.
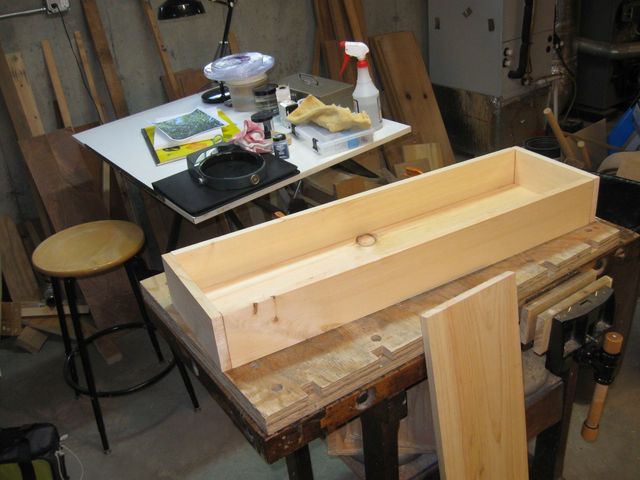
This Is What the Box Will Look Like
The top board is leaning against the bench. I will have to perforate that board with some holes to make this work.
The other recommendation given to me by my Dr. was to install a HEPA filter in the basement to capture all of those other allergens like regular dust, pollen, and mold spores. So I researched HEPA filters as well. It turns out that they are rather expensive. A HEPA filter that would clean out my basement would cost me upwards of $800, and the disposable filters themselves cost $200 to $300 each. Yikes! Talk about Sticker Shock!
But as I searched, I found an alternative to the HEPA filter that costs about 30 bucks and does 90% of the same job. It consists of putting together a cheap box fan and a regular MERV filter. The MERV filter is not as efficient as the HEPA, but it is 20 times cheaper. Here are the parts that I got from the Big Box Home Improvement Store.
| Component | Cost |
| Lasko 20" Box Fan | $16.96 |
| Honeywell FPR 7 (MERV 11) 20" x 20" Pleated Air Filter | $11.97 |
| Sales Tax | $1.81 |
| Total | $30.47 |
The FPR (Filter Performance Rating) is a Home Depot® rating. It is roughly equivalent to a MERV (Minimum Efficiency Reporting Value) 11. It is supposed to filter out the following items:
- Lint
- Household Dust
- Pollen
- Dust Mites Debris
- Mold Spores
- Pet Dander
- Smoke
- Smog
- Cough/Sneeze
I think that should take care of anything down in my basement that is making me swell up. I also bought some FPR 4 filters (MERV 8), which were only $8.97 for a 3-pack. That is only $2.99 per filter. The MERV 8 filters will filter out everything that the MERV 11 does except the Pet Dander, Smoke, Smog, and Sneezes. We don't have any pets, and if there is smoke and smog in my basement I have a bigger problem than some allergies. Also, after I filter the air, the sneezes should go away.
According to the University of Michigan study, this home-grown fan filter will remove 90% of the particles that will be removed by the HEPA filter. The demonstration is at the following link:
http://www.uofmhealth.org/News/sinus-hepa-0630
Your cost might differ, but probably not by much. I figure that I saved about $1,000 with this setup. Here is the fan.
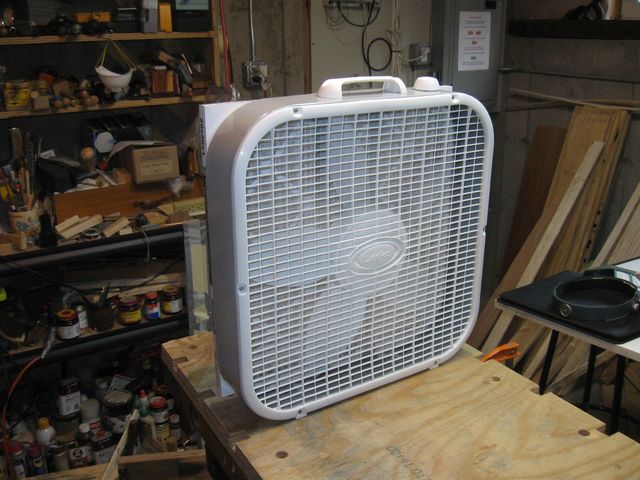
The Fan is Running, Even Though the Camera Has Stopped the Blades
The filter goes on the back of the fan like this:
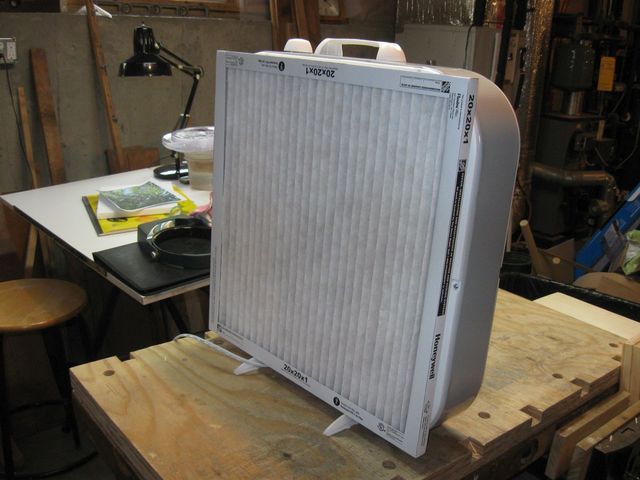
The Filter Sticks to the Fan
There is no construction to do. You just start the fan, and put the filter on the back of it, and the suction holds the filter in place. Don't bother building a complicated box for this.
Here is the filter type that I bought.
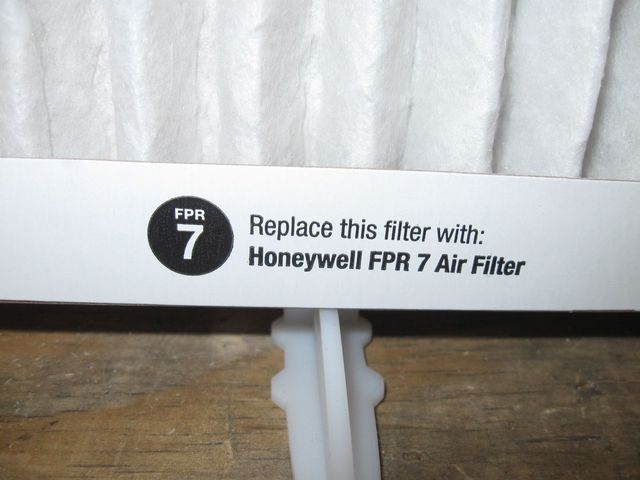
FPR 7 is equivalent to MERV 11
You do have to put the filter on in the correct orientation. The proper flow direction is indicated by an arrow.
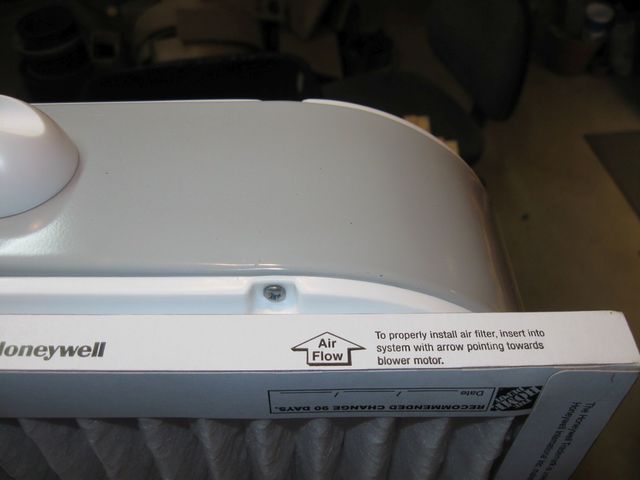
Make Sure the Flow Is Going Through the Filter Properly
That is all I did today. I will complete this downdraft box before I do any more work on the dulcimer. Stay tuned.
