Last time, I figured out how I could make a handle for my large triangular file, so that the file won't be quite so crooked in the handle. This time, I made a handle.
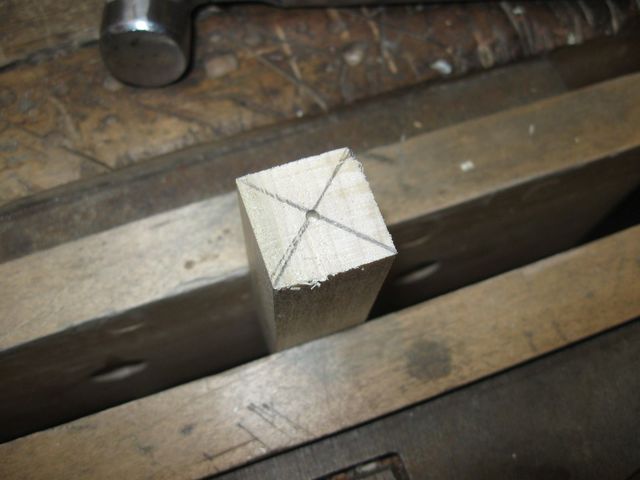
I left the blank square while I drilled the hole. That makes it easier to clamp the blank for drilling. First, I marked the center of the blank.

Punch The Center of the Blank for Drilling
I made a significant dent in the wood in the hopes that it would guide the drill bit.
The Hole is Centered
Because the tang of the file is tapered, I set out a range of drill bits and marked them with flags. I will drill less deep with each succeeding bit. That should create a stepped hole with increasing diameter that should fit the tapered tang approximately.
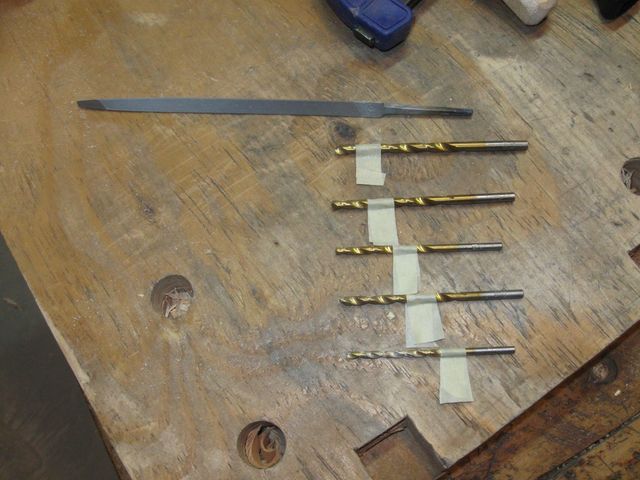
Each Bit Goes In Less Deep
I clamped the blank and the jig in the vise and then clamped the Portalign® on top of it with the drill bit centered over the punched hole. Then, I applied each of the bits successively to the hole, drilling only up to the flag on each bit.
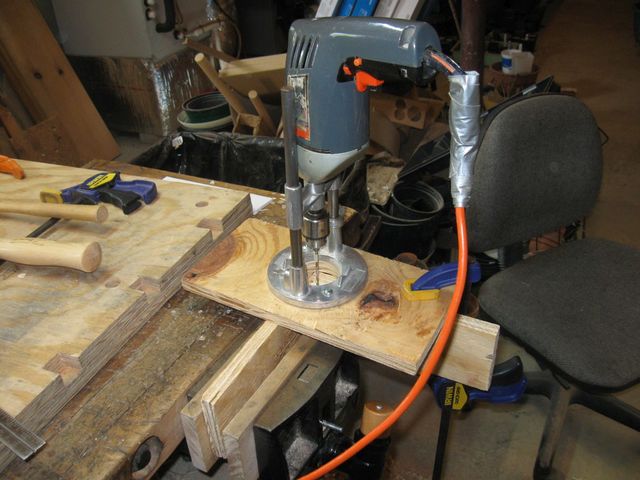
Clamped for Drilling
After I drilled out the hole, I noticed this problem.
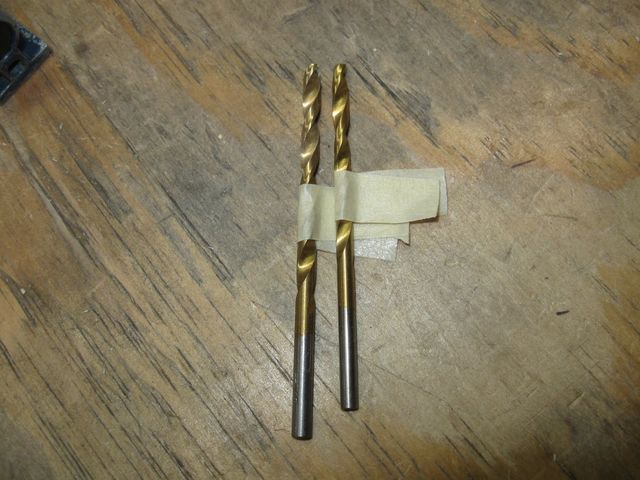
The Drill Bits Are Swapped
I had swapped two of the bits when I put on the flags. The larger bit on the left should have the flag closer to the point, and the smaller bit should have the flag farther from the point. Oops. So I ended up drilling out the larger hole too far.
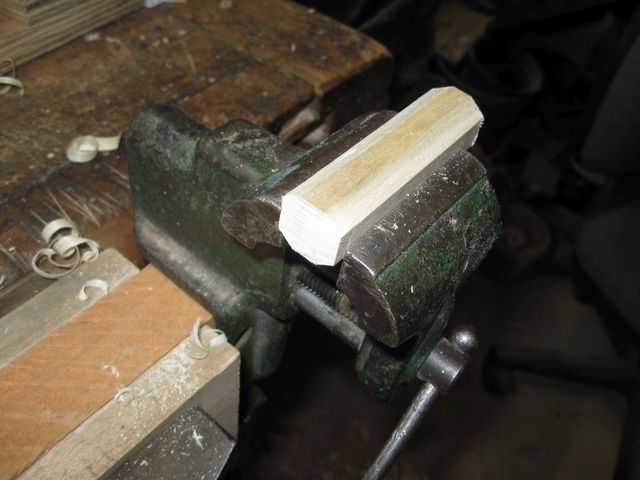
But the blank still seems to hold the file OK. And it looks pretty straight as well.
This Looks Pretty Good
Next, I needed to shape the handle. I decided to make it Octagonal shaped rather than just camfering the corners like I did last time, so I got out my Stanley flat bottom spokeshave to hog out the wood. The Stanley takes a bigger bite out of the wood than the Lie Nielsen does.

This Is My Stanley Spokeshave
Here is the handle with the corners cut off to make the octagonal shape.
This Happened Pretty Fast Using the Stanley Spokeshave
I finished it up and rounded the end using the Lie Nielsen spokeshave, which takes a finer shaving.
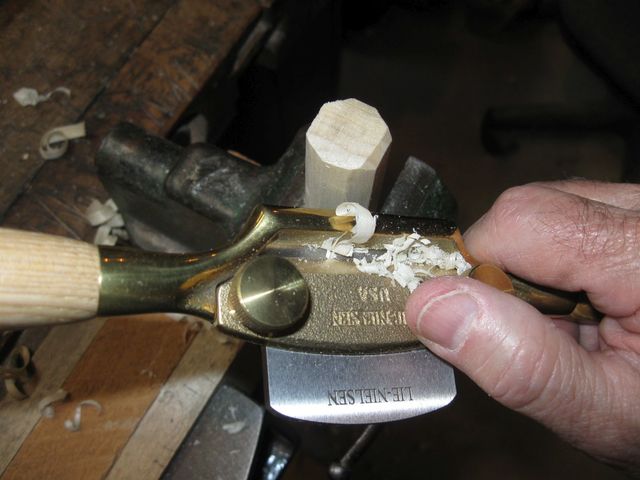
This Leaves a Very Nice Surface
Then I rounded off the end of the handle a bit using a shoe rasp.
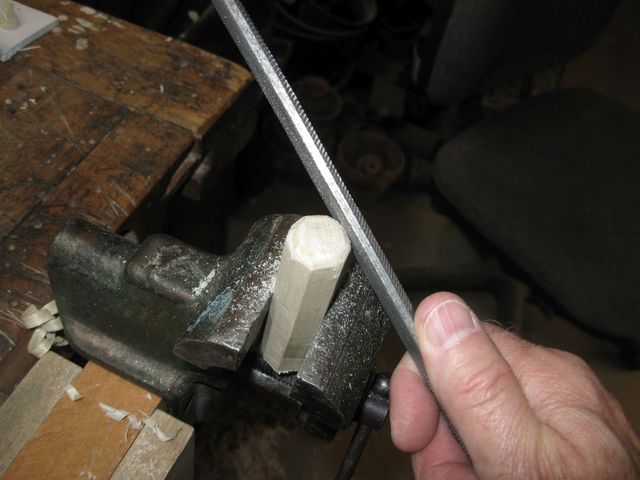
I Did Not Spend Much Time Using the Shoe Rasp
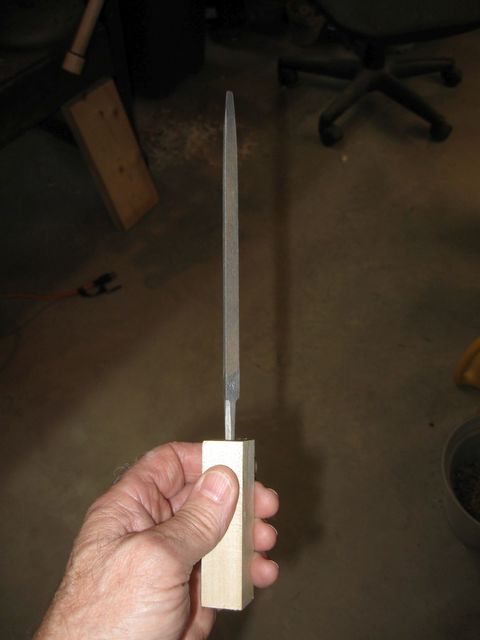
Here is my new handle with the file installed sitting next to the small 5" file and the store-bought handle.
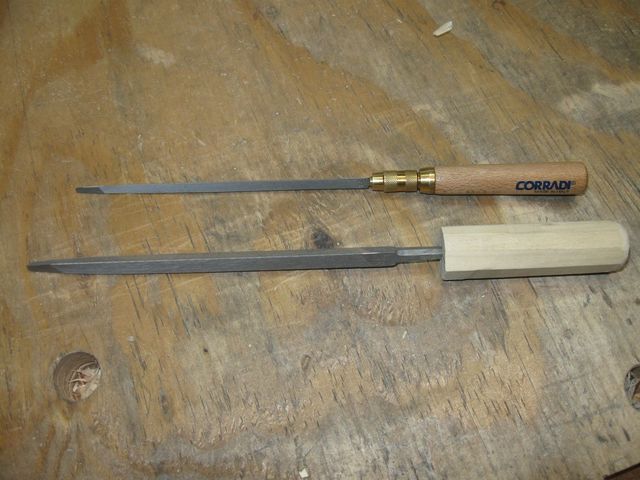
Both Look Pretty Straight to Me
The old, crooked handle goes into the trash.
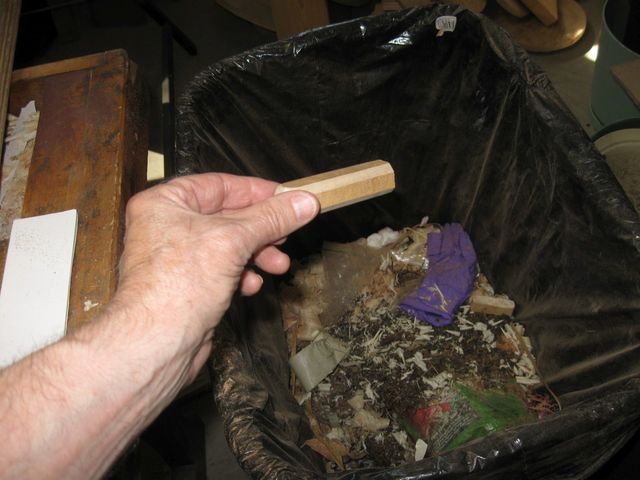
There Is No Point in Keeping This Around Anymore
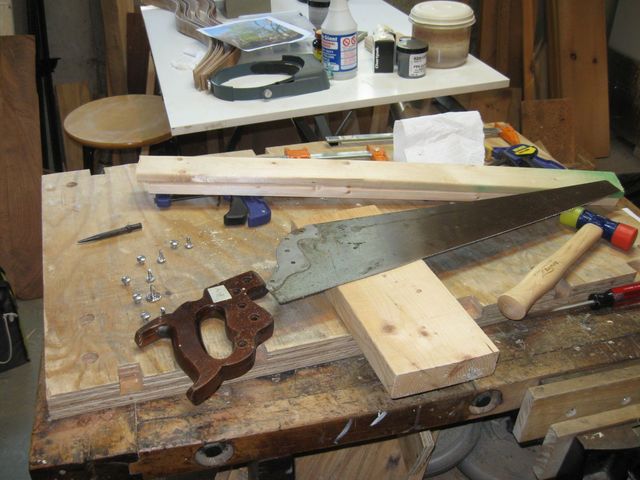
So, lets try it out on some saws. I need to sharpen a couple of my saws before I dive into cutting parts out for the dulcimer. I sharpened a 12 TPI crosscut saw and a 7 TPI rip saw. I started with the 12 TPI crosscut saw.
In order to do a better job on this saw, I took the handle off and made a longer jig to hold the saw. It is difficult to see in the photo, but the saw is about 26" long. Since this saw has 12 teeth per inch, which is about the same as my back saw, I used the smaller 5" file on it.

The Blade is About 26" Long
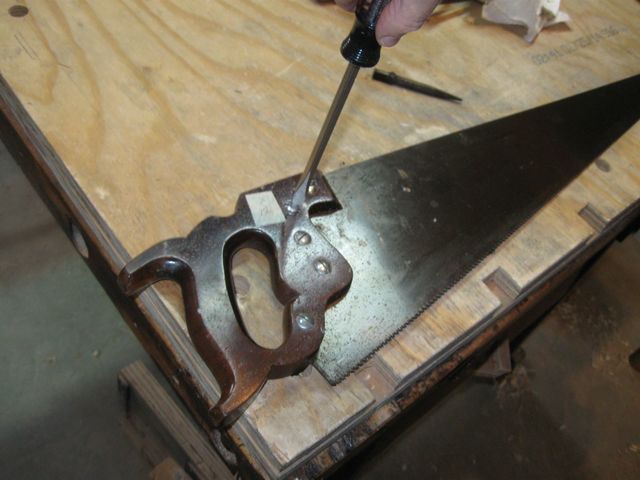
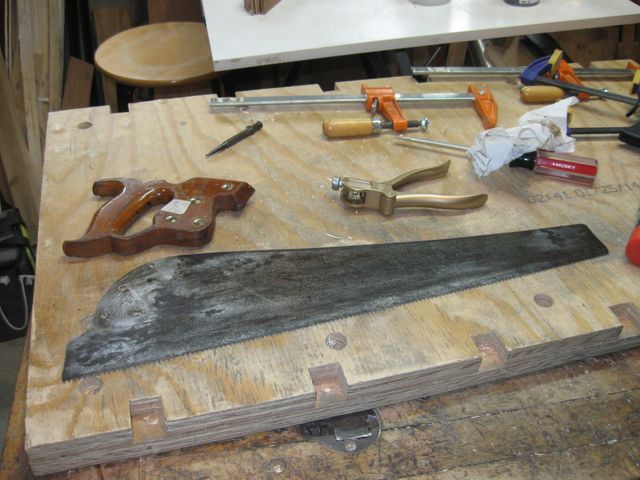
Here is the saw with the handle removed.
I Had to Tap Out Some of the Bolts Using the Nail Set
I cut two pieces of plaster lath to 26" and clamped the blade between them for sharpening.
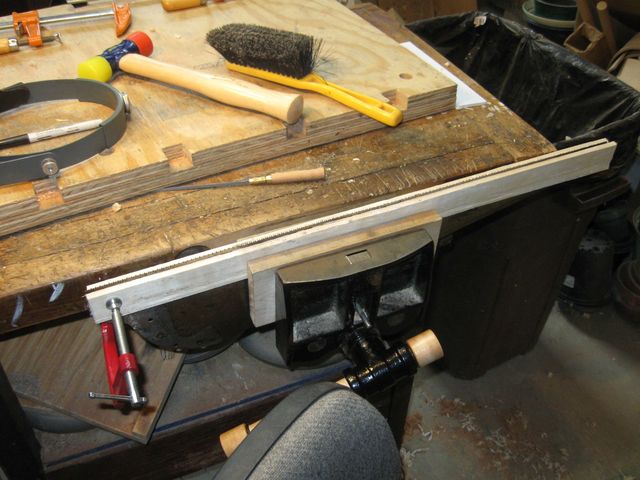
The C Clamp Helps at the End of the Blade
In the photo below you can see that the teeth on the right side are bright and newly sharpened. The teeth on the left are yet to be sharpened. Sharpening this blade took a while since it has small teeth and is 26" long. At 12 TPI, that is 312 teeth.
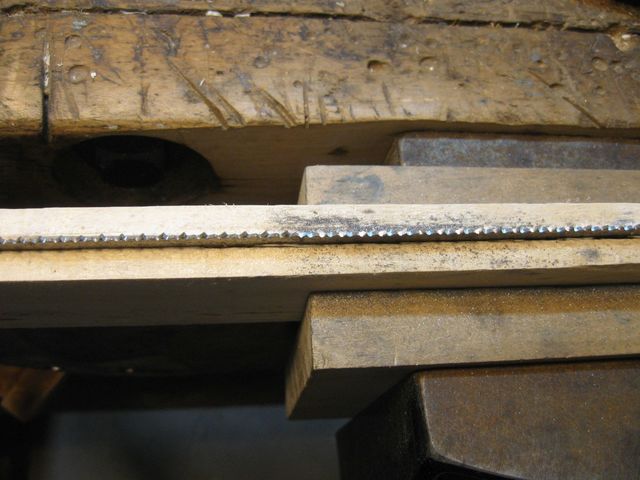
Half Way Down the Blade
I did this differently this time. Instead of sharpening all of the teeth with the file in one direction, and then going back over the entire saw with the file in the other direction, I swapped directions at each tooth and did only one pass down the saw. I felt that doing it all in one pass allowed me to sculpt each tooth better, and once I was done, I did not have to go start over again.... I was done.
That appeared to work well. I put the handle back on the saw.
Putting the Handle Back On the Saw
The saw seems to cut well.
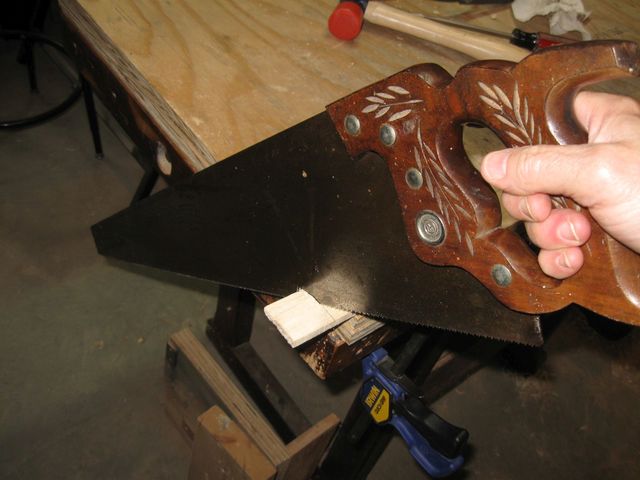
I Tried it Out On Some Scrap
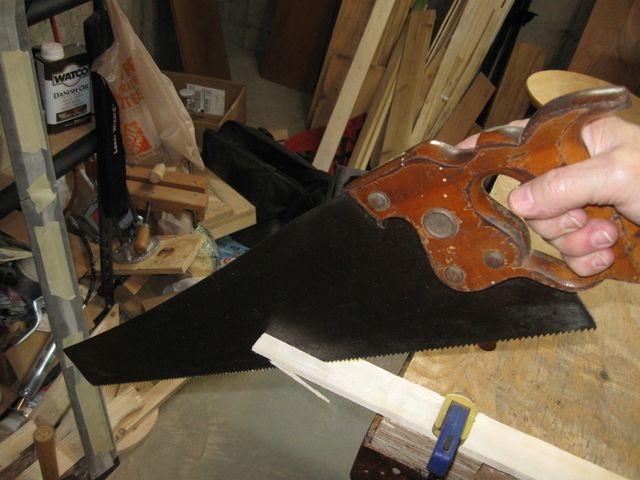
Next, I moved on to my 7 TPI rip saw. For this one, I used my larger 6" file now mounted in my new handle. This is the saw that I used to rip all of that oak for my practice side bending, so it can use a good sharpening now.
The 7 TPI Rip Saw
I Removed the Handle Again
I didn't take a lot of photos, but the process was pretty much the same. The file worked fine, and the handle made it a lot more comfortable compared to sharpening with the plain tang against my hand. After I got done, I tried the saw out on some of the scrap wood.
The Saw Works Nicely Again
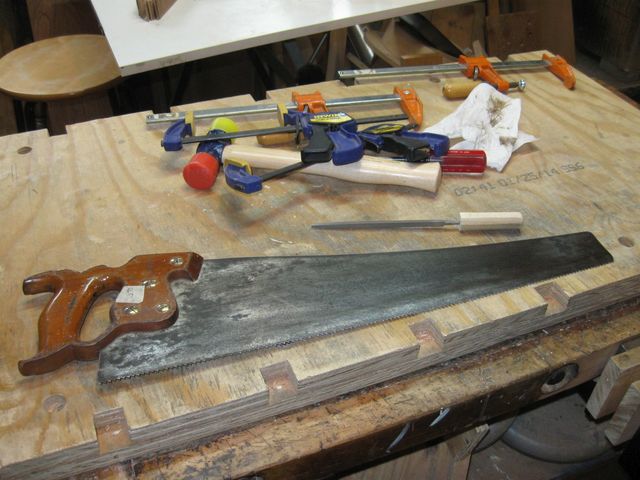
Now all of my saws are sharp, so I should be good to go for cutting out the other parts of the dulcimer. That will have to wait until next time.
