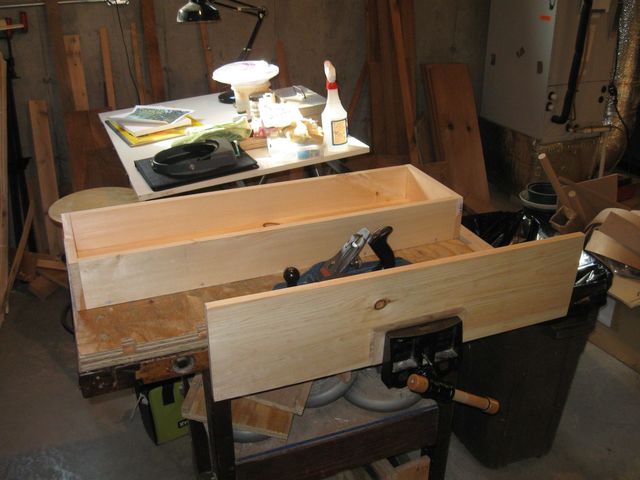
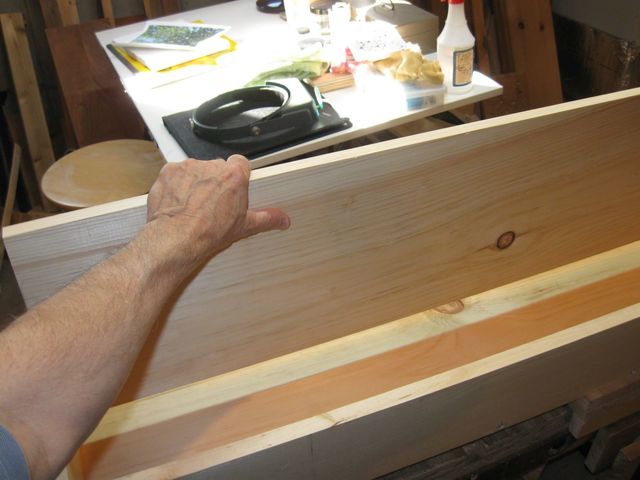
Last time, I left the downdraft table with the top fitting just a tad too tight. To loosen it up I took some very fine shavings off the ends and the sides of the top. I clamped the top in the vise and set up the plane.
The Top is Ready For the Plane
I am getting pretty good at setting up the plane for fine cuts. Here is a very thin shaving that I took off the edge of the top.
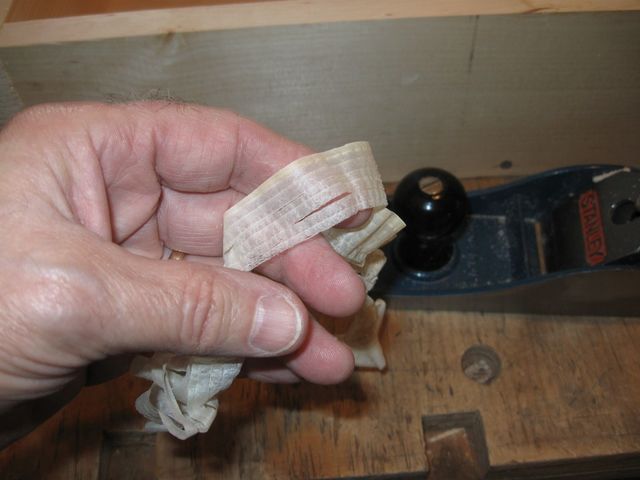
A Very Nice, Thin Shaving
Seriously, it looks good, look..... the shaving is transparent.
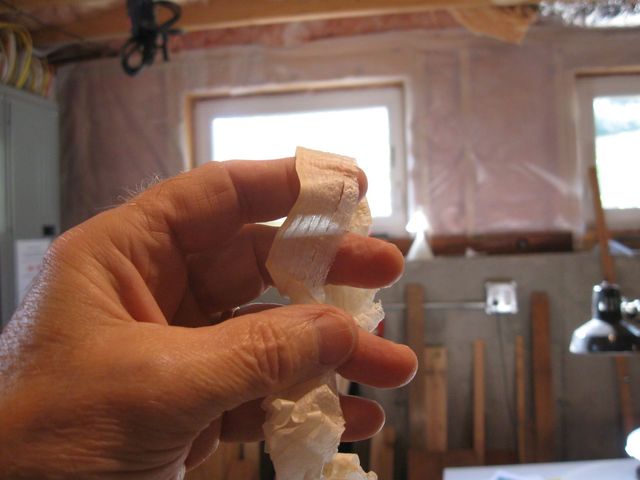
Holding It Up to the Light to Gloat
It took me way too many years of practice to learn how to do that. They make it look so easy in the Youtube® tutorials.
Enough bragging. Back to work.
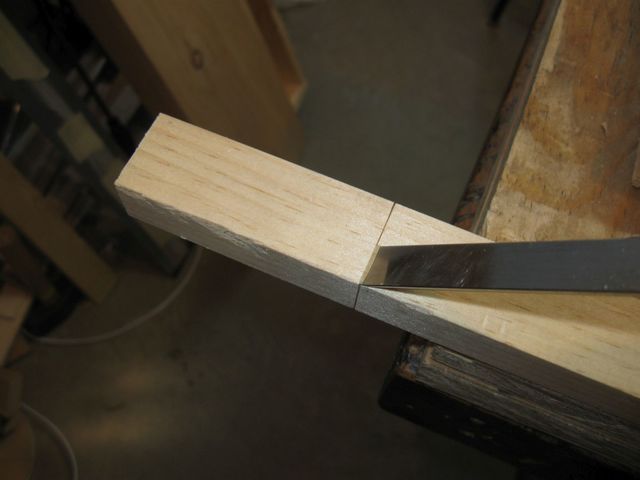
To remove a bit from the ends, I shot them using my shooting board. That allows me to square the ends at the same time that I am reducing the length of the board ever so slightly.
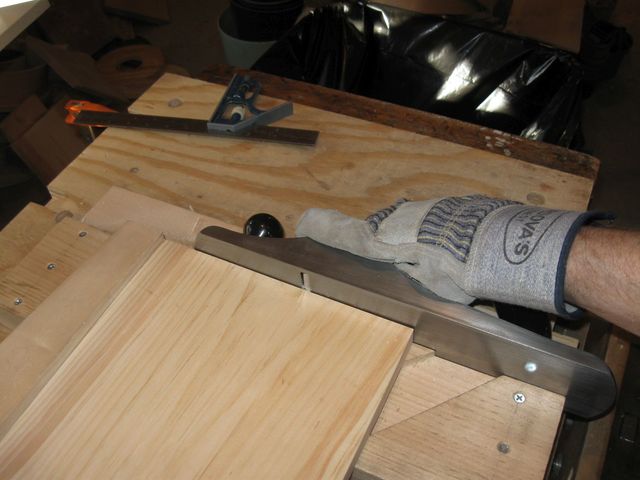
Shooting the Board in the Shooting Board
I removed some wood, then tested, then removed a little more wood and tested..... rinse and repeat.
Testing the Fit
So the final length of the board was set by feel. How loose do I want it in the box. Trial and error. "Cut to fit".
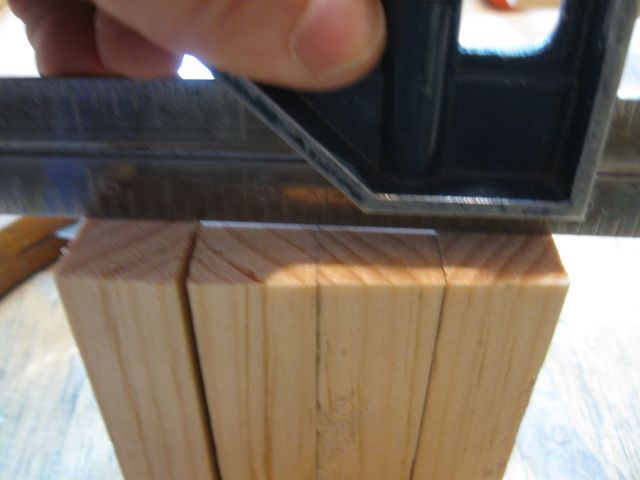
As I was shooting the ends of the board, I noticed that my plane iron needs to be sharpened.
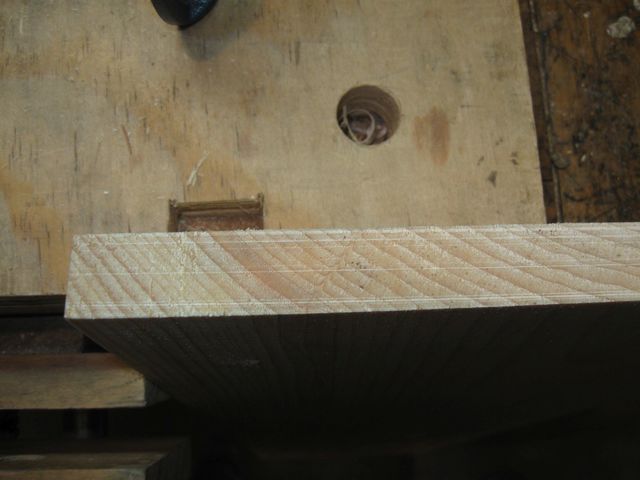
The Iron Leaves Lines in the Wood
The lines are from nicks in the edge of the plane iron. That is a very obvious indication that the blade is dull.
Later. I want to get this done.
The plan is to make four standoffs and put one in each corner. The top will then drop down into the box and sit on the standoffs so that it is exactly even with the edges of the box. So I need to make four standoffs that are all exactly the same height for the top to sit on. The question is how long to make them.
The sides of the box are made from a 5" board, which is actually 4 1/2" wide, and they are screwed to the outside edge of the bottom, which is 3/4" thick. That leaves 3 3/4" of the side above the level of the bottom. I need to make the standoffs long enough to allow the 3/4" top to settle exactly even with the edges. So I had to subtract another 3/4" from the length of the standoffs, and that leaves me with 3". I measured 3" on some scrap pine I had lying around.
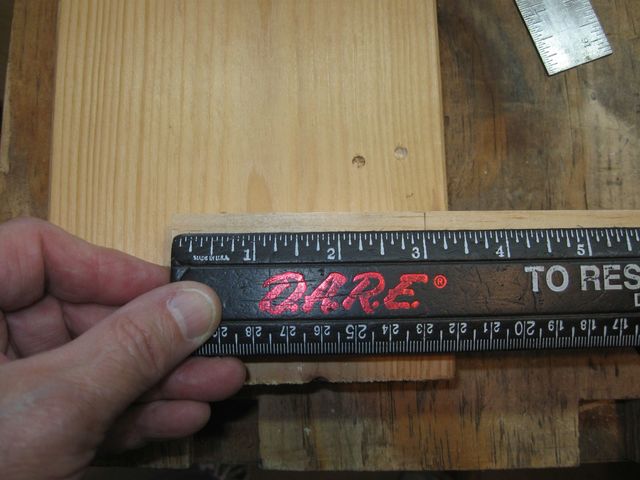
Each Standoff Must Be 3" Tall
Mark it; cut it; shoot it square on the shooting board.
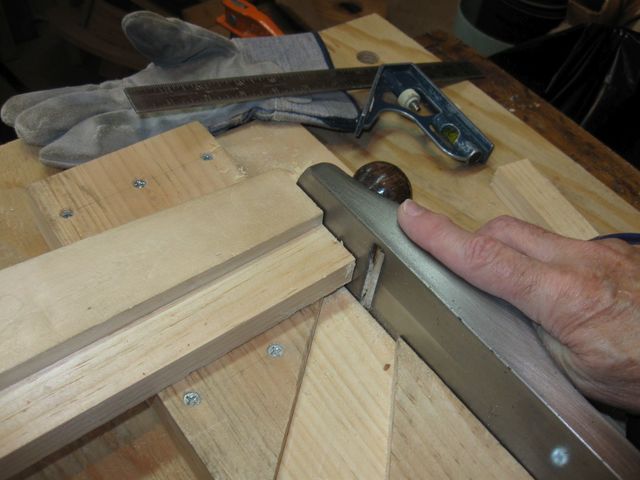
The Ends Need to be Square
To cut them accurately, I marked the length with a knife, and then cut a saw channel using a chisel.
The Channel Eases Starting the Saw
Here are the four standoffs, cut to length and shot square. You can see by the lines on the endgrain that I still have not sharpened that plane iron. Lazy.

The Four Standoffs
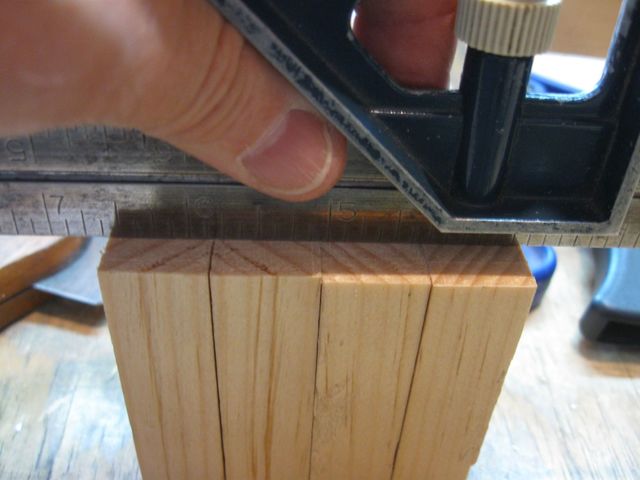
I need to make these parts exactly the same length so that the board will not wobble when I press down on it. You can see in the photo below that some of the pieces are slightly shorter than others.
The Parts in the Middle are Shorter
Once again, the answer it to cut and measure. I took a little more wood off the long parts on the shooting board, and then tested them using the try square.
Finally, All the Parts Are the Same Length
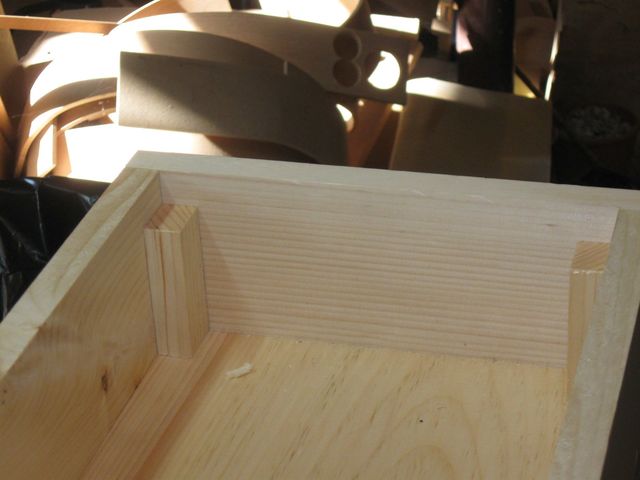
I stood up the standoffs, one in each corner, where they will be screwed in place.
Two of the Standoffs In Place
Here is a closeup of the other end.
The Other End
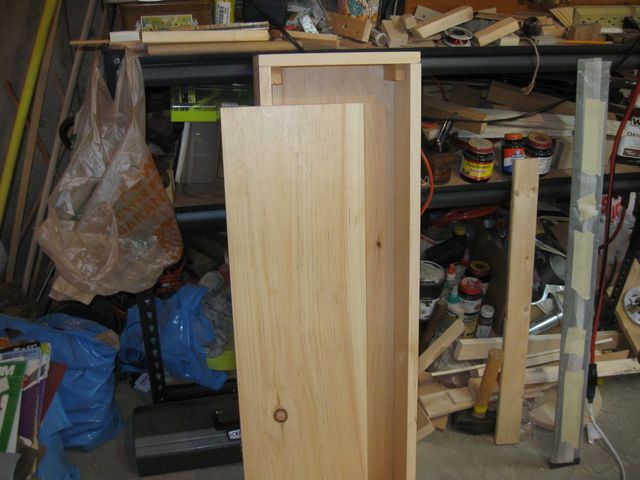
Testing for proper length, I dropped one end of the top into the box.
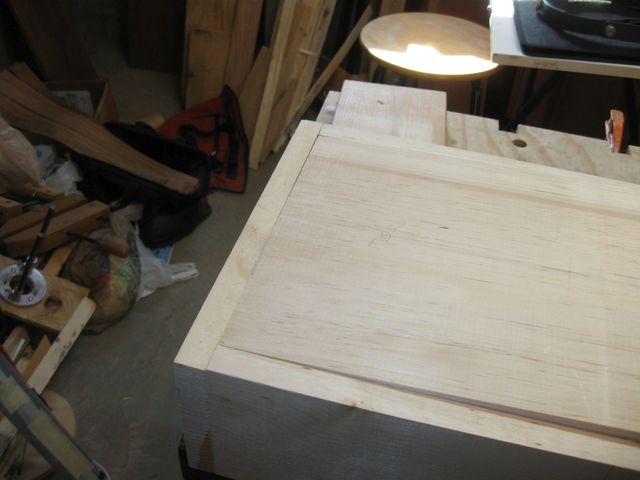
This End Looks Good
Then, I dropped the other end of the top into the other end of the box.
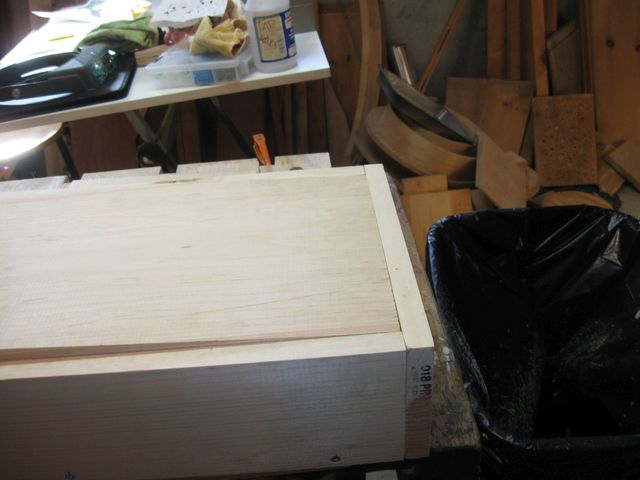
That End Looks Good Too
Since the standoffs work fine as they are, I marked all of them so that I can guarantee that I get them back into their proper places and orientations when I screw them in. I marked each one with a number of lines on both the standoff and the box side.
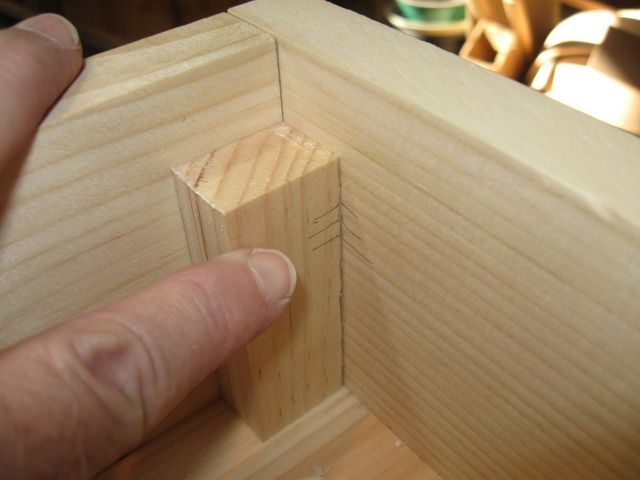
This is Standoff Number III
I clamped each one into place so that I can drill the screw holes with them in the correct location.
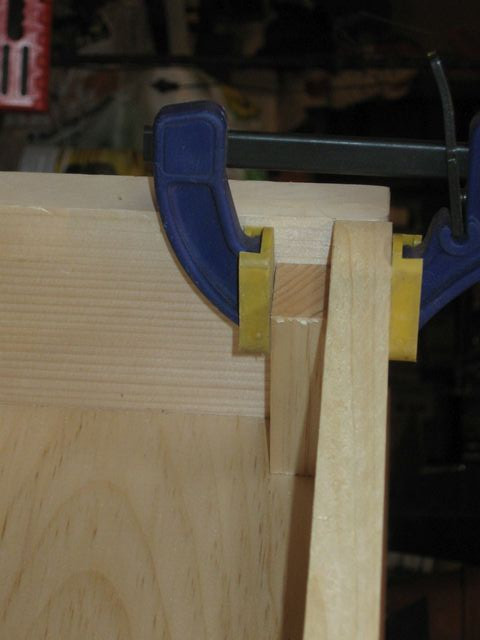
This One is Ready to Go
I turned the box over and marked where the screws will go to secure the standoff.
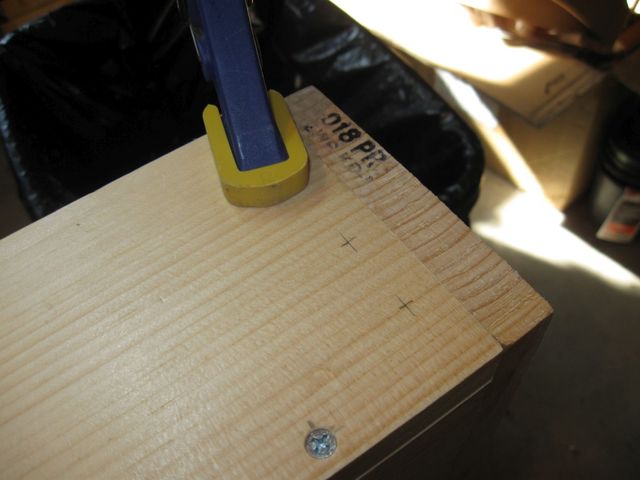
The Screw Holes Go on the X's
Oops. I made a small error when laying out where the screws go. Here is the screw that is holding the box together.
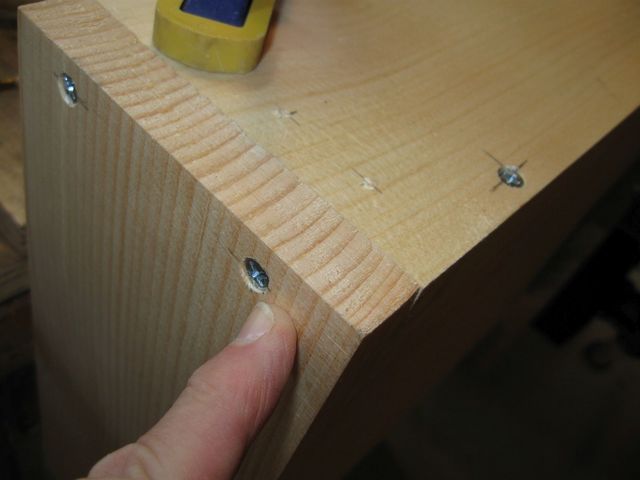
That Screw Holds the Box Together
And this is where I was trying to drill the other screw hole, right on top of the other screw. As you might have guessed, I found that drilling this hole was more difficult than I had anticipated.
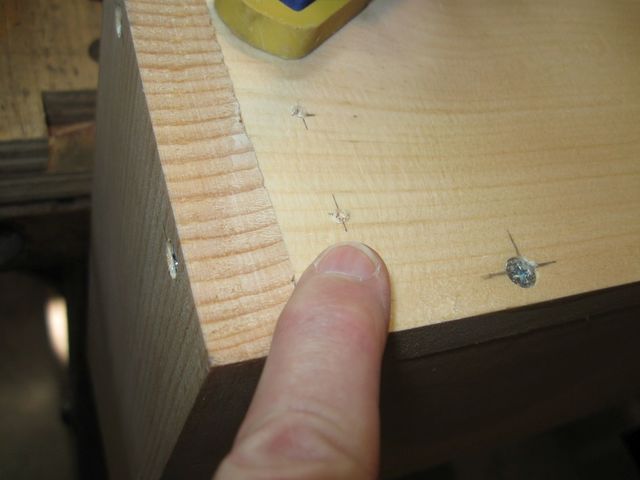
This Is Not the Place To Put Another Hole
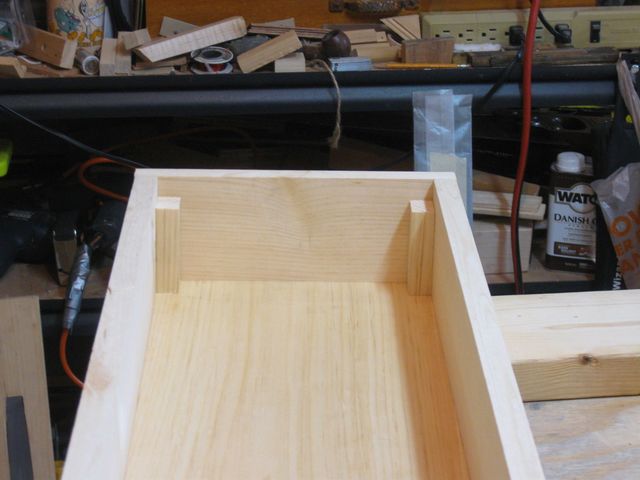
Ah well. I moved the screws for the standoffs to locations where they will not interfere with the screws that are already in place and screwed them all in. Here is the box with the standoffs in it.
The Box Is Ready for the Top
It doesn't look like I did much today, but it did require some careful measurement and cutting to get this part right. Now I need to go find that plane iron and take the nicks out of the edge.
