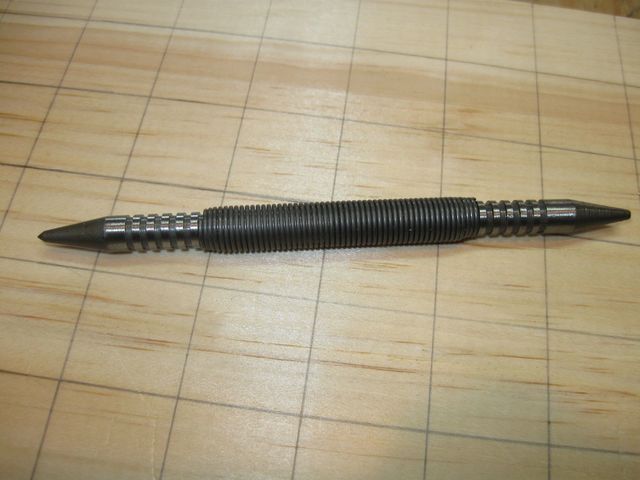
The final steps in this downflow table project were to perforate the top with holes and make a hole for connection to the shop vac. The perforation was fairly tedious. People who build downdraft tables just use pegboard because the hundreds of holes are pre-drilled. I could not use pegboard because it would not stand up to the force I need to apply when planing and scraping with my hand tools. So here I go....
Here is the top, propped up on a sacrificial board for drilling the holes.
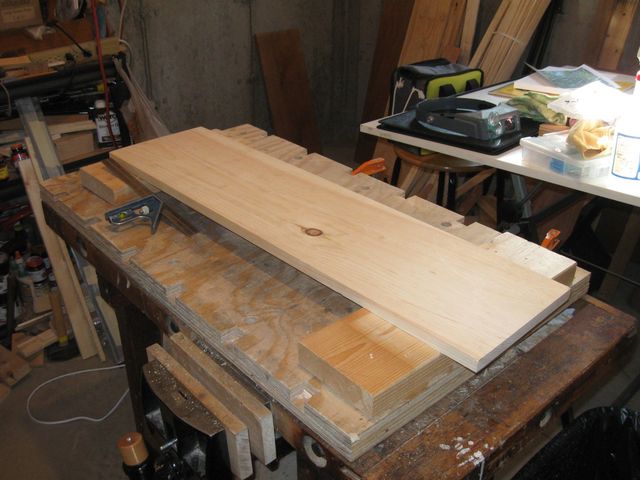
The Top is Ready To Get Perforated
Pegboard has 1/4" holes that are spaced at one inch on-center. I decided to drill 1/2" holes instead because my top board is 3/4" thick, and a 1/4" hole might be too restrictive for the air flow. I stuck with the one inch on-center spacing.
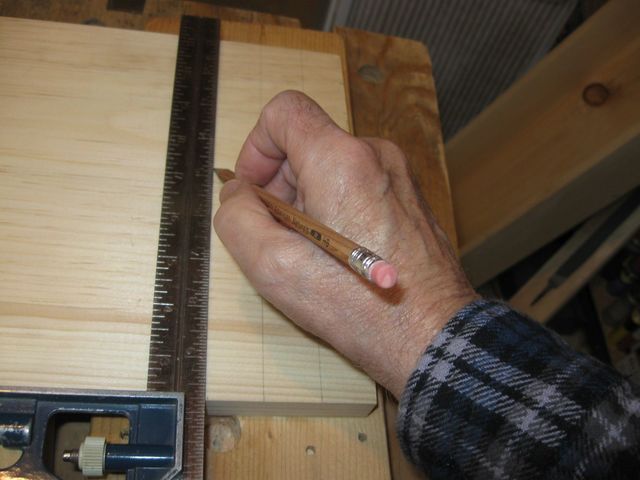
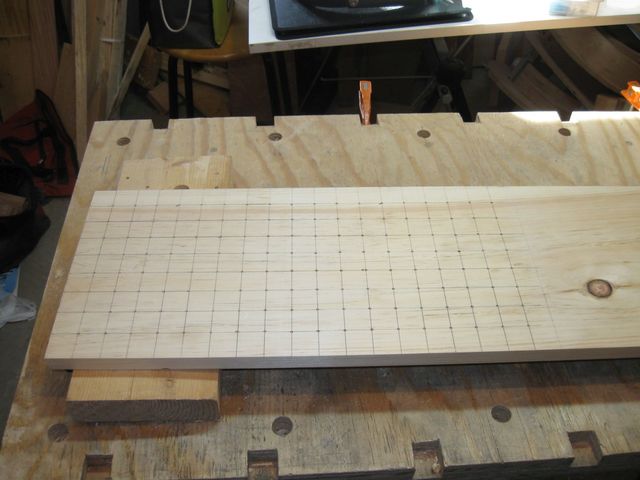
I Drew a One Inch Grid on the Top
I did not have to perforate the entire top. When I am planing and scraping, I clamp the board on the right end and apply the tool to the left end. I do that because that way I am always pulling on the thin boards. When I try to plane or scrape from the end on the right, with a stop or a clamp on the left side of the table, I am pushing the board into the clamp, and the thin boards tend to buckle. So I always make sure that I have the clamp on the right side so that the force is pulling the board away from the clamp and stretching the thin boards flat.
There is no point in having holes on the end where I cannot apply the tools.... because the clamp is in the way.
Also, if I perforate only half of the board, then all of the air flow will be going through the important holes and not through holes that are doing me no good at the tail end of the board. That should double the air flow where I need it the most.
The result is that I only need to perforate half of the top since that is always where the action is. If it turns out that this does not work well, I can always come back and add more holes. Taking out holes that I do not want would be more difficult.
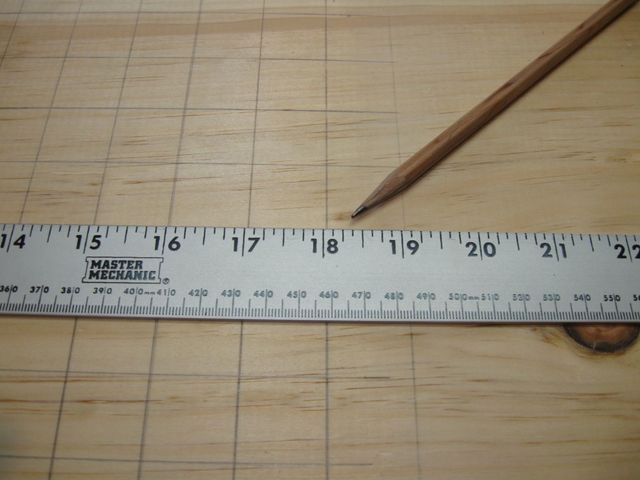
I drew a grid of lines one inch apart for 18" of the board.
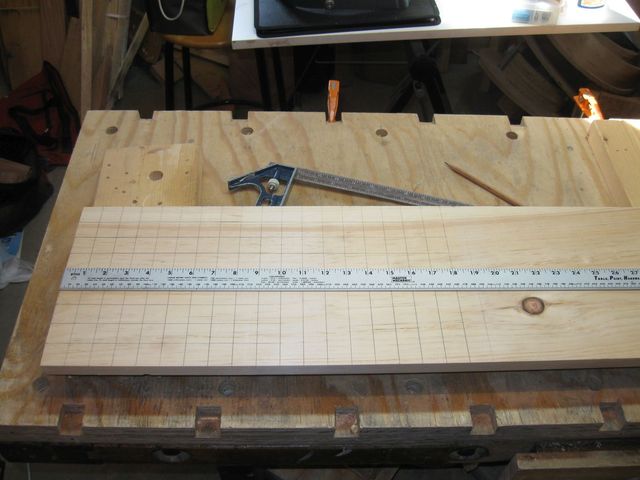
The Grid Where the Holes Go
I took the grid one inch past the 18" line so that there is a clear X where the last row of holes goes.
The Last X is on the 18" Line
There will be 8 holes across the board and 18 down the length of the board, which results in 144 holes to drill. I marked each location for a hole using a center punch that I found at a rummage sale. Here is a photo.
The Middle Of This Punch is a Spring
Each end is connected to one end of the spring, and serves a different purpose. One end is a nail set.
This End is Used To Set Finishing Nails
The other end has a center punch on it.
This End is Used to Center Punch Locations for Drilling
The theory is that this punch is more accurate because you don't have to use a hammer. You locate the punch on the wood like this.
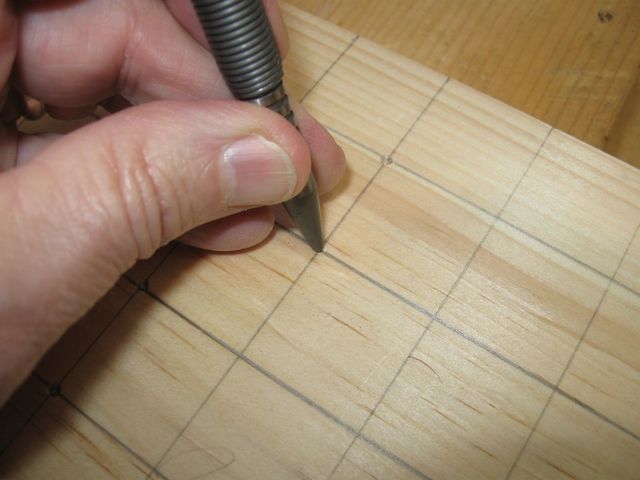
Place the Center Punch on the Mark
Then, you lift up the other end of the punch against the spring and let it go.
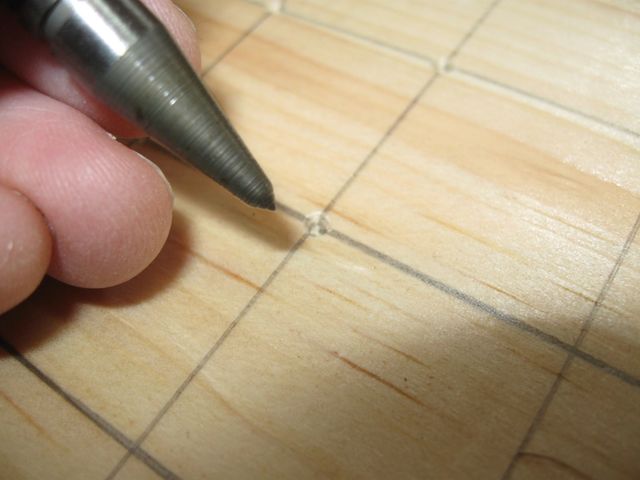
The Punch Dents the Wood at the Mark
The other end of the punch is the "hammer". I am not convinced that it is any more accurate than a normal punch, but it seemed to make the work go more quickly. Here is the top with all 144 holes center punched for the drill.
The Punched Top
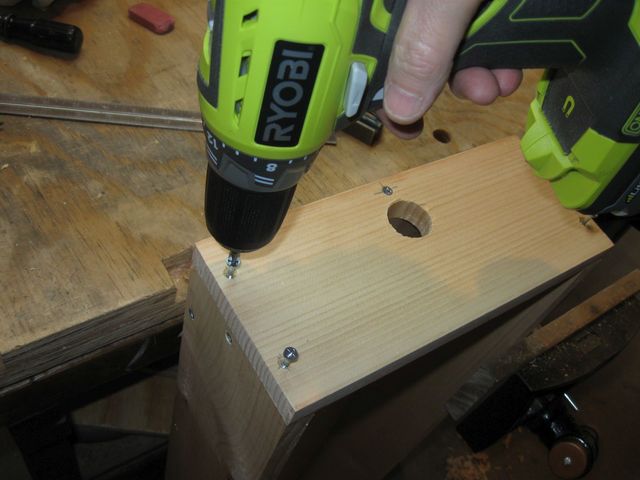
I put aside the perforation task for a while so that I could drill a hole for the vacuum fitting. I decided to put the hole in the left hand end of the box at the bottom of the end piece. To make sure that I located the hole properly, I drew a line along the bottom of the box.
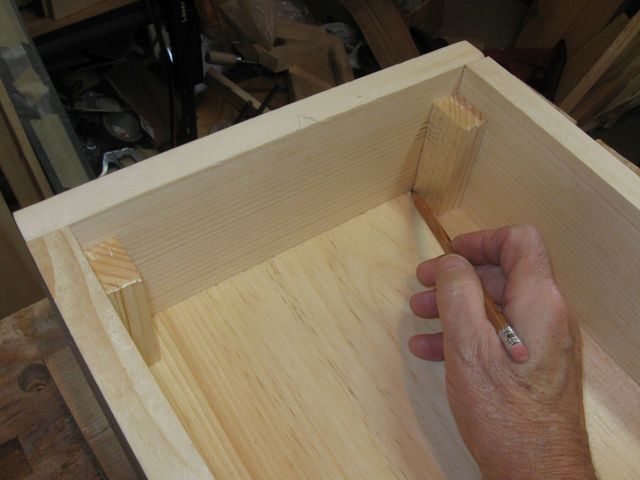
Drawing a Line Along the Bottom of the Box
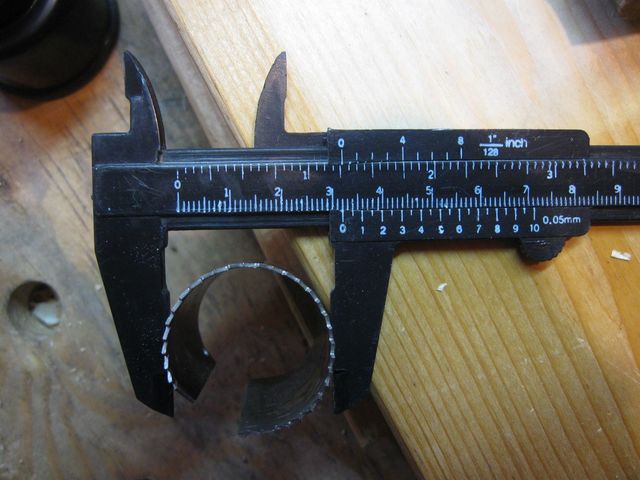
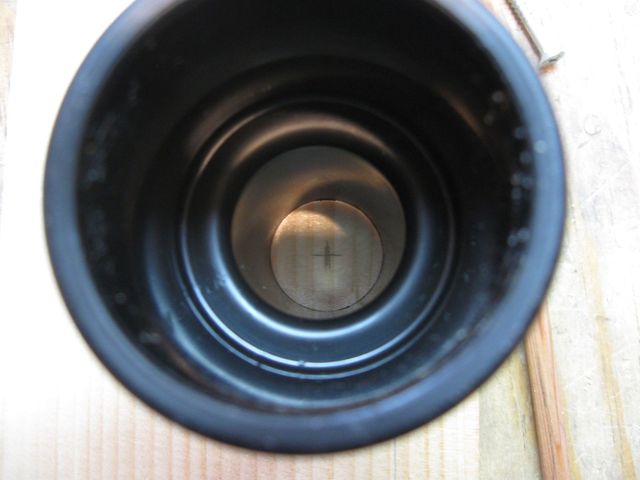
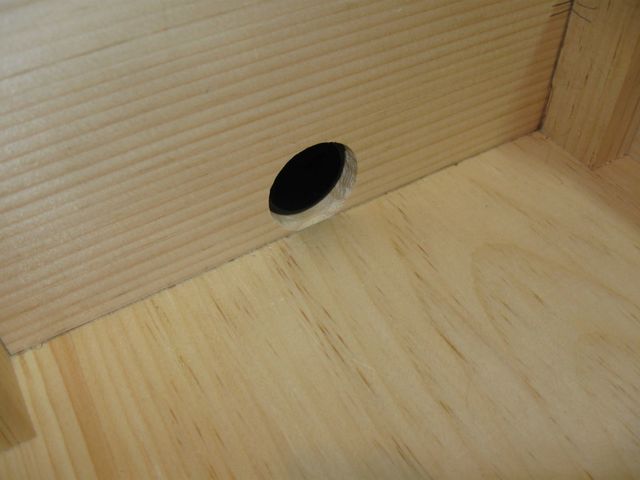
I needed to make the hole the proper size for the pipe fitting so that I can make it seal with a friction fit. The small end of the adapter will go into the hole. That small end is tapered slightly. At the farthest end of the adapter, the diameter is just over 1 3/16".
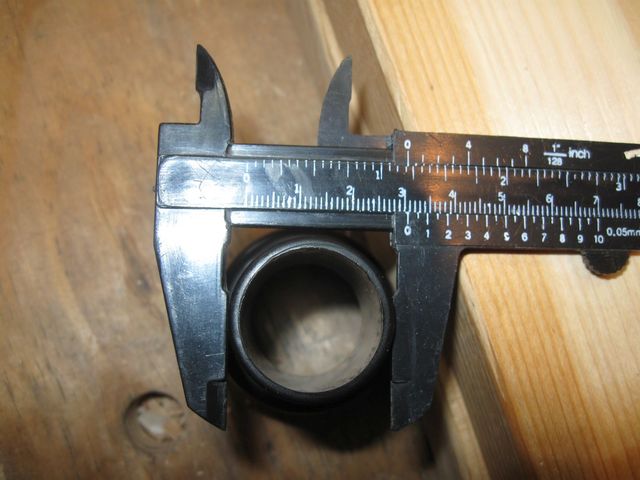
The Smallest Diameter is 1 3/16"
So the hole has to be at least that large to get the adapter to go into the hole at all. I got out my hole saw to see if I had an appropriate size. Here is the 1 1/4" saw blade.
The Blade is Just Over 1 1/4"
I measured the size of the adapter at the widest end of the 1 1/4" part. This is right next to the section where it steps up to the 1 7/8" section for the shop vac hose. The hole should be smaller than this size so that the adapter will have a tight fit in the hole.
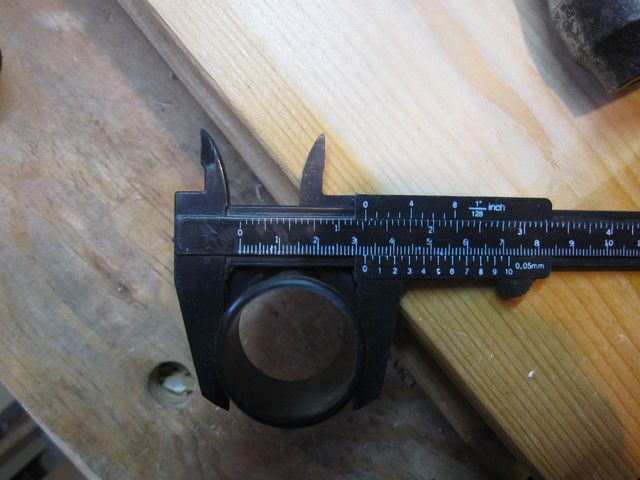
The Hole Has To Be Smaller Than This
That looks to be almost the same size as the hole saw.... and often the hole saw will cut a hole that is slightly larger than its measures size because of wobble and tooth set etc. So I don't really want to trust it to make the hole small enough for this.
I took a look at the next smaller size I have with the hole saw.
The Next Size Down Measures 1"
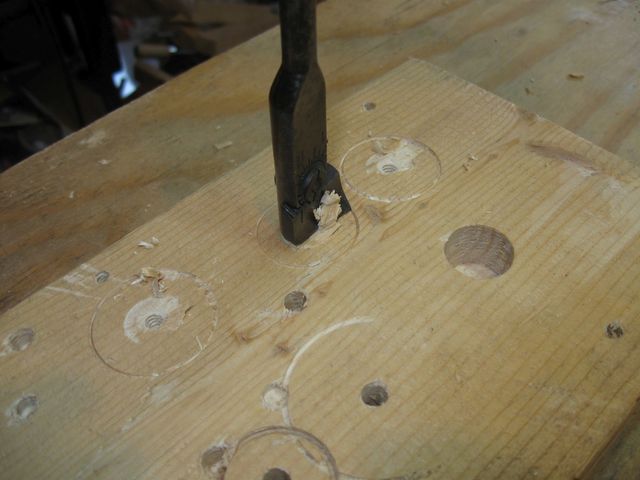
This blade from the hole saw is too small to allow even the small end of the adapter to enter. This won't work either. I simply do not have a hole saw of the proper size for this. So I decided to make the hole with my custom hole cutter bit for the brace.
You might remember seeing this bit before. I don't think that anyone makes these anymore. It is an adjustable bit that will cut a hole anywhere between 7/8"to 1 3/4". It cuts very easily in soft woods, and it makes a clean hole. It is too bad that great tools like this are not made anymore. I found this at a rummage sale and picked it up on a lark because I like interesting tools. I use it a lot for making carefully sized holes in my birdhouses.
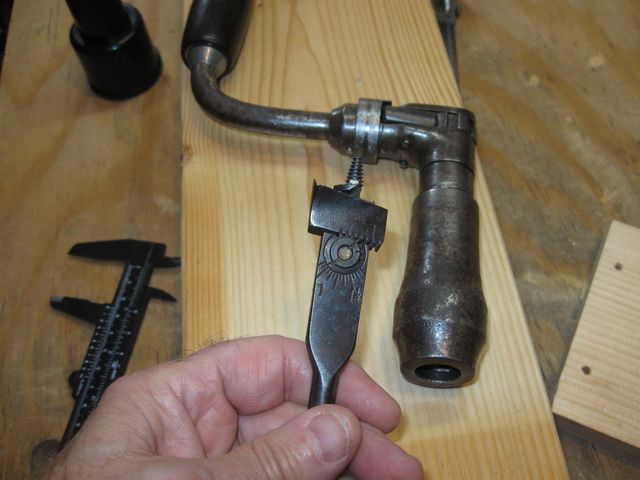
This is One of My Favorite Tools
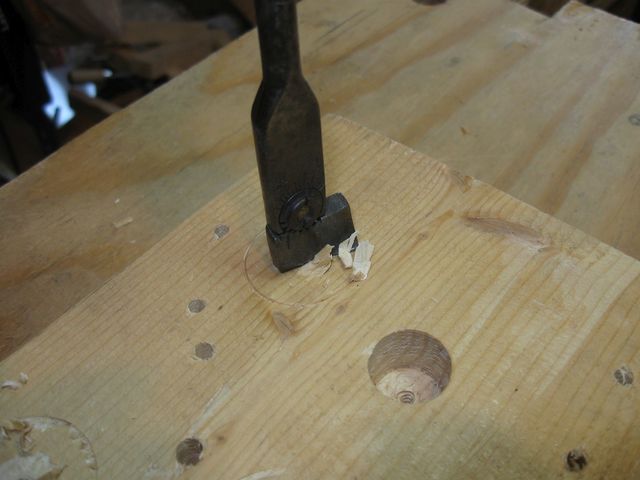
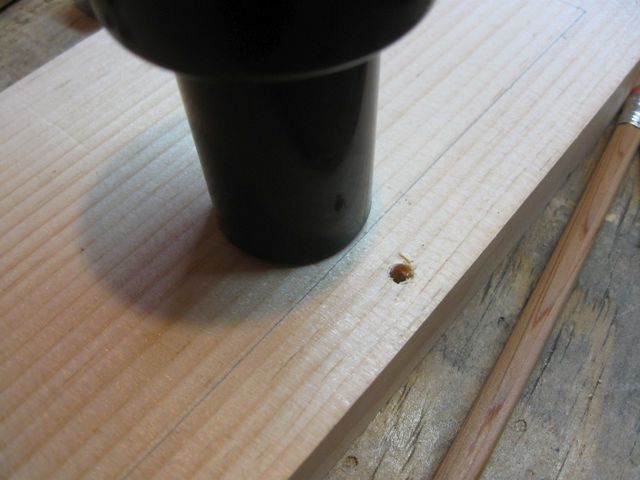
I set it up to cut a 1" hole and applied it to my sacrificial board to see how big the hole really will be.
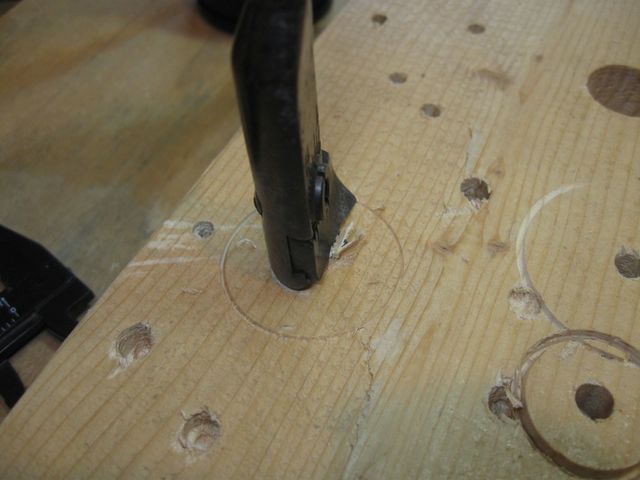
Drilling With the Hole Bit
I drilled only until the spur cut the wood so that I could measure the outside diameter of the hole it would cut.
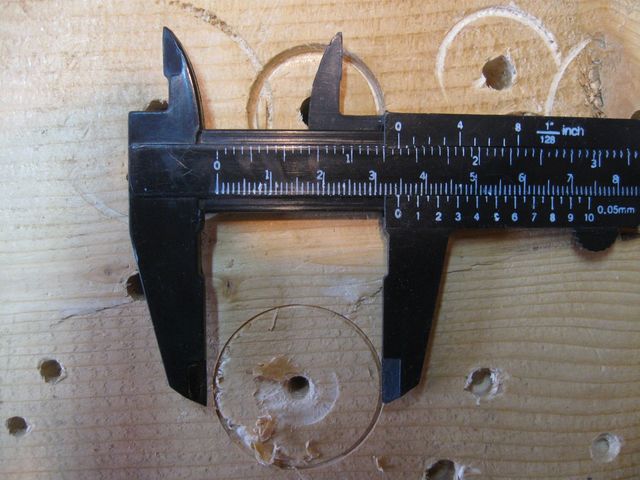
Looks Like the Hole Would Be About 1 1/8" or Maybe 1 1/16""
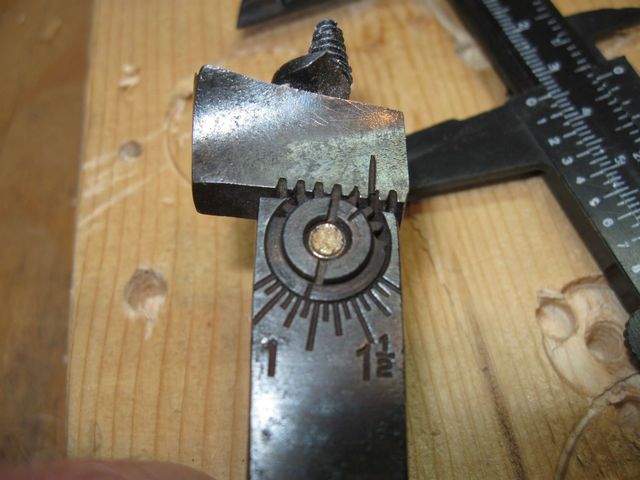
There are marks on the bit that allow me to set the size that I want, but I am not sure how to interpret them. Here is a closeup of the marks.
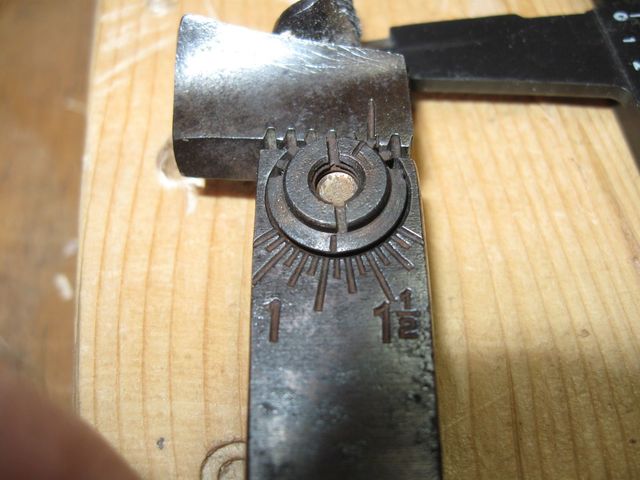
The Size of the Hole is Set Using the Marks At the Bottom
The way I am reading this, the "1" is not really at the mark that represents a one inch hole. I think that the 1" mark is the one next to it.
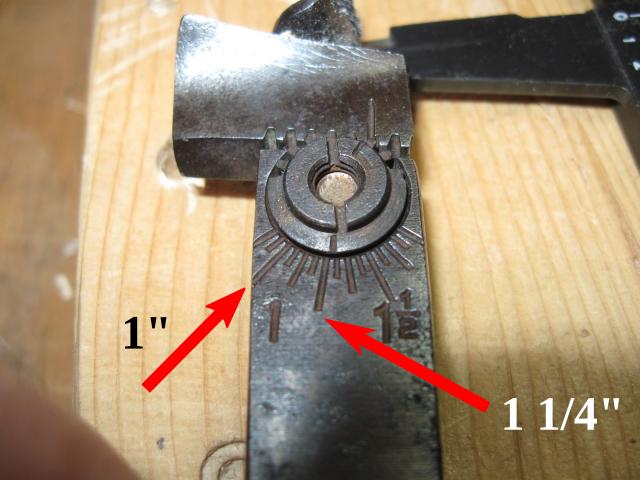
I Think This is the 1" Mark
That means that each of the smallest marks represents 1/16". The moving mark that I am using is the one at the bottom of the outer circle. The slot in the inner circle is a screwdriver slot for using a screwdriver to set the cutter.
I have no idea what the small mark on the upper side of the inner circle is for. I also do not know how to use the long mark on the slider. I have not been able to find any instructions on how to use this tool, so I am figuring it out as I go.
In the image below, you can see that I have set up the cutter to make a hole that is 1 3/16" across, which is the size of the small end of the hose adapter.
Set To Make a Hole 1 3/16" in Diameter
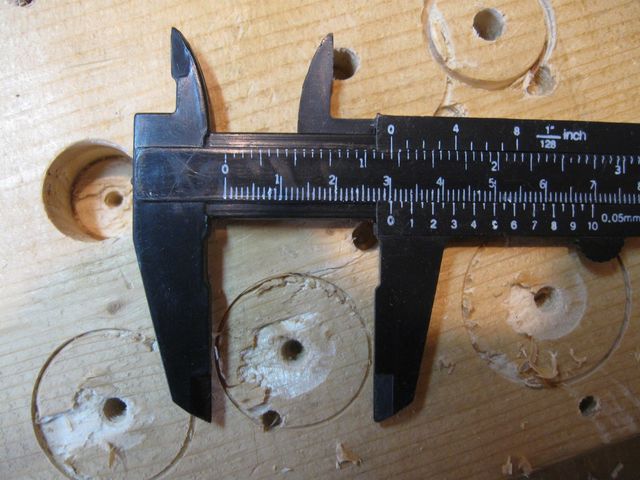
I drilled until the spur cut a circle in the wood again.
Drilling a Hole To Measure the Actual Size
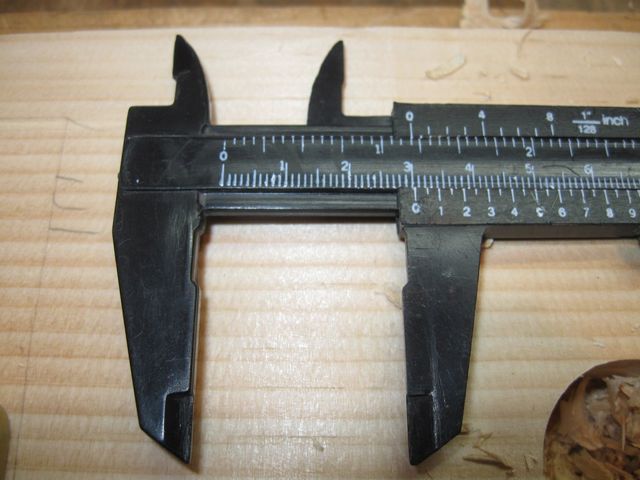
Then I measured the size that the hole would be.
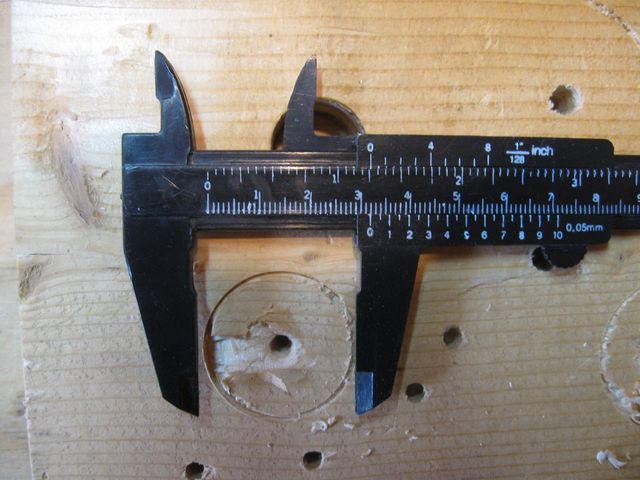
The Hole Would Be 1 1/4"
That might be too large. That is the size that the hole saw would have cut. So I set the cutter to make a hole that is 1 1/8".... according to the marks on the bit.
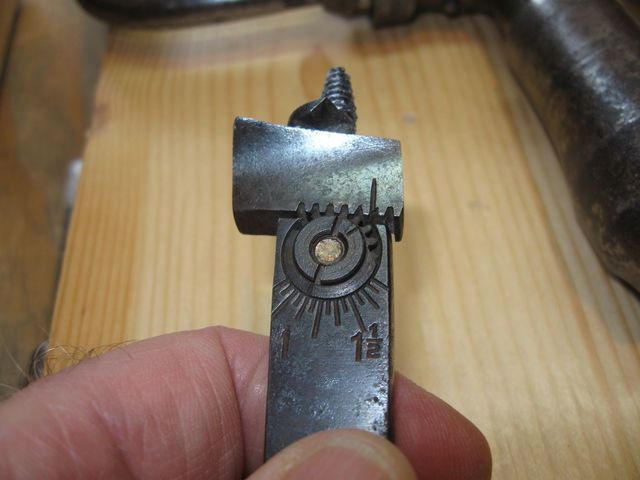
According to the Marks, This is 1 1/8"
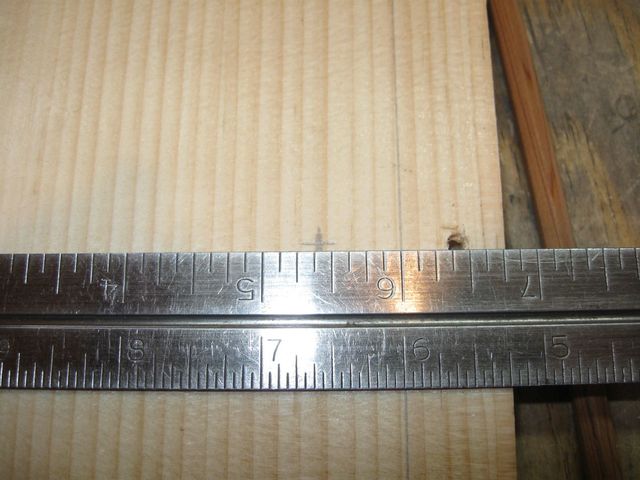
Back into the brace, and make another hole.
Drill Down to the Spur
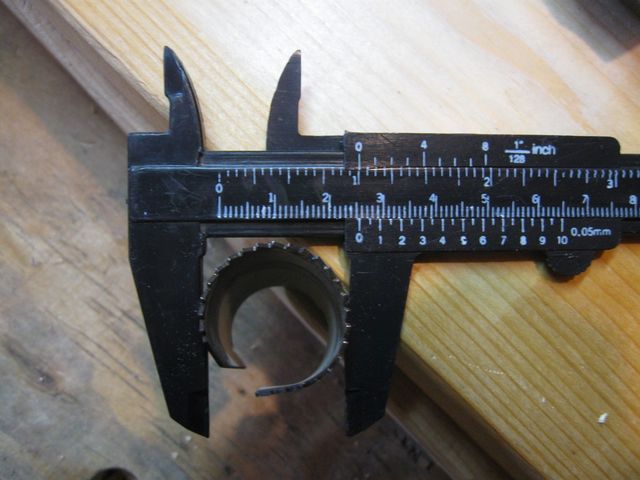
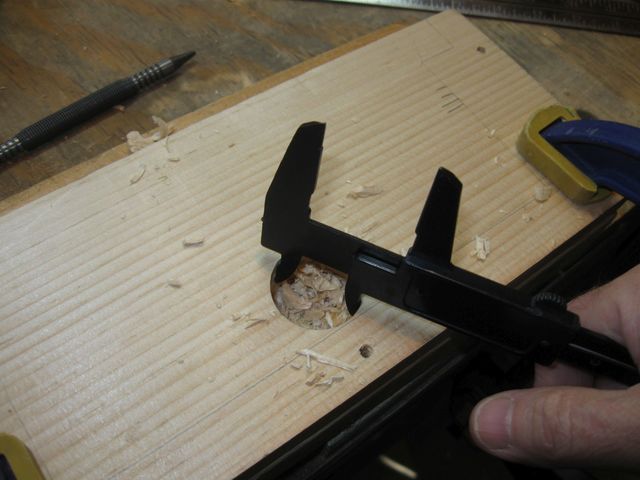
That one looks like it measures about 1 3/16". It might be a little less because it looks like my calipers are set a bit past the edge of the slot.
This Is Just Shy of 1 3/16" In Diameter
So I decided to go with that setting. I put a mark on the board where I want to drill the hole.
The Mark is At Half the Diameter of the Hole Up from the Bottom Board
I placed the adapter on the board and over the mark to make sure visually that I haven't messed this up. The hole on the right is the screw hole where the bottom piece is screwed to the end board.
The Adapter Must Be Above the Bottom Board
I checked that the mark was centered in the adapter.
Yup. It's Centered
I confirmed that the hole will be above the line where the bottom board is located.
Yup. It's Above
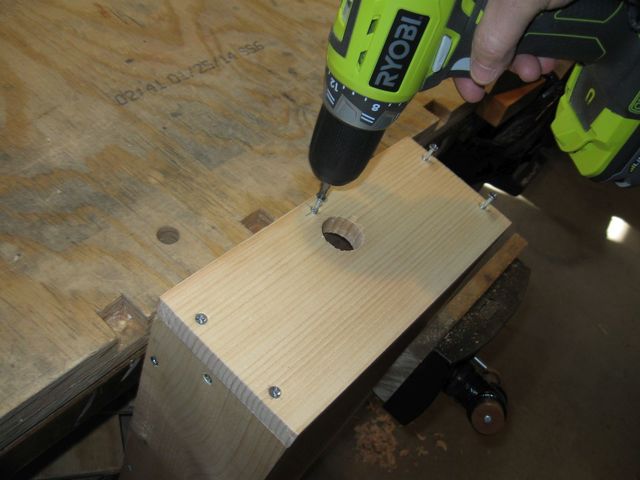
I punched a starter hole at the mark.
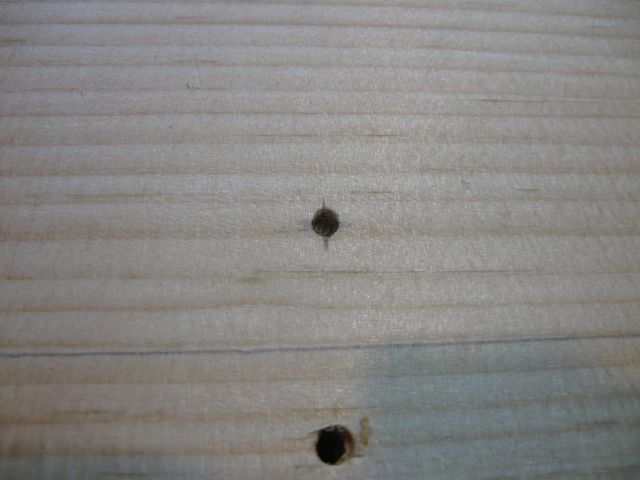
The Top Hole is the Punch
Then I sucked up some air and drilled it out.
Drilling Out the Hole
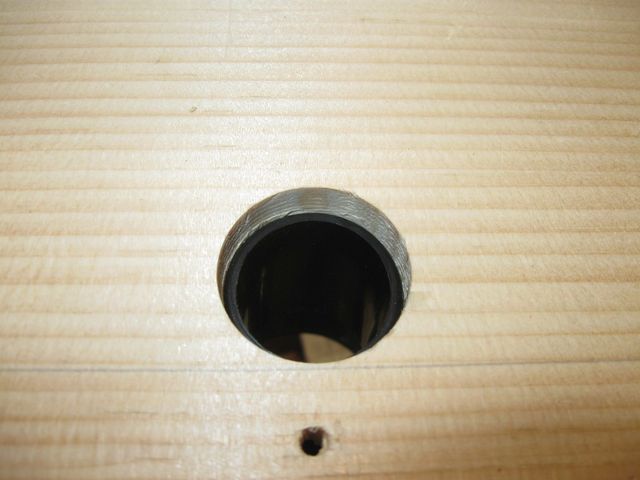
I measured the diameter of the hole.
Now The the Hole Is Cut, I Can Actually Measure It
Well, that turned out well.
Spot On!
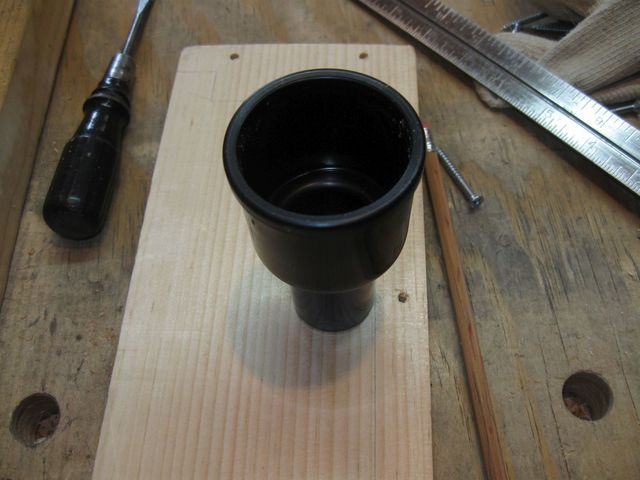
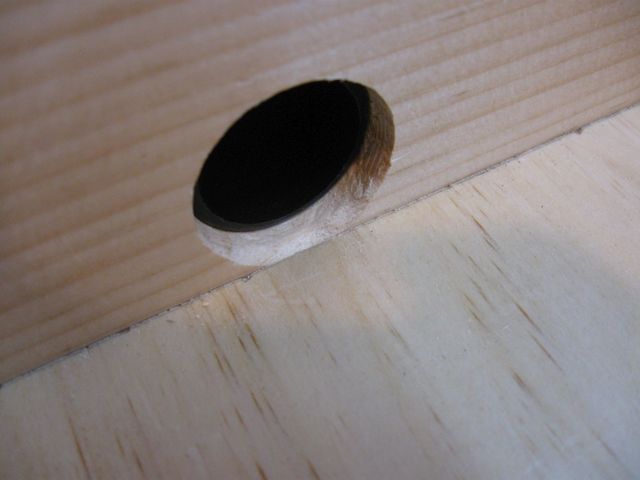
The adapter seems to fit into the hole OK.
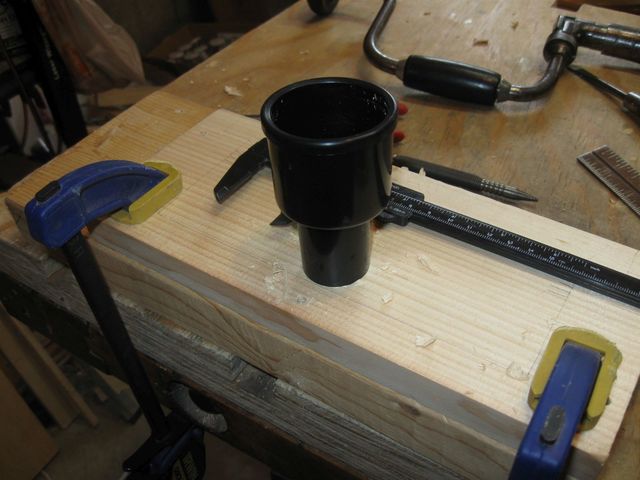
The Adapter Is Stuck In the Hole
Here it is from the inside of the end board. The hole at the bottom is where the screw attaches the bottom board to this end board.
This Looks Good
I put the board back on the end of the box.
The End Board Goes Back Onto the Box
Here it is. The hose adapter is stuck in the box.
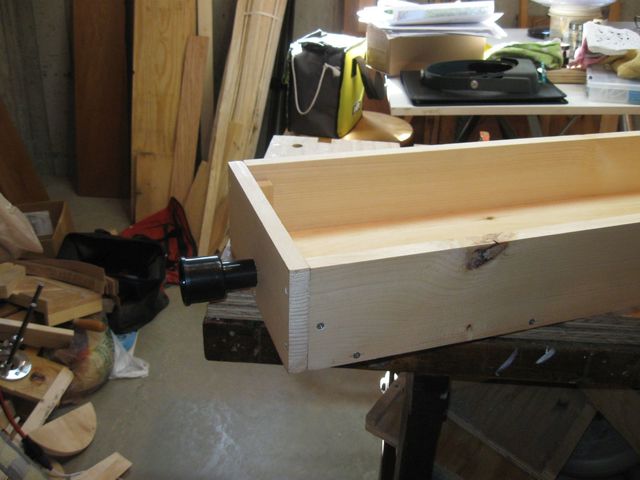
That Goes In Far Enough
Here it is from the inside of the box.
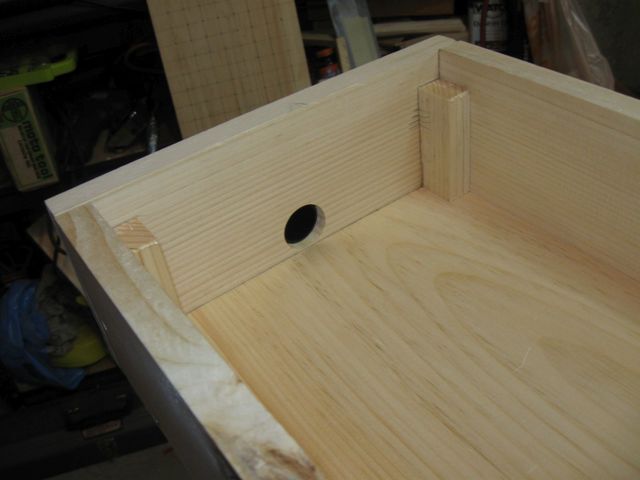
From the Inside
Looking a little bit closer, I see that the bottom of the hole is actually about 1/16" above the bottom of the box. I would rather have it exactly level with the bottom to avoid having dust collect there.
The Hole Is a Tad Too High
I took it apart one more time to make an adjustment.
Unscrewing The End Board One More Time
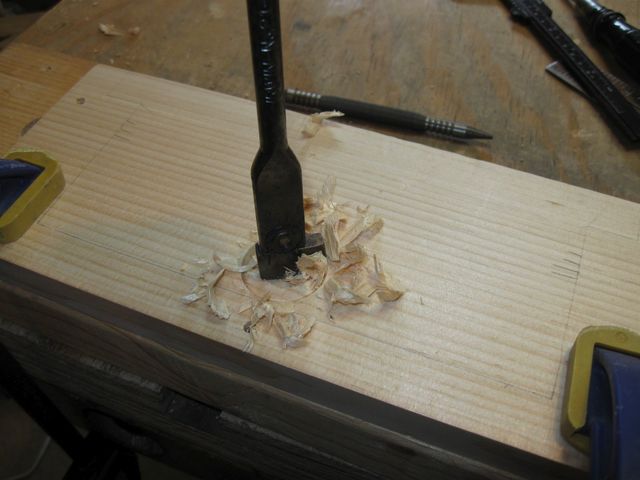
I used the rattail file to make a small chamfer on the bottom of the hole.
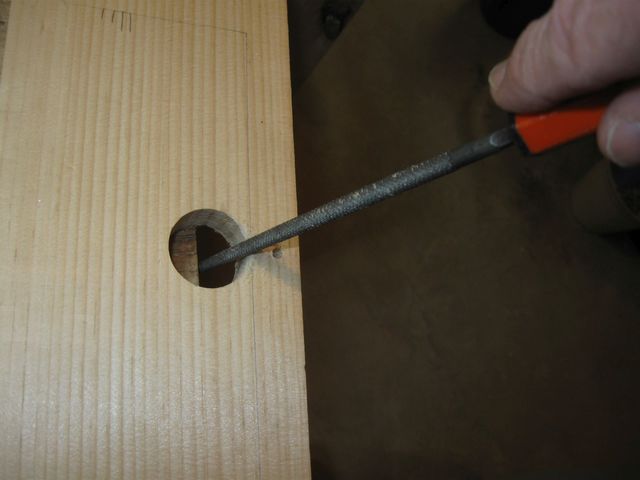
Cutting A Chamfer On the Bottom of the Hole
I cut it right down to the line.
I Cut the Chamfer Right Down To the Line
Then I screwed it back together again.
I Hope This is the Last Time I Have to Do This
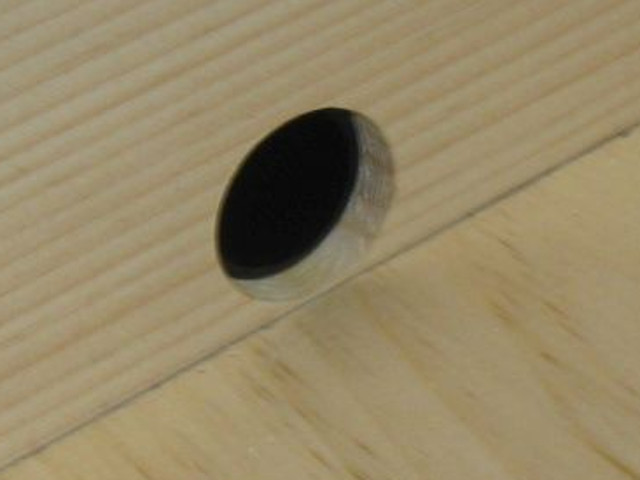
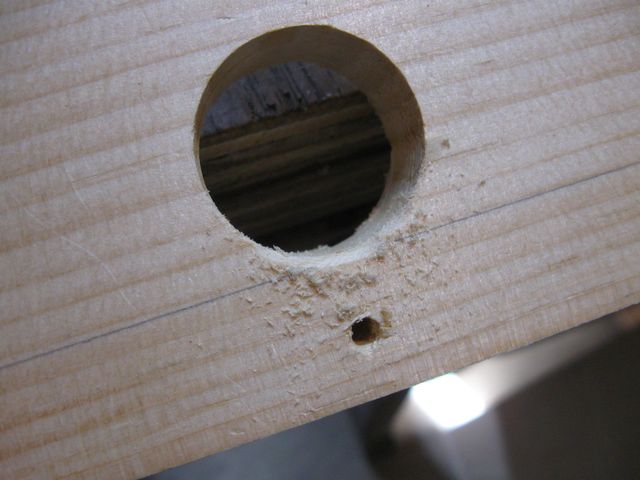
OK. That looks better.
That Looks Better
Here is a closeup.
A Closeup Of the Hole/Bottom Join
That is done!
Now I can go back to perforating the top with the 144 holes that it needs. I needed to decide which type of drill bit that I should use. I have three types of bits for the electric drill:
- Regular twist drill bits
- Pilot point bits
- Brad point bits
Those are identified in the photo below.
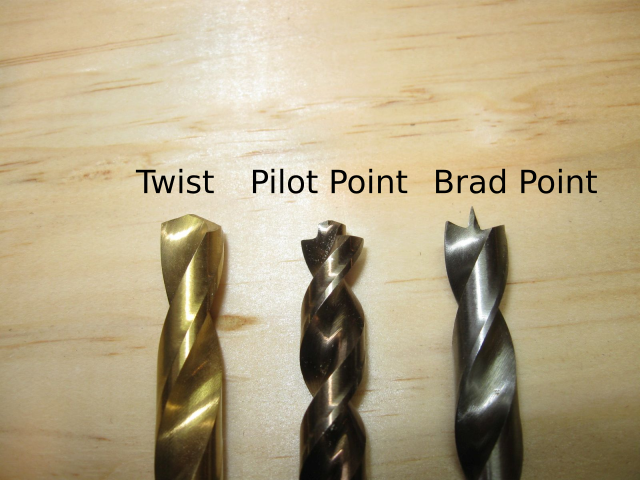
Three Types of Drill Bits
You can see in the closeup below how the tips of the bits are different. You can also see that the Pilot Point bit has a less aggressive auger. Here is what the tips look like.
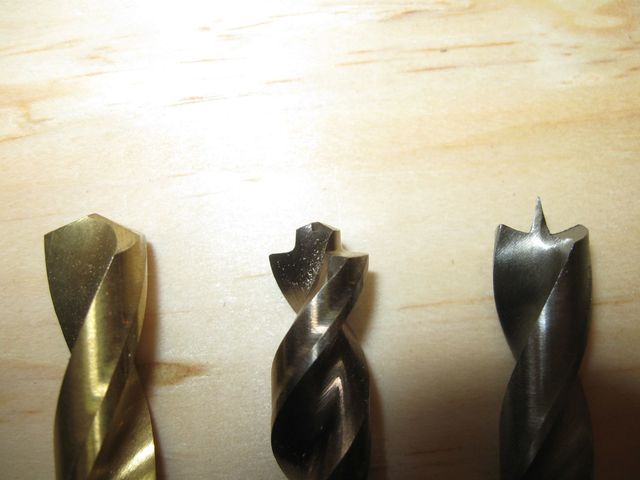
The Tips of the Bits
The Twist bit is also called a High Speed Steel bit. It is designed for cutting metal. The Brad Point and the Pilot Point are designed to minimize tearout on the back of the wood and to provide a more accurate starting of the hole.
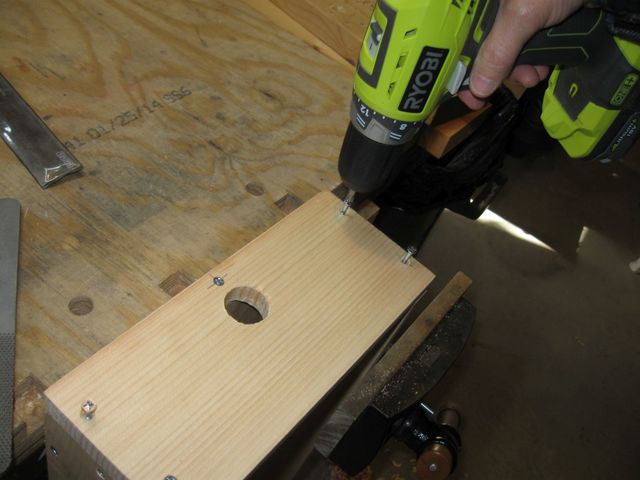
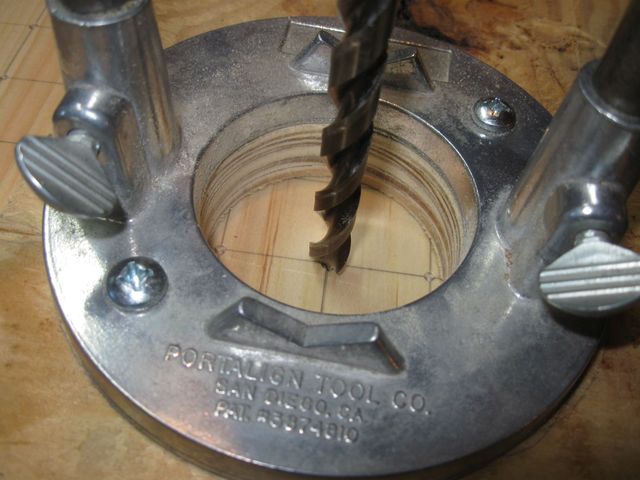
I decided to use the Brad Point bit for this so that the under side of the top board will have cleaner holes in it. I set the the bit into my old drill in the PortAlign®.

The Drill Is Ready to Go
It was fairly easy to align the bit into each of the punch holes.
Ready To Drill
Here is the top about half done.
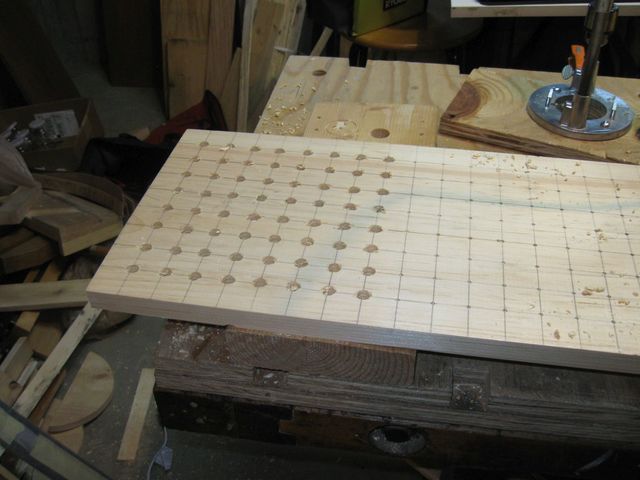
Getting There
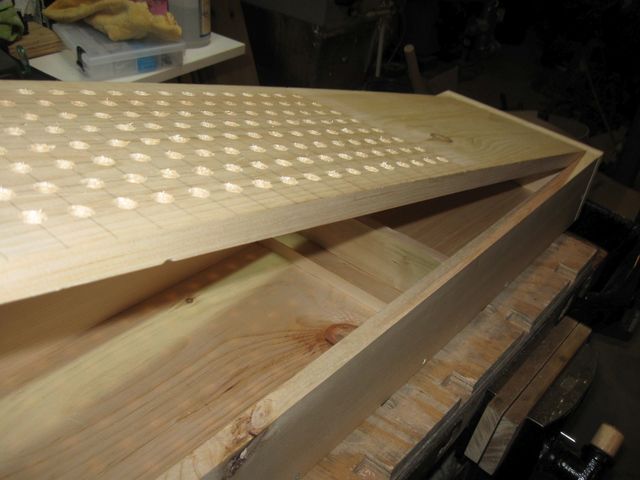
A few minutes later, I had finished all 144 holes.
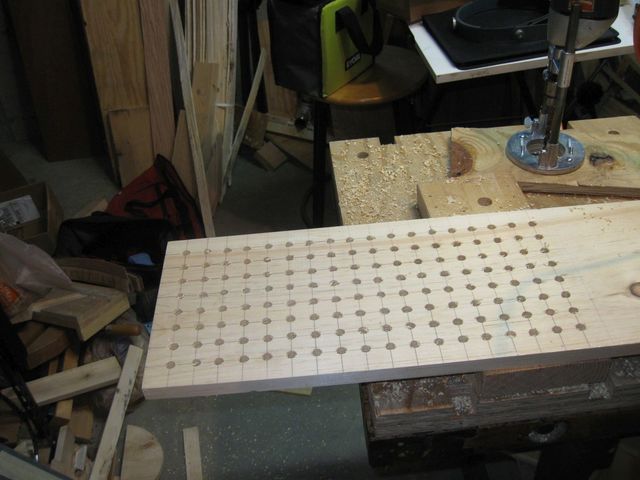
The Holes Have Been Drilled
To make the entrance to each hole a bit cleaner, I used my screw recessing bit to chamfer the edge of each hole. Here is the bit.

The Screw Recessing Bit
This was easy. I just applied the bit to each hole.
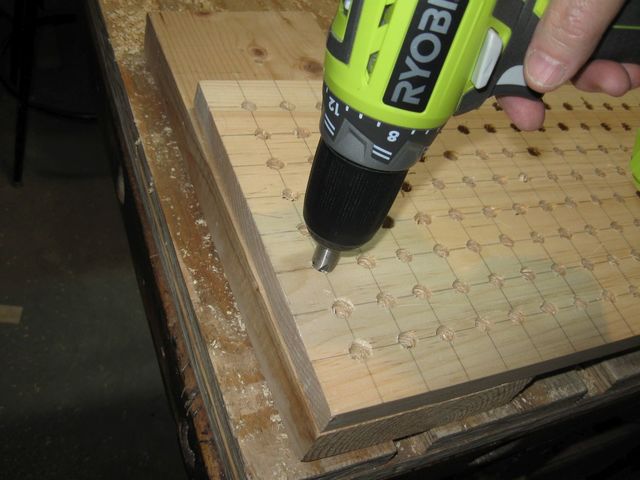
Chamfering Each Hole
Then, I turned over the board to see what the other side looked like.
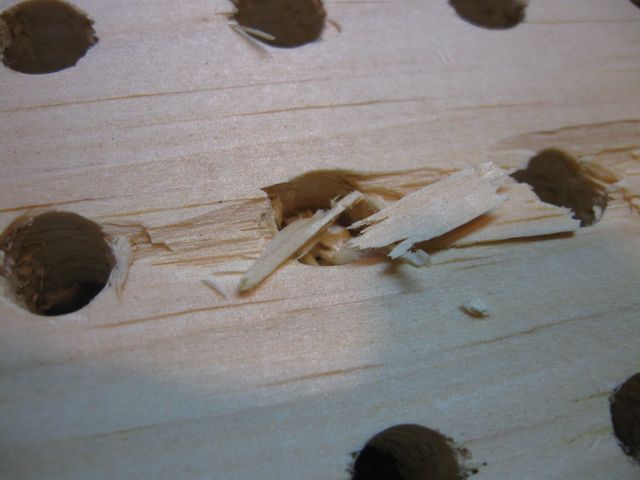
Yikes! Look at The Tearout!
Most of the holes were fine, but a few of them were really ugly.

That Is Some Ugly Tearout!
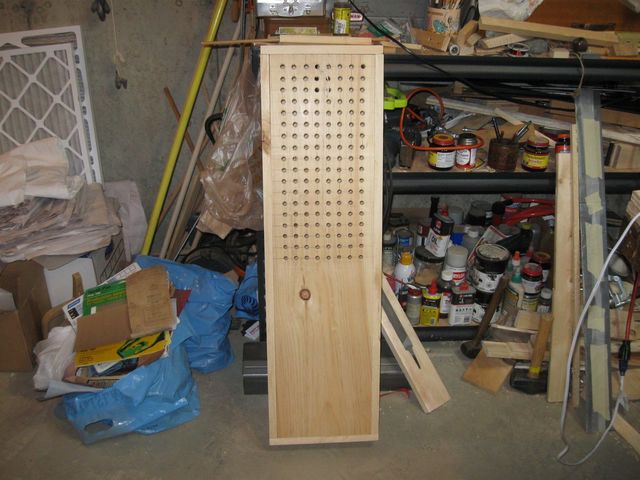
Oh well. It only has to let the air through, and I won't have to look at it. Here is the box, all done.
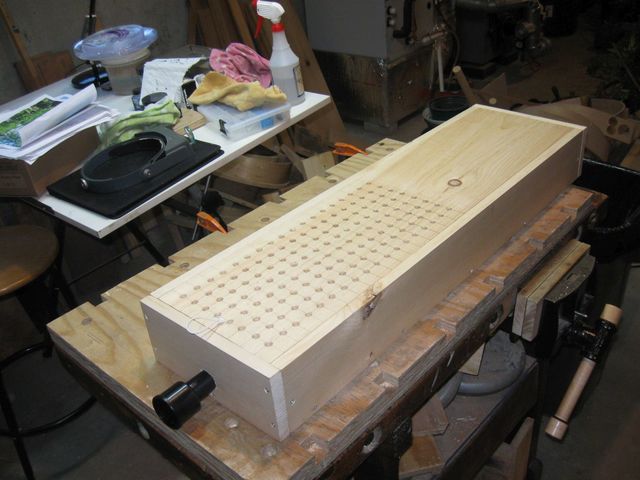
The Box is Done
The top sits in the box tightly enough that it is difficult to get it out once it is in place. So I tied a string through a couple of the holes and put a loop in it.
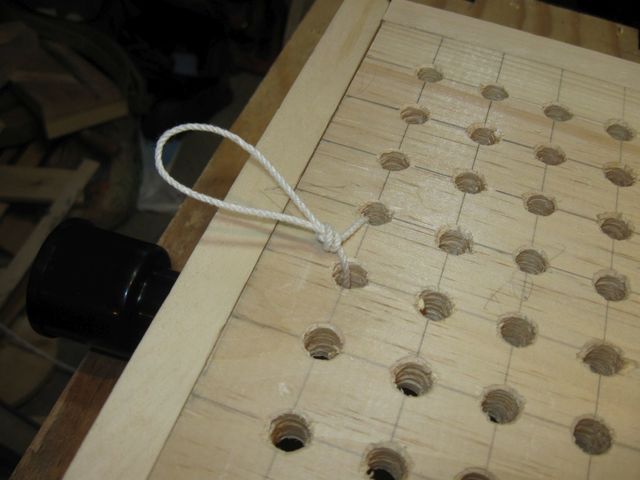
This Loop Should Allow Me To Remove the Top Easily
It works like this:
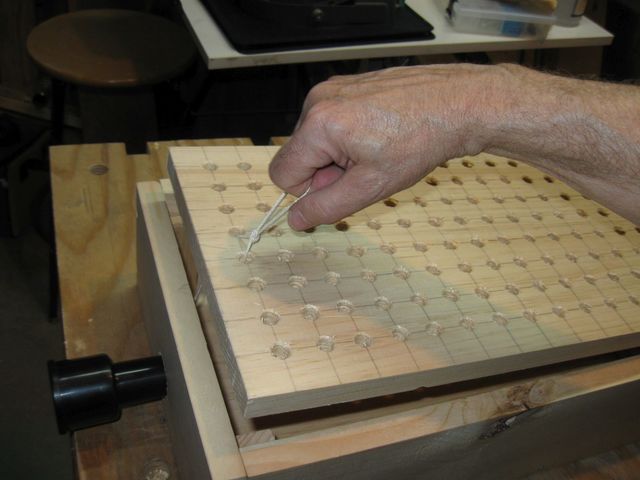
Removing the Top Using the String Loop
Just for grins, I made a stop out of some scrap pieces screwed together in a T. I can slide the stop to anyplace in the box before putting the lid it, and it should restrict the vacuum to a smaller number of holes.
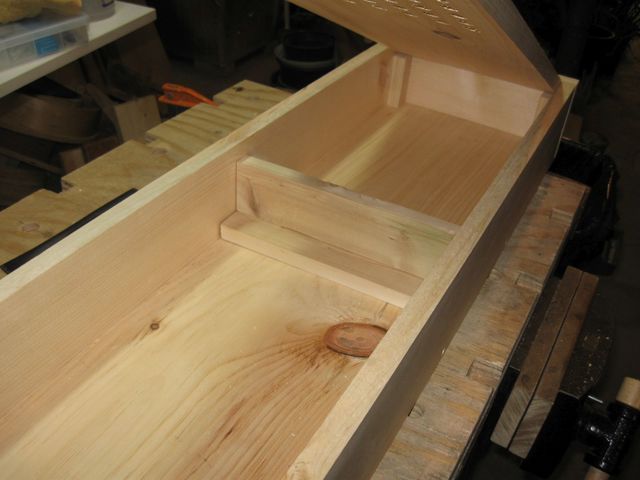
The Stop Just Sits in the Box
If I decide that I don't want the vacuum going through all of the holes, I can move the stop closer to the end and close the lid. The vacuum is not strong enough to move the stop.
Closing the Lid on This Chapter
For what it's worth, there it is.... a downflow table for hand tools that hooks into my shop vac. I will see how well this works when I start planing the top pieces to 1/16" thick.
The Table Is Done
That was an interesting side project. But now I need to get back to working on the dulcimer itself..... if I can figure out how to survive the allergies.
