The glue has dried overnight, so it is time to see how well the glue job went.

I Left The Boards Clamped Overnight
In the photo below you can see the scorching on the board that was caused by the hot iron. I didn't realize that the steam iron would get that hot. I will have to be careful of that in the future.
The glue joint seems to be solid, but you can also see that the glue has stuck the board to the newspaper.
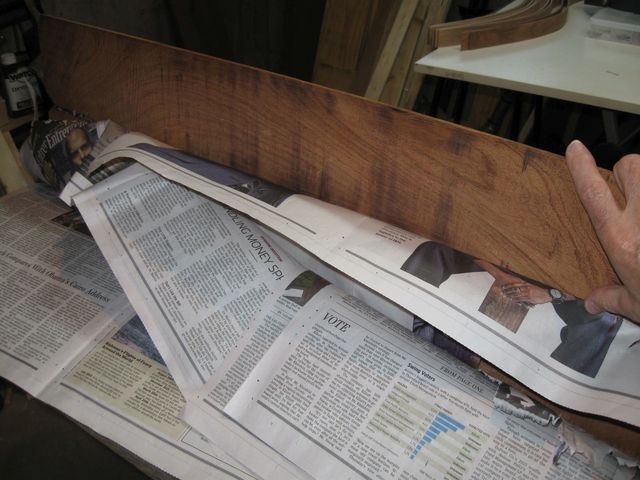
The Paper is Seriously Stuck to the Glue Line
I tried peeling the paper off, but it mostly just tore.
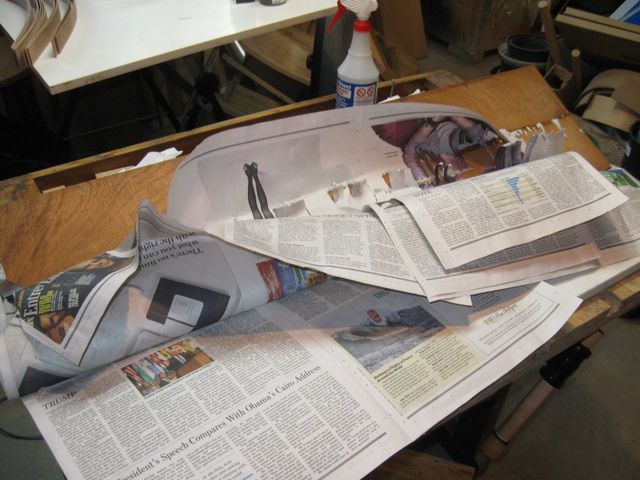
This is An Ugly Mess
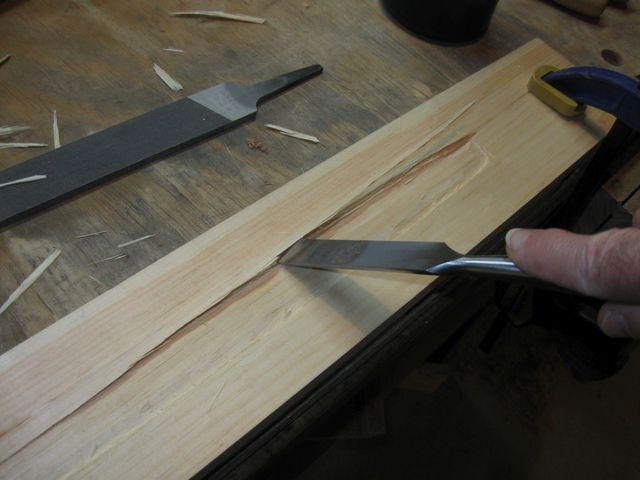
I did my best with a sharp putty knife to get the paper off of the wood.
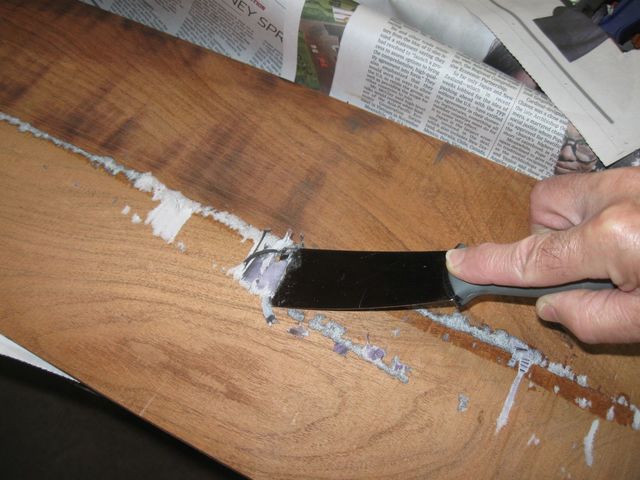
This Actually Looks Better Now
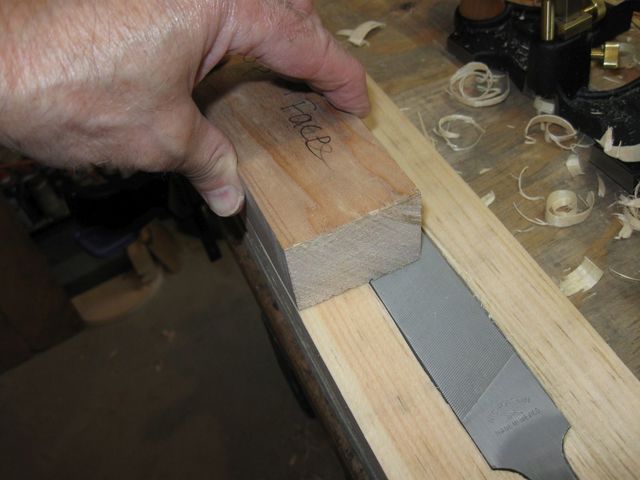
The side that was next to the piece of steel that was covered with waxed paper looks better.
The Top Side is OK
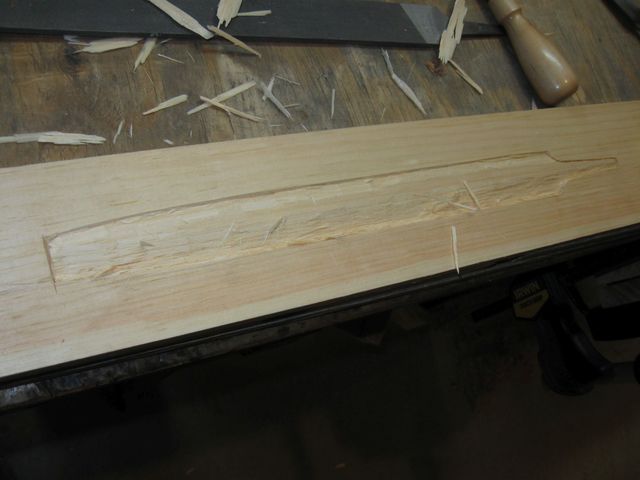
The side that was against the newspaper is in pretty bad shape, but all of that will get planed away as I thin and smooth the board.

This Looks Nasty, But It Will Not be a Problem
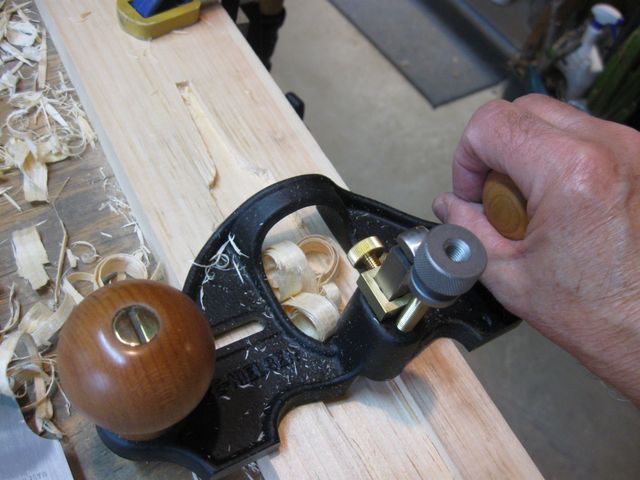
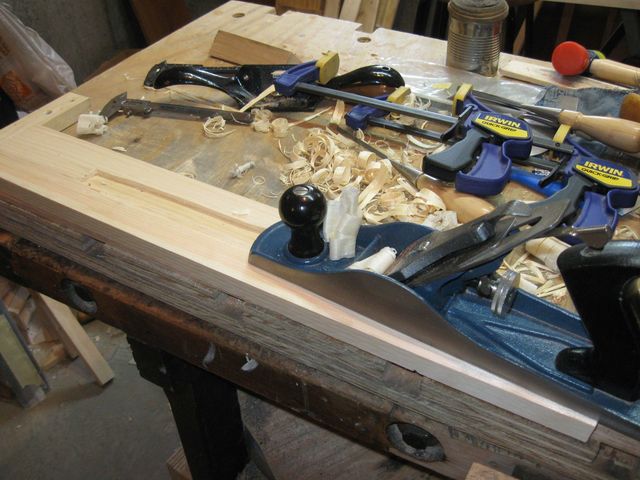
I need to plane and scrape the board down to 1/8" thickness so that it will be thin enough to serve as the back of the dulcimer. The plane takes wood off at a good clip.
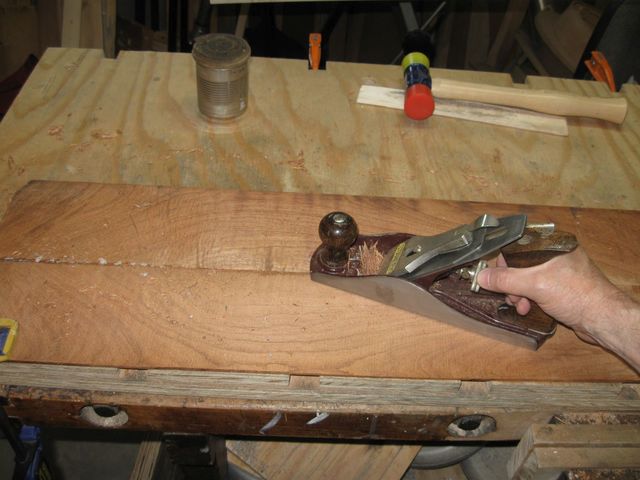
Planing the Board Flat and Thin
I also used the cabinet scraper since this wood has some tricky grain in it, and the scraper handles the grain better than the plane does.
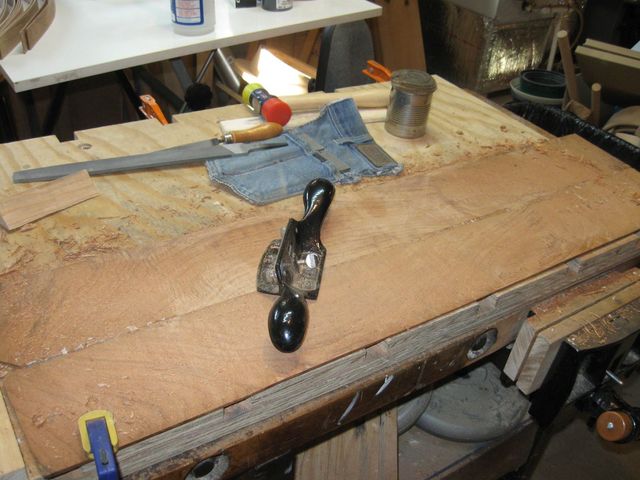
The Cabinet Scraper is Pretty Aggressive Too
Finishing touches are done using the card scraper. This tool can remove a lot of wood if it is sharpened properly. It is also possible to feel the shape of the wood through the scraper and remove high points more aggressively than the low points.
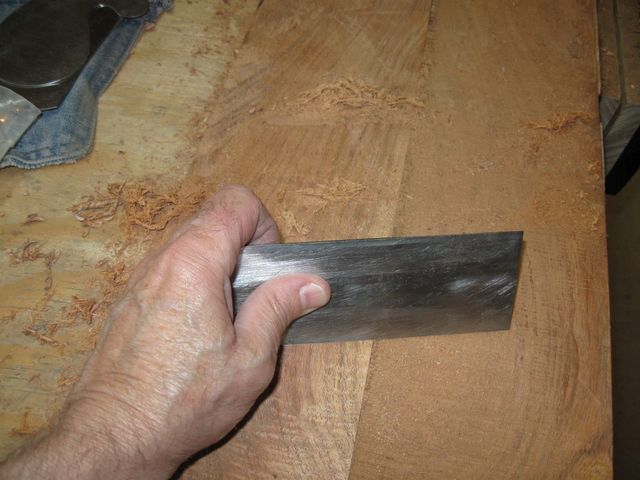
Scraping the Wood With the Card Scraper
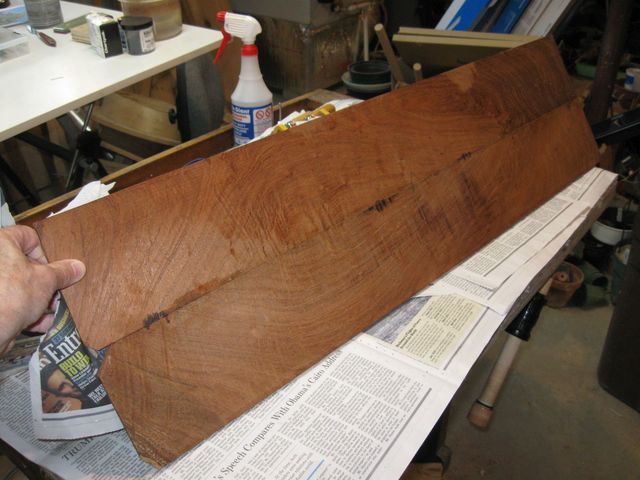
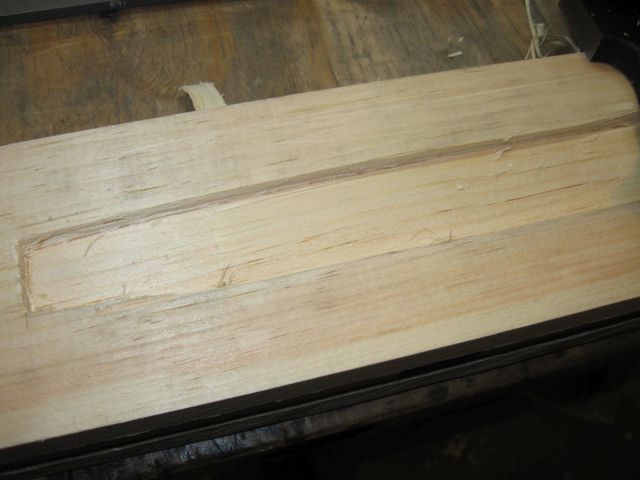
It looks like this board is going to have some nice figure and grain in it when it is done. And it is nicely bookmatched as well.
And the scorch marks are gone along with the newspaper shards.
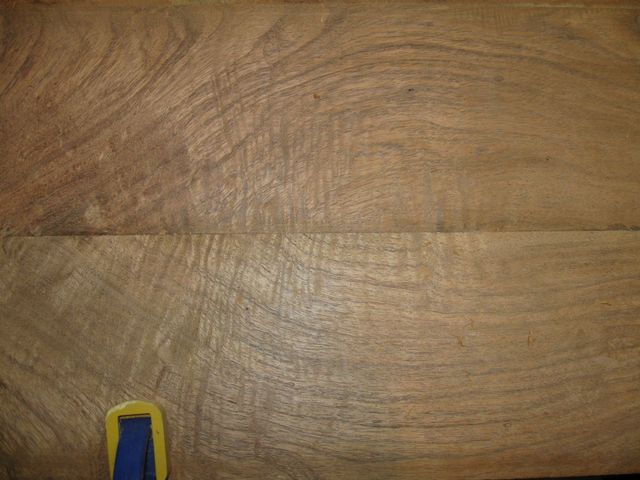
The Grain is Almost the Shape of the Dulcimer Bout
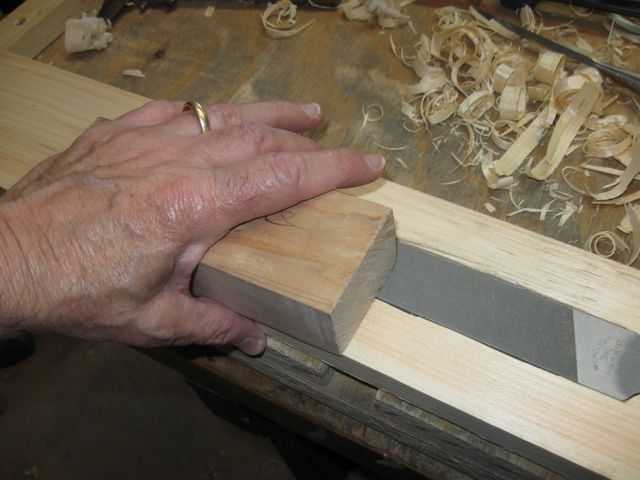
Since I have to remove a considerable amount of wood in order to thin this down to 1/8", I want to make sure that I have sharp scrapers. Sharpening the card scraper is always a tricky business, and sometimes I just can't seem to get a hook on it no matter what I do. So I decided to enhance my scraper sharping tools by inletting the file into a board.
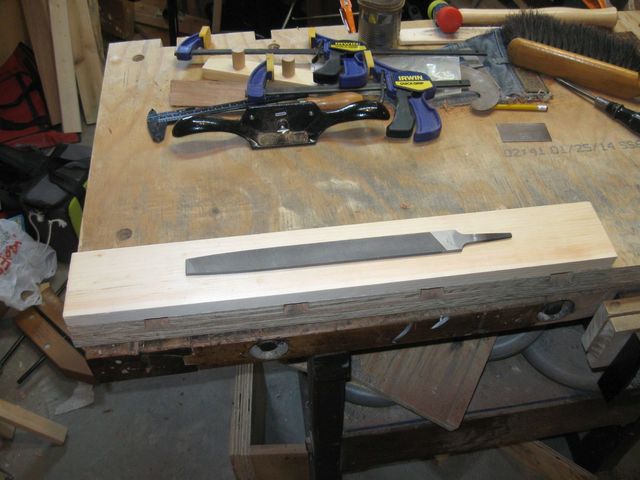
The File is Just Sitting on the Board Right Now
When I try to joint the card scraper on the file, the block of wood I use as a jig for keeping the scraper vertical has to be balanced on that narrow file. If I embed the file into a piece of wood so that the surface of the wood and the surface of the file are exactly level, I will have more surface area for the wooden block to ride on, and that will be a more stable platform for jointing the scraper.
I clamped the file down to the board to mark off where the mortise is to be cut.
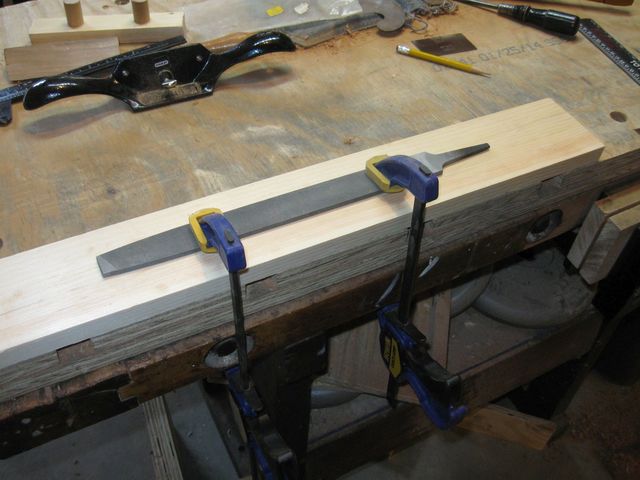
The File is Clamped to the Board
I made a knife cut around the file.
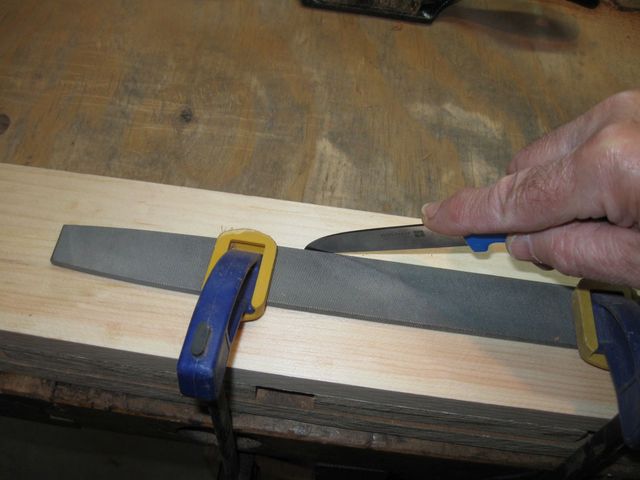
This Is Where I Need to Make the Hole
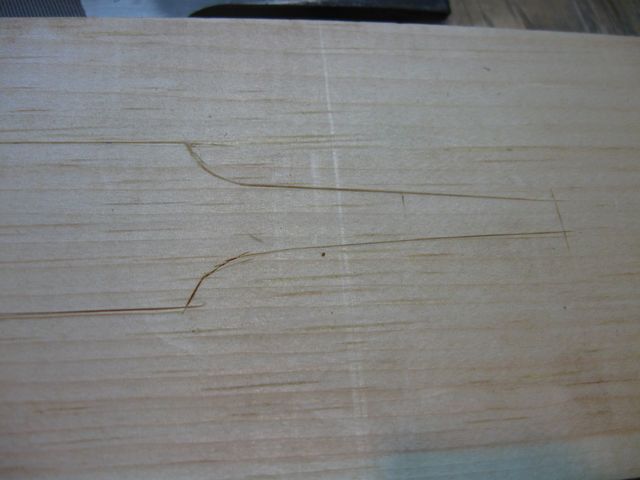
You can see (sort of) the outline of the file on the board.
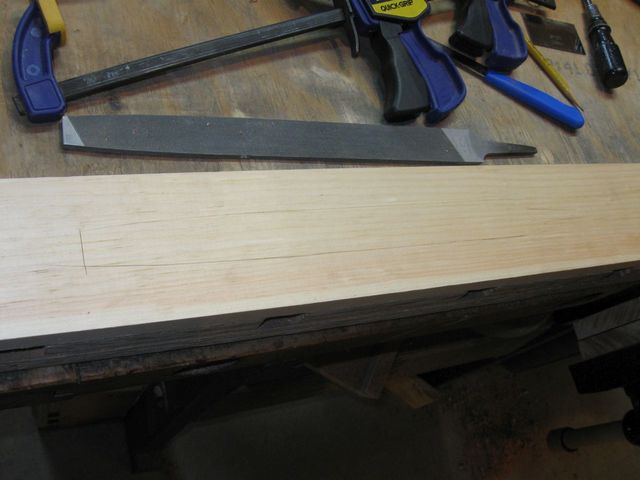
It Is Kind of Hard To See, But It Is There
Here is a close up of the tang.
I Deepened the Cuts After the File Was Removed
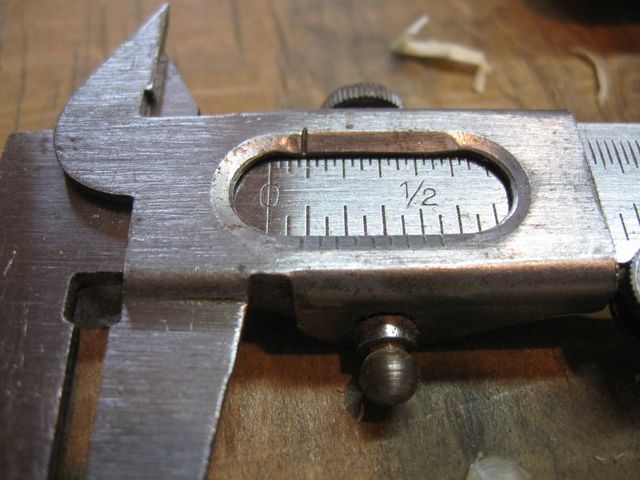
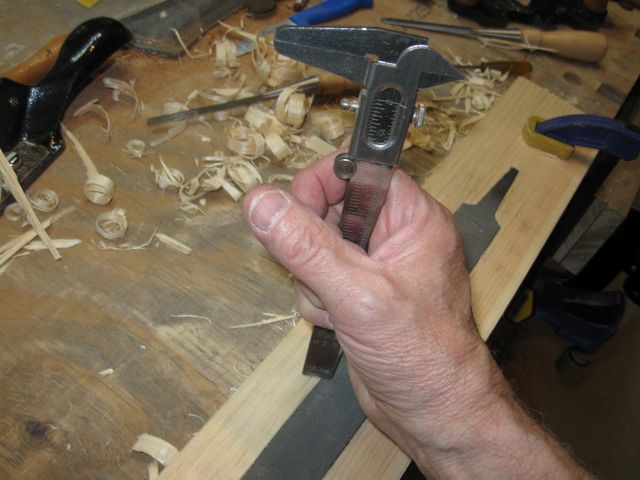
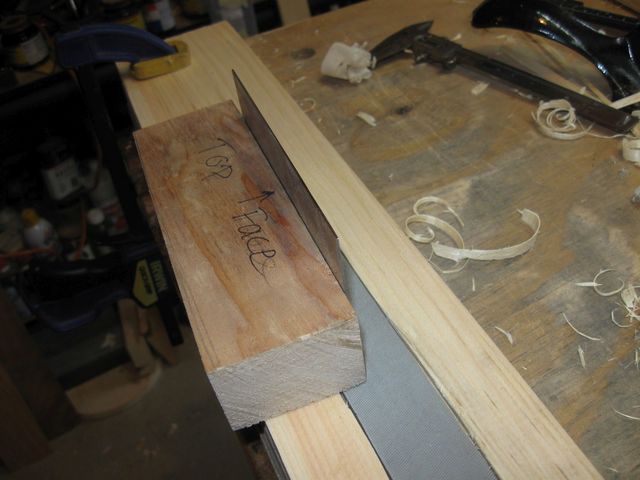
I measured the thickness of the file since that is how deep I need to cut the mortise.
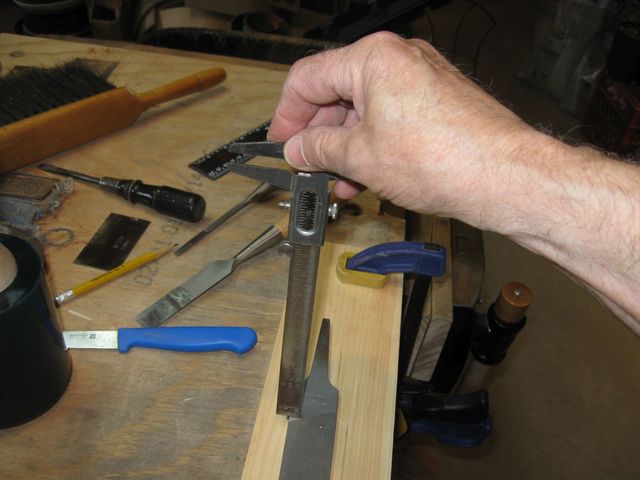
Measuring the Thickness of the File
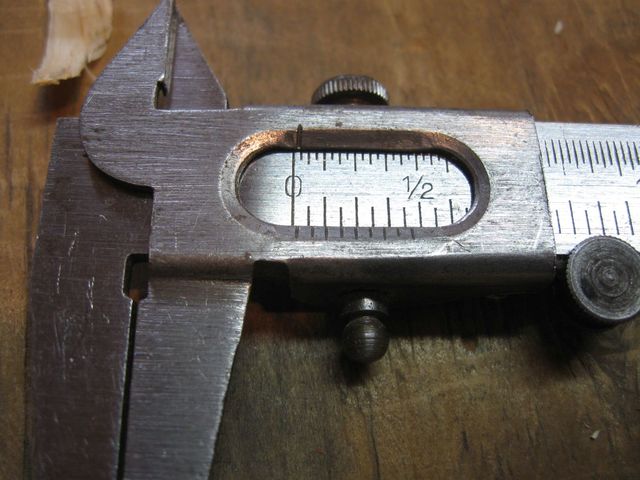
Looks like 7/32" thick.
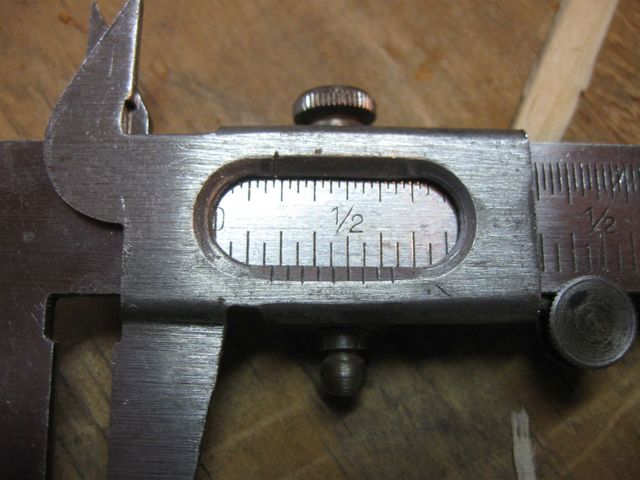
The Top Scale is Marked in 1/32" Lengths
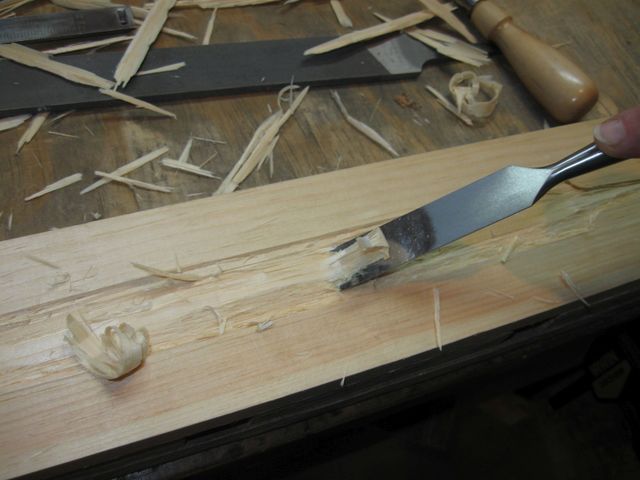
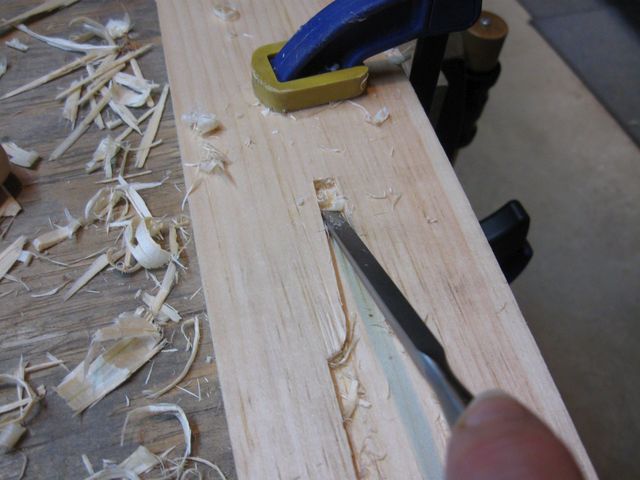
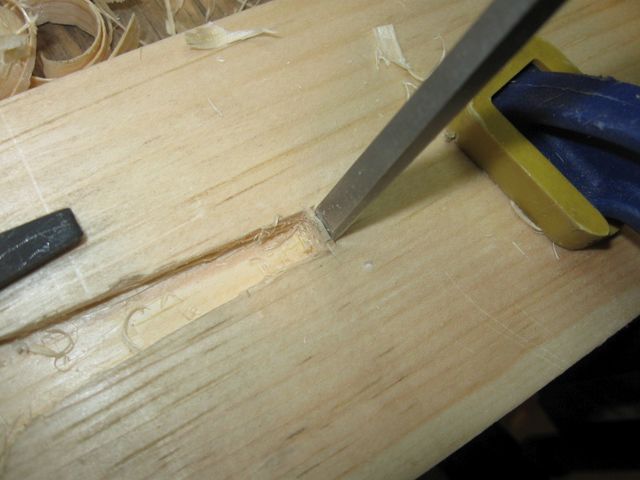
I used the chisel to remove the wood right next to the knife line.
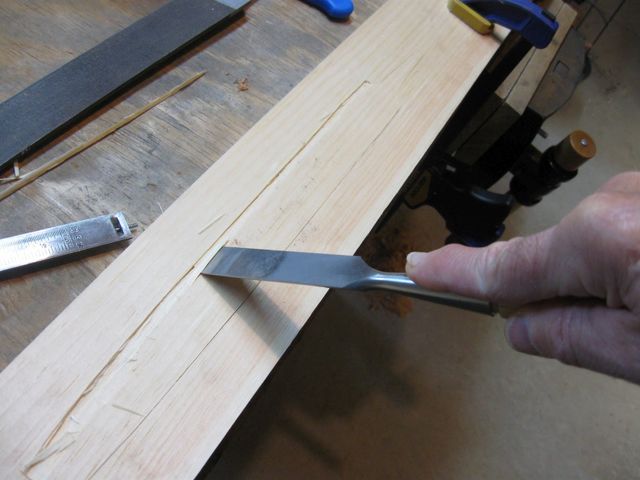
The Pine is Really Easy to Cut
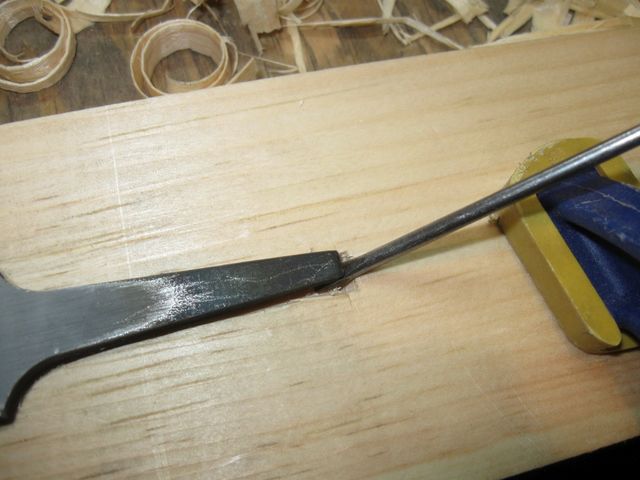
Unfortunately, it does split and splinter easily.
Oops. I Broke Off A Bit Too Much There
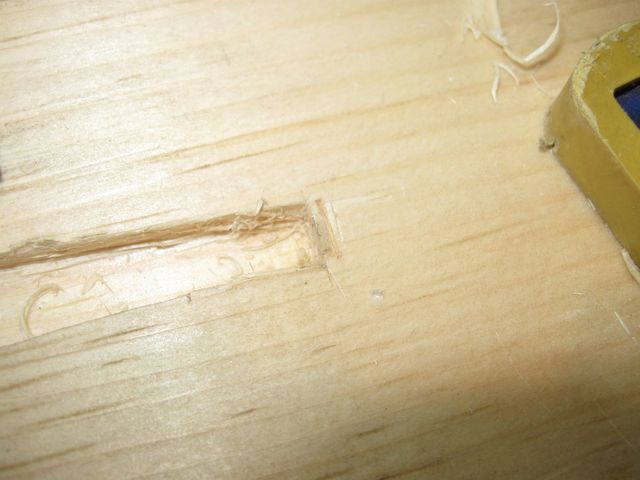
That left a mound of wood in the middle of the shape.
The Edges Have All Been Chiselled
Then I chiselled out the high points in the middle.
The Pine Comes Out Easily
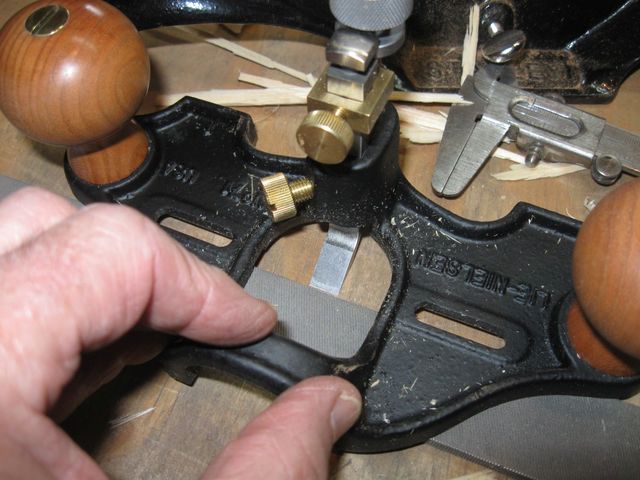
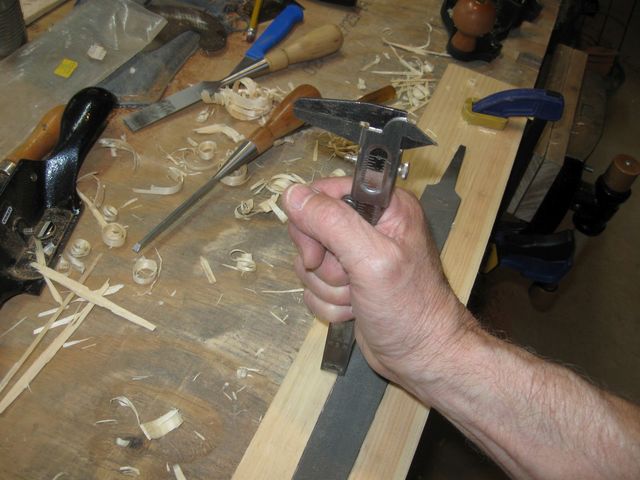
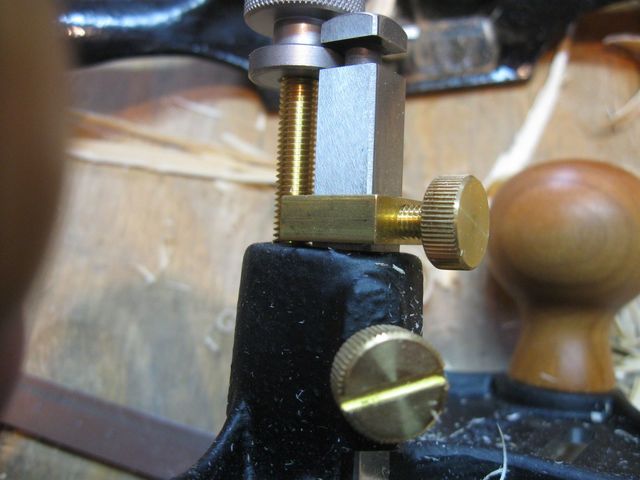
To finish this off, I got out my latest Lie Nielsen tool. I just picked this tool up when we were on Vacation in Maine. It is a router plane. The purpose of the plane is to cut dadoes, rabbets, and tenons down to a precise depth that is even across the entire surface. That makes it perfect for this job of making the bottom of my mortise perfectly flat and the correct depth.
This tool used to be called a "Hag's Tooth" because the plane iron sticks out past the bottom of the plane like and old lonely tooth. The iron is a vertical bar that has a cutting iron at a right angle at the bottom. The depth of the cut is adjusted using the knurled knob on the top of the plane.
This was not a cheap tool (about $140 in 2017 dollars), but that is really no more than a dinner in a fancy restaurant these days, and I can use this tool forever.
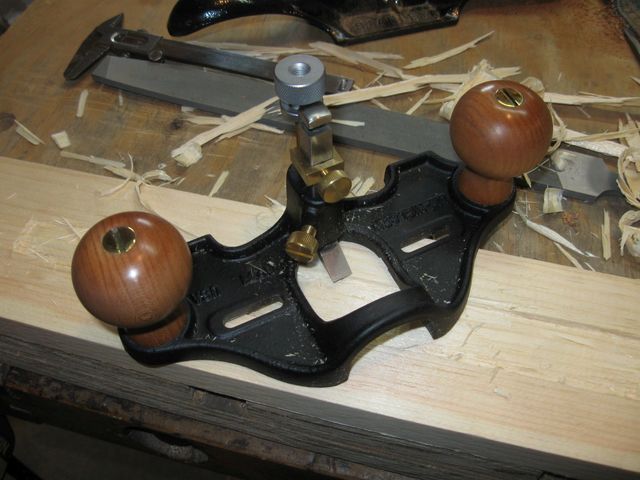
My New Lie Nielsen Router
This is a beautiful tool. The two handles are Cherry wood, and the knurled set screws are bronze. It is a joy to use.
The plane has a depth stop on it. It is the rectangular bronze part at the top of the photo below. To use the depth stop, I put the sole of the plane on top of the file, loosened the set screw on the left, and let the blade drop down to the table. At this point, the depth of the blade cut is set to the exact thickness of the file.
Let the Iron Drop Down to the Table
I then loosened the set screw on the depth stop and let the depth stop drop down to the plane body. Then, I tightened the set screw on the depth stop again, securing the depth stop there.
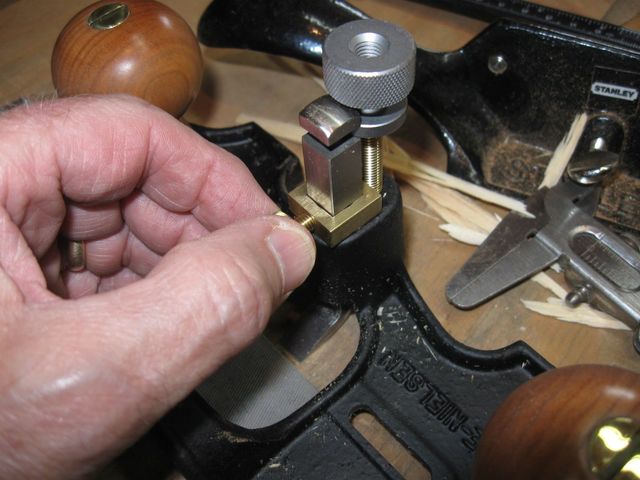
Setting the Depth Stop
After the depth stop has been set, the iron will not go any lower than that location. So I can turn the knurled knob on the top of the iron to raise it back up a bit. That allows me to lower the iron in stages and approach the final depth of the mortise gradually. Using the plane is simple. Just put the iron into the mortise and move it around until the blade no longer takes any wood. Then, lower the iron a tad and do it again. Keep doing that until the depth stop has been reached and we are done.
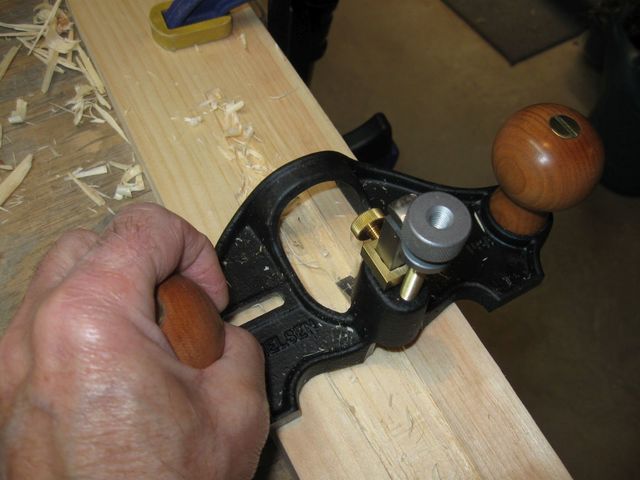
This Is Easy
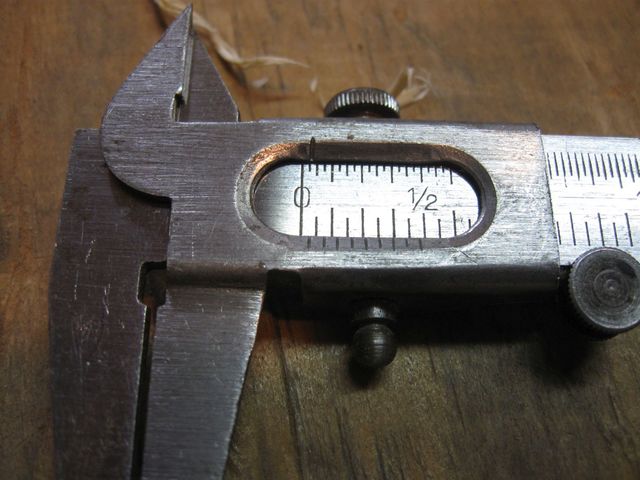
After the first round, I measured the depth of the mortise to see how close I have come.
Measuring How Far the File Protrudes Above the Board
Looks like I still need to take it down about 7/64".
We Are About Half Way There
The width of the router iron is 3/8", so it is too wide to cut into the tang of the mortise. For that I used my 1/8" chisel.
Chiselling Out the Tang Mortise
I took out some more wood, then measured again.
Measure It Again
Looks like about 5/128" left to go.
This Is Almost Done
Here is a photo of the router taking out some more of the wood.
The Blade Cuts the Pine Easily
You can see in the photo below that the bottom of the mortise is completely flat.
That Is a Completely Flat Bottom
Well, OK, maybe you can't see it. I could see it. I took out some more wood and measured again.
Measuring Again
Looks like about 3/128".
Seriously. I Can Measure It That Closely
Looking at the location of the depth stop, you can see that it is almost almost all the way down to the stop.
There Is a Sliver of Light Between
If you look carefully, you can see in the photo that there is barely a sliver of light between the bottom of the depth stop and where it will contact the body of the plane. So I finished it up, seating the depth stop against the top of the plane body.... and the job is done.
At this point, the file fit into the mortise so tightly that it was difficult to remove it. So I used the chisel to cut a ramp in the wood at the end of the tang.
Removing Some Wood For a Pry Space
It is just a little bit of wood removed about 1/16" from the edge.
The Notch is How Far Back the Ramp Starts
So now I can put a small screwdriver under the tang and pry the file out of its hole.
Prying the File Out of Its Hole
Here it is. The file is completely mortised into the board. There are some chips and splits along the edges, but that does not get in the way of using this as intended.

The Surface of the File is Even With the Wood
Well, actually, not exactly. When I put the wood jig on the board, the edge of it dropped down a tad onto the file.
The Wood is Leaning Down Onto the File
Since that will wreck the perfect 90° angle of the scraper, I need to fix that but it is no big deal. I got out the plane and took off a few thousands of an inch from the surface of the board to bring it down to the level of the file.
This Was an Easy Solution
Now, there is no rocking motion of the block.
The Block Rides Smoothly on Both Surfaces
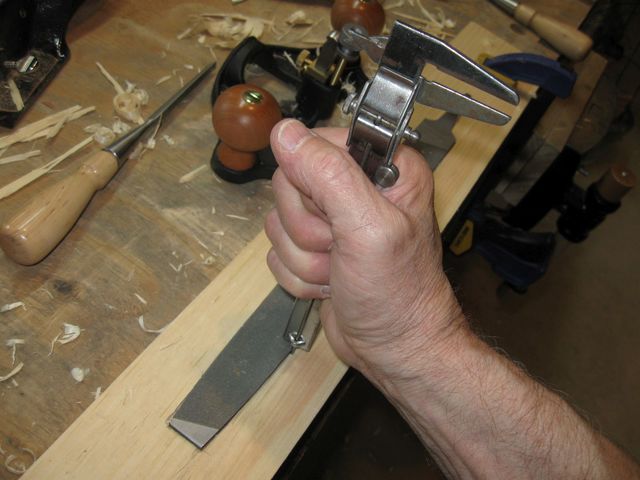
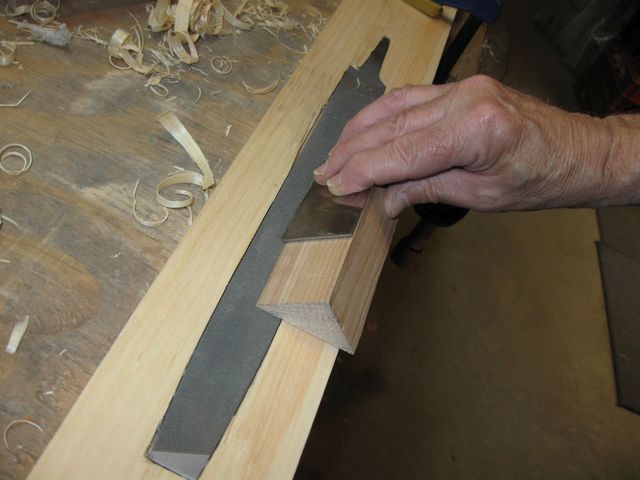
So what was the purpose of all this? I can put my square wooden block down solidly on the file, and put the card scraper up against the block in order to joint the card scraper square in both directions, i.e. making a 90° edge on the card and making the card dead flat down the its entire length.
This Is Easier To Use Than It Was
This same system works for the 45° jig that I made for the cabinet scraper blade.
This Is Much Easier to Hold
That's it for today. Now I can sharpen those scrapers and get busy thinning my wood.
