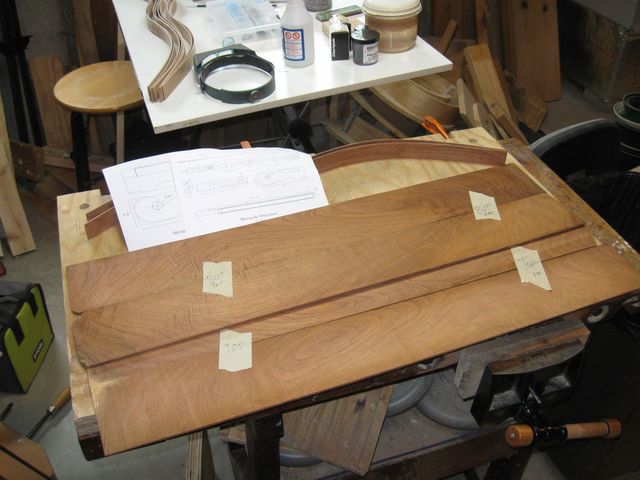
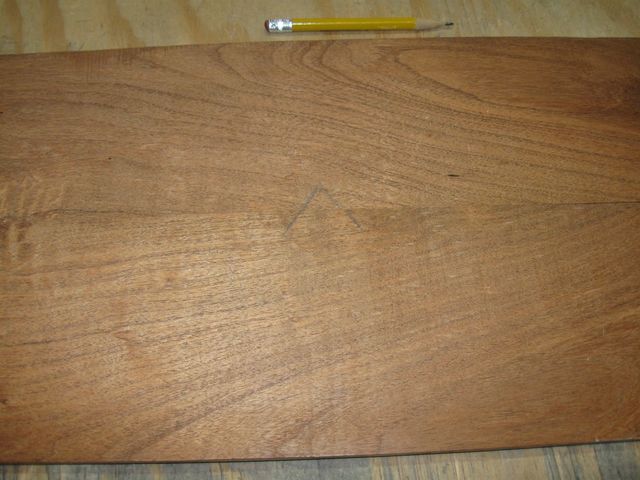
It is now time to start crafting the other parts of the dulcimer so that they can be assembled with the sides. That begins with the back. A while back, I matched up and marked two boards each for the back and the top.
The Boards are Book Matched as Well as I Could
The plans call for the maximum width of the dulcimer to be about 6 1/2" across the lower bout. I also need to add about 1/8" to 1/4" to that to allow the back to overlap the sides. So I probably need at least 7" of wood across the back board.
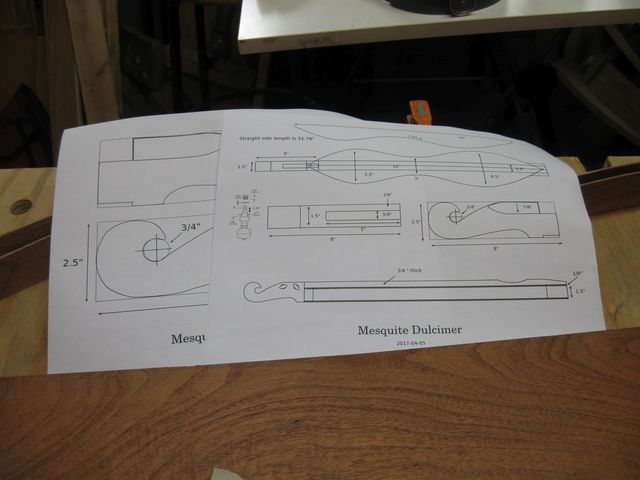
You Can't Read it In the Photo, But The Plans are Available on the Front Page
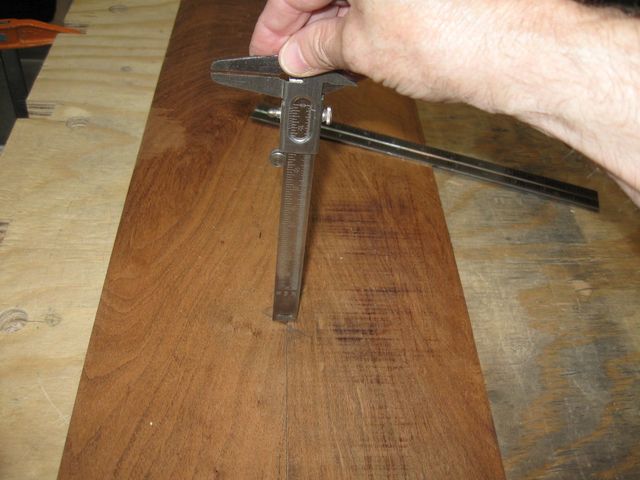
I measured the two back boards together.

They Will Be About 9 1/2" When Glued Together
The length of the dulcimer body is about 30 inches. So we need boards that are at least that long.
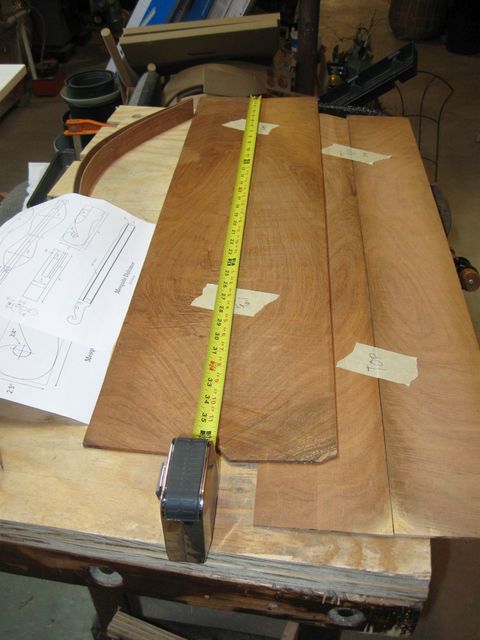
Measuring the Length of the Boards
They measured 36" to the point where the good, straight wood ends.
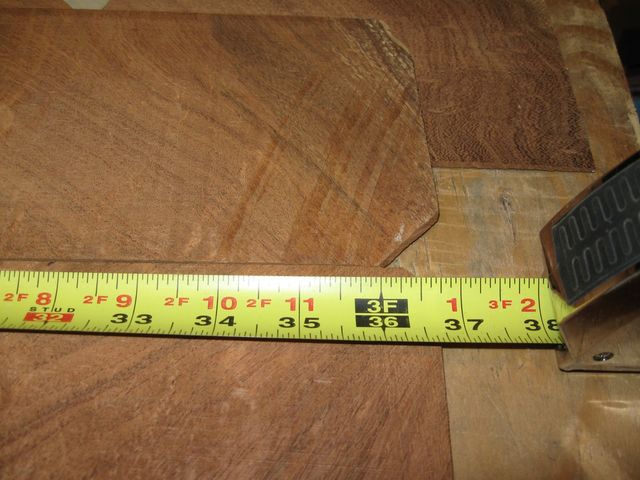
That Ought to be Enough
I put a mark on the boards where the edges touch so that I will be able to orient them the same way for gluing after I straighten the edges.
The Mark is Just an Arrow
Unfortunately, there is a little bit of warp to one of the boards.
This Board is Warped
Sometimes, with wood this thin, you can simply iron out a bend in a board with a steam iron. I did that once with a Maple board that became a finger board on a banjo.
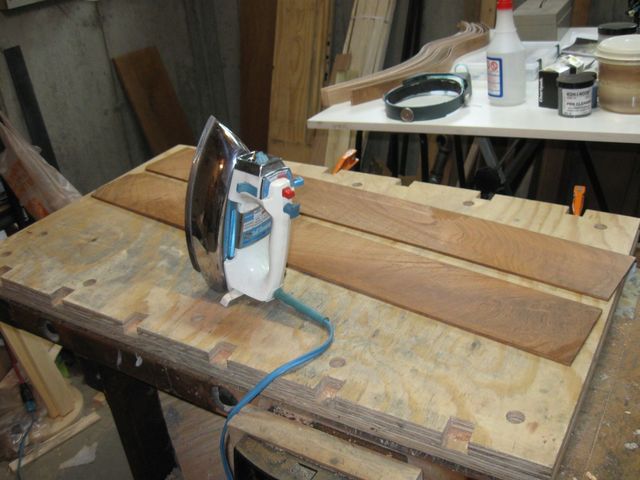
This is Just a Regular Steam Iron We Don't Use Anymore
I filled it with water, heated it up, and tried ironing out the bend. I could not remember which side I should iron on, concave or convex, so I tried the convex side first.
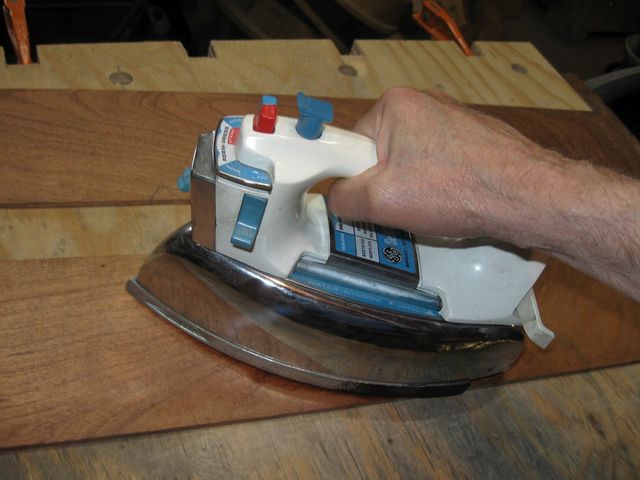
Ironing Out the Bend
That actually didn't work, and it made the bend worse. So I flipped it over, and I ironed on the concave side. That made it better, but I still could not get all of the bend out of the board. I put them side by side and measured the differences between the two pieces.
The Board on the Right Is Above the One on the Left
By the way, the hot iron scorched the board somewhat. You can see the scorch marks on the board in the right half of the photo. That problem will be fixed when I plane the boards thinner, but I didn't want to push my luck, so I quit using the iron.
Looking at the caliper, it looks like it is warped up just a tad less than 1/16".
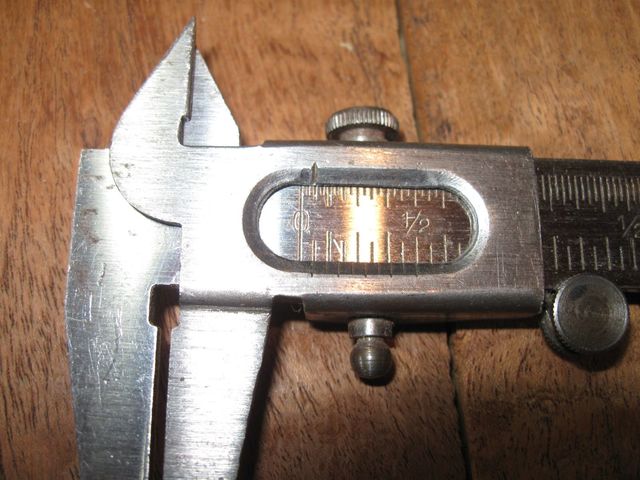
They are 1/16" Off
The boards are about 3/16" thick, and I need to plane them down to 1/8" before I glue them onto the sides. So I might be able to plane out the curve after I have edge glued them together.
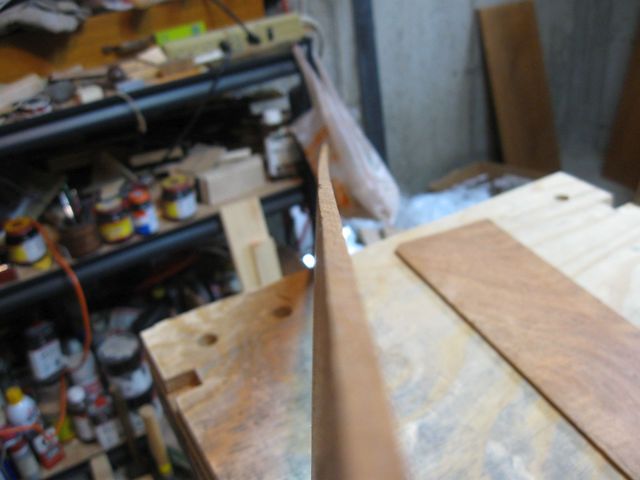
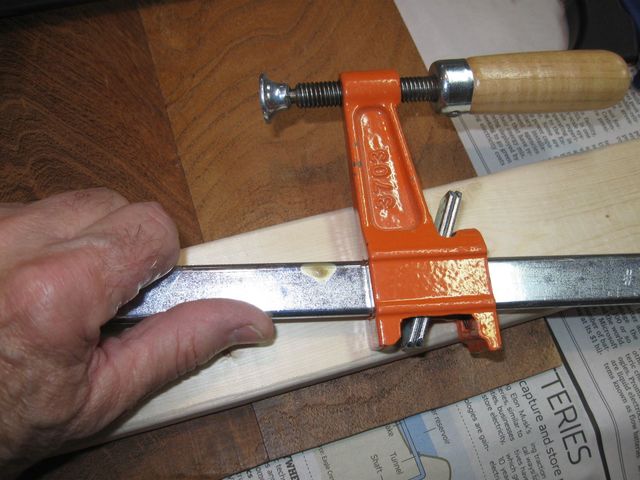
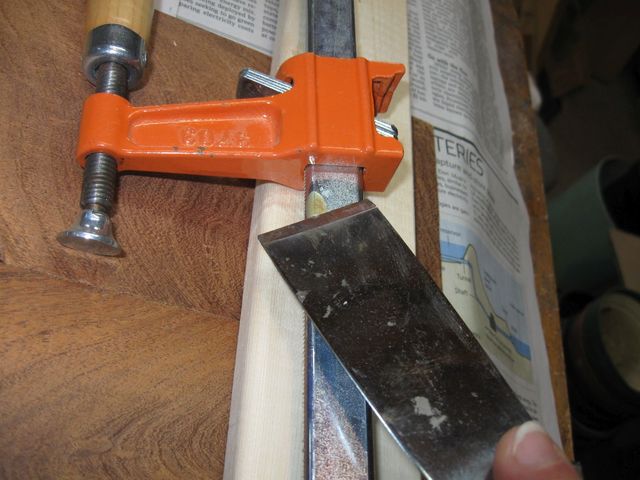
I clamped them side by side in the vise and used the plane to make the edges square and straight for gluing. It is tricky to edge glue boards this thin. Clamping the boards side by side and planing them both at the same time will allow any slight divergence from a square edge to be cancelled out. Any divergence from a square edge on one board will be exactly the opposite angle on the other board, so the two boards will still lie flat when glued together.
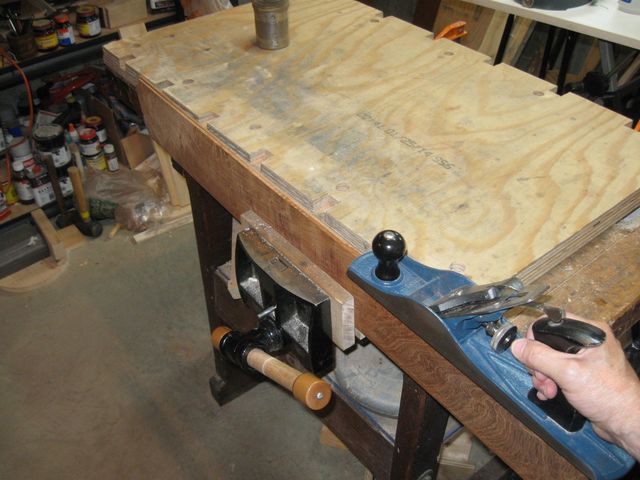
Planing the Edges Straight and Square
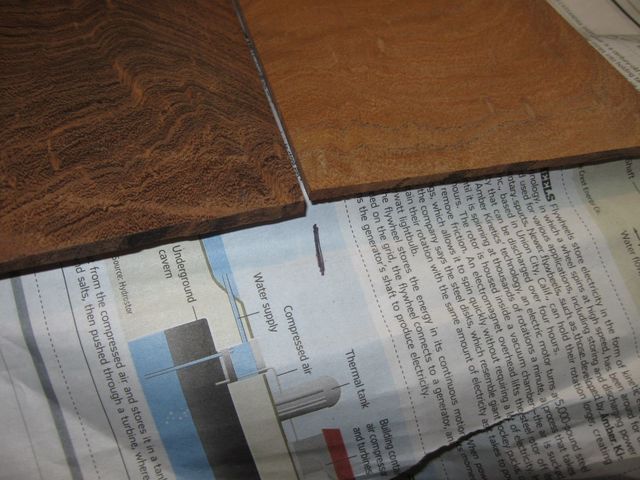
After planing the edges, I put the boards edge to edge to see how they look.
Not a Bad Joint There
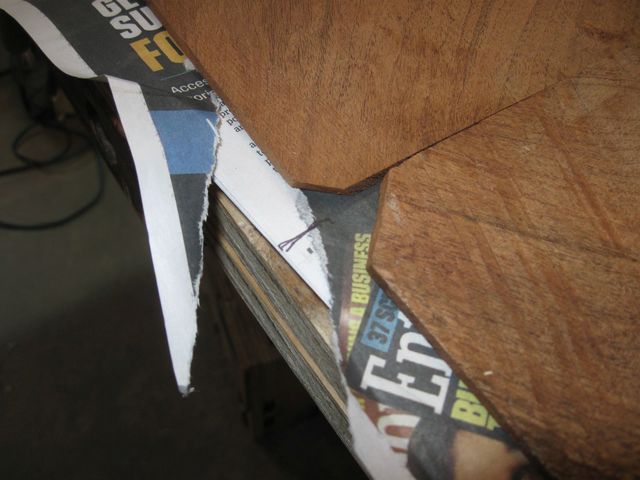
Same thing on the lower bout.
This One Looks OK Too
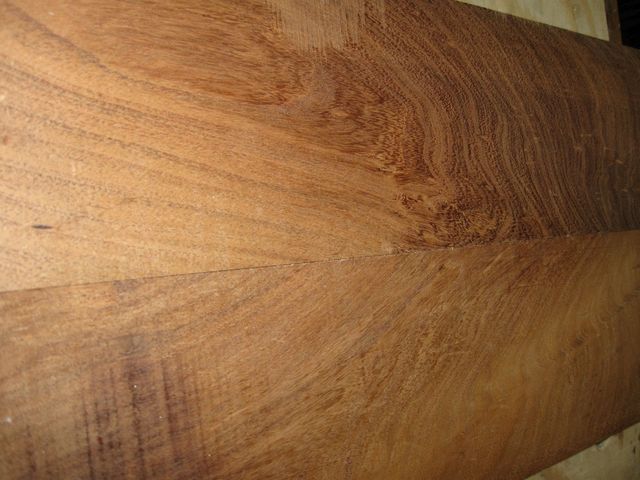
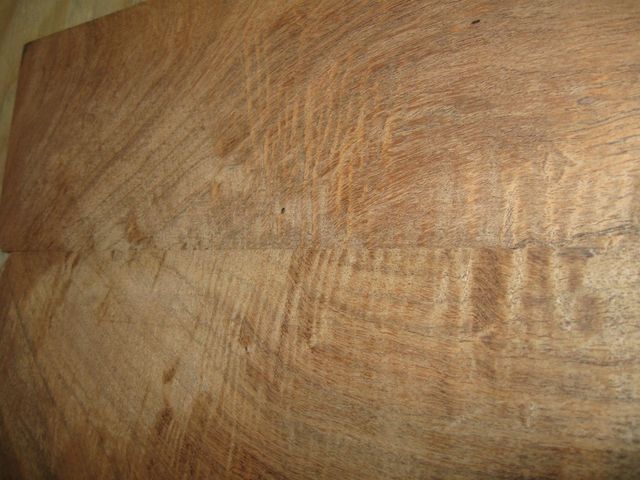
There is some nice figure in there.
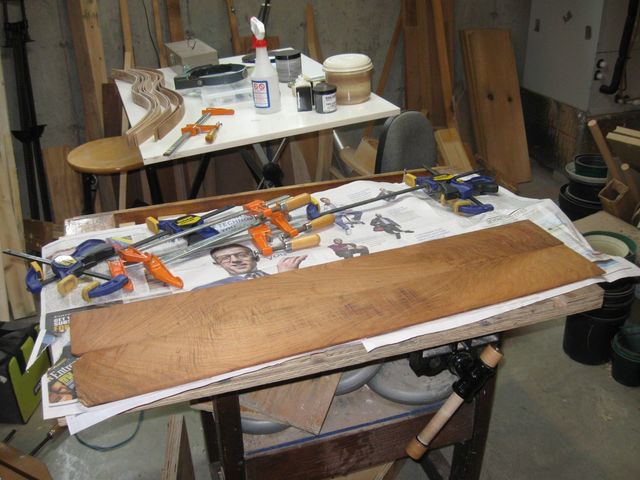
Since the wood is very thin, only about 3/16", gluing the edges together will require careful clamping to avoid having the boards buckle and come apart. So I started trying different ways of clamping them down flat to the bench at the same time as clamping them together.
At one point, one of the clamps would not close. After looking around at my setup and my bench for a while I found this.
There is a Glob of Glue in the Way
It took me a surprisingly long time to find that. I scraped it off with a putty knife and pressed on.
The Fix Was Quicker than the Find
I tried clamping some scrap wood down across the boards at the same time I clamped the edges together. The purpose of the crosswise boards is to keep the thing back wood from buckling under the pressure of the other clamps. That thin edge does not allow for much pressure before it will come apart.

This Didn't Work Out So Great
The problem was that I had to clamp the ends of the crosswise boards past the edge of the back wood, so they were suspended above the bench 3/16", and they were flexing in the middle and not really holding the wood down flat. I also had a really hard time getting the clamps to grip the edge of the thin wood since it was right against the surface of the bench. So I put piece of the MDF under the paper to lift the back wood above the bench.
The MDF Goes Under the Paper
Once the paper and the back wood have been put back down, you can't see the MDF, but it is there. Elevating the back wood solved the issue of the clamps resting on the bench, but it made the other problem worse because the crosswise boards were even higher above the bench.
So I tried something else.
The Edges of the Back Wood Extend Beyond the MDF
I finally changed the arrangement to use my flat piece of steel clamped lengthwise down the joint to hold the seam together while I clamped the edges together. I covered it with waxed paper so that I would not glue the steel to the wood. That is the same piece of steel that I used to grind my plane iron, but it wasn't flat enough for that. It is flat enough and strong enough for this.
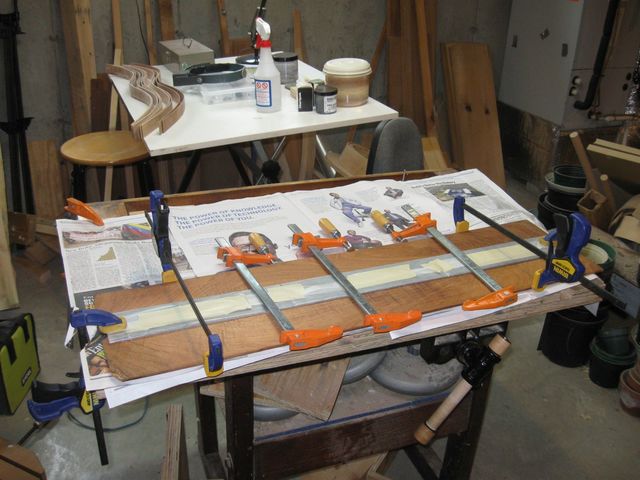
This Looks Like It Can Work
In order to keep the back wood centered on the invisible MDF, I put a mark on the paper to indicate where the center of the MDF is located.
The Mark is At the Center of the MDF Board
I put a mark at the other end too.
The Other End
The picture below looks just like the one above, but it isn't because in this one the boards have been glued. I could not take photos while I was gluing the boards because I only have two hands, and I needed both of them to maneuver those two boards together.
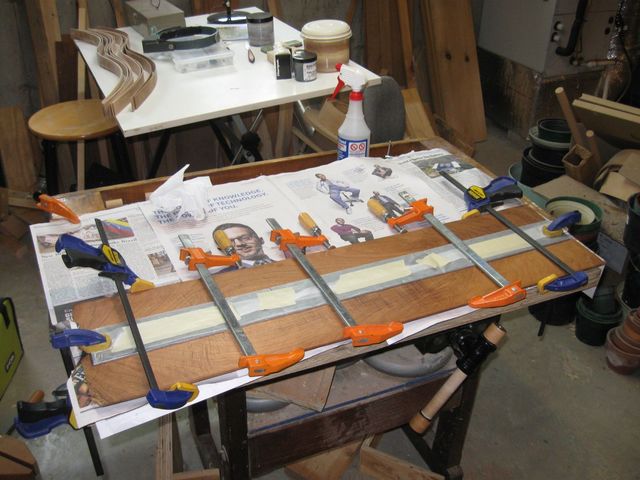
These Boards are Glued
Now I need to let them dry for a day. Since the glue area is only 3/16" wide, I want to make sure that the glue is totally dry before I unclamp this.
