I have two more practice boards in Oak to bend before I jump off the cliff and go for it with the Mesquite. There is one minor issue, and that is that the Oak boards are not as long as the Mesquite boards.
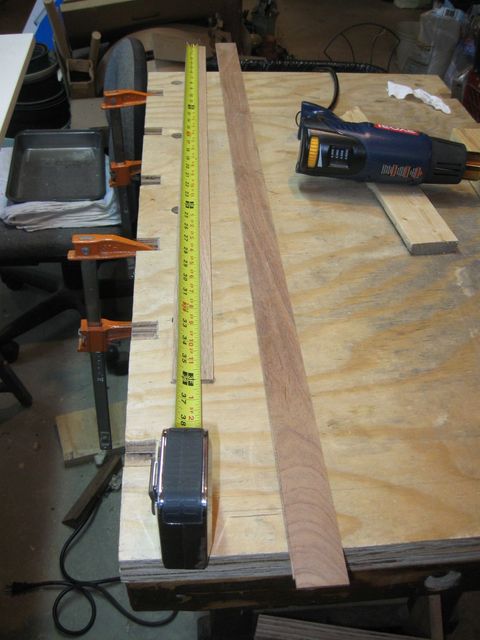
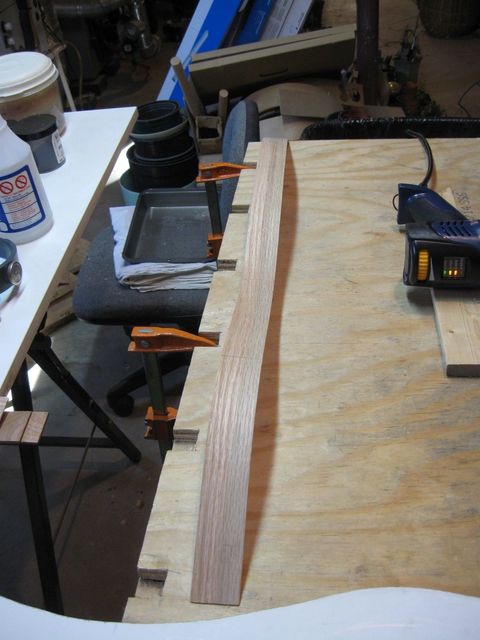
Measuring the Oak Board Length
The Oak boards are 36 inches long.
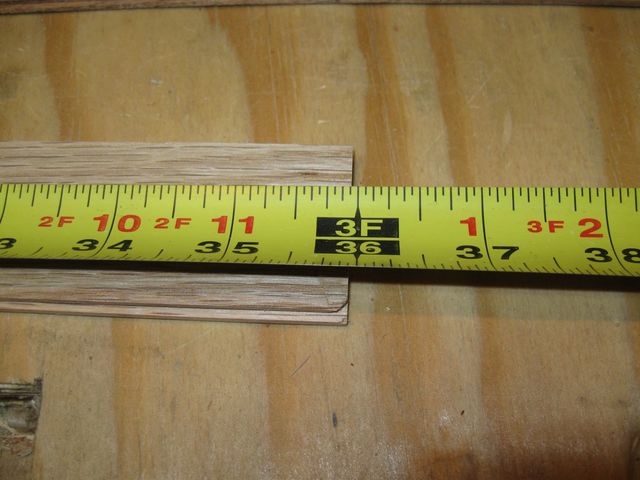
36" Minus a Hair for Sawdust
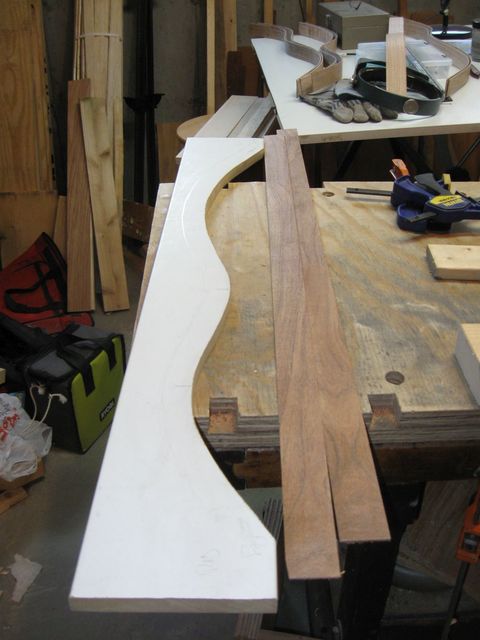
However, the Mesquite boards are longer.
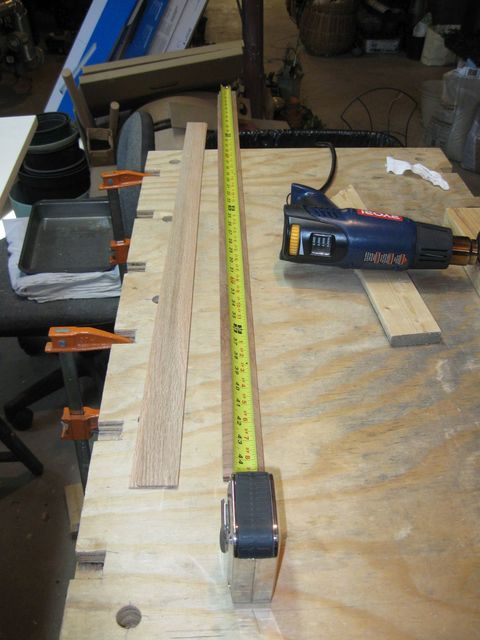
Measuring the Mesquite Boards
These boards are 44 3/4" long.
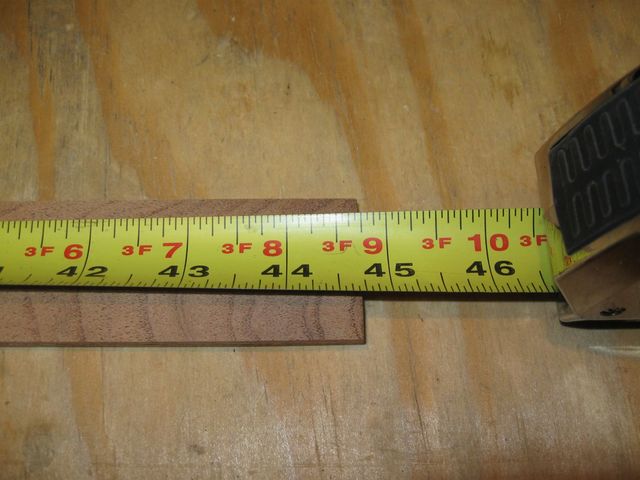
I Don't Know why These are 44 3/4"
I don't know where the 44 3/4" came from, but that is the length that the boards were cut to. I decided that I would shorten the Mesquite boards down to 36" before I started bending them. I do not want to do something different with my real sides after practicing so many times on boards that are 36" long. I will maximize my chances for success if all the conditions are the same. I want everything to be as close to what I practiced while learning how to do this. But that is for later. Right now, I need to bend the last two oak boards to see if I can improve the outcome from my previous attempts.
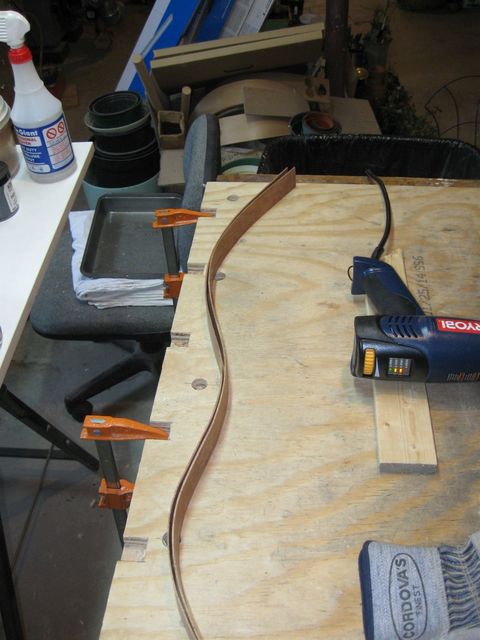
I discovered last time that the wood actually bent easier and quicker when I used no water at all. So I set up my bending equipment, and eliminated the water bottle.
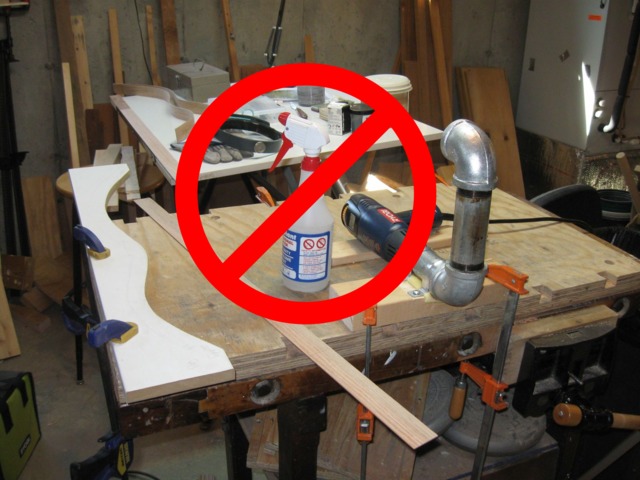
The Spray Bottle is History for This Bend
I also set up a tripod with my other camera on it so that I can photograph myself in the process of bending the Oak.
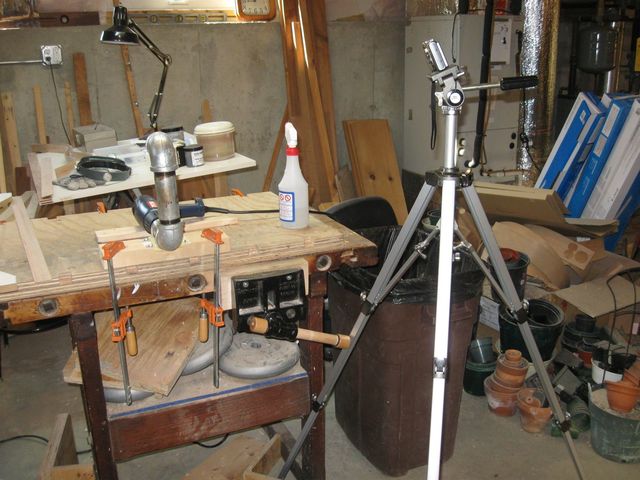
I Used the Timer Function of the Camera to Shoot the Photos
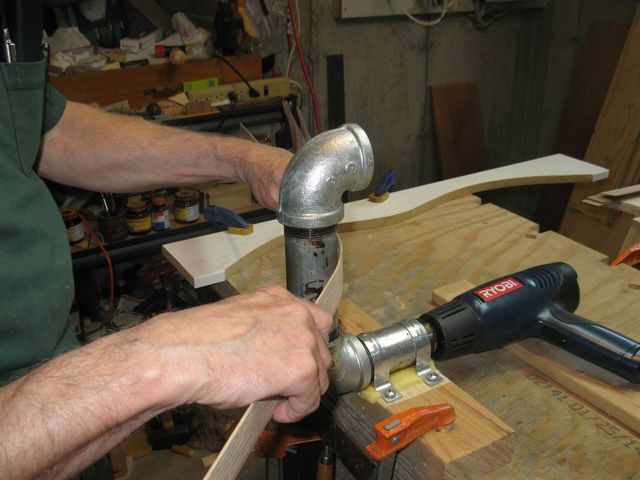
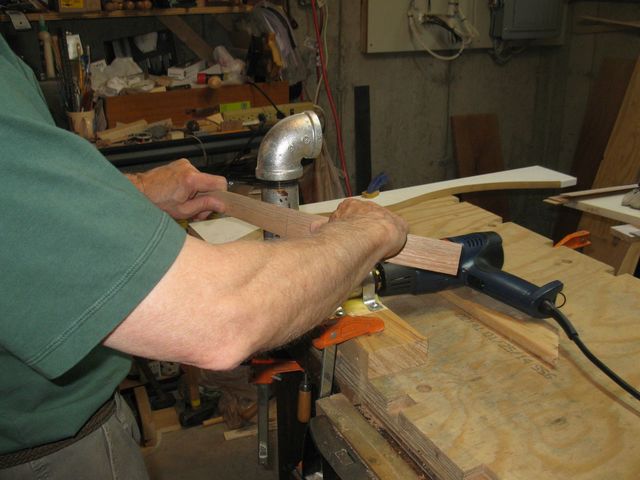
The following photos are somewhat staged because I had to stop bending for a few seconds to start the timer on the camera. But other than that, I was bending the wood when the camera triggered. I used a pushing motion sometimes, where I gently pushed the wood against the hot pipe with one hand on either side of the bending location.

This is Bending the Waist of the Board
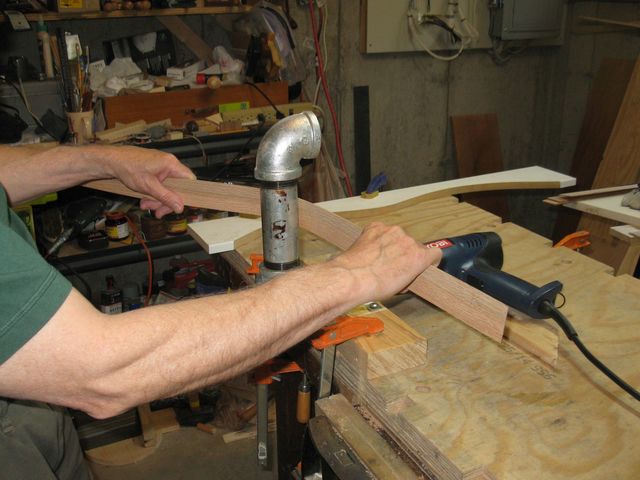
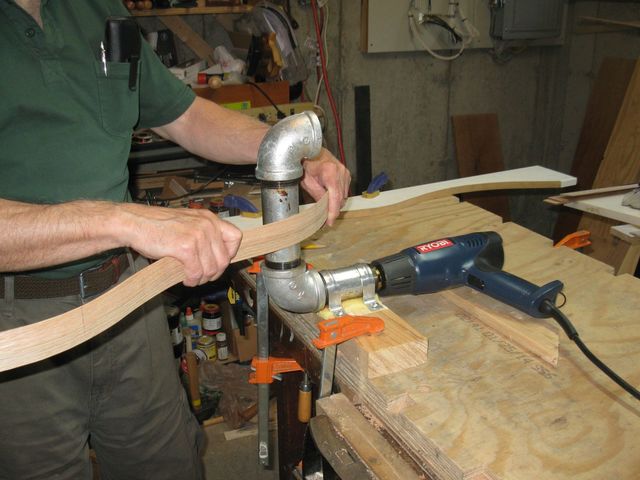
The two bouts are bent in the other direction, so I pulled the board around the back of the pipe.
Pulling the Board Bends it the Other Direction
I also flipped the board over and reversed the action. I just did what seemed like it would allow me to maintain control of the wood. You can't tell from the photograph, but I was rocking the wood back and forth as well as pulling on it. That distributes the heat across a wider section of the board for bending a smooth curve. This was a rocking motion, not a sliding motion. Sliding the wood back and forth across the iron will mar the surface of the wood.
You Don't Want to Slide the Wood
When the board was flipped, I would push on it to bend the bouts. It was all about doing what was necessary for me to visualize the change I was making in the shape of the board.

Pushing a Bend for a Bout
I found that I could remove the winding of a board by twisting it as I pressed it against the hot iron. You can sort of see that in the photo below. I simply twisted the board in the opposite direction of the winding and pressed the affected section of the wood against the iron.
Removing the Winding
So, that is the way that I did it. Pushing and pulling and trying to keep the wood straight. I would check it often to see if I was bending it crooked, and then making corrections until the shape of it matched the shape I was was trying to achieve.
Bending a Bout
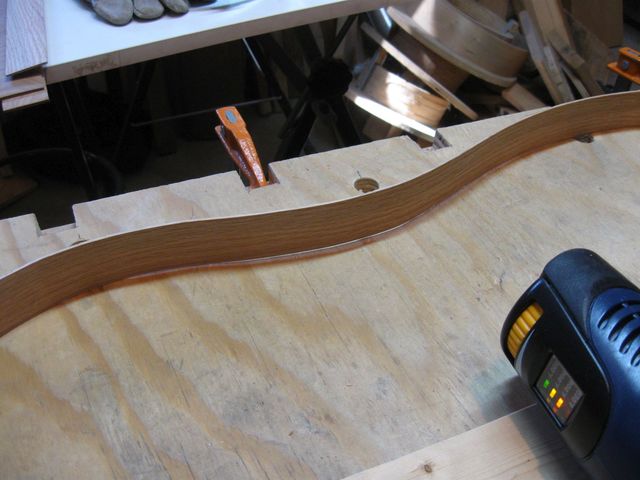
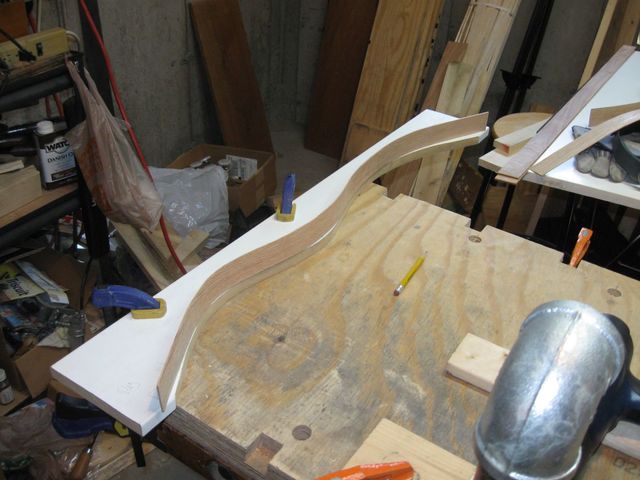
I bent the wood gradually, checking often against the shape of the template.
This Board is Getting Close
Here you can see that the bouts are a bit better aligned with the form.
This One is Almost There
Here is something that I had not noticed before. The marks that I put on the inflection points move as I bend the board. The marks move toward the center of the board.

This is the Mark on the Right Side
The mark on the left side bout moves to the right.
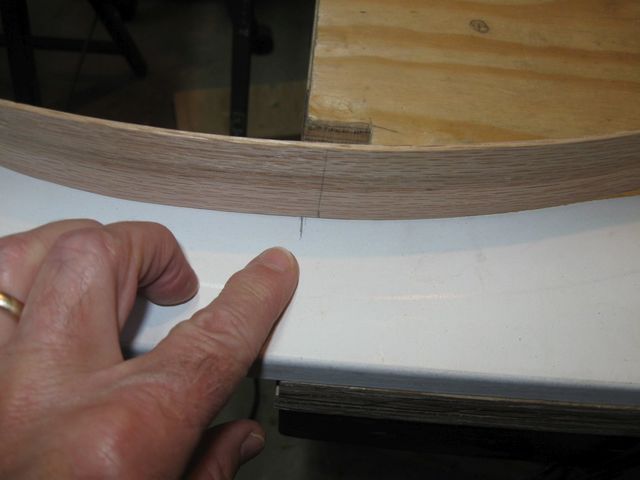
The Mark on Left Moved to the Right
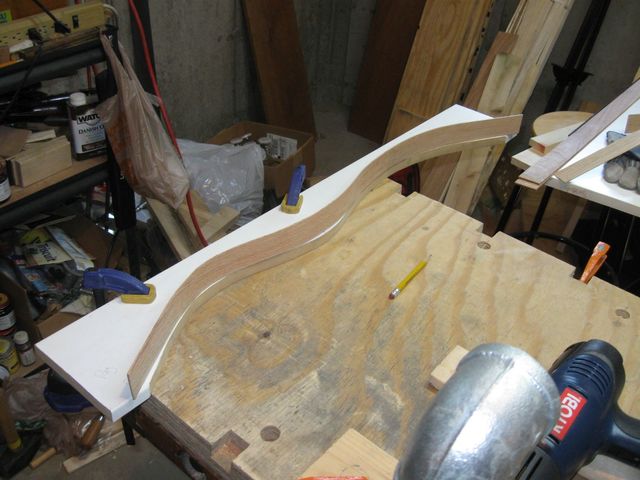
This makes perfect sense considering that the bends are taking up some of the length of the board. It also explains why I was initially chasing the bend points as I bent the boards. If I continue to align the board with the template by aligning the marks, I will be bending the board in the wrong location. Then, as I move from the left bout to the right bout, I will be bending the board out of alignment with the template, and chasing my tail. Once I understood that the points of inflection are moving around, I could visualize the shape better. In the photo below, the board looks pretty good.
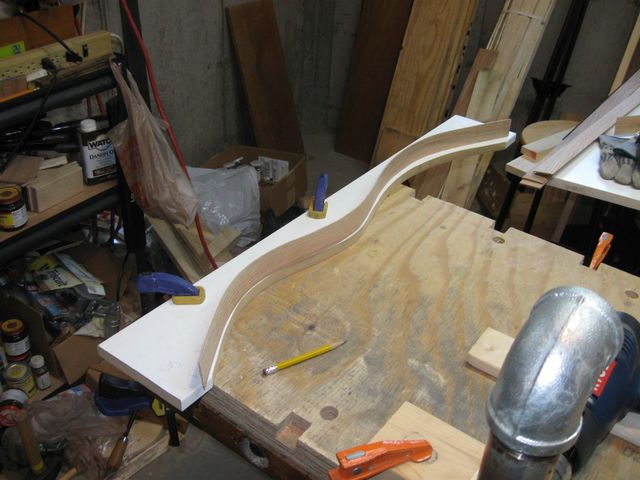
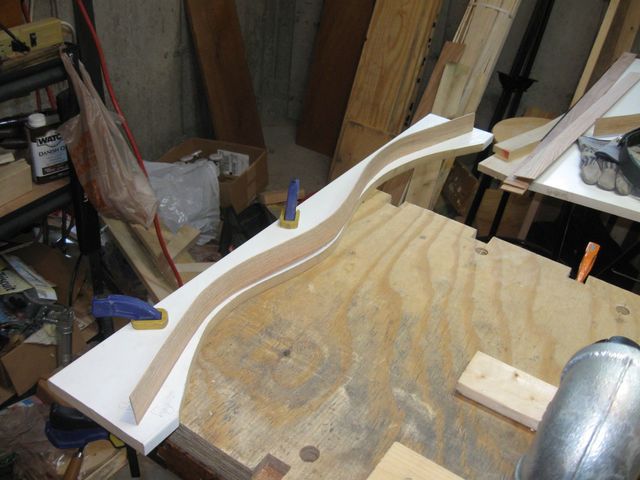
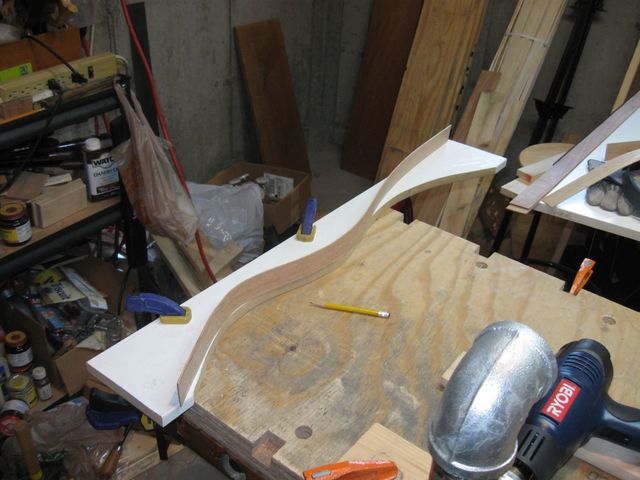
Is This One Done?
Not quite. I spent a few more minutes fine tuning the curves.
Now It's Done
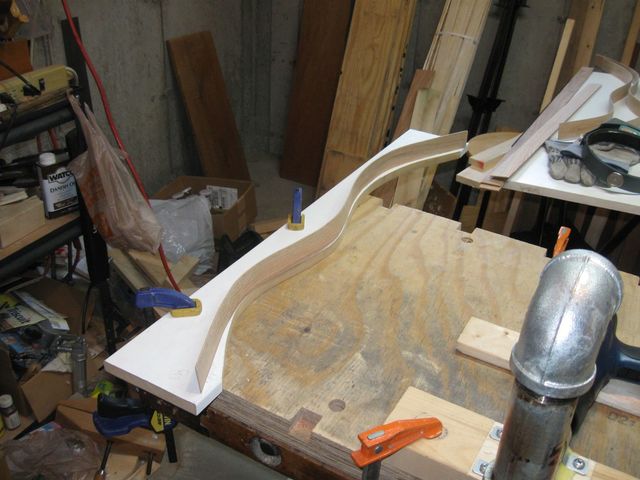
I put the board down flat on the bench to check for flatness, winding etc.
Checking that the Board is Still Square
It isn't quite square. You can see some light between the bottom of the board and the bench.
The Board Does Not Lie Completely Flat
Here's a closer shot.

There is Still Some Winding in the Board
When I balance the board on its ends, you can see the winding there as well. See how it tilts slightly to the right side.
The Board is Tilting Slightly to the Right
I took it back to the iron and twisted it while heating it.
Now it Sits Squarely on the Bench
I declared that board done, and started the second board.
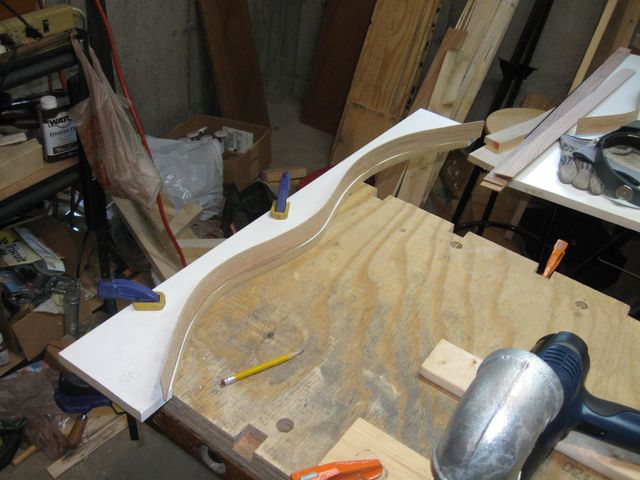
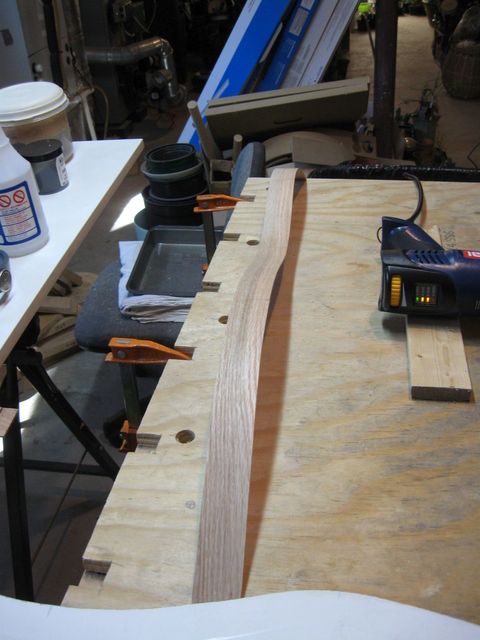
The Waist is OK, but the Bouts are Wrong
I kept working on it slowly, adjusting the shape as necessary to make it match the template.
This Is Closer
Closer still.
I Think This One is Done
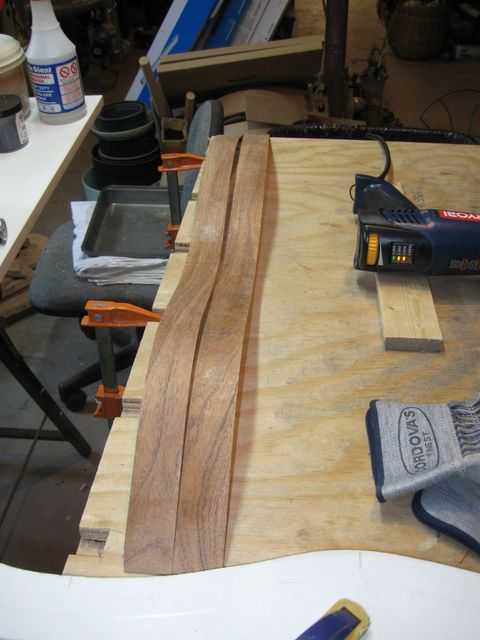
Side by side, the two boards look very similar in shape.
These Two Sides are Mostly the Same Shape
Laying them out on the bench, they look fairly symmetrical.
Looks Kind of Like an Hourglass Dulcimer
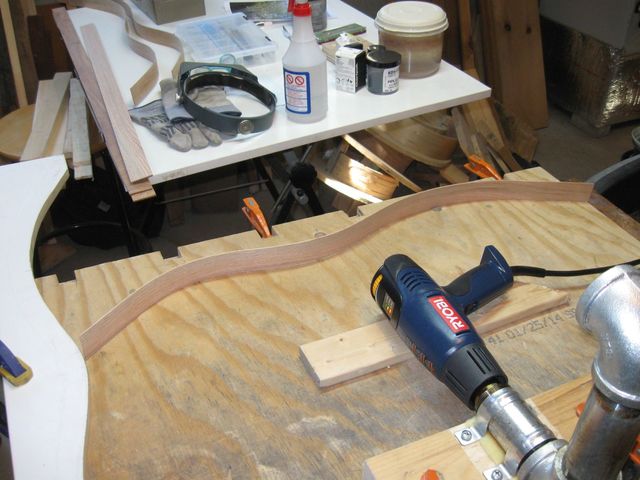
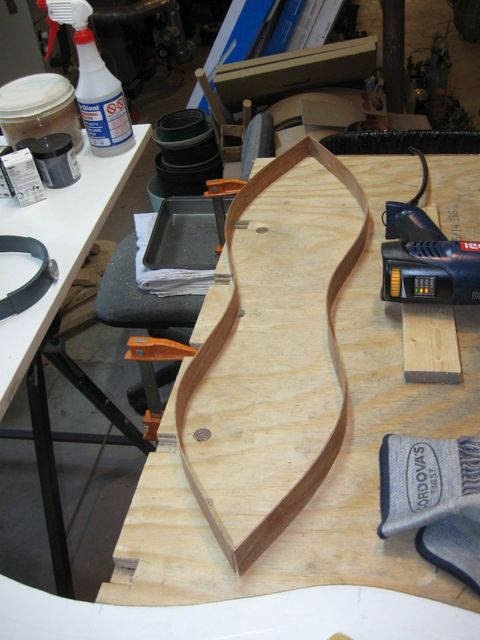
Of course, the dulcimer will not be that wide because the ends of the boards will be cut off to make the instrument the correct width. To see what that will look like, I propped one side up on some scrap and moved the two sides closer together.
This is Closer to the Final Alignment of the Sides
Here is a photo looking straight down on the arrangement.
That is the Shape I am Looking For
The final test is to spoon the two sides together. If they don't exactly fit the shape of the template, that is OK as long as they are the same shape as each other.
These are Close, but Not Identical
That was good enough. I could probably do more corrections on those two sides to make them fit together better, but this is a practice run, and those sides will not be used. So I called it quits.
My original plan was to bend the two oak sides and then be done for the day. But I got these two done quickly enough that there is plenty of morning left. So I decided to go ahead and bend the Mesquite right away, while the technique is fresh in my mind. There is no time like the present.
First thing, I have to cut the two Mesquite boards to their proper length. I cut equal portions off the two ends to pull the usable length out of the middle of the boards. Since the boards are 44 3/4" long, the middle of the board is at 22 3/8"
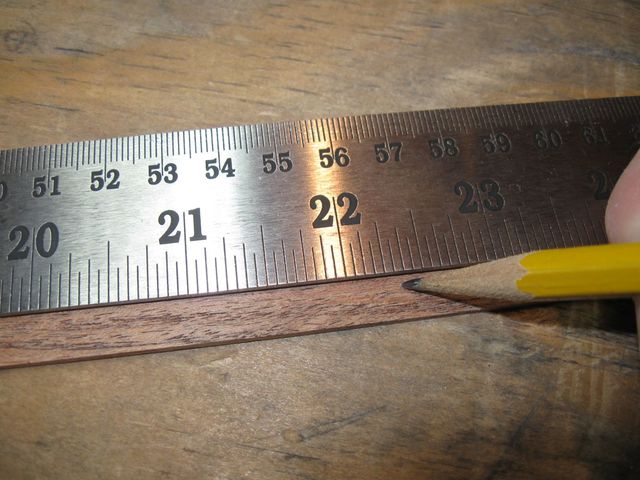
Mark the Middle at 22 3/8"
From there, I marked each end at 18" from the middle. To double check that I have the measurements correct, I aligned the two outer marks with the edges of the template.
Checking that I Have Marked the Mesquite Properly
The far edge of the template is on one of the marks, and the near edge also lines up with the other mark.
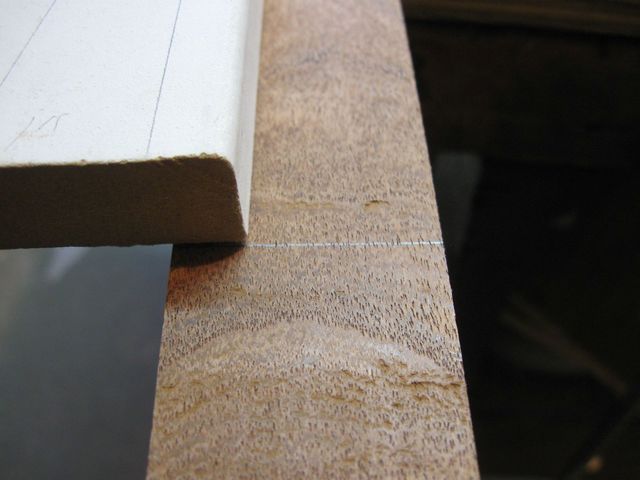
This End Should Line Up, and It Does
I cut the ends off the boards.
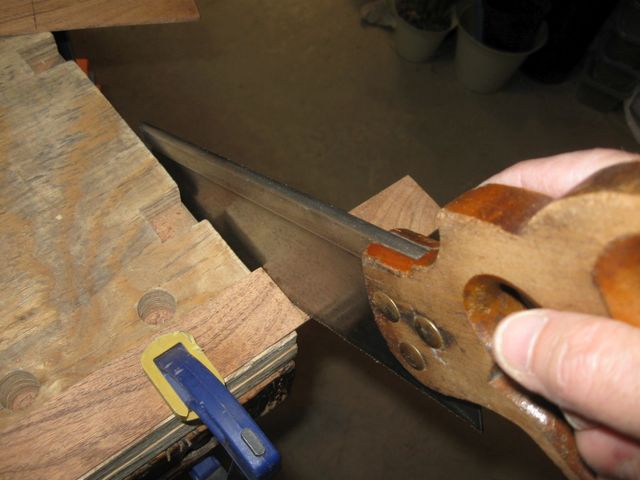
Cutting the Ends Off the Boards
I erased the center mark to avoid confusion when I marked the inflection points.
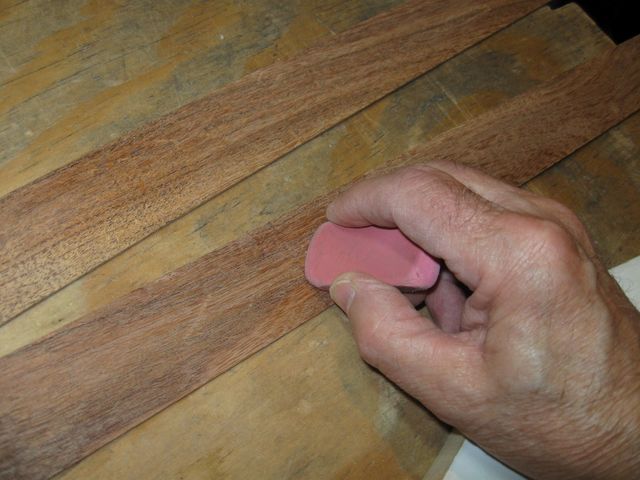
The Inflection is Not in the Center of the Board
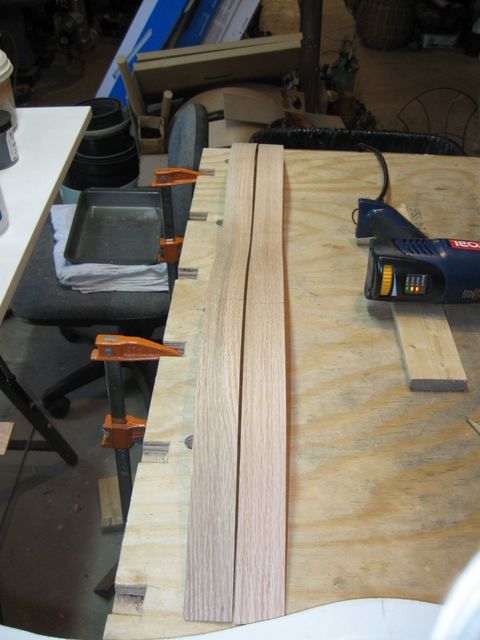
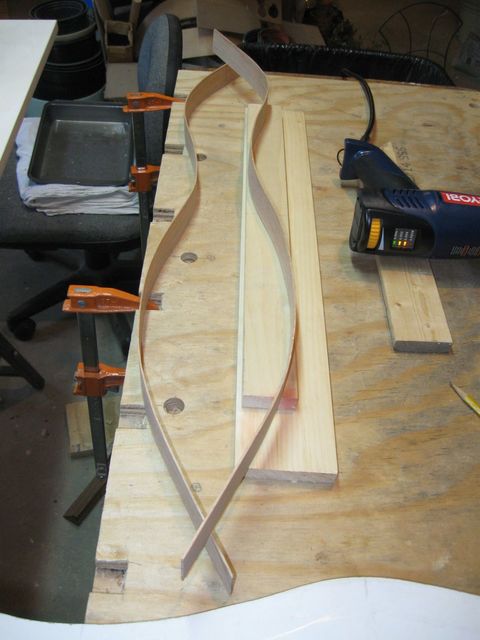
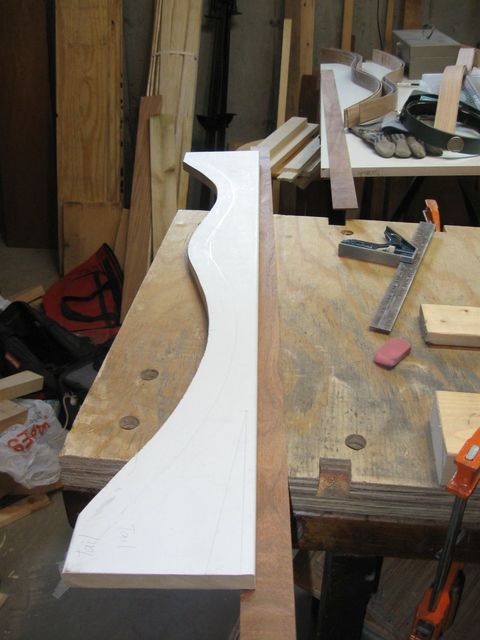
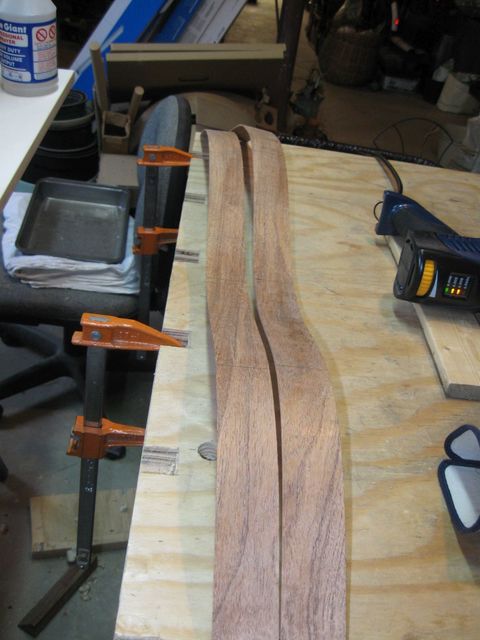
OK. Here are the two boards, ready for the Big Time Bend.
This Time Its the Real Deal
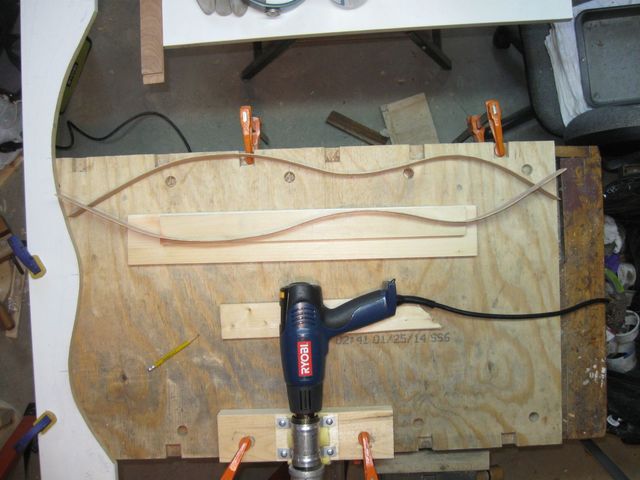
I did not take many photographs during this bend because I wanted to concentrate on getting the bending done properly. So there isn't much to see for a while. I turned on the heat gun to heat up the iron at...
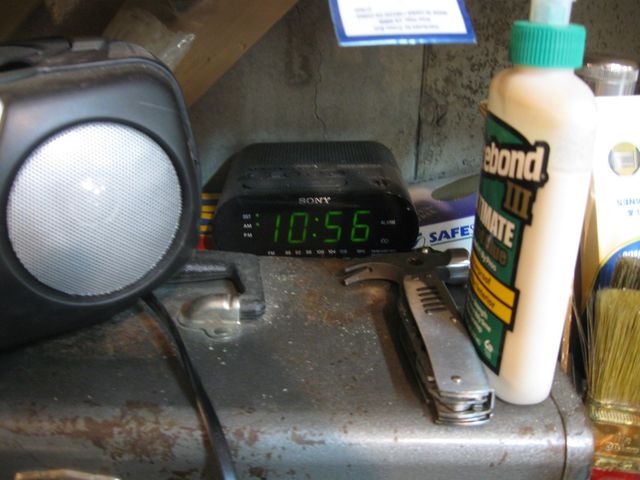
Just Before 11:00 A.M.
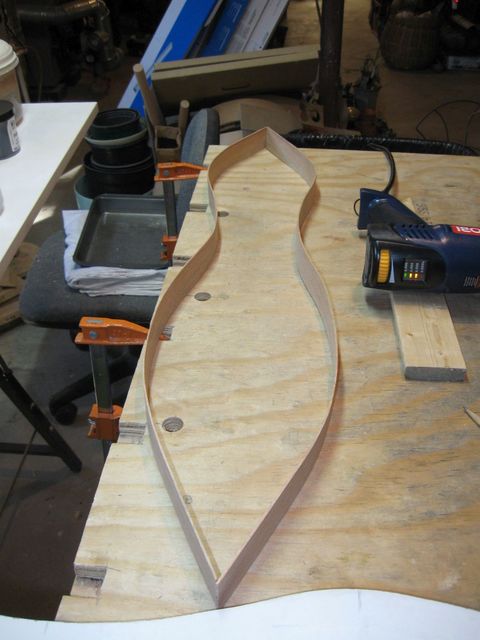
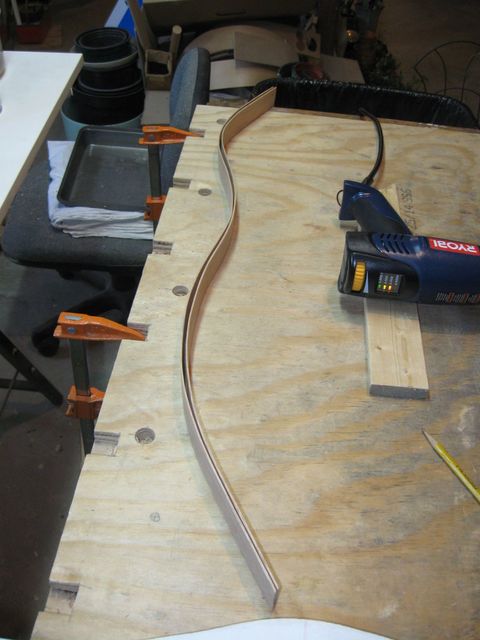
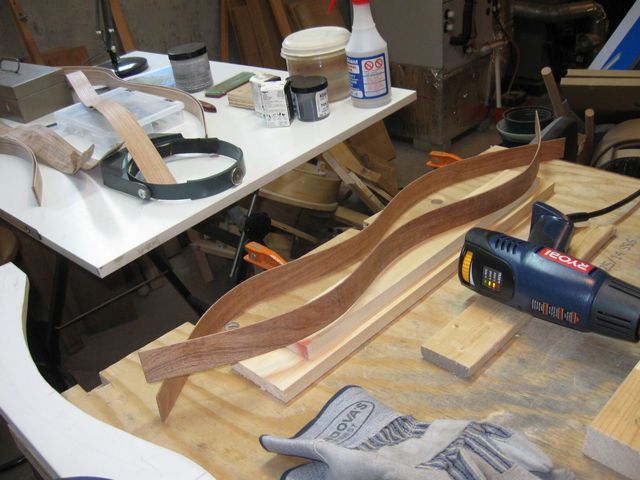
Bending and measuring.

This is Getting There
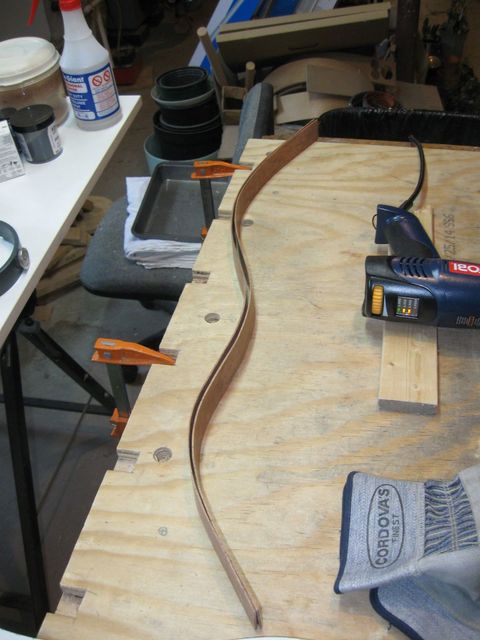
I kept going until it was right.
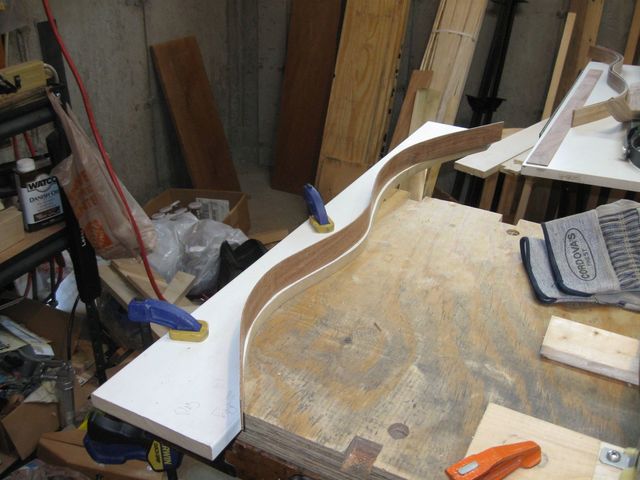
That is a Pretty Good Fit
I started the second board.
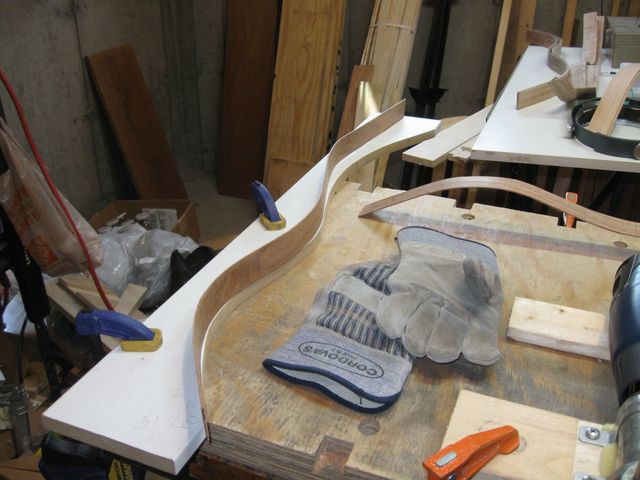
This is the Second Board
I worked until it was a good fit.
This One is Mostly Done
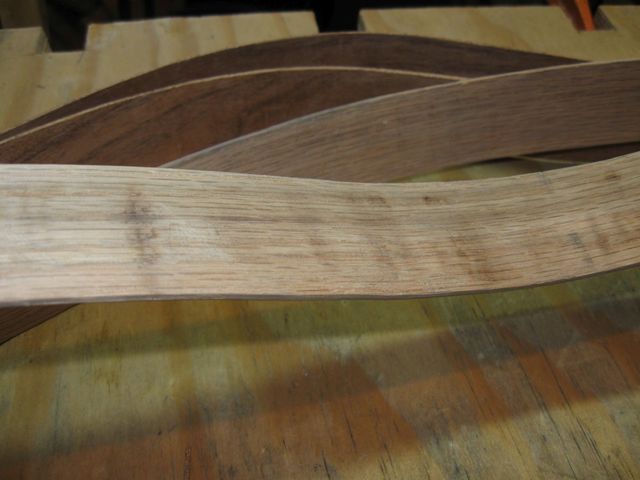
Placing the two boards side by side, you can see that the one on the right has a bit of winding in it.
The Right Board is Twisted
I worked out the twist as best I could and spooned the two boards together.
Making the Two Shapes the Same
I kept working on the twist, but it was difficult getting it all out.

This is Still Not Square
I can push the board down gently and remove the twist.
If I Push On It, the Twist Comes Out
I finally gave up on "perfection" because I did not want to overwork the wood. That tiny bit of twist will come out with gentle clamping when I glue it all together. Set side by side, the two sides don't look too bad.
These are Pretty Close
Spooned together they look pretty good too.
These Two Shapes are Pretty Close
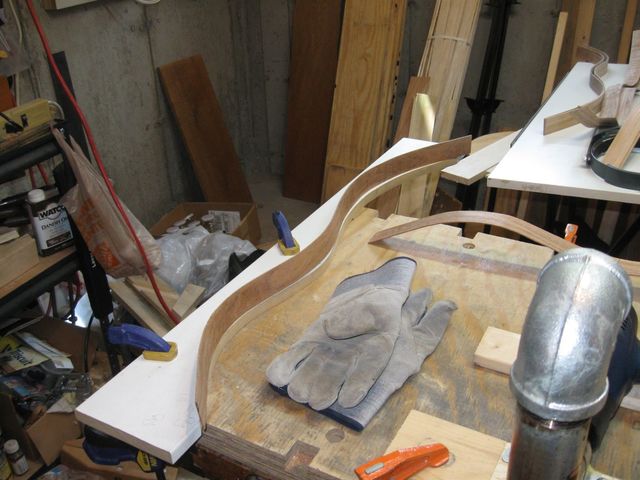
Here is the basic hourglass dulcimer shape.
That Looks Pretty Symmetrical
With one propped on top of the other, they shape looks even closer.

The Upper Bout is on the Left Side in This Photo
Here it is from the side.
Looks Pretty Good
Here is the clock.
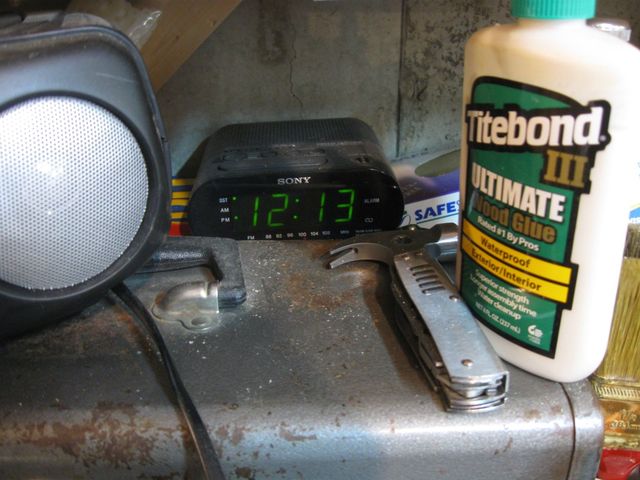
Just a Tad After Noon
So it took me about one hour and 15 minutes to bend the sides. I spent a little more time trying to get the twist out of that second side, so it took longer than the Oak. But even with that extra effort, it wasn't all that long.
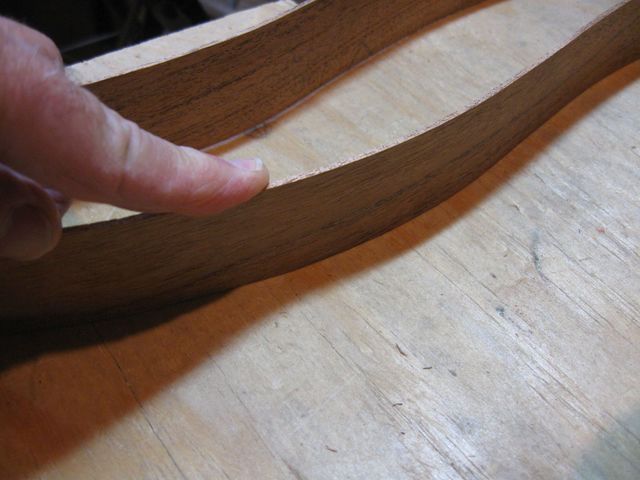
Checking out the surface of the wood, there is some minor marring.
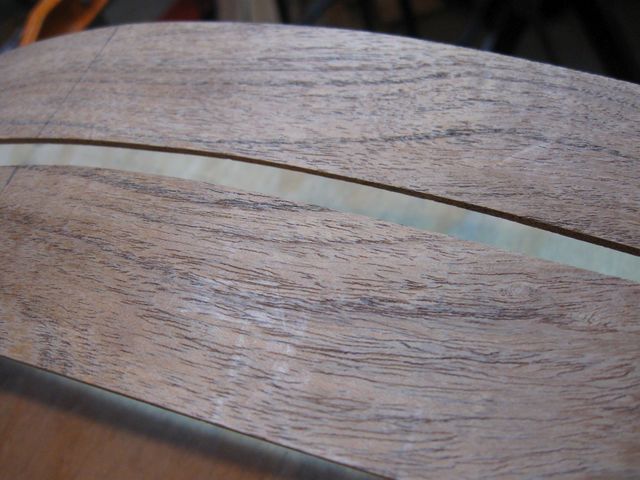
The Shiny Spot on the Bottom Board is Surface Marring
There is a little bit more in some other locations.

This Will Easily Sand Out
I did not see any burned wood on the sides. The shiny spots are just buffed areas from too firm contact with the pipe or sliding the wood along the surface of the pipe. They will easily come out with sanding or scraping with the card scraper. No big deal.
I compared the Mesquite sides with the very first side that I bent.

This is On the First Side I Ever Bent
Same here. Lots of burned wood.
This is Also On the First Side
Here are all the sides that I have bent, arranged chronologically with the earliest at the bottom. The Mesquite sides are at the top of the photo.
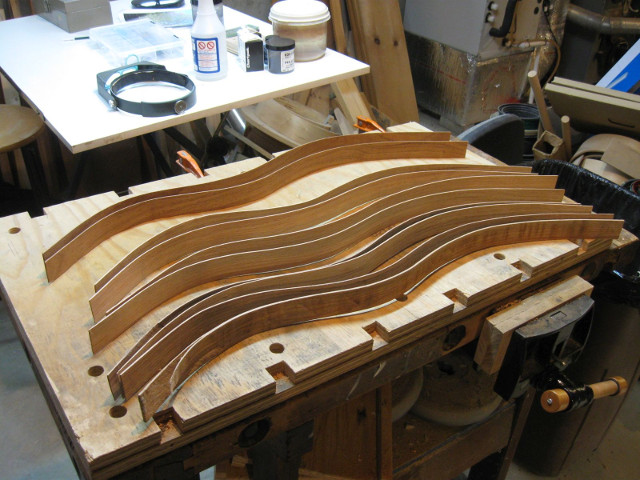
All of the Sides In Order
There is quite a bit of improvement between this...
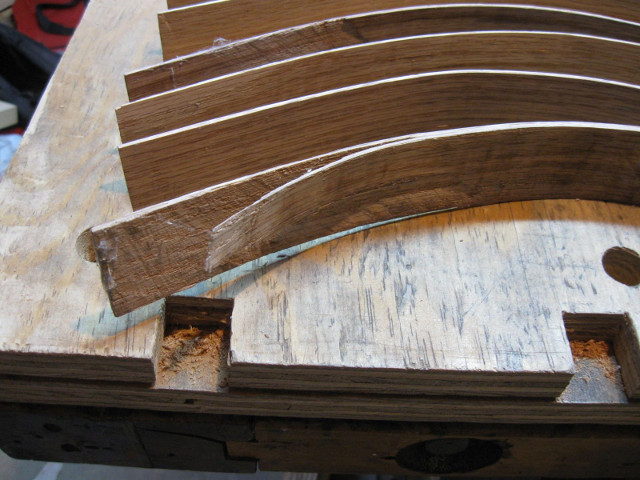
Burned and Broken
.... and this....
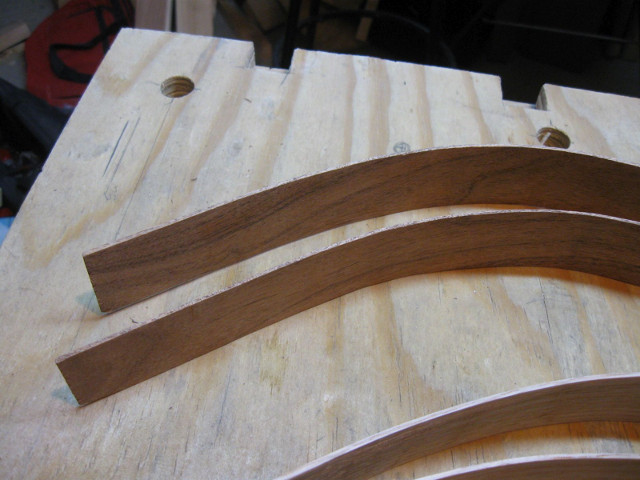
Nice
That is it. The scariest part of this build is done. The sides are bent. Now I need to get back to the cutting of the other parts. See ya next time.
