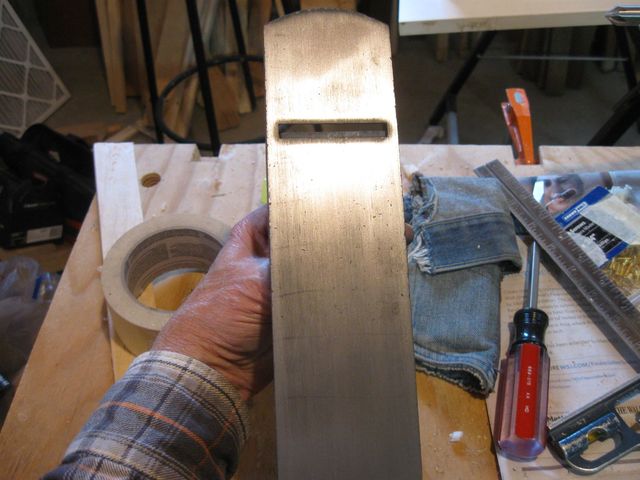
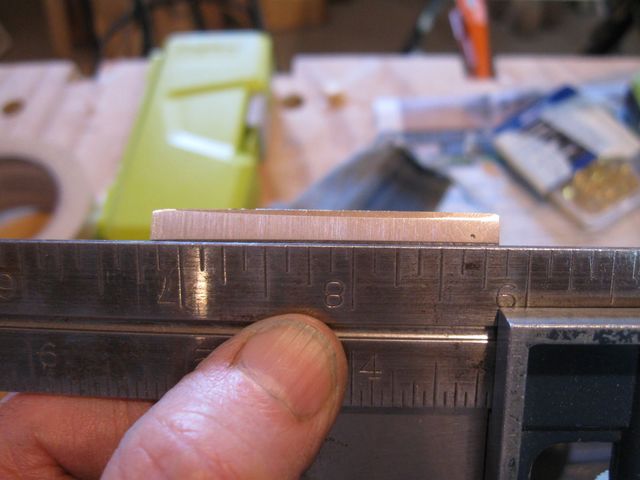
I need to figure out how to fix the cutting iron bevel. I took a look at my "flat surface" piece of steel again.
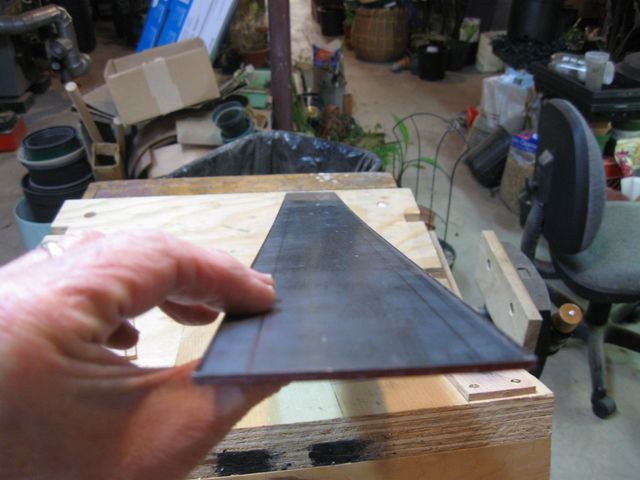
Looks Flat to Me
I put the straightedge on it to make sure. It doesn't look very flat under the straightedge.
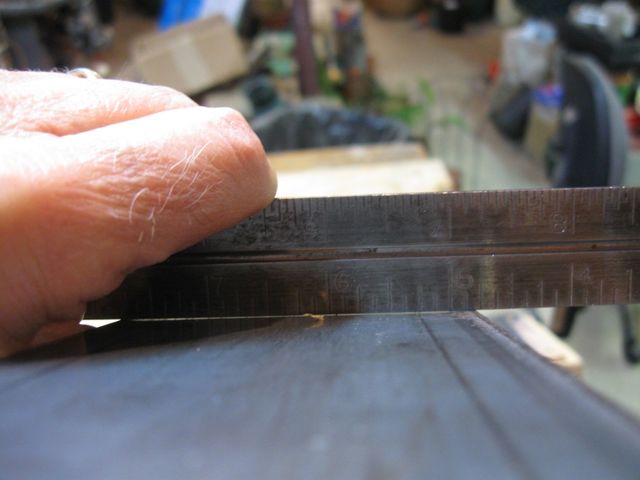
There is Definitely a Light Leak on the Left
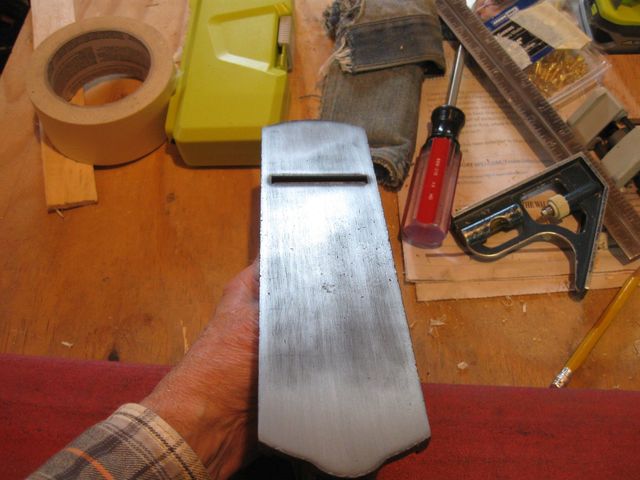
It looks like there is some cupping on the left side. That could be causing the corner of the blade to get rounded. I have read that you can use MDF for this if the MDF is flat. So I picked up one of the leftover pieces of MDF and checked it.
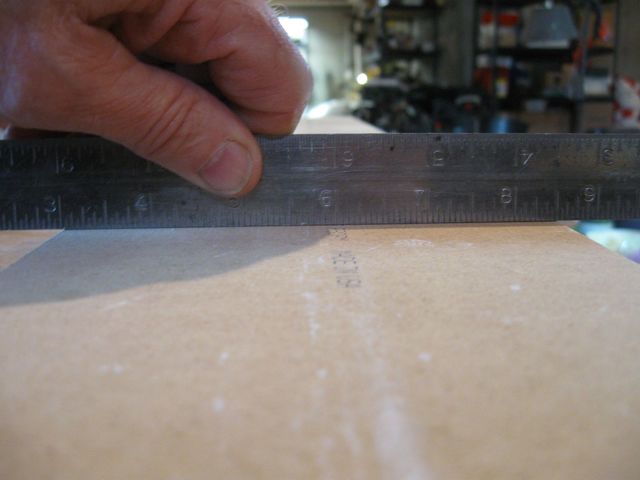
That Looks Flat
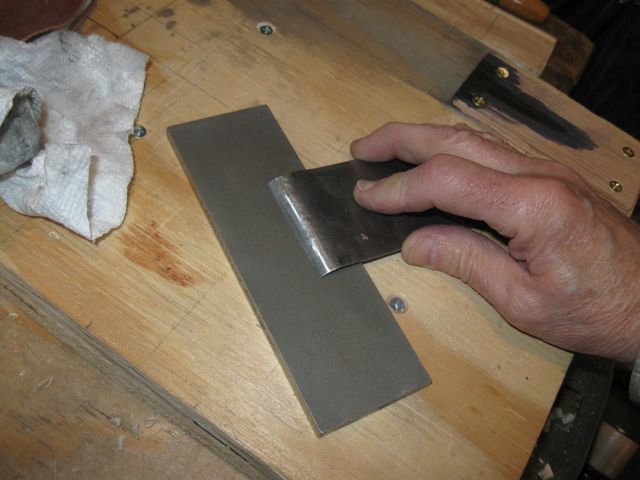
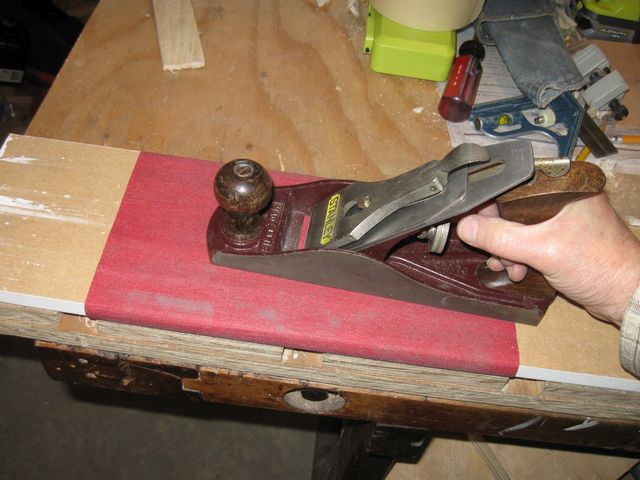
I wrapped a piece of my 120 grit paper around the board and started over again.
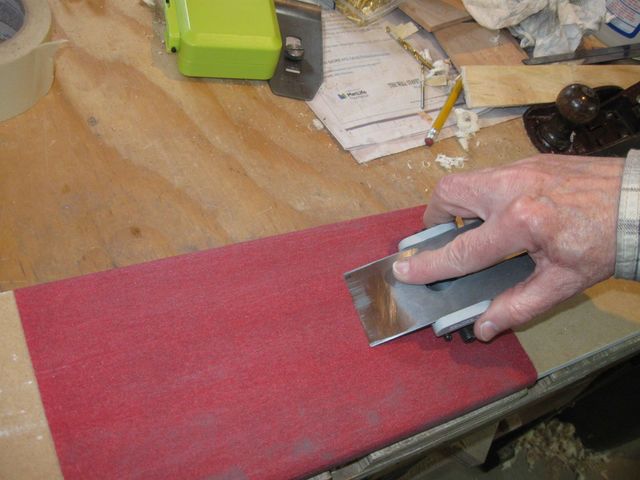
Using the MDF as My Flat Surface
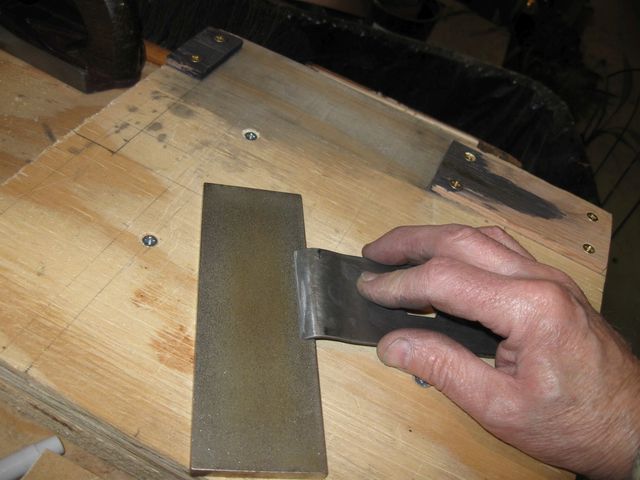
I also moved on to dressing the edge of the cap iron. Just as with the cutting iron, it looks as though the cap iron was never tuned. The marks on it look like original manufacturing marks. Placing the edge on the stone and the tail on the bench should provide a proper angle for the mating surface.
Smoothing the Cap Iron Edge to a Good Angle
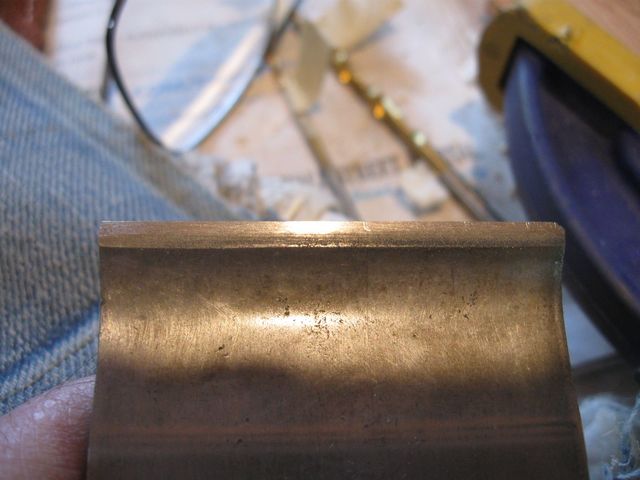
The cap iron needs to fit onto the cutting iron closely in order to avoid getting wood chips jammed between the two.
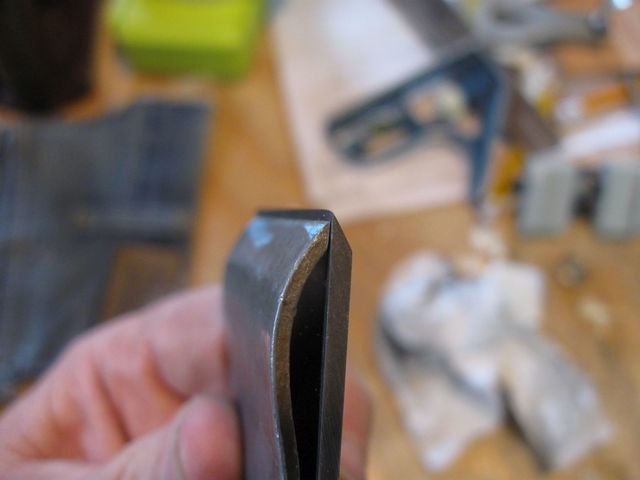
This Still Needs Some Work
But it isn't a terrible fit. At least it looks square to the edge.
This Joint Needs to be Tight
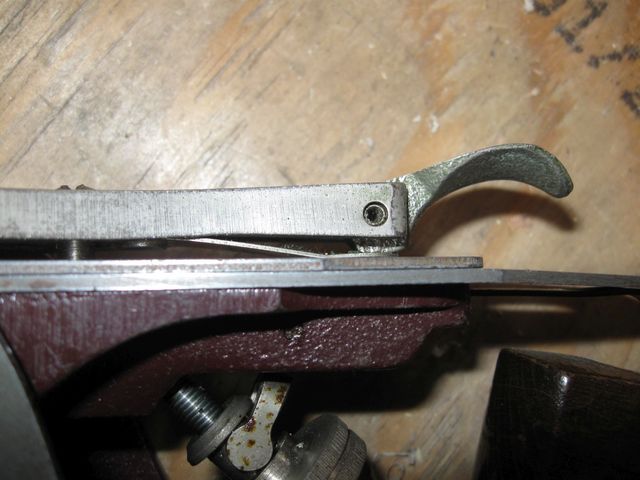
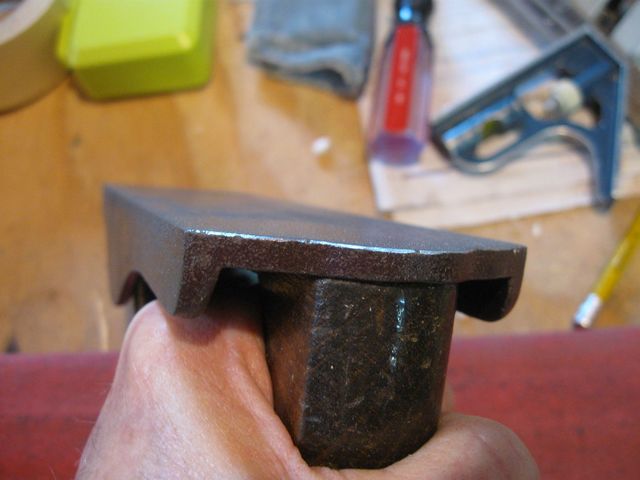
Here is another problem that popped up, this time with the lever cap. The lever does not snap down and lock. On my 14" jack plane, the lever on the cap snaps into position with a positive snap. When it is closed, it looks like this:
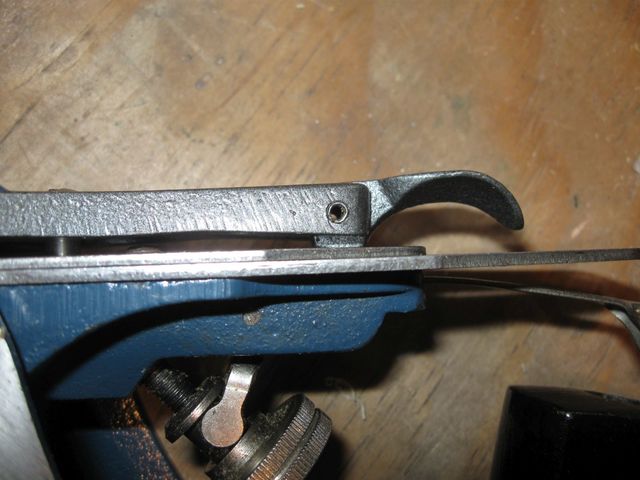
This is On the Jack Plane
On the smoothing plane, the lever pops back up. And while it appears to keep the lever cap in place, it is not a very satisfying set. The lever does not snap down into its proper place.
This is On the Smooth Plane
It looks like the bottom of the lever on the jack plane is flat, and the bottom of the lever on the smooth plane is round. So I got out my file to see if I could put a flat on it.
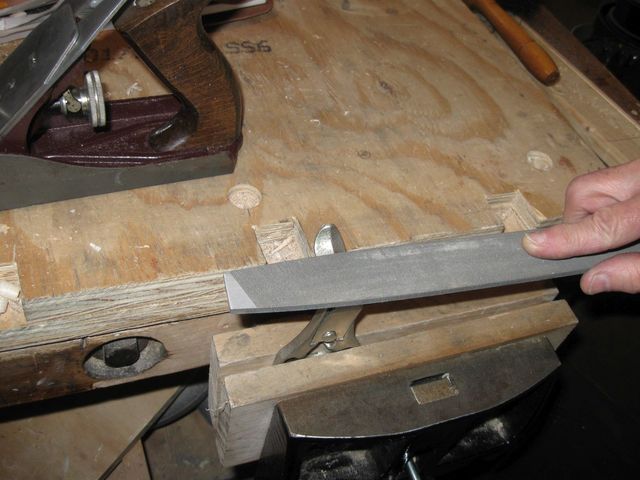
Filing a Flat on the Lever
Here is what it looks like after I filed it.
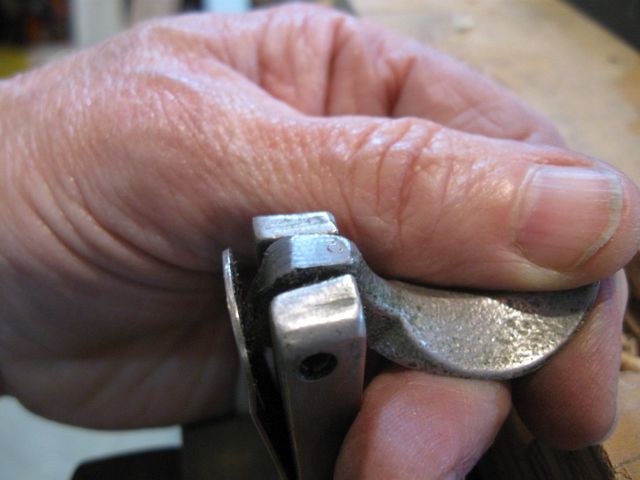
The Flat Spot Is New
That actually worked rather well. The snap is still soft and not as tight as it is on the jack plane, but it does snap down now for a positive feel of being set in place.
I needed to fix this issue before I started grinding the sole flat because I have to snap the blade in place and put the body under normal tension before flattening the sole.
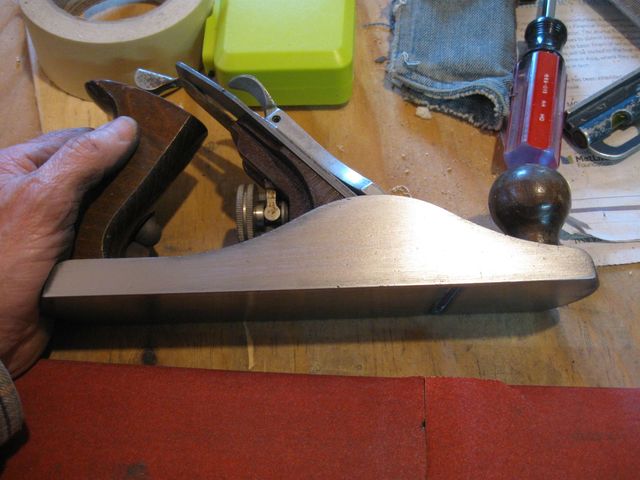
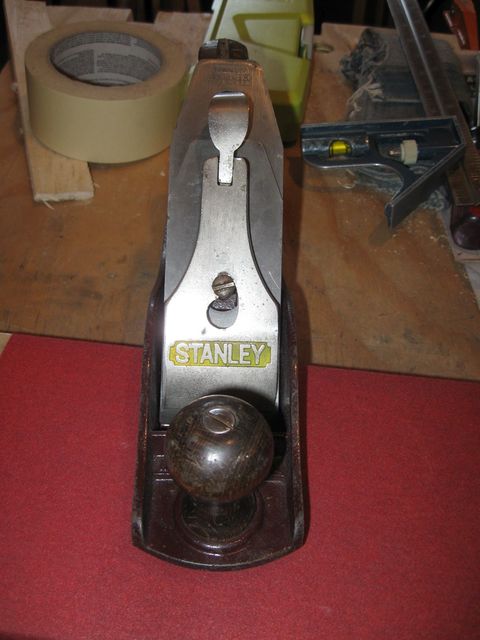
On to the flattening of the sole. Here it is, nicely free of rust.
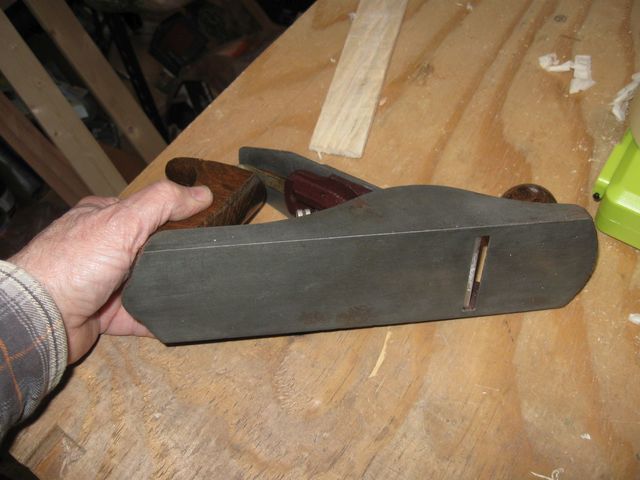
The Sole is Rust Free, but Is It Flat?
I pushed it gently back and forth on the sandpaper, wrapped around the MDF a few times to see where it is catching the sole.
I Did This Just a Few Times
The very first scratches look to be quite evenly distributed. I don't see any serious flaws.
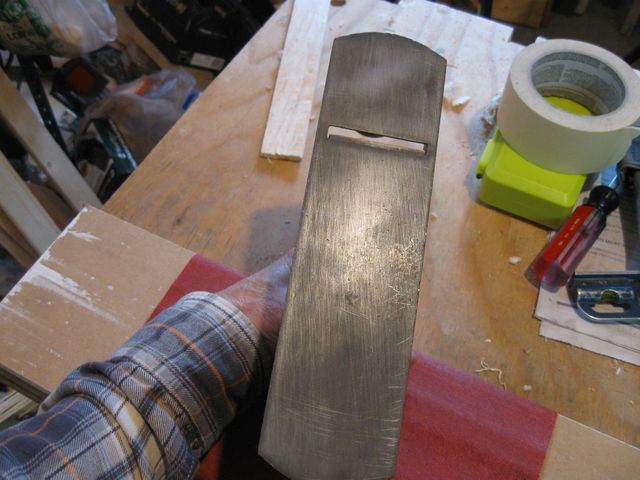
The Very First Scratches on the Sole
I wrapped a second sheet of sandpaper around the board so that I could get a longer stroke on the paper.
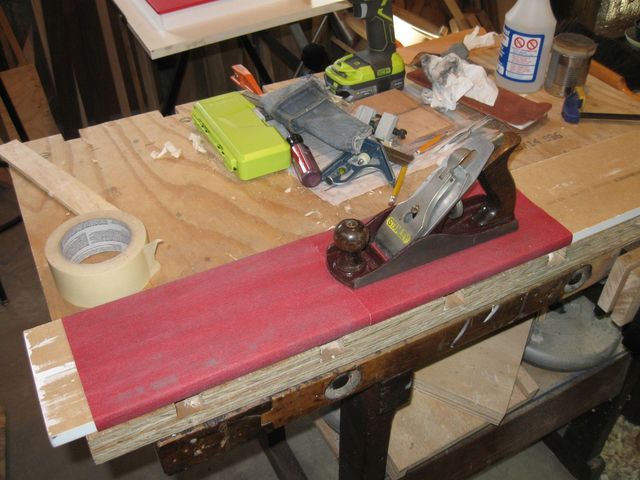
Two Sheets of Paper in Tandem
After a little more grinding, the sole looks OK.

This Looks OK So Far
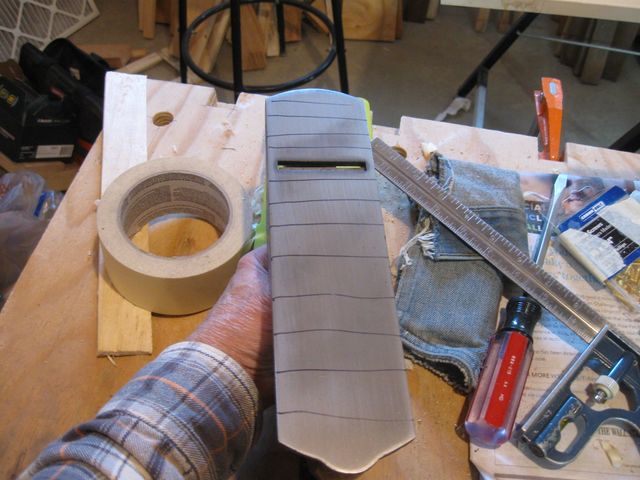
I tried the old trick of putting lines across the sole with a permanent marker to see where the marker gets removed.
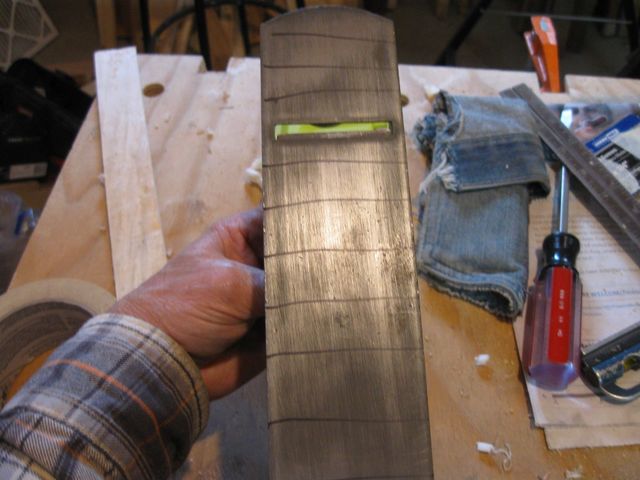
These Lines Will Be Removed As I Grind
I did some more grinding, then checked it out.
The Lines are Evenly Gone
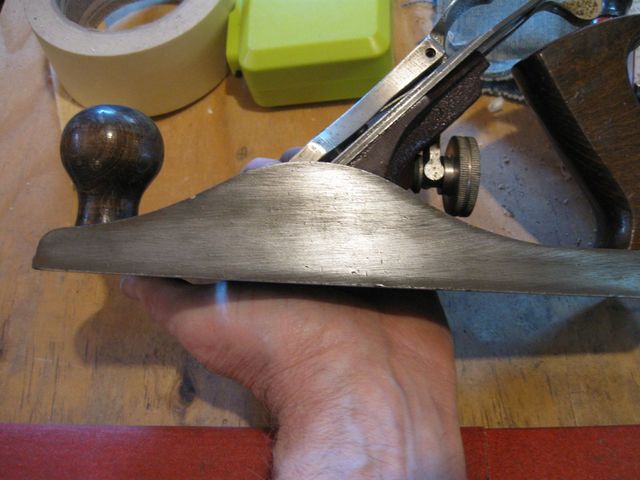
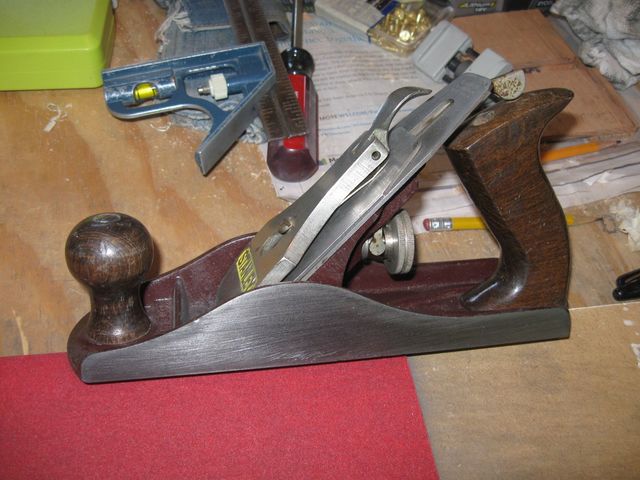
Here is a glancing view so that you can see the patterns in the reflecting light.
Letting the Light Reflect Off the Surface
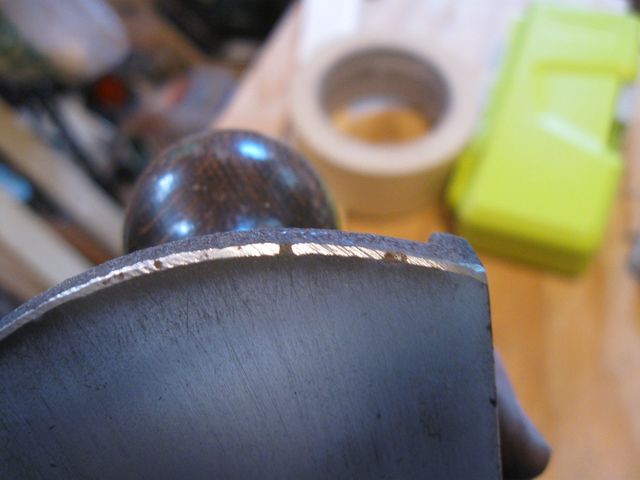
I filed the rough corner off the tail of the plane.
This Keeps it From Catching on Edges
I did the same thing on the toe.
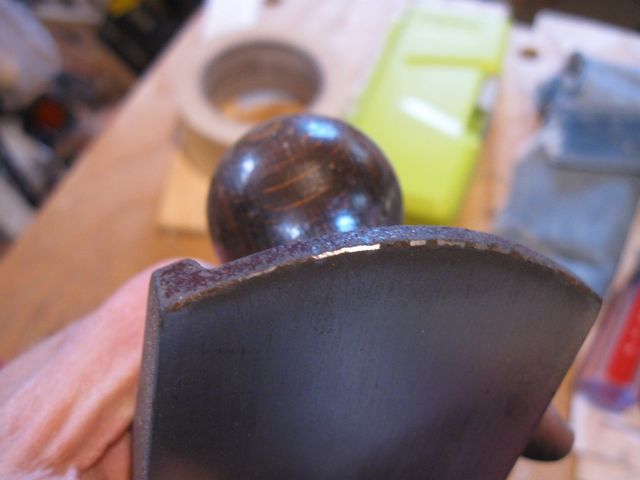
You Can See Where the Nicks are In the Toe
A little more filing gets rid of most of the nicks.

This Chamfer Keeps the Edge from Catching
Here is the other side of the toe.
There are Still Some Nicks Left
There is a small hollow in front of the mouth on the right hand side.
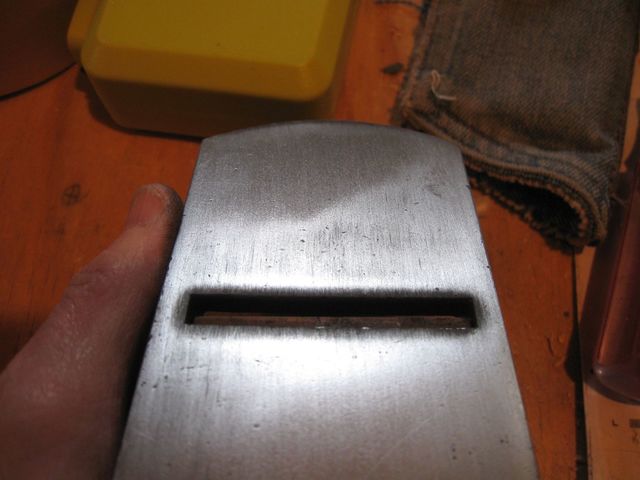
Hollow in the Toe
Here is the hollow.
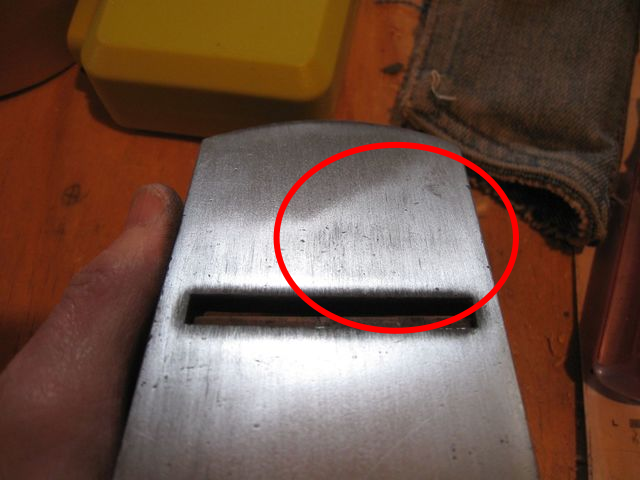
Here
I might grind that out later. I moved on to the sides to see what condition they are in.
First Scratches on the Left Side
After a while, it is nice and shiny.

This Looks Good
I did the same thing to the right hand side.
This Looks Good as Well
I went back to the sole. I added more lines and then ground them out.
More Lines
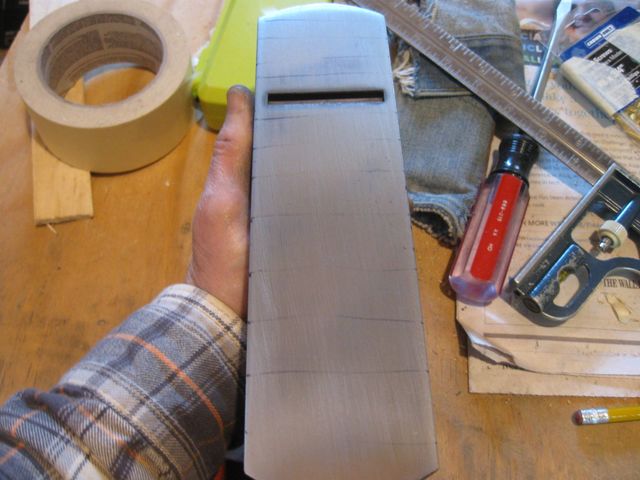
This is Going Well
Here are some results photos.
Left Side
Right Side
Front
OK. Back to the blade. I ground the primary bevel square again until it was wiping out the secondary bevel.
That Old Uneven Secondary Disappears gradually.
The secondary bevel was put on at an angle before, so as I grind the primary bevel square to the iron, the non-square secondary disappears from left to right.
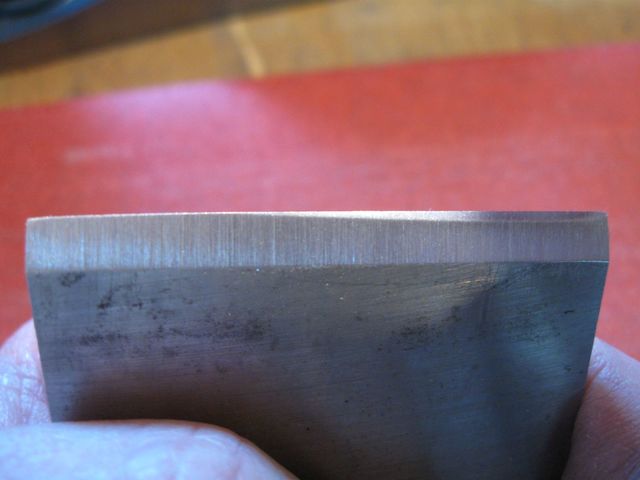
As I Square Up the Primary, the Secondary Goes Away
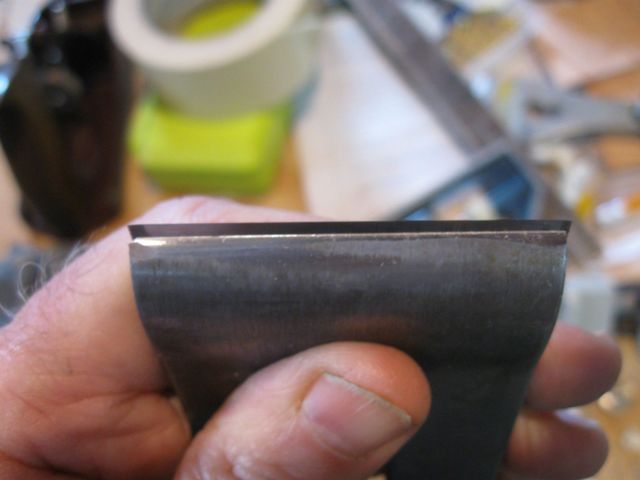
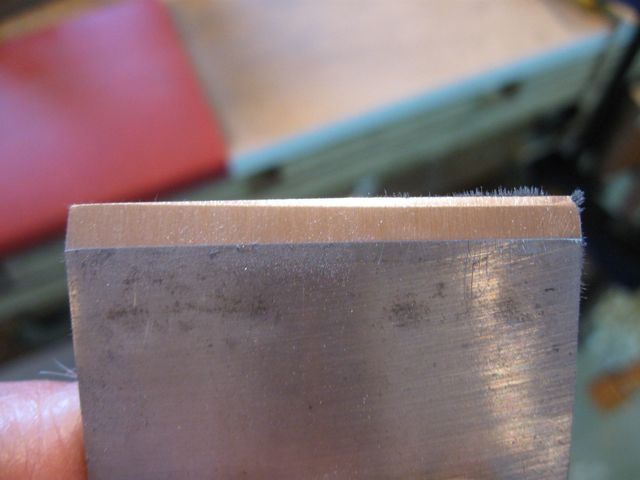
After I ground away the secondary bevel, I put a new one on it so that the secondary is square to the iron. In the photo below you can see that this edge is square to the iron, which was the goal.
At Least It's Square Now
This edge is much better, but the corners are still rounded a bit. I think that the MDF is too soft for this, and that little bit of "give" is allowing the corners of the iron to dig in and get rounded off.
Before hanging it up for the day, I went back to the cap iron to do some more work on that edge.
Grinding the Cap Iron Again
I am making progress on it, but you can see that there is still work to do.
This is Better, but Not Done
That is enough for today. I will continue refining this tool in my next session.
