As I was finishing up the tuning of the plane, a thought occurred to me. The two irons in the two Stanley planes look very similar to each other, and yet I have been setting up the two irons in the honing jig with two different distances. I originally set up the new iron so that it was grinding on the original bevel, like this..
I Ground it On the Original Bevel
and then I put a line on my bench where the tip of the iron was located relative to the jig. So I have been using that mark on the bench to set the iron back in the jig. This turned out to be a different distance than the one I was using for the other iron.
What was puzzling me was that, if the two irons are very close in size and thickness, they should be set up on the jig the same way in order to get the same angle. So what is going on? I took out both irons and set one on top of the other and took a look...
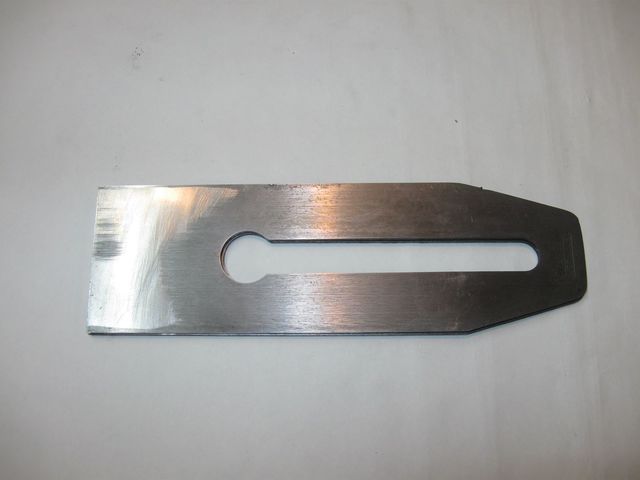
That is Really Two Irons, Not One
The two irons are identical in shape. So I put them side by side to see if they are the same thickness.
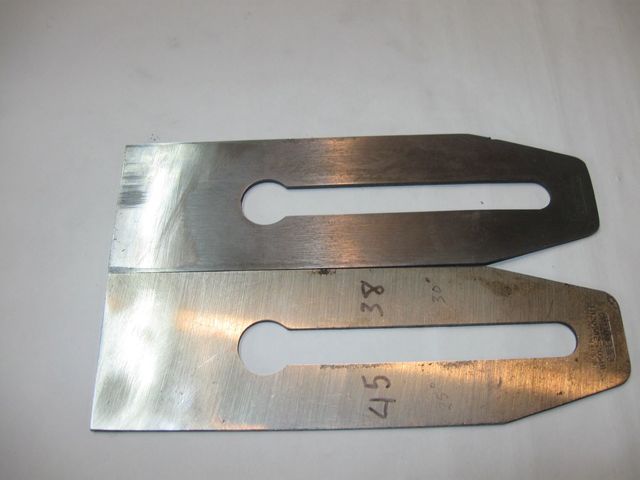
The Iron Farthest Away is the New One
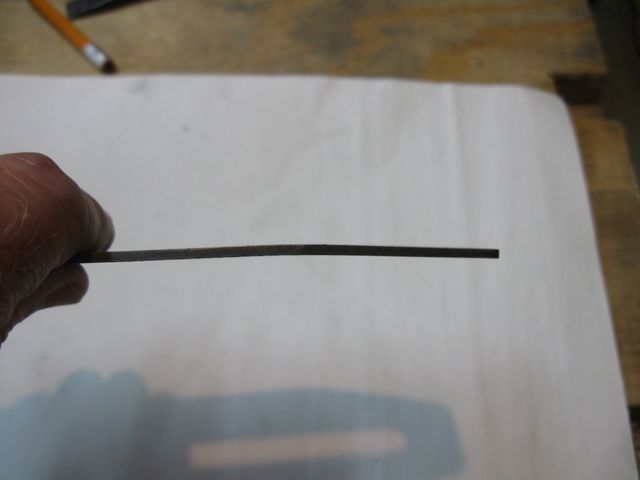
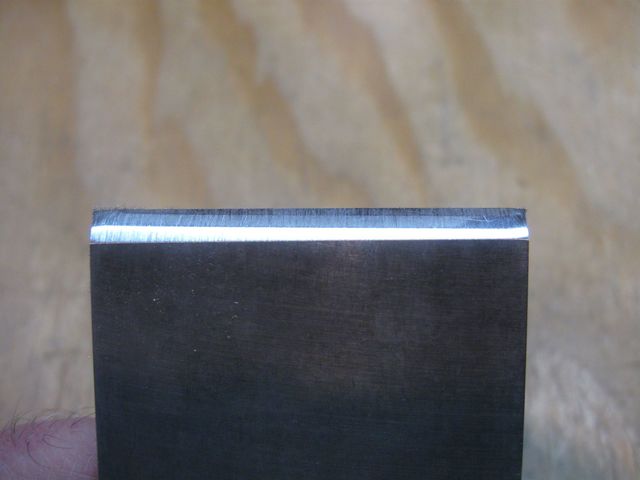
They appear to be the same thickness as well. These two irons are identical. Well, accept for the fact that the iron in the back appears to be bent.
The New Iron is Not Laying Flat on the Bench
I had not noticed that before. It is definitely bent.
I Think Somebody Threw the Plane Around or Dropped It
I wonder if somebody bent the iron because the lever on the lever cap would not latch down. It latches down now, so I bent the iron back straight. I locked the tail of it in the vise and hit it gently with my new hammer.
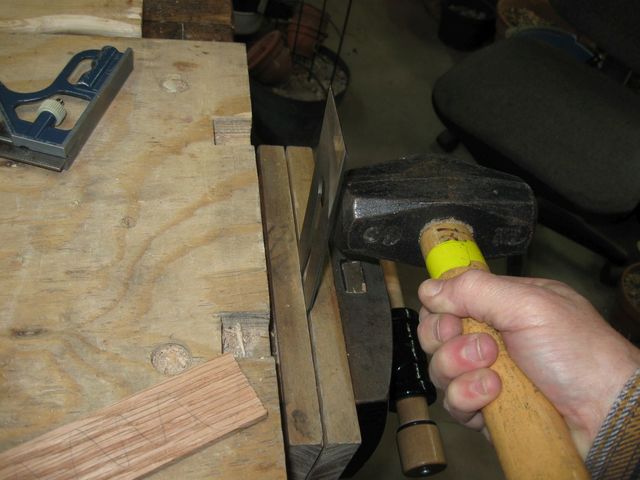
It Took only a Few Gentle Taps
By the way, I bought that hammer at the same time that I bought the plane. The fellow who was pricing them thought that it looked like a nice hammer, so he put a $2 price on the hammer and only $1 on the plane. You can't make this stuff up.
But, it is a nice hammer, so I didn't complain.
I tapped the iron a few times with the hammer and put it back on the bench until it was flat.
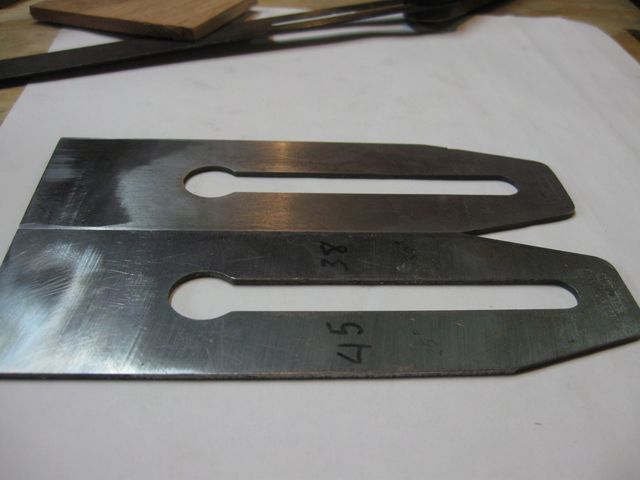
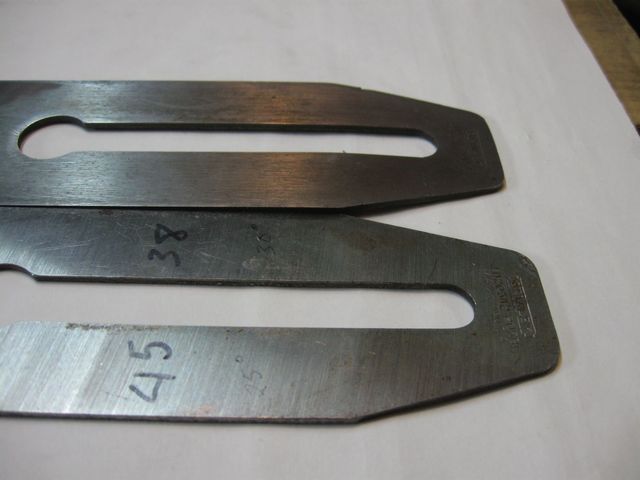
Both of These are Flat.... and Identical
Now I was back at my original puzzle about why I am setting up the two identical irons differently. I must be setting them to different angles. I thought I would figure out how to measure the angles directly.
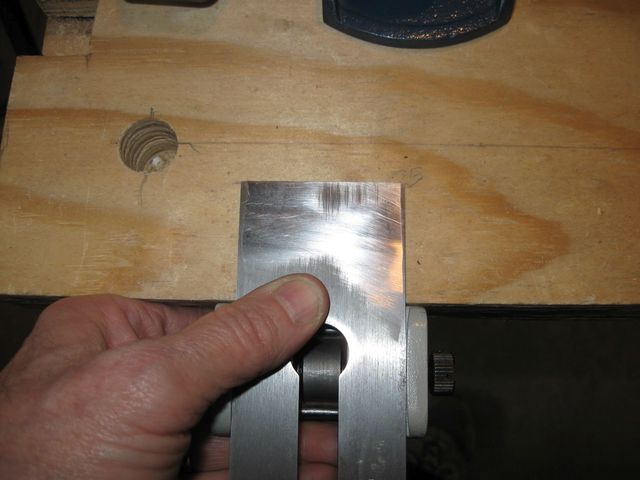
I set up the old iron, the one from my #5 jack plane, in the honing jig.
I Set the Iron to My 25° Stop
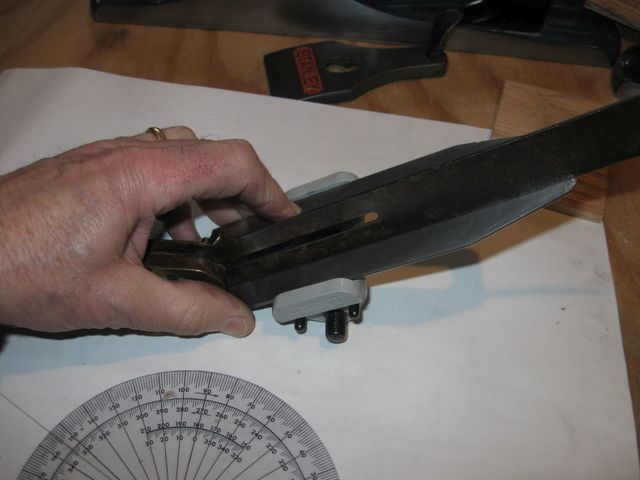
I put the body of my dovetail marking gauge on a piece of paper and set the blade against of the iron in the jig. Then I cinched it down.
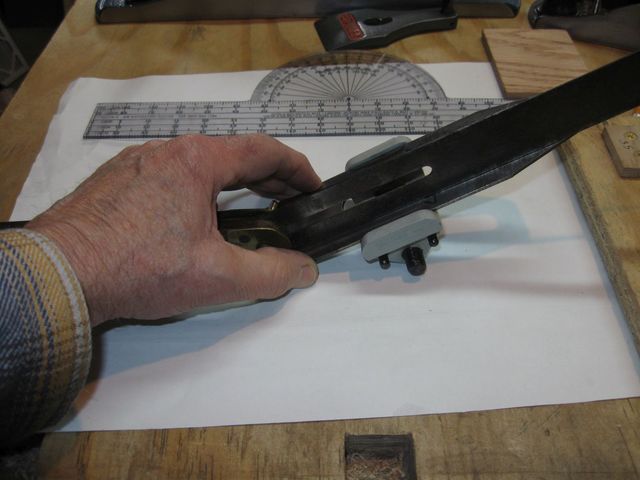
Holding the Blade Tight to the Iron Was Tricky
- I drew a horizontal line on the piece of paper with the protractor.
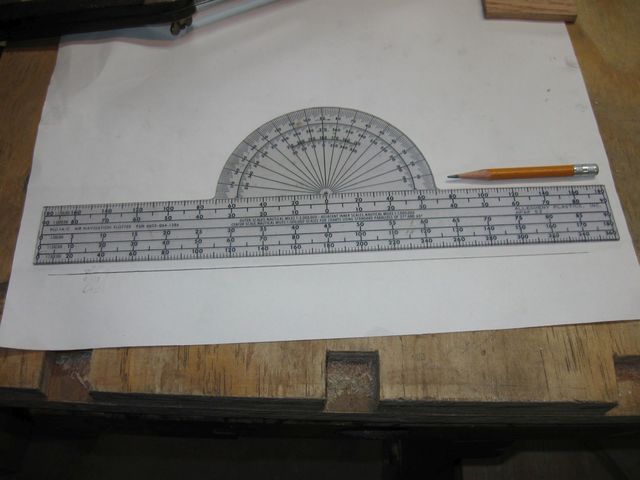
That's a Nice, Big Protractor
Aligned the body of the marking gauge to the horizontal line so that the blade is at the angle of the iron.
Lining up The Gauge
Than, I marked it with a pencil.
The Line is at the Angle of the Iron
Putting the protractor to the horizontal line, we can measure the angle.
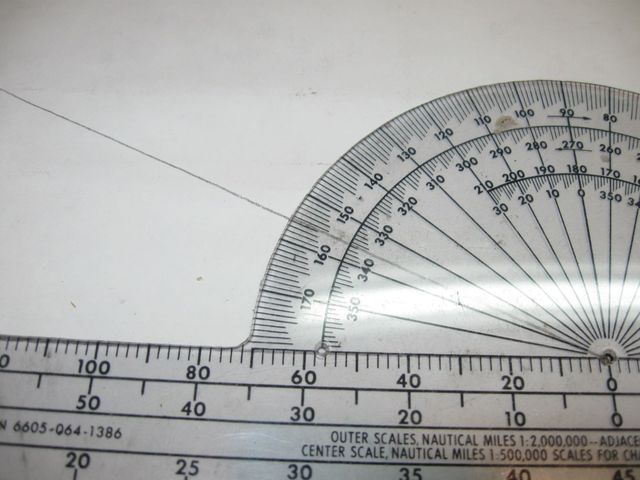
That Looks Like 25° to Me
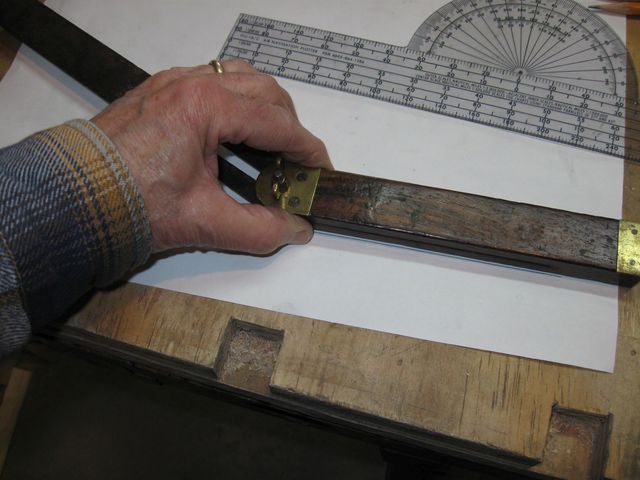
Then, I took the iron from the #4 smoothing plane and set it up in the jig using the mark I had been using on the side of the bench.
Setting up the Iron Using the Mark
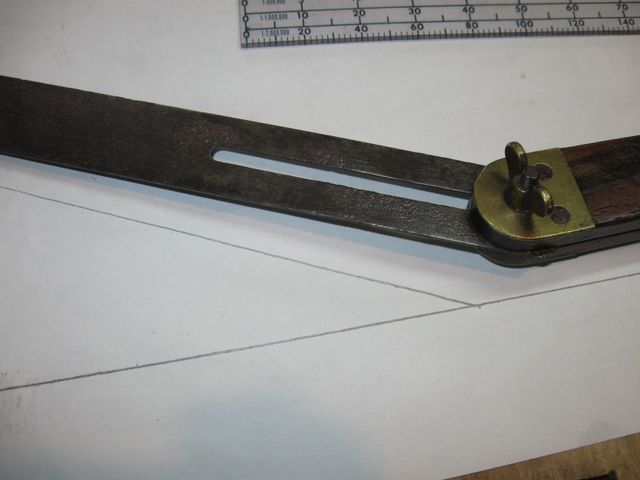
Set up the gauge to the angle of the iron.
Set the Angle Into the Gauge
Draw the line.
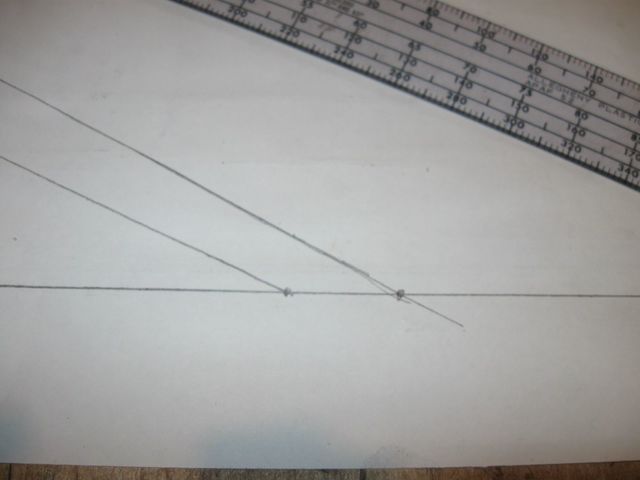
The Line
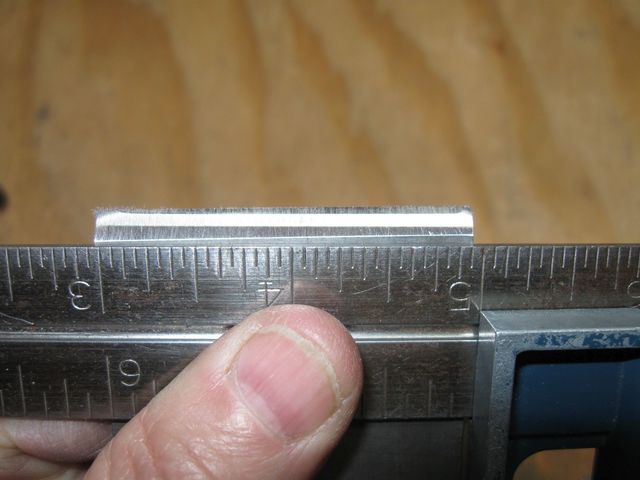
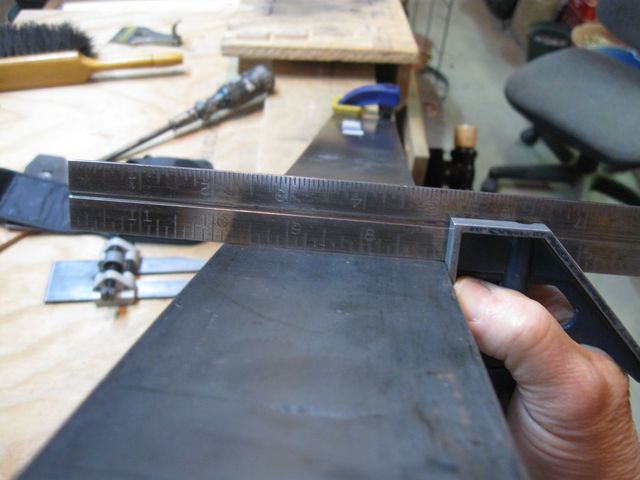
Measure the angle with the protractor.
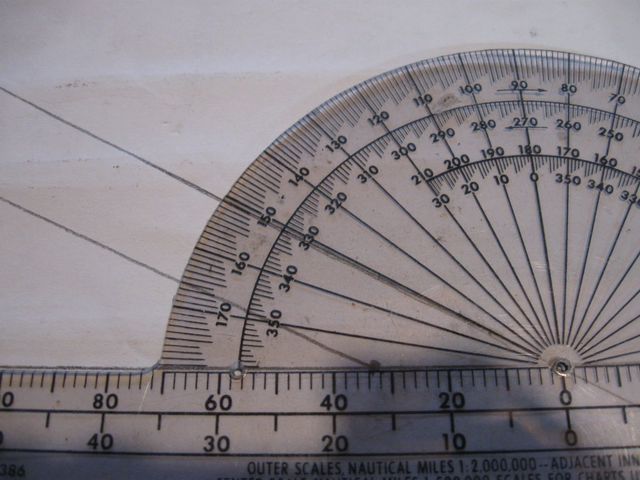
Yikes! It's 30°
So this iron was ground at 30° and I have been maintaining that angle all along. I don't suppose that there is anything wrong with that, but it makes sense to me to make both of the irons the same. Since the irons are identical, I can set up my sharpening stops with one set of stops for both irons. I will not have to have special ones for this new iron.
So I decided to regrind the primary bevel (again) to make it 25° instead of 30°. After I do that, I might even be able to swap the two irons between the planes.
Starting over again, I set up the new #4 plane iron using the same stop for the primary bevel that I used for the #5 plane iron, 25°
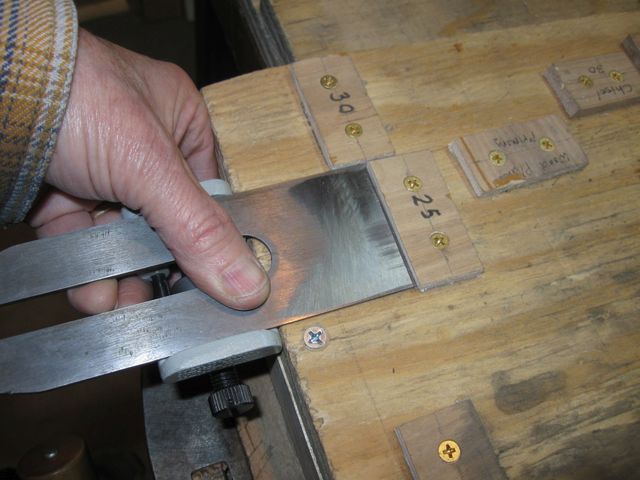
This Is Going to be Painful
I strapped some new sandpaper down to the MDF and started grinding.
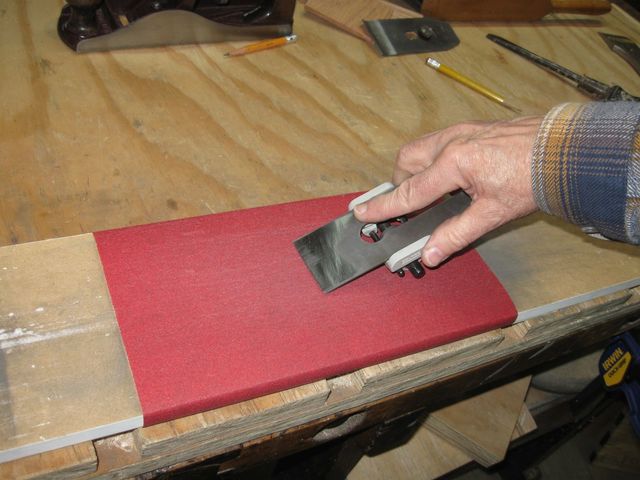
Here We Go Again
After a few strokes, I checked to see what is happening.
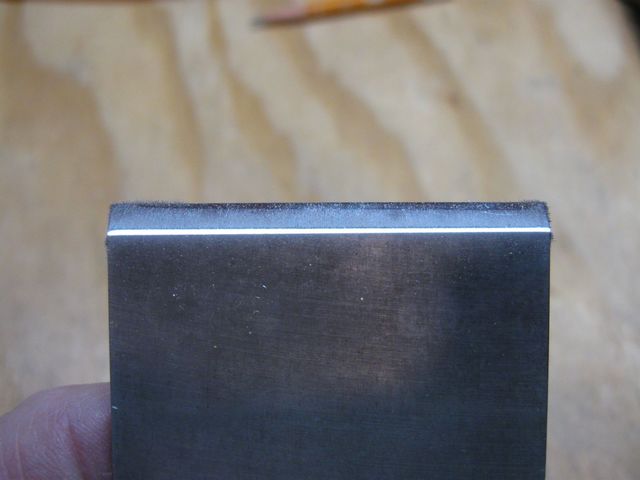
The Start of the New Bevel
Yep. This is going to take a while.
Grind, grind grind.
Making Slow Progress
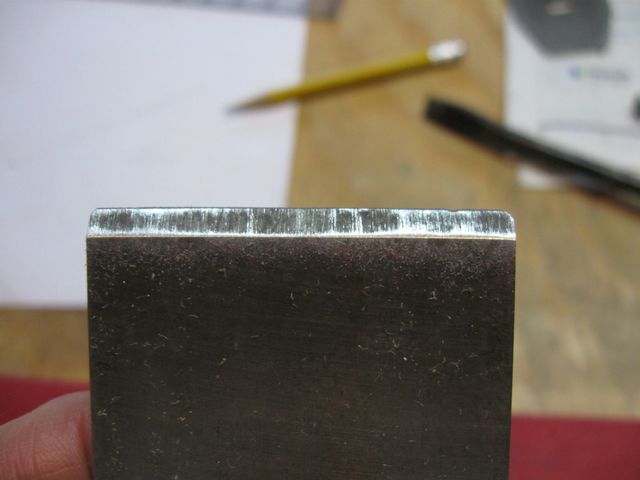
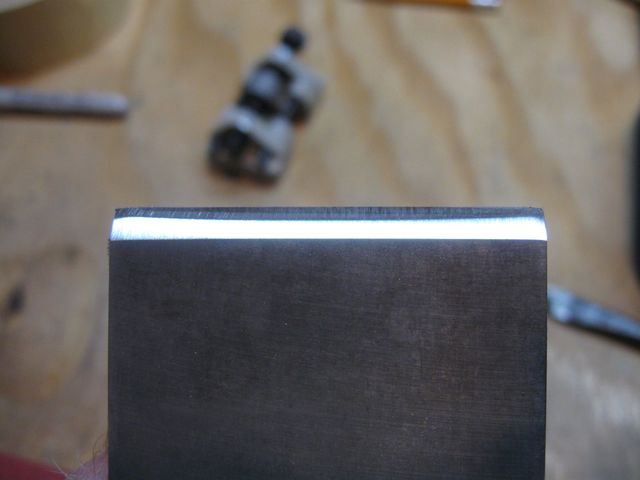
It didn't look quite right, so I checked it with the square.
Gak! It is Out of Square Again!
Back to the sandpaper, this time pressing harder on the side that needs to be cut down more.
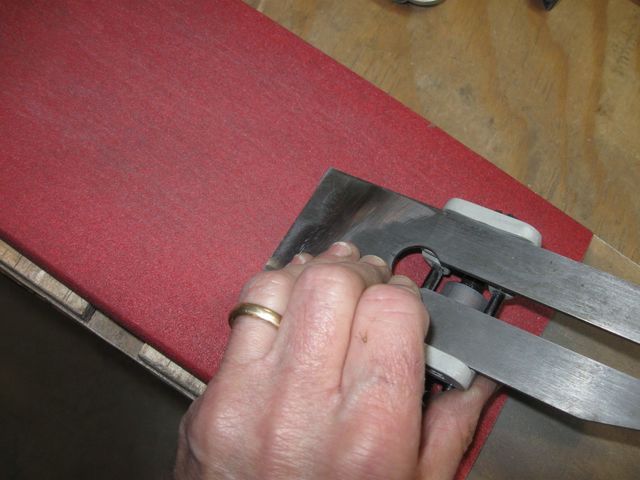
This is Really Sensitive to Pressure Points
That made the bevel square again, but it has started rounding off the edges again.
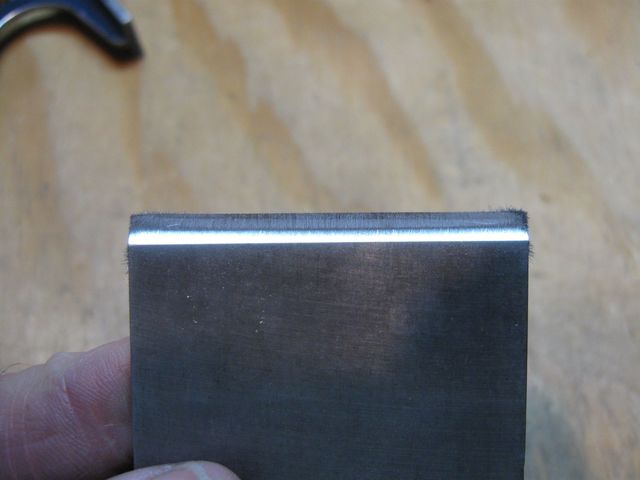
The MDF is Too Soft For This
It is clear that the MDF is too soft to be a grinding plate. So I went back to my steel plate to see if I can find a flat place on it.
This Looks Flat
I marked it FLAT, so I could remember where the flat part is.
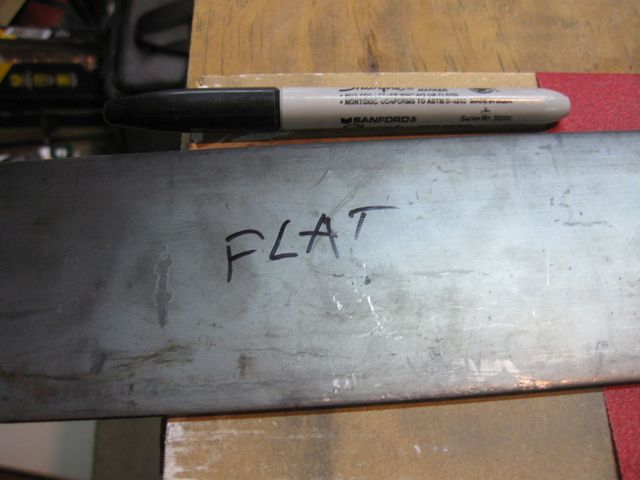
Saying it Makes it So
I wrapped some sandpaper around it and did a few passes on it.
Nope. See the Bow in the Middle?
At this point, I threw in the towel. Sometimes you have to buy a solution to a problem like this. The homespun fixtures are just not good enough.
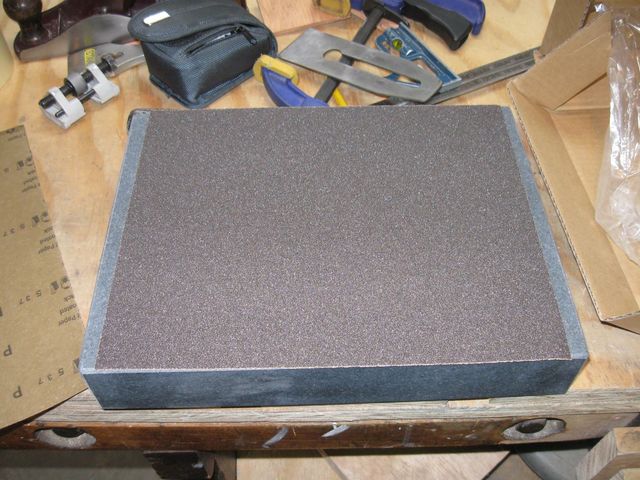
So I got in the car and drove off to Woodcraft, and picked up a Surface Plate.
You can see on the box label that this stone is guaranteed to be flat within 0.0001". That is going to be FLAT.
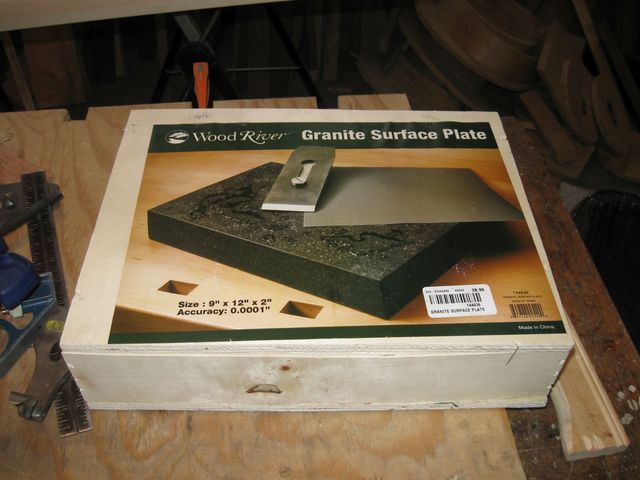
That is a 26 Pound, Guaranteed-to-be-Flat, Granite Slab
The stone is 9" X 12", which is the perfect size to hold a single sheet of sandpaper, which is 9" X 11".... um.. within an inch anyway. (Don't get me started on the "Standard" size of things in woodworking).
Inside the box is a cardboard box with the slab in it.
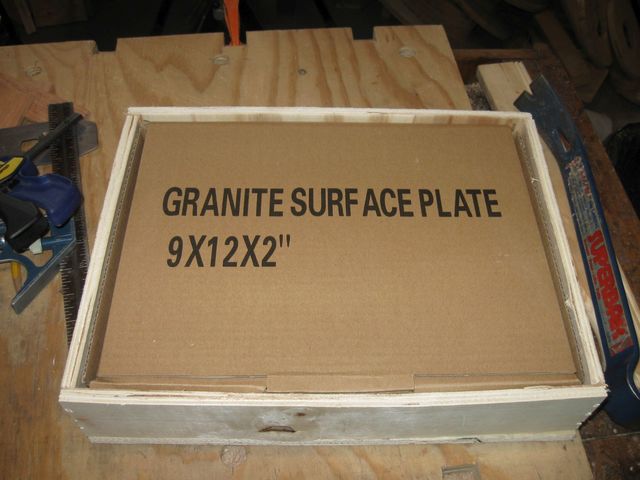
The Slab is 9" X 12". Says so Right on the Box
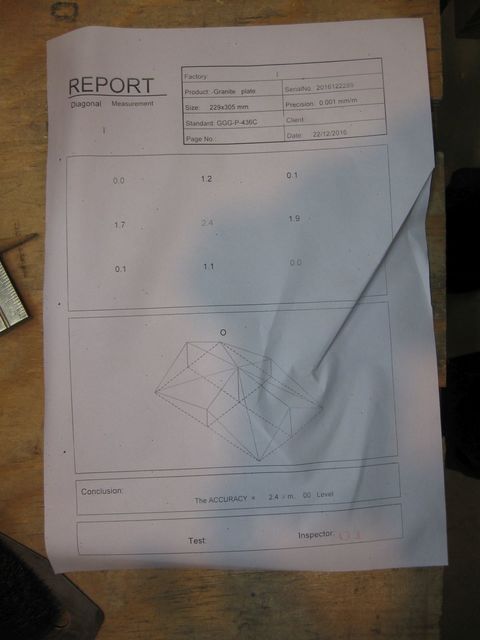
They measured the slab and included a flatness report in the box.
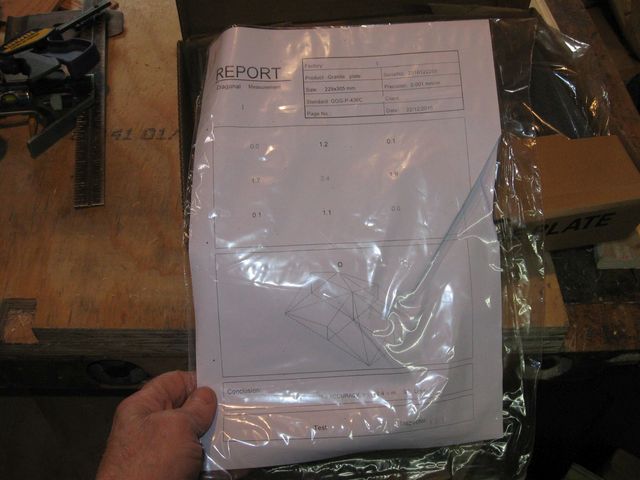
The Flatness Report
Here is the report outside of the plastic wrapper.
I Hope the Slab is Flatter Than the Report
At the bottom, in the Conclusion box, it reports that the accuracy is 2.4 microns.
So there it is.... my cop-out.
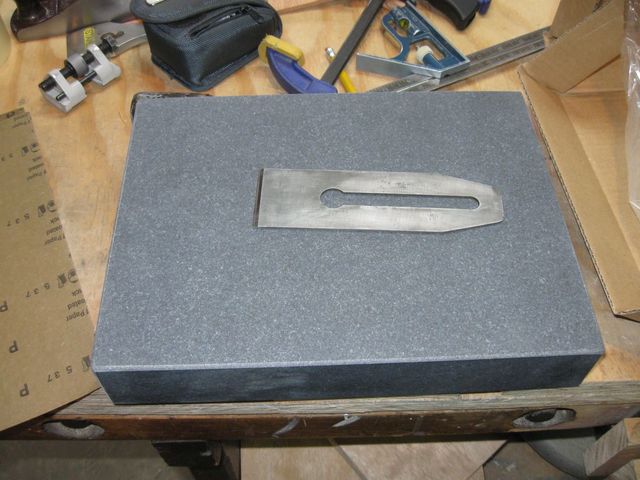
My Flat Rock for Grinding
And it just fits a sheet of sandpaper.... minus one inch.
Why 11" For One and 12" For the Other?
I ran out of time. But in the next session, I will grind those suckers flat! Stay Tuned.
