Today I put together the parts that make up the bending iron. Before I started, I did a dry fit so that you can see what it will look like.
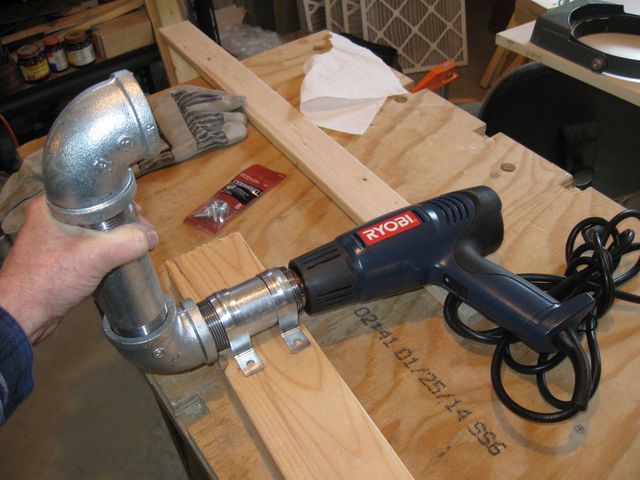
This is It
As it turns out, the 2 by 4 is exactly the depth that I need to mount the iron. The flange of the bottom elbow sits just over the edge on one side, and the end of the 4" pipe just barely extends over the other side. So all I have to do is cut off an appropriate length of lumber and strap the iron down to it.
I don't need that entire 2 by 4, but I do need some space on the sides to clamp this onto the bench. I measured off one foot just as a WAG.
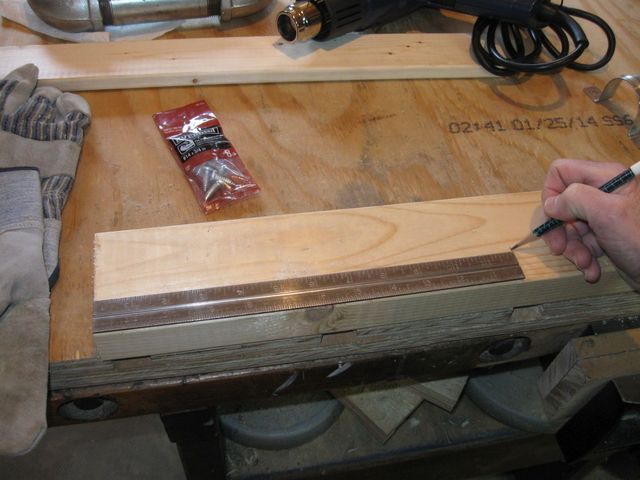
Measuring One Foot
At the mark, I squared up a knife cut to saw the board on. This is a trick that I learned from watching Youtube videos by Paul Sellers. Paul is a life-long woodworker who uses hand tools, and is now passing on his knowledge using Youtube videos. It is good stuff. You should look him up. He makes a knife cut along the line that he is going to saw. That severs the fibers of the wood to avoid tearout.
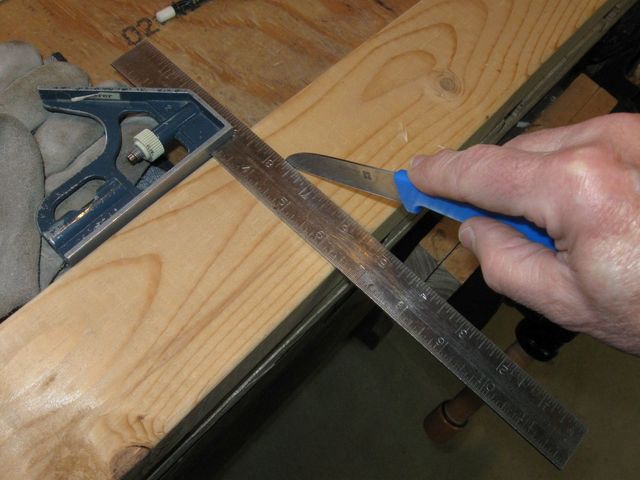
Cut Along the Saw Line
Then, he takes a chisel and breaks out a small area of wood on the side of the line that he is going to saw. Flicking out those little chips of wood provides a shallow indentation for starting the saw. No more wandering saw blade.
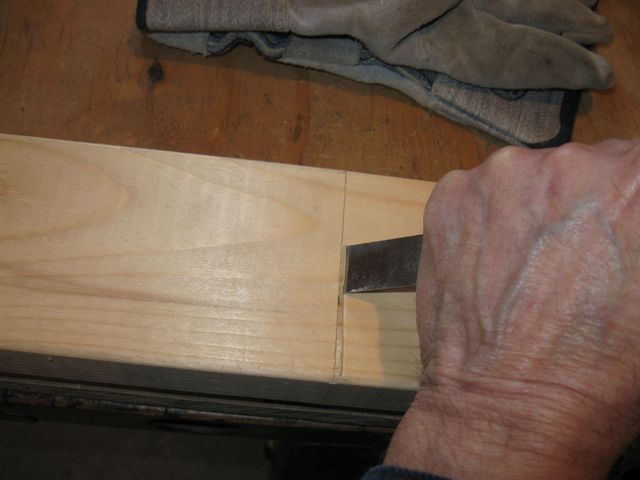
Chip out some Wood on the Waste Side
I got out the crosscut saw and cut off the piece.
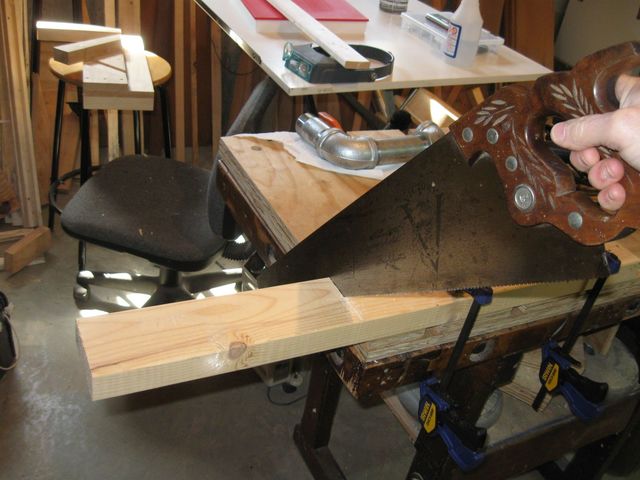
Cutting off the 12" Piece
Here it is. The cut end is neat and tidy, no tearout.
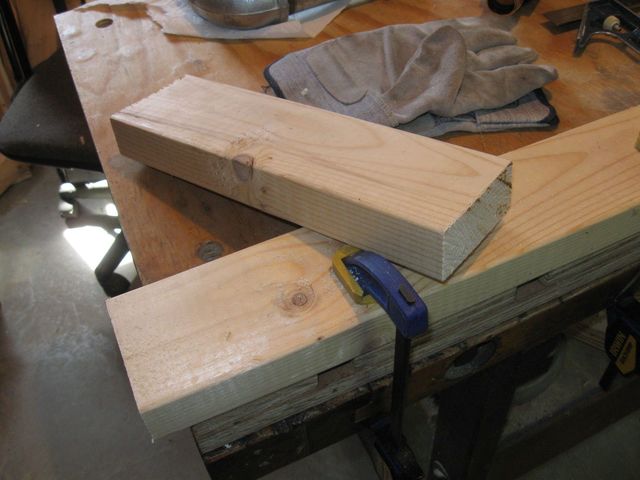
A Nice, Clean Cut
When I looked at the board clamped to the bench, it seemed to be a bad plan to put that round pipe down on that flat board since it would probably want to roll around. I'm not sure how I would keep the pipe vertical. So I decided to cut a shallow channel in the wood to cradle the pipe.
I started by sawing a kerf across the board in the middle. I have this nice old tenon saw that I inherited from my Father in Law a number of years ago.
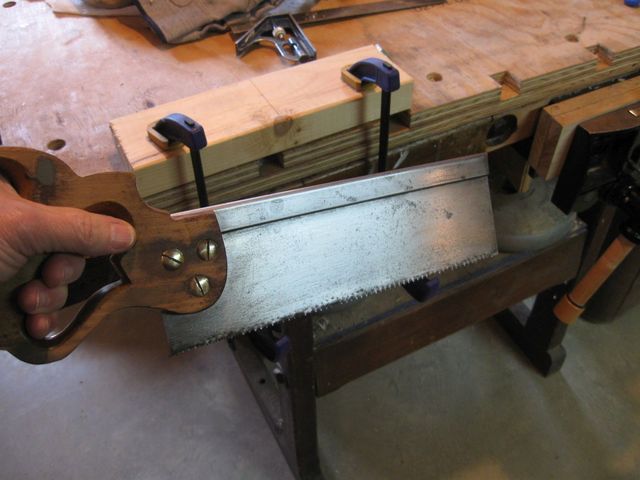
This is an Old Saw
I don't know how old it is. I think my FIL inherited the saw from his father way back in the Dark Ages. It had been left out in the shed for many years and was completely rusted when I got it 25 years ago. I had not used it all those years because it was such a rusty mess. But recently I pulled it out of the box and took a look. With the dexterous use of lots of 120 grit sandpaper I managed to sand off most of the rust. It is a bit pitted, but not in bad shape other than that. I sharpened it, and it seems to work OK. It is a solid saw. I even polished up the brass screws that hold the handle on.
The saw is sharpened as a crosscut saw, which is perfect for this job.
Sawing a Kerf
I used the saw to cut a very shallow kerf into the wood, just 1/8" deep. Then I chipped out some wood from both sides using a regular chisel. That didn't work out so well because it was a V groove in the wood that was at too sharp an angle. The pipe just sat on top of it. So I decided to carve a round bottom notch in the wood using my gouge. That turned out to be really ugly. Take a look.
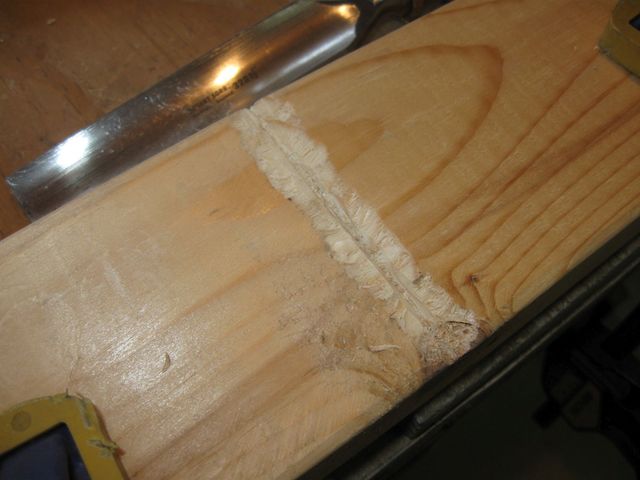
Yuk
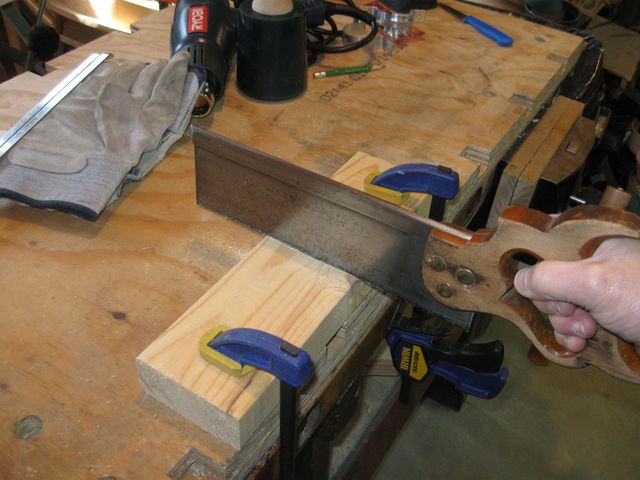
That was not working out at all either. I decided that I did not want a round notch after all and that it would be better if I just cut a square channel into the wood. The pipe will be less likely to roll if it is jammed into a square channel. So I cut some lines along side the ugly hollow and chiseled it out.
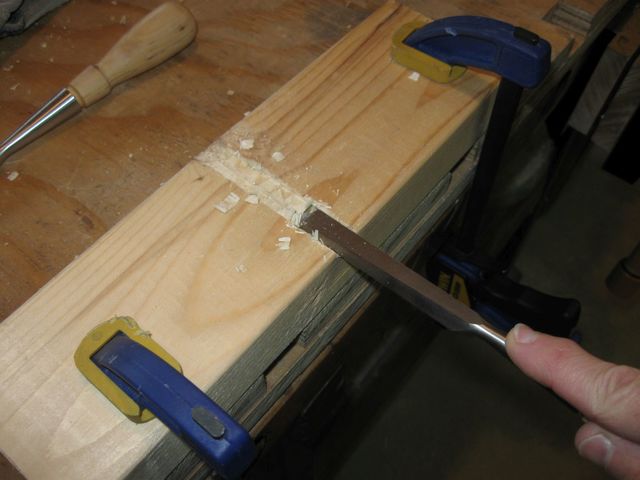
Chiseling a Channel
That worked OK for setting the pipe into it, but the pipe is now lower on the board, and the pipe clamps no longer fit tightly around it. This is getting to be like cutting the legs off a stool to keep it from rocking. I cut it over there, and that makes something else need cutting over there. The clamps will have to be pretty tight to keep the pipe from rolling over. So I cut some more channels where the feet of the clamps go to make them tighter.
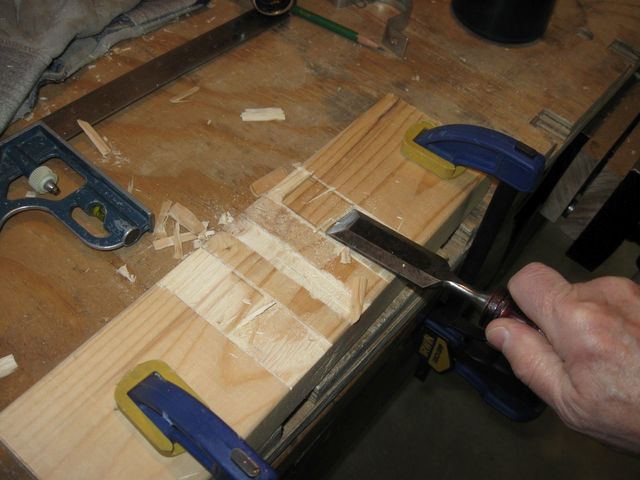
Cutting Channels for the Feet
That ought to do it. Now I need to drill pilot holes for the screws and clamp down the pipe. The screws are #14 screws, which are pretty beefy. I measured the size of the shaft between the threads to find out how large a pilot hole I need to drill.

Looks like I need a 3/16" Drill Bit
I drilled out four pilot holes and screwed down the pipe to see if it will hold up the vertical section.
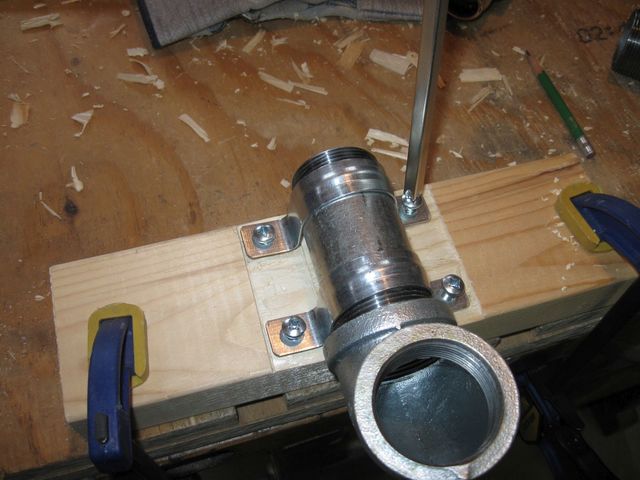
Screwing Down the Pipe Clamps
As it turned out, the short pipe was fairly solid in the clips, but the elbow was turning on the threads. I did not have it nearly tight enough on the threads. So I took it apart and found my trusty Pipe Wrench.
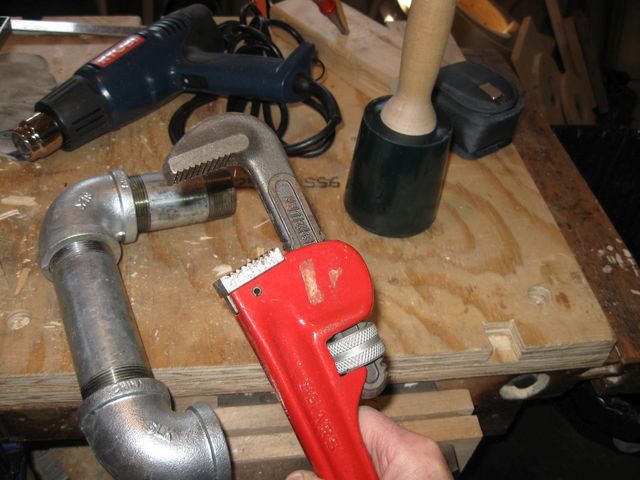
This is my Trusty Pipe Wrench
I used to use this wrench back when I was still trying to do my own plumbing to save a few bucks. In recent years it has been testing the consistency of gravity in my tool bag. It still works, though. I clamped the pipes in the vise and tightened it right down.
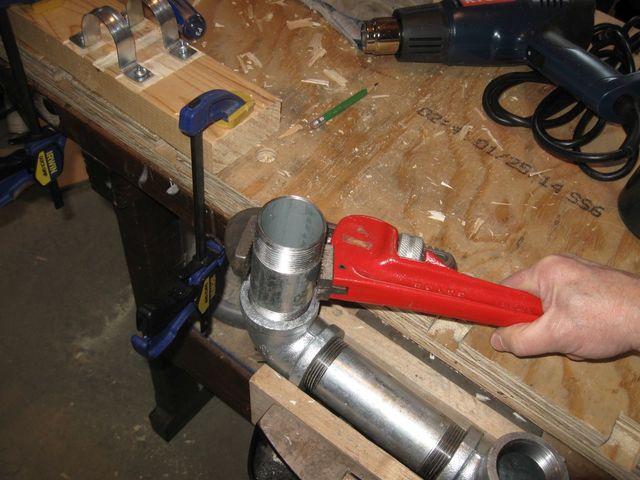
Tightening the Pipe
I think I might be the only luthier on the planet who uses plumbing tools.
After tightening the elbow onto the short pipe, I strapped it all down again. Here it is, standing tall.
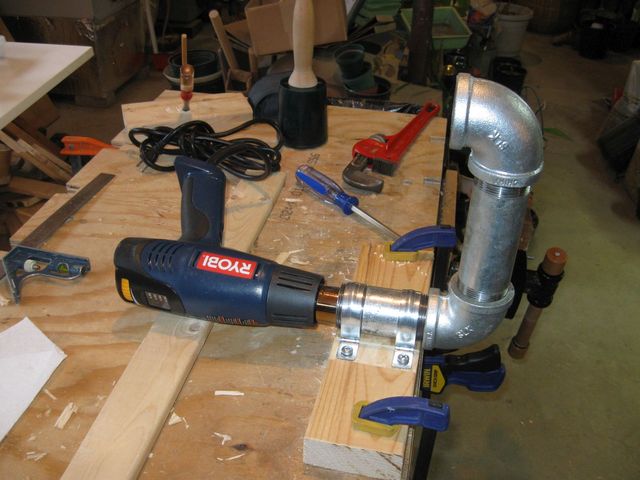
This Looks Pretty Solid
Here it is from the other side.
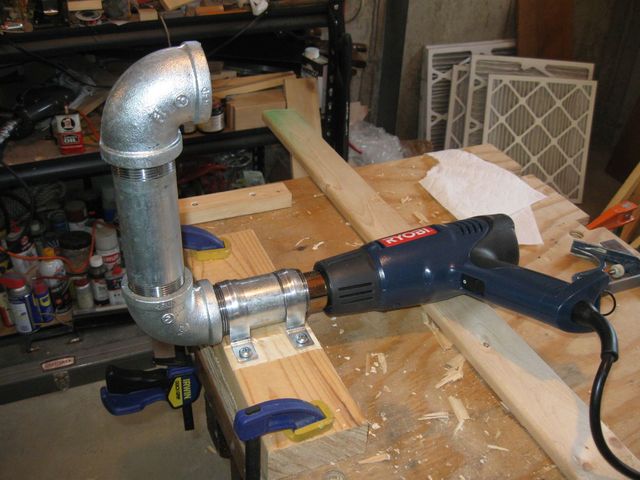
The Other Side
Even though I say so myself, that looks pretty cool. If it doesn't work out as a bending iron, I can always take it upstairs and display it as Steam Punk Art Work.
