I have decided to bend the sides for the dulcimer first to make sure that I can actually do that before I invest a bunch of time in cutting out the other parts. If it turns out that I cannot make the sides, I can always change my plans and see about making a banjo neck out of the Mesquite.
I spent some time researching how to bend the sides of musical instruments, and the answer was hands down in favor of using a bending iron. A bending iron is usually a tube made of aluminum with an electric heater in it to heat it up to 400° to 500° F. The side wood is bent by wetting it and pressing it against the hot aluminum tube. The wood for the sides of the instrument are cut thin, about 1/16" to 3/32". Wood that thin can usually be bent by passing it across the hot bending iron until the wood plasticizes, and then gently pulling on the wood in the direction of the bend.
It looks really easy in the Youtube® videos. But my usual experience with things that look easy on the interwebs is mixed.
Anyway, I plan on giving it a try, so I looked up Bending Irons on the web. You can buy a commercial bending iron online, but they run above $200, and by the time all the extra parts are purchased (thermometers, straps, clamps, etc.) probably North of $250. And it isn't as though I am going to be doing this chore more than once.
So I looked up how to make a bending iron from cheap parts. I mean. C'mon. It's a pipe that gets hot. How hard could it be?
There were lots of ideas about how to make a bending iron, but to keep this short (too late for that) here is a summary of the ideas I saw.
| Bending Iron Design | My Comments |
| An iron pipe with a blowtorch in it. | Not in my house. No way! Never happen. Nope! No blowtorches. |
| Aluminum Billet with a 100 Watt lightbulb in it. | The aluminum billet was custom machined. Not something I can do. |
| Aluminum pipe with an electric charcoal lighter in it. | Required crushing then rewiring the charcoal lighter. What could go wrong with that? |
| A curling iron. | Really. A cheap, plastic curling iron covered with aluminum foil. It didn't look good. |
| Another custom machined aluminum billet with a 200 Watt light bulb. | Where do you find a 200 Watt light bulb these days? |
| An aluminum pipe with a core heater in it. | Once again, rewiring a part meant for something else. I don't even know what a core heater is. |
| An iron pipe with a heat gun aimed into it. | Hmmmm. I have a heat gun. This has some possibilities. |
I decided to go check out what kind of pipe I could get at the Big Box Home Improvment Store (BBHIS). I really meant to just look to see what is available, but I ended up coming home with a bag full of parts. Here's the list.
| Item | Quantity | Cost per | Total |
| 1-1/2" Galvanized Elbow 90 deg | 2 | 7.95 | 15.90 |
| 1-1/2" Pipe Clip | 3 | 1.14 | 3.42 |
| #14 x 3/4 Sheet Screws | 1 | 1.18 | 1.18 |
| 1-12" X 4" Galvanized Pipe Nipple | 1 | 4.98 | 4.98 |
| 1-12" X 4" Galvanized Pipe Nipple | 1 | 5.98 | 5.98 |
| Subtotal | 31.46 | ||
| Sales Tax | 1.97 | ||
| Total | 33.43 |
Here is a photo of the stuff on the workbench.
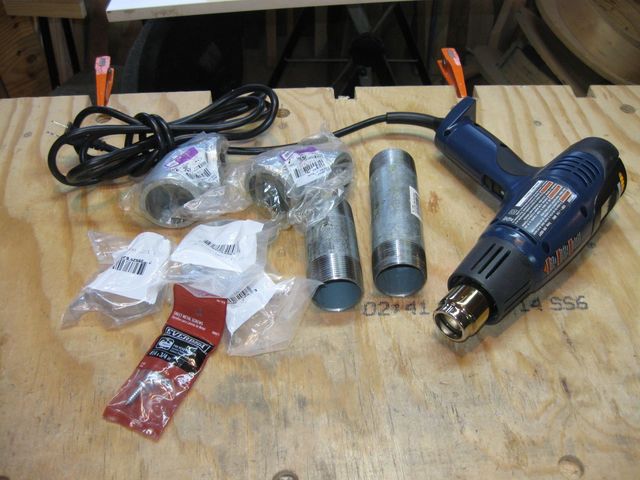
The Parts for the Bending Iron
I bought the heat gun a few years ago to see if I could bend a 1/4" thick banjo hoop with just the heat gun. Somebody on the internet said that it was easy to do so I tried it. It did not work at all. You can check out that story at www.thekimerers.net/brian/hoops/bend.shtml. The board basically split and cracked, and after I took it off the form, the springback was huge. So I put the heat gun aside and bent the hoops with steam. I have been using the heat gun to put a load on my generator when I test it.
But back when I was bending banjo hoops I was attempting to bend a single 1/4" thick board into a tight circle for a banjo hoop. This time I will be bending a board that is only 1/16" inch thick to a much larger radius. According to the experts, I only need to heat a pipe up to 400° F (about 200° C) in order to do that. Here is the temperature range of the heat gun.
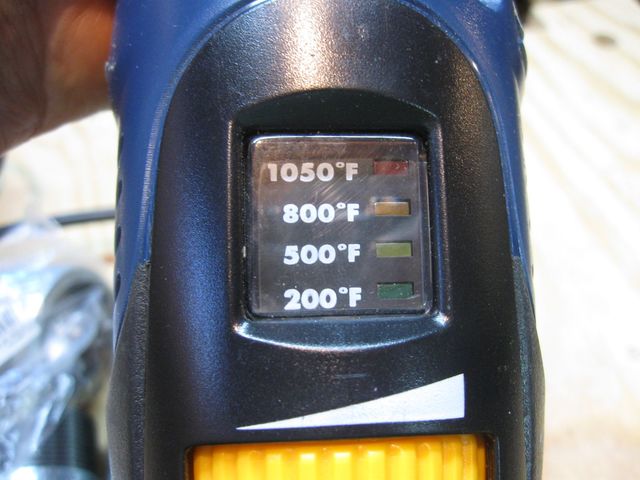
Heat Gun Temperature Range
I think that should be enough to heat a pipe up to 400° (I hope).
The basic setup will look like this:
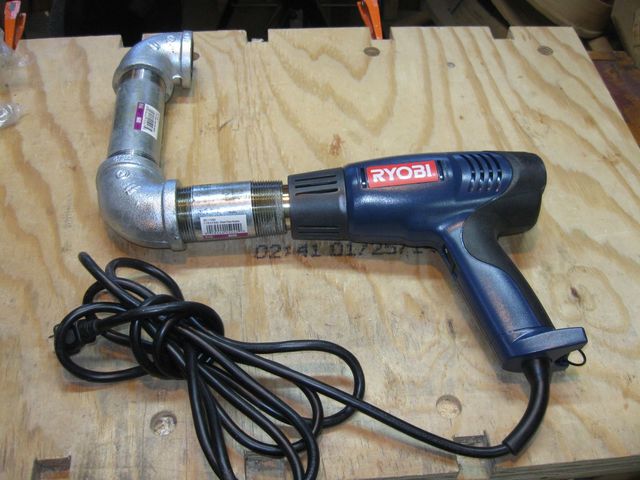
Bending Iron Setup
The nozzle of the heat gun just fits inside the 1-1/2" short 4" length of pipe. The elbow will redirect the hot air into the vertical 6" length of pipe. Then the top elbow will redirect the outflow air back away from me. In use, the pipe will be mounted vertically, and I will be standing on the left side of the device, bending the wood by pushing or pulling the wood against the hot pipe. I just need to screw the pipe parts together and mount it onto something.
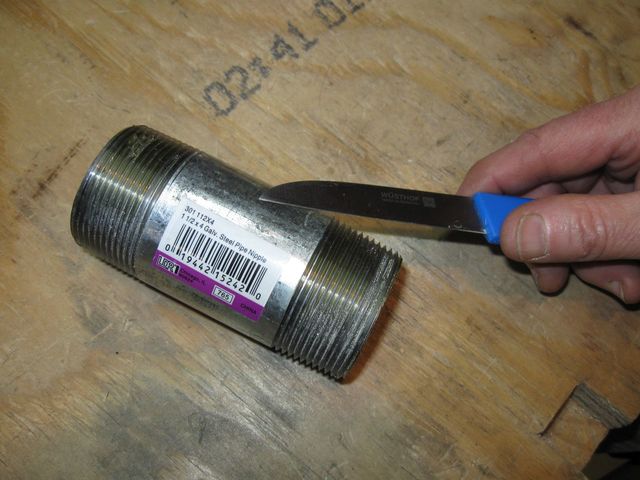
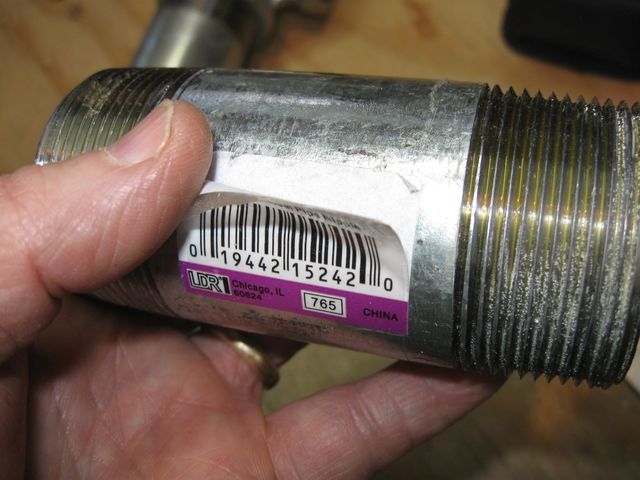
Of course, the pipes came with stickers on them with the UPC numbers. They are stuck on with some plastic tape that goes all the way around the pipe. I don't want to heat up the pipe and melt that stuff, so I have to peel it off.
UPC Label
I sliced through the tape with the knife and then slowly peeled the tape off of the pipe, hoping that the label would come away with it.
Well, it didn't.
Not So Lucky
The label itself was stuck down to the pipe, and the paper split, leaving the usual residue stuck to the pipe. I peeled and scraped and grumbled, and eventually I got the rest of the label off. Then, I had to face another label on the 6" pipe.
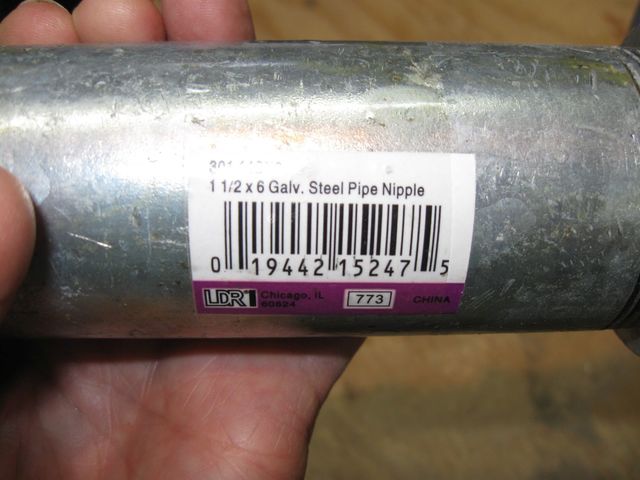
Another Label
That one did exactly the same thing, it split, leaving an ugly mess stuck on the pipe.
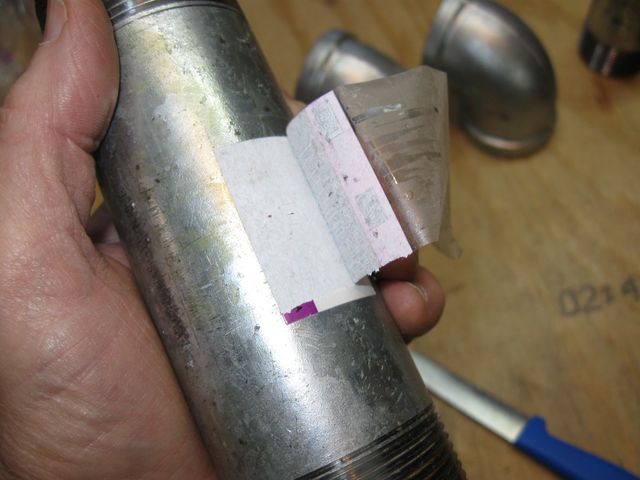
Split Label
The only thing that worked at getting this stuff off the pipe was to scrape it off with the knife. Tedious and annoying.
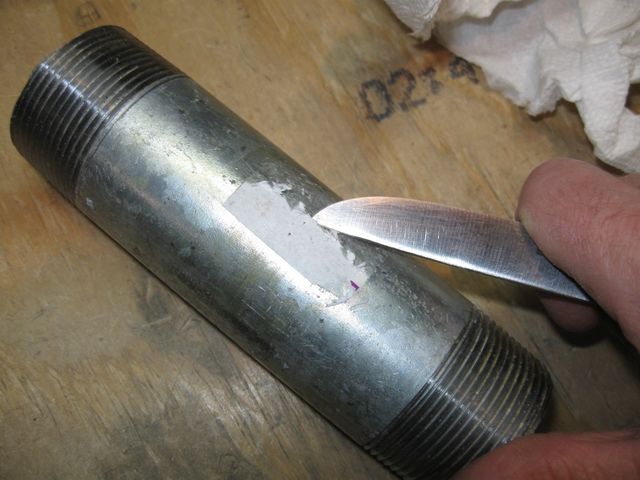
Scraping off the Label
Even after the scraping, I was left with the ugly residue on the pipe. So I got out the acetone to see if that would dissolve the goo.
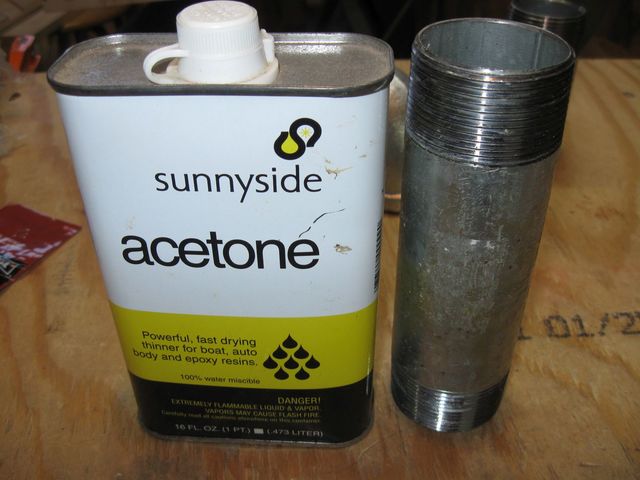
You can see the Goo on the Pipe.
That seems to have worked. We will see what it smells like when I heat the pipe up the first time.
Meanwhile, here are some photos of the other parts for reference.
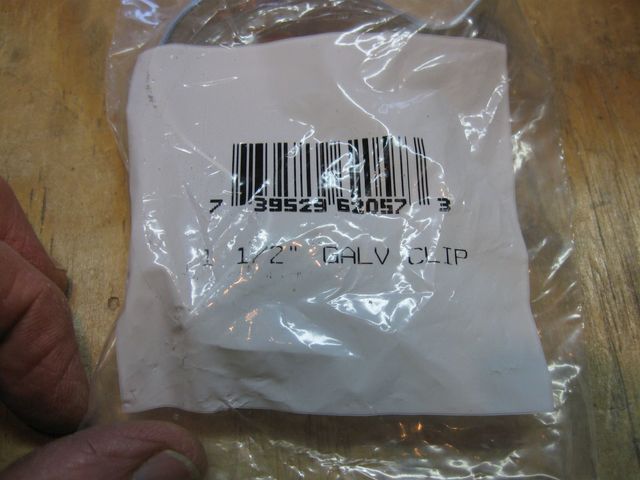
A U Clamp to Bolt this Down
Here are the screws that I bought to screw down the U clamps.
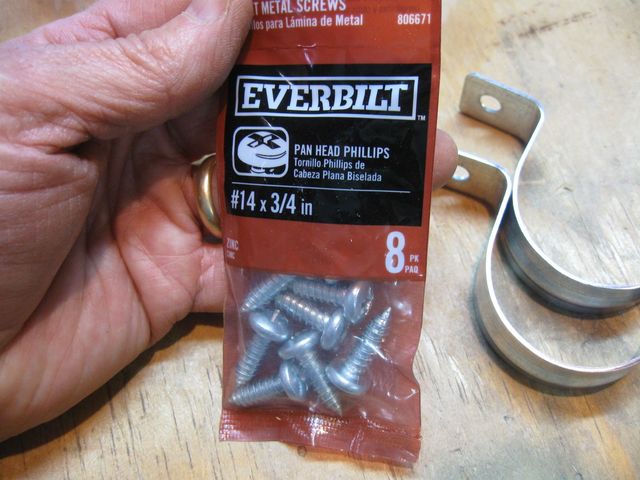
Screws
I plan to secure the short pipe to a 2 by 4 using the U shaped clamps. The long pipe will screw into the elbow as shown in the photo below. When I am done, the wood part will end just before the end of the pipe so that I can get the heat gun in there to heat it up. The board in the photo is just to show how the clamps will screw down to a support.
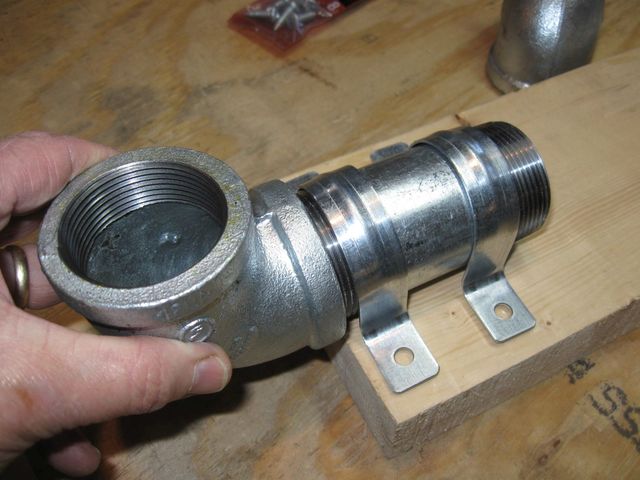
The Clamps
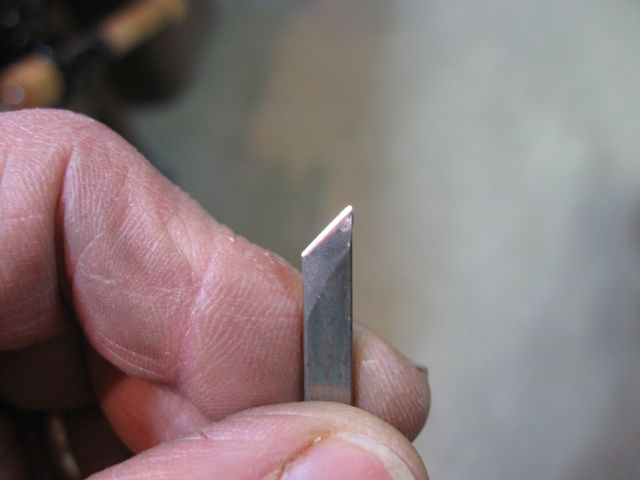
While I was in the shop I had a little extra time, so I decided to take a look at my marking gauge. It has a small knife in it for marking the wood for a saw cut.

Knife
The idea behind using a knife for a marker is that the knife severs the fibres of the wood while marking it. Then, when I cut it with the saw, the wood breaks at the knife cut and minimizes tearout. So the knife needs to be sharp. I took a look at the way the edge was currently sharpened.

The Point is Dull and Rounded
I took it to the stone and dressed it up a bit. Now it looks a lot better.
That's Better
That was all I did today. Tomorrow will be a new adventure.
