It has been a while since I added anything to this project. That is because I was pulled into some other projects. For example, I have been on the hook to make a bench for our mud room for a long time now. The bench was way overdue, so I had to stop and build it.

Crazy Me, I Dovetailed it All Together
The bench was not that hard to do because it was just a simple, square thing made from #2 common pine. It was refreshing to make a light project where everything was square.
But now I am back on the dulcimer project. After giving this project a rest for a few weeks, my brain came up with a plan. I decided to go ahead and prepare the actual Mesquite sides for the dulcimer before bending the remaining oak sides. I want the Mesquite to be ready to bend as soon as I finish bending the remaining oak. The purpose of that is to allow me to get a little more practice bending some sides, and then jump right into bending the actual Mesquite sides without having to stop and prepare the wood. I think that bending the Mesquite with the experience of bending fresh in my mind will provide me with the best chance of success.
That is the plan..... but you have seen where my plans end up... so stay tuned. You never know what is going to happen.
So I got out the Mesquite. These boards have been cut on a bandsaw to make the thin pieces for the top, bottom, and sides.
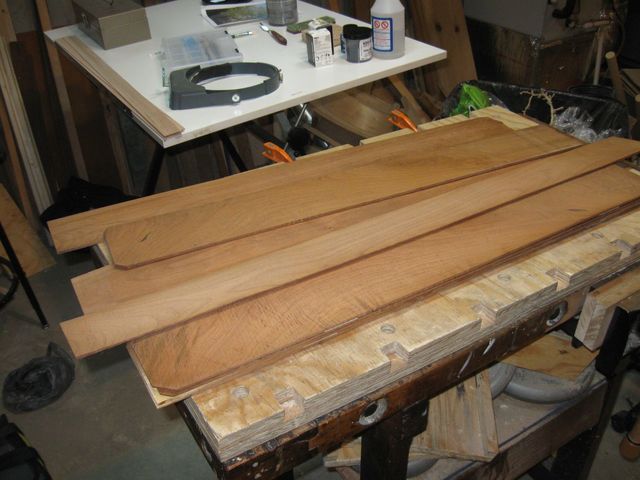
There are Eight Boards
There are eight boards. The boards are not all the same width. Six of them are wide, and two of them are more narrow. Here is one of the wide boards.
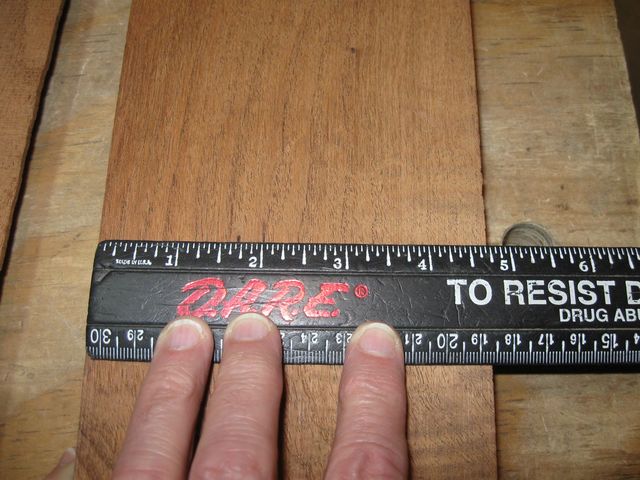
Almost Five Inches
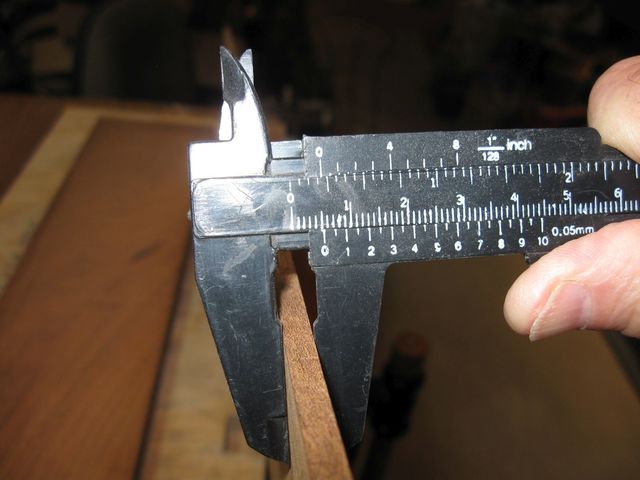
The narrow boards are just shy of 4"
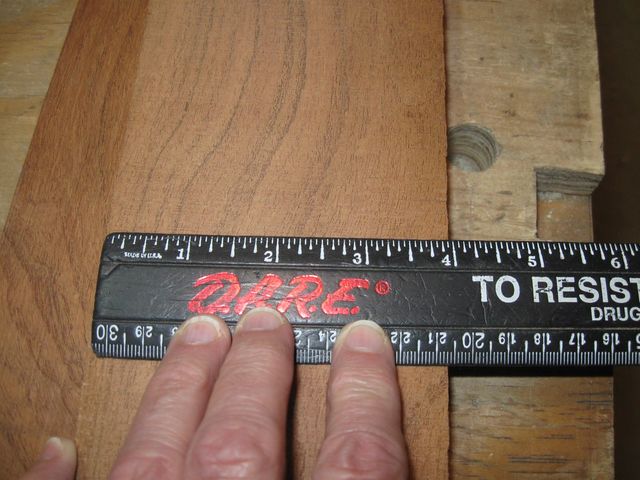
Just Shy of 4"
They are also different thicknesses. The narrow board is just over 1/16" thick.
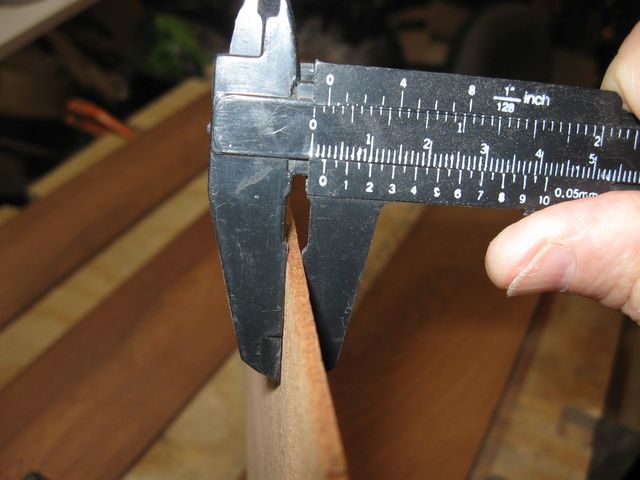
The Narrow Boards are Thin
The wider boards are thicker.. almost 1/4".
This is a Wide Board
It looks like the narrow boards were intended for the sides. FWIW, I did not cut these boards. The fellow who sold me the wood cut them on his bandsaw for the purpose of building a dulcimer out of them. It looks like he was paying attention. He left some thickness on the boards so that I can dimension them myself, but they are mostly cut to the proper thickness.
I decided that one of the narrow boards will be used for the bent sides, so I marked it with masking tape to make sure that I do not forget which one I chose.
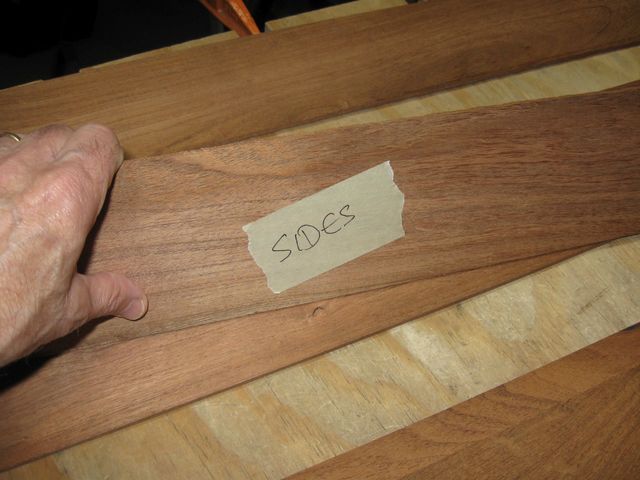
This Board Will Become my Bending Wood
I chose a pair of boards to use for the bottom of the dulcimer and made an attempt to bookmatch them.
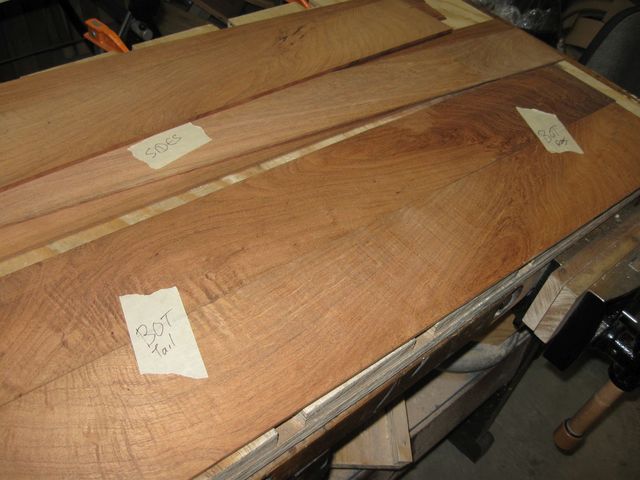
Bottom Boards
I taped them together in the orientation that I chose so that I will be able to pick them up later and not have to puzzle out how I had aligned them. The tail piece of the dulcimer will be on the left side in the photo, and the peghead will be on the right.
I did the same thing with two boards for the top.
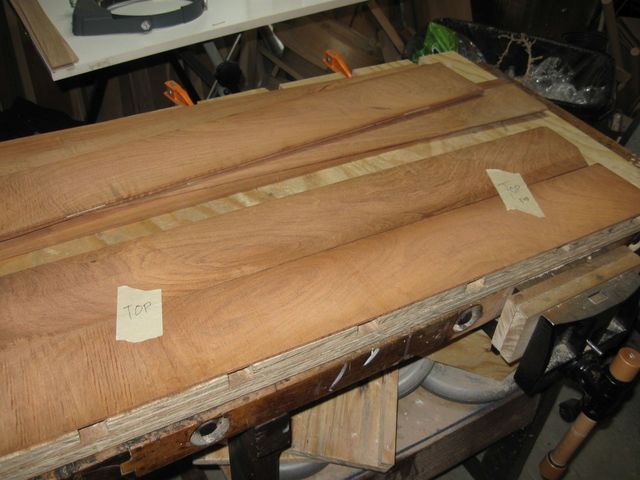
These Boards Will Be the Top
Now that the boards have been earmarked for their purposes, I put the top and bottom boards aside and proceeded to plane the narrow, side board down to the proper thickness. But before I started, I sharpened my plane iron.
I got out my new Lie Nielsen sharpening jig. Take a look at this beauty.
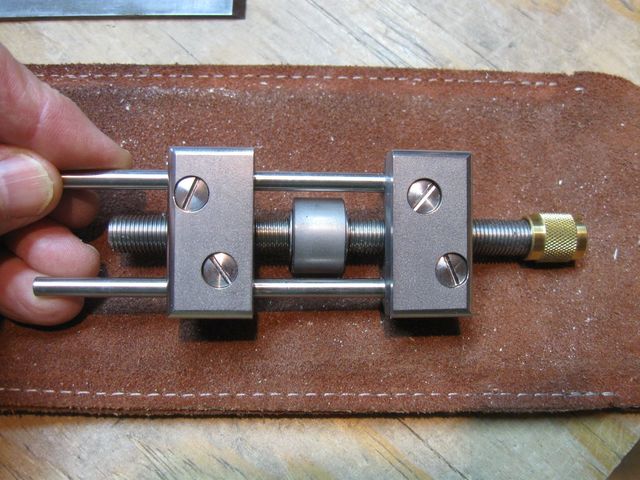
This is the Lie Nielsen Sharpening Jig
Here is the back story on the jig.
I am fortunate in the fact that the place we vacation in Maine is just outside of Warren, Maine..... where the Lie Nielsen factory is located... right off of Route 1..... visible from the highway.... easy to stop at... on the way.
I actually didn't have to stop because the car itself turned off into the parking lot.
While I was in there drooling over the tools, I asked what the trick was to sharpening their awesome spokeshave because the blade is so short it would not fit in my jig, then they showed me this jig.
The LN jig is milled out of stainless steel. The entire thing is stainless steel except for that brass knob on the end. And to answer my question about how to sharpen the short spokeshave blade, they showed me the long jaws.

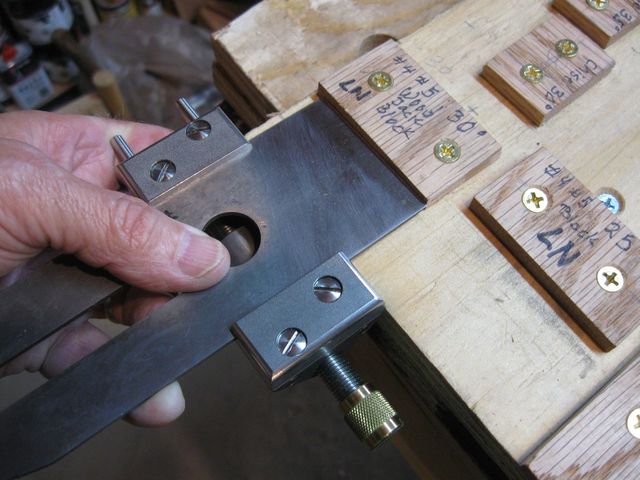
These Long Jaws Bolt Onto the Jig
The top jaws are removable so that they can be replaced by the longer jaws. The long jaws are long enough to hold the short spokeshave blade for sharpening.
I was sold. This is beautiful stuff.
I paid more for this jig than I did for my first car.
To be fair, my first car was a piece of junk, and didn't last as long as this jig will last.
By the way, I think that Lie Nielsen makes a lot of his tools out of bronze because the drooling customers would make iron tools rust.
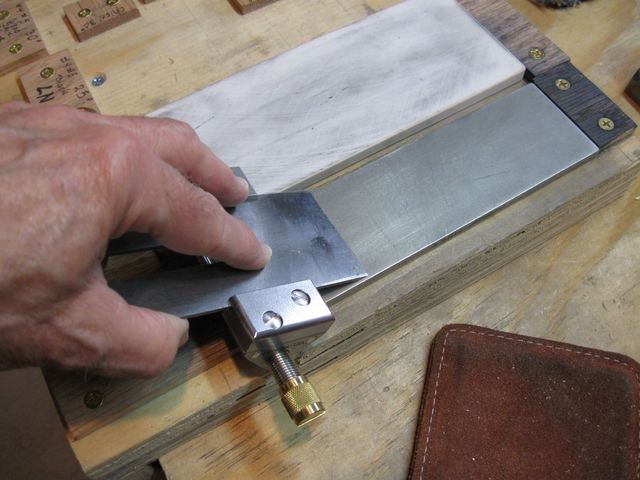
OK. Enough of that. I clamped the plane iron in the jig and set it to the 30° block on the sharpening station since I am only going to sharpen the secondary bevel.
I Have Adjusted the Blocks for the New Jig
I only used the fine, extra fine, and ceramic stones when sharpening the secondary bevel.
This Actually Went Very Quickly
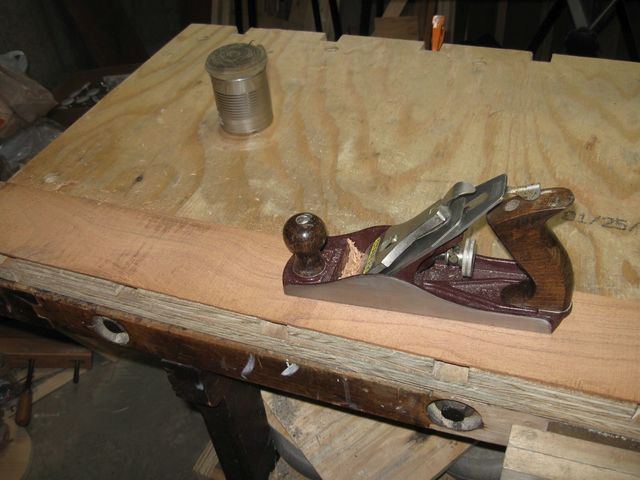
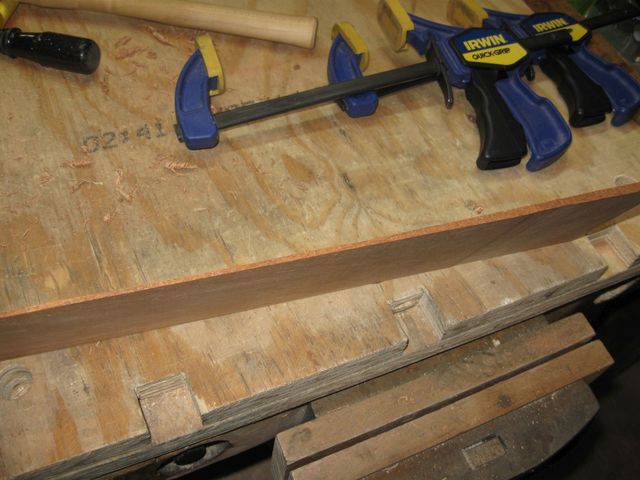
I clamped one end of the board to the bench and set up my #4 smoothing plane to plane the board flat.
I Need to Remove All the Saw Marks
After just a few minutes, you can see where the plane has smoothed some of the wood. The saw marks are visible in the photo.
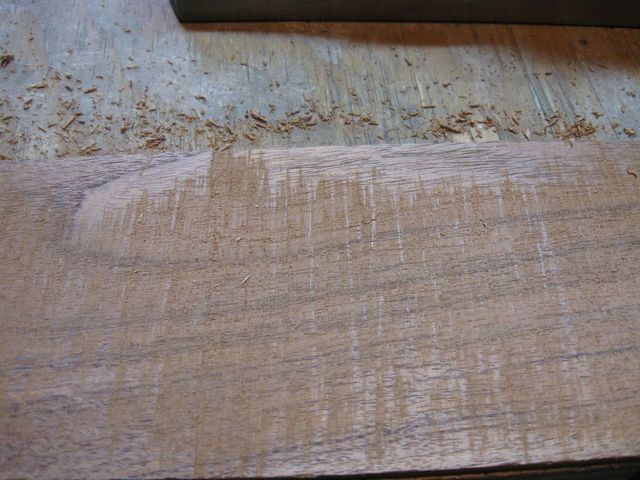
The Smooth Places are the High Points on the Board, Now Planed Off
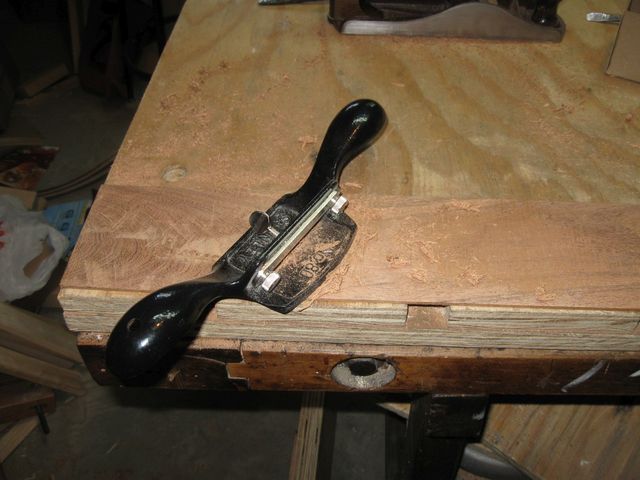
Unfortunately, in order to get the plane iron flat to the surface, I had to push the lateral lever very far to the left. You can kind of see that in the photo of the plane above. I was puzzled as to why the iron seemed so cockeyed in order to make it plane the board parallel to the bench.
So I took the plane apart and found this.
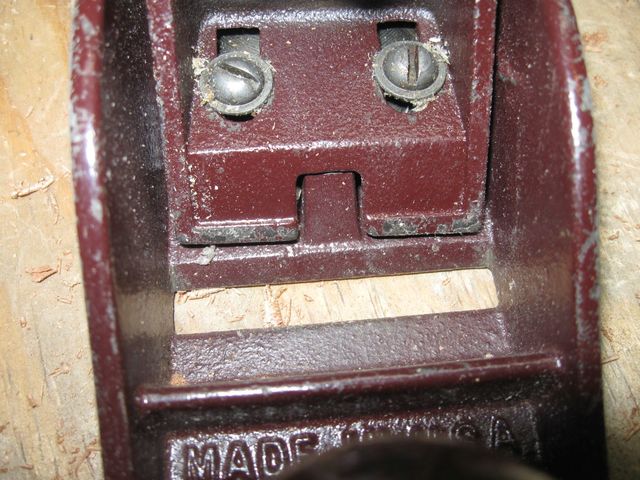
The Frog Has Slipped
The frog has slipped out of alignment and is crooked in the plane body. So I straightened it out and cinched it down again.
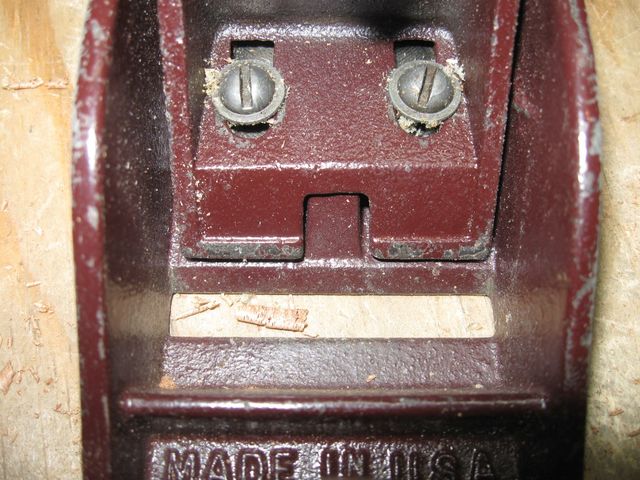
This is Better
After that, the iron did not need quite as much adjustment to plane the board flat. I spent a while planing and made slow progress.
More of the Saw Cuts are Gone
I also noticed that the thickness of the board is not uniform along its length. It is thicker at the ends than in the middle.
The Board is Thinner on the Left
I will have to keep that in mind as I plane the board because it will bend easier if I can make the thickness uniform along the length.
As I went along, the plane became harder to use and not doing that great a job, so I switched to the cabinet scraper.
The Cabinet Scraper Removes a Lot of Wood
The cabinet scraper worked well for a while. Here is a photo of the board with most of the saw cuts removed.
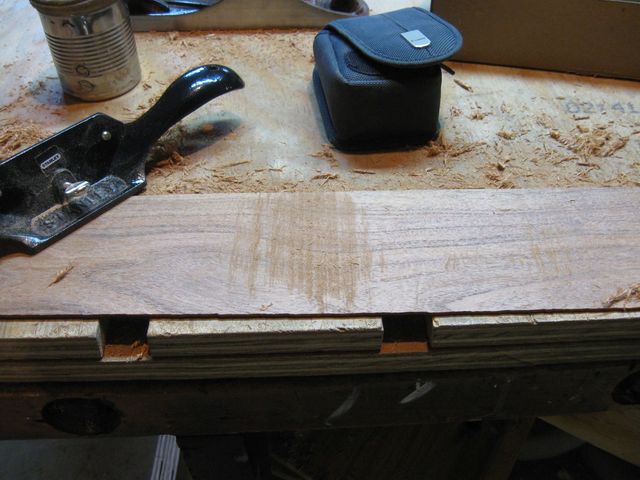
The Board is Almost Flat
When the cabinet scraper became more difficult to use, I switched to the card scraper. The card scraper is one of my favorite tools to use. I takes very thin shavings from the wood. You can see some of them in the upper left corner of the photo below.
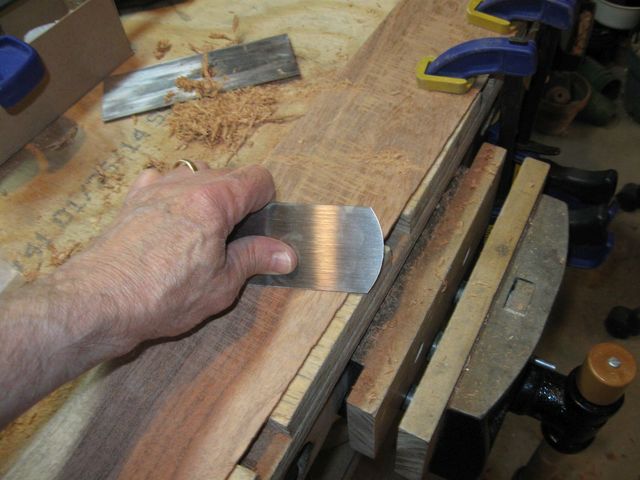
Card Scrapers are Such a Joy to Use
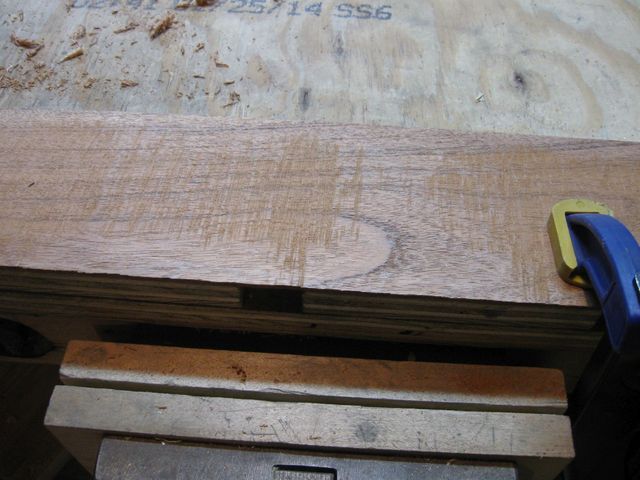
I finally ran out of time for the day and had to shut this down. But I made a lot of progress on dimensioning the board. You can see that almost all of the saw marks are gone.
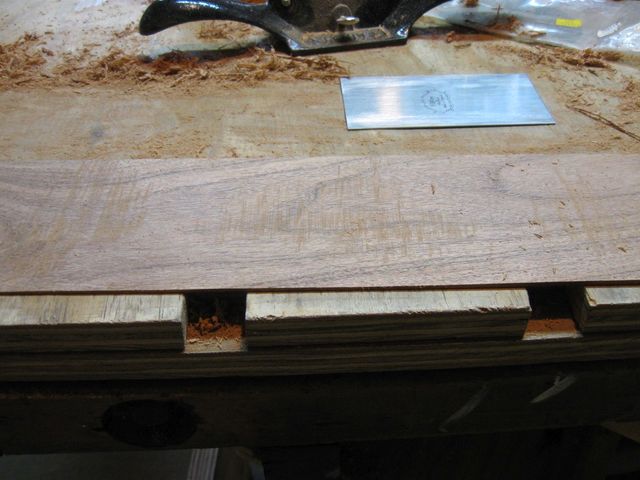
There are Just a Few Marks Left
The Mesquite works nicely. It cuts fairly easily. There is some strange grain in parts of the board, but the scrapers handle that sort of thing nicely.
In my next session, I will finish making the side boards and see what we have.
