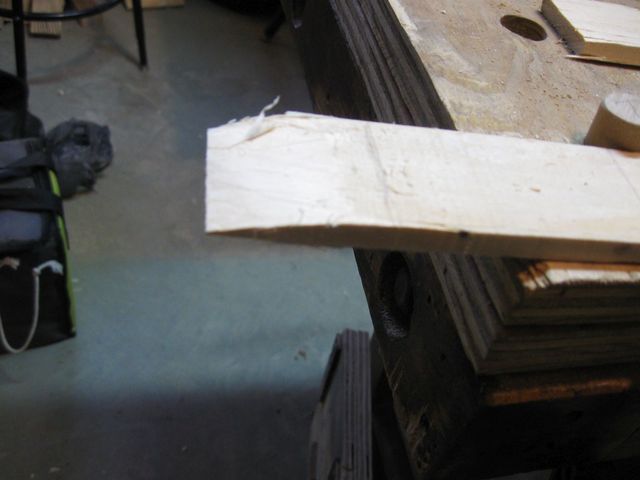
I have thinned the board almost to its final thickness. You can see that it is now quite thin, about 1/16".
The Board is Thin, But Wide
In some places, the board is already thin enough, for example here:
This is Where a Deep Saw Cut was Made
In other places it needs more work.
I decided to cut the board in half lengthwise before I continue smoothing and thinning it. That way, I can plane the boards down to their proper width before doing the final finish on them, allowing for the removal of less wood. That also will let me make sure that each board is an even thickness side to side as I work on it.
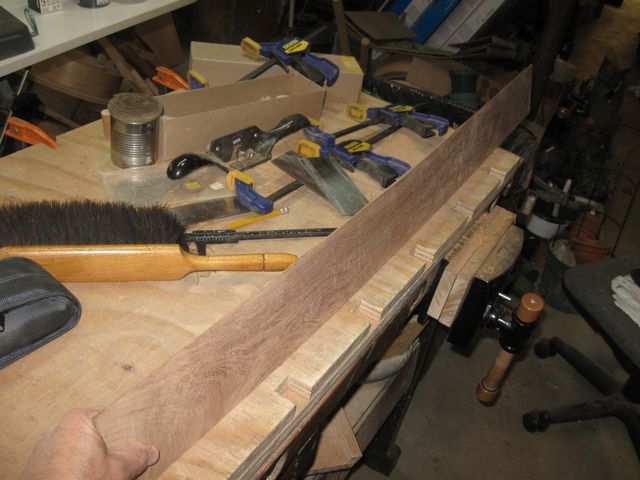
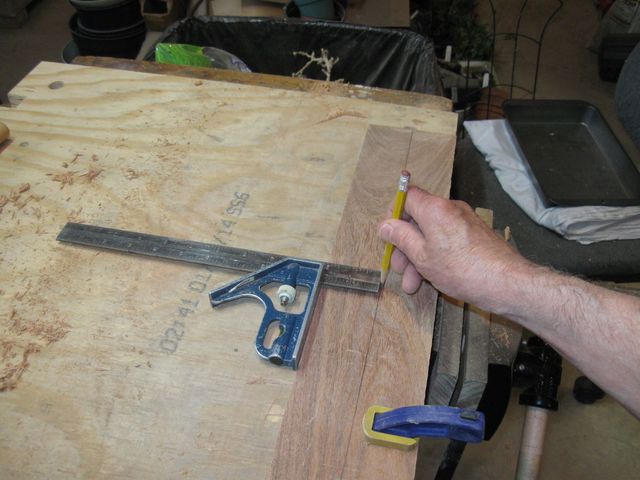
I clamped the board down to the bench.
Ready for Marking
The board is just a tad shy of 4" wide, so I set my square to just 1/2 of a tad shy of 2" to use it as a marking gauge.
This Should Cause the Line to be in the Middle of the Board
I put the square against the side of the board and the pencil against the side of the rule and made a trial mark.
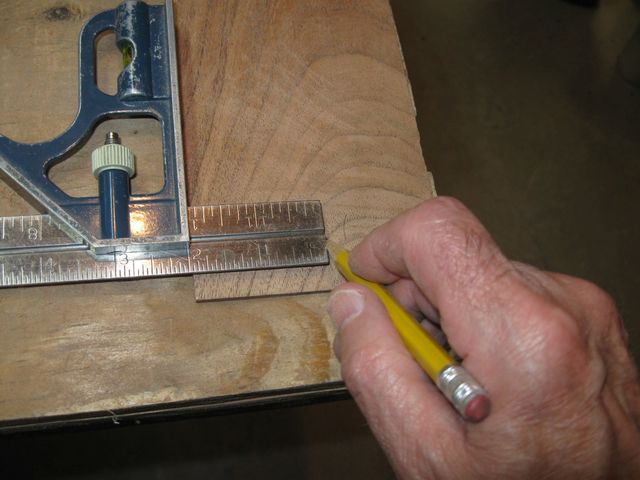
Marking the Board at Nominally 2"
To make sure that I am going down the middle of the board, I flipped the rule over and looked to see if the end of the rule lines up with the mark.
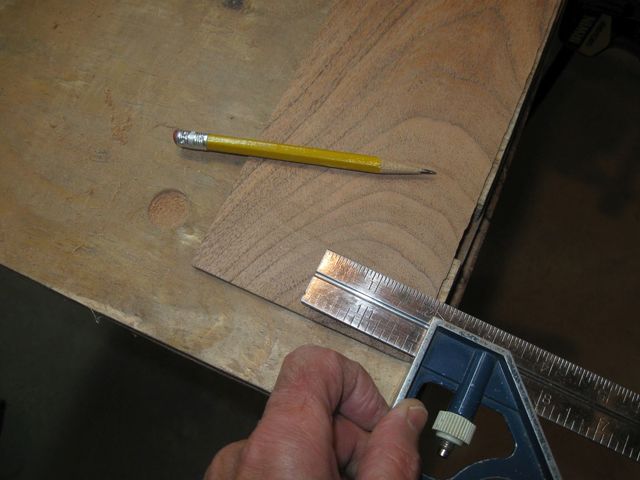
It Does
I put the square against the side of the wood, and the pencil against the end of the rule and slid the whole contraption down the length of the board to mark the center.
Marking the Center
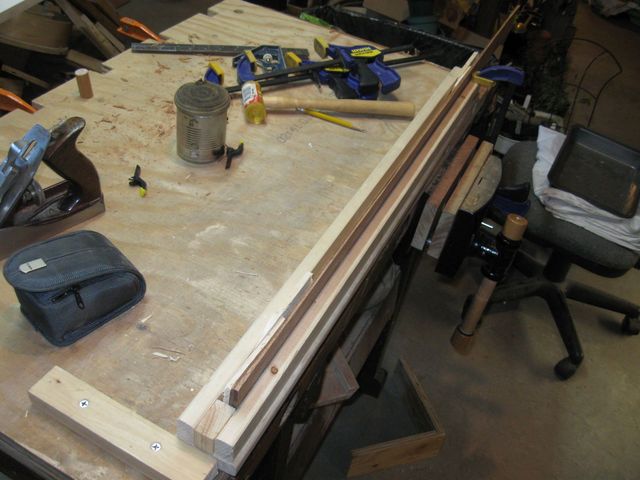
And there ya go. Now all I have to do is saw that skinny board down the line. It turns out that it wasn't has difficult as I thought it would be. I used my panel saw because the plate is thin, and it has no back on it, so it can pass all the way through the board from end to end.
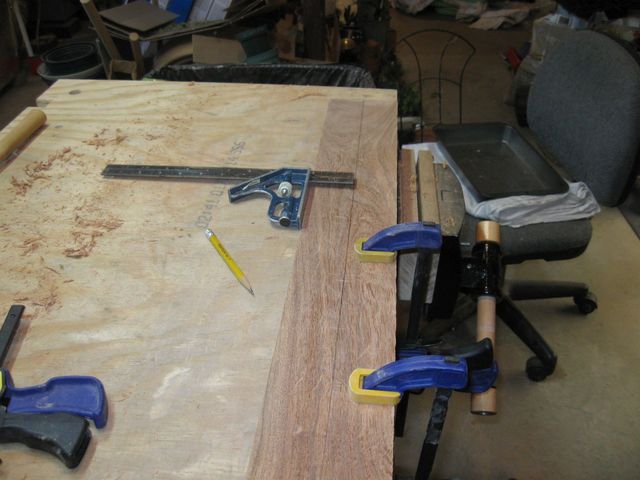
Ready for the Cut
To support the thin board, I stuck it over the edge of the bench just an inch or two, and then started the cut.
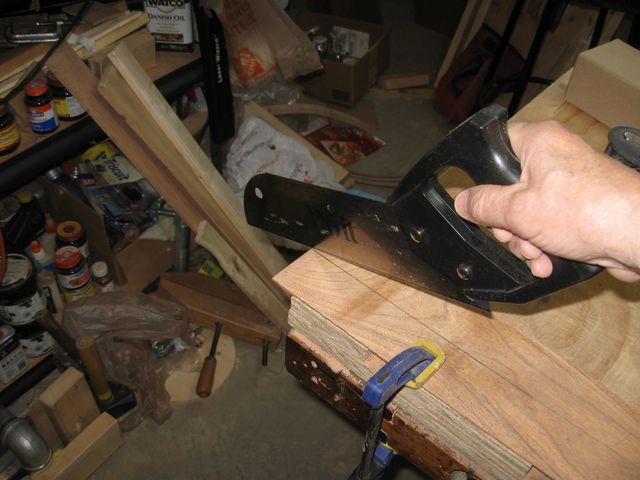
Starting the Cut
Move the board and cut; move the board and cut; move the board and cut. I found out that I could actually hold the board with my hand, and I didn't need the clamps. It went rather quickly.
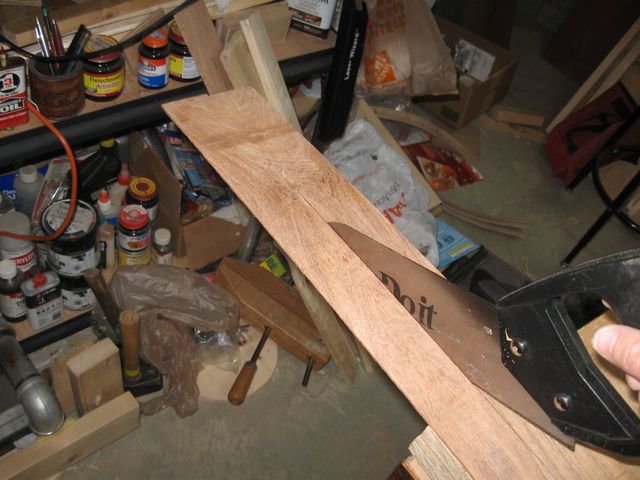
It's a Bit Tedious, but Not Hard
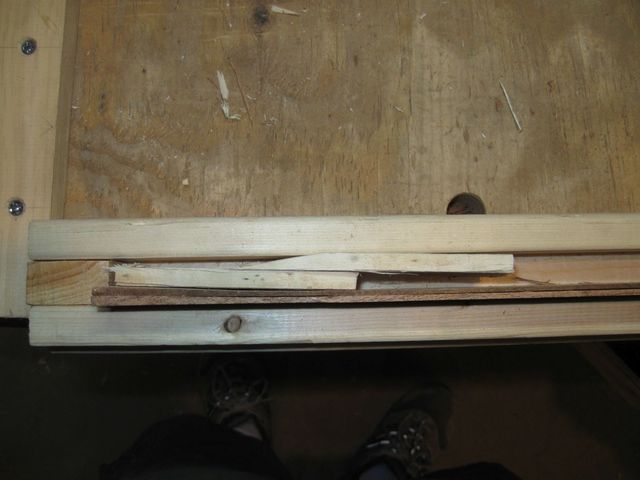
Half way through, I flipped the board end for end and finished up. Here are the boards.
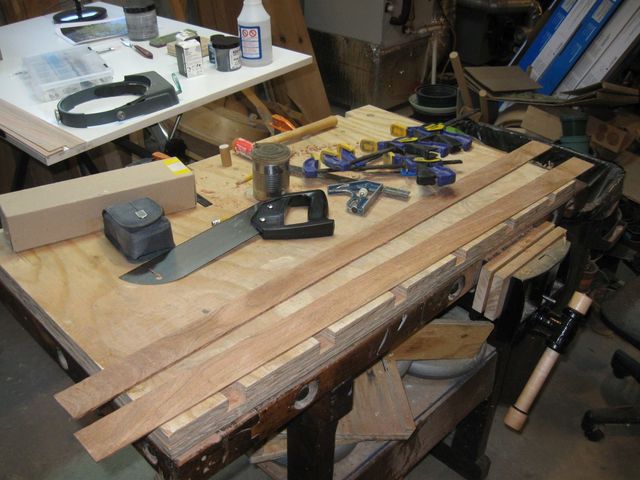
Done
The final width of the boards has to be 1 1/2" according to my design, and they are closer to 2" now (minus sawdust). To illustrate the size difference, I compared one of the Mesquite sides to one of the oak sides.
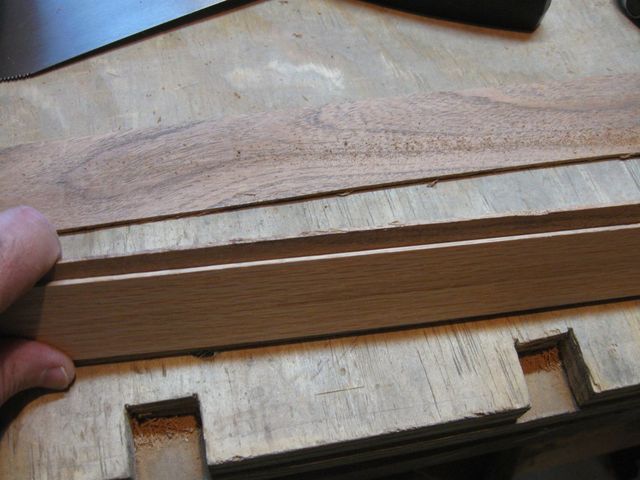
The Oak Side is Considerably Narrower
To plane the boards to the correct width, I clamped them together using some tiny clamps so that I could clamp the boards in the vise for planing. A while ago I bought a bag of really cheap, plastic clamps to use for an outside project, and some of them were too small for any practical use. So they have been languishing in the bag for a few years.
However, for this project they seem to be just the right size.
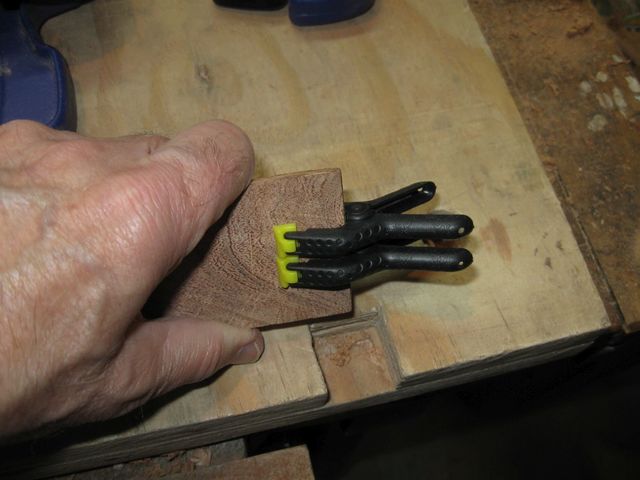
Tiny Clamps
Well, that was until the cheap plastic clamps broke.

Broken
This thing didn't just come apart like an old clothes pin. It actually broke.
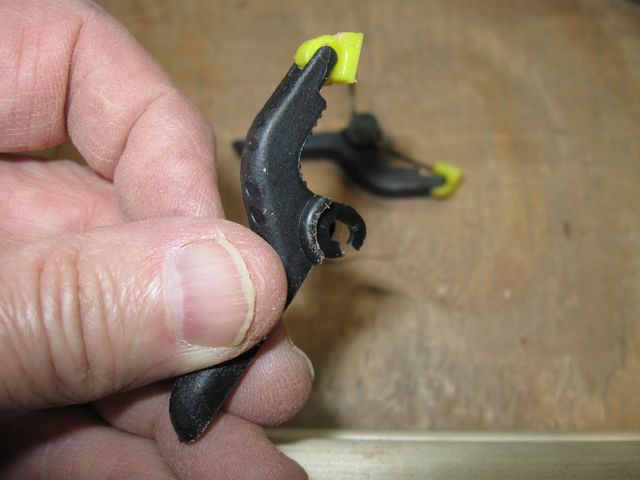
The Cheap Plastic Actually Broke, Go Figure
Don't buy cheap junk tools. It isn't worth it, and it puts the project at risk.
Clamping the thin boards together and then putting them in the vise didn't work anyway because the boards were too squirrely. They bent and flopped around like noodles when I put the plane to them, and there was no way I was ever going to get a clean, straight edge on them doing it that way.
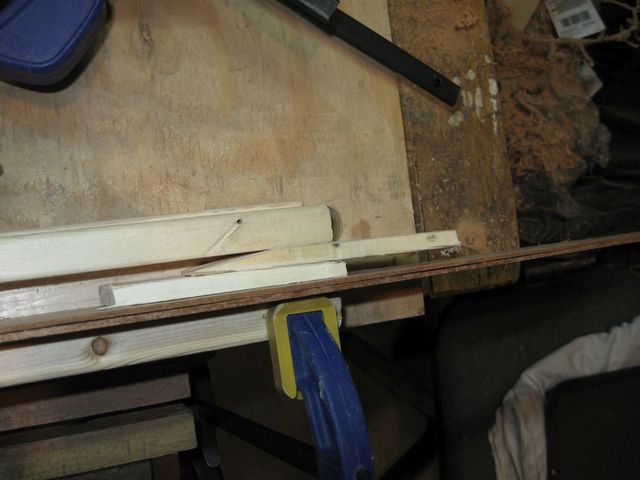
So I looked around for another solution, and I found this jig I had made for a different project.
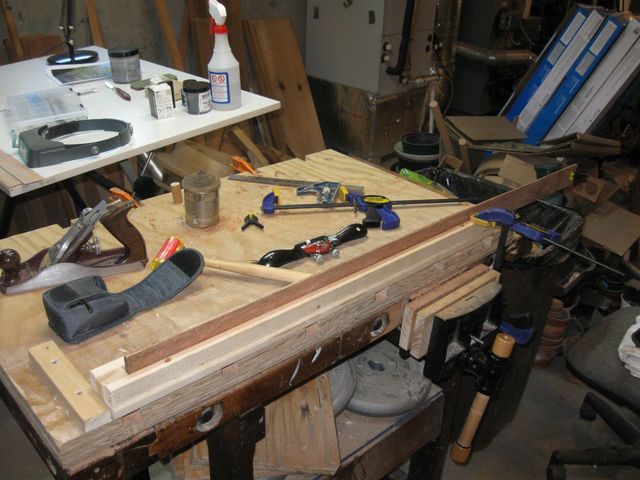
The Planing Jig
I made that jig to support some picture frame molding that I had made so that I could plane the edges square. It is just two pieces of strapping wood screwed down to a third piece of strapping wood so that they are 3/4" apart. A board of molding, that is 3/4" thick, just fits between the two sides, holding it solidly so that I can plane it. You might not be able to see it in the photo, but there is a wooden stop screwed into the end of the jig on the left to keep the wood in place while I plane it from right to left.
This Mesquite is only 1/16" thick, so the two pieces together are only 1/8" thick, far to thin to work in the jig. So I made some wedges to trap the wood against one side of the jig. I tried using my plane to create a bevel on the end of some scrap, but that did not work well at all. So I used the spokeshave to cut the bevel. This wood is plaster lath that I bought for a different project. It is green and very bad. Not much good for anything but tomato stakes. And it isn't very good for that either because it is too thin.
Cutting a Bevel
Here is the bevel.
Sometimes a Pointy Stick is All You Need
That wasn't thick enough by itself, so I jammed another piece of lath into the slot with the wedge.
The Side Wood Wedged into the Jig
Here it is from the top.
The Wedge Traps the Wood to the Side of the Jig
I made one for the other end too.
This One is At the Other End of the Jig
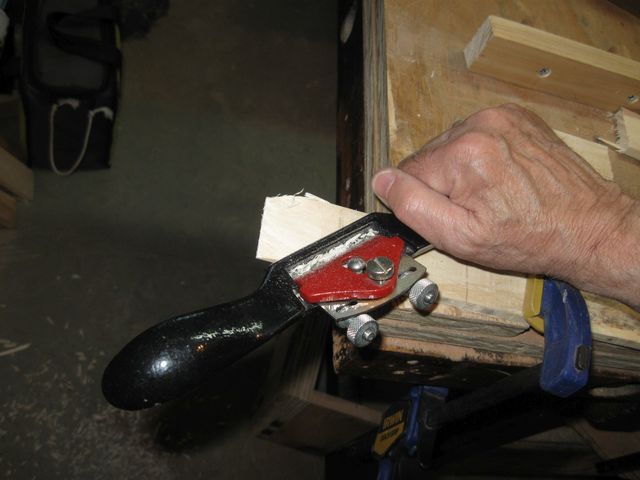
That system worked well to hold the wood in the jig. Unfortunately, the plane was not cutting well again, so I took it apart to see what was going on. This is what I found at the end of the iron.
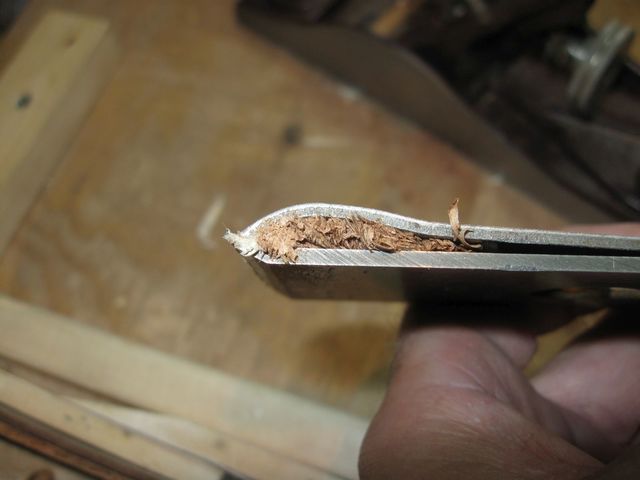
The Cap Iron is Full of Shavings
I think that when I initially tried to create the wedges using the plane, the crappy lath wood wedged itself between the iron and the cap iron.
I took of the cap iron.
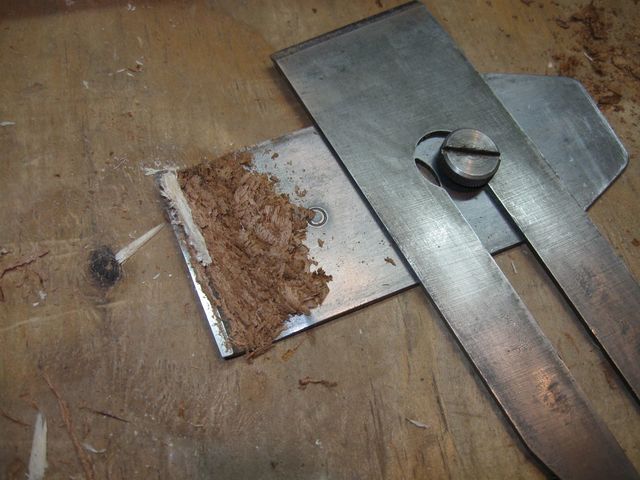
The Shavings Are Between the Iron and the Cap Iron
Interesting. Those look like Mesquite shavings, not lath shavings. Maybe I did not have the cap iron tightened down all the way.
I cleaned it out and put it all back together again, and it works fine.
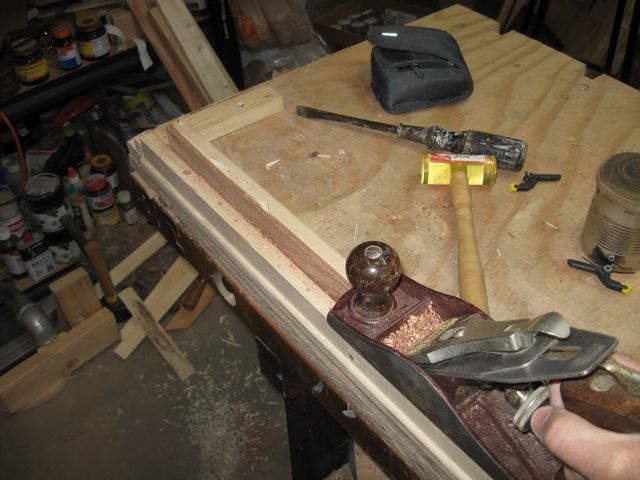
It's Working Now
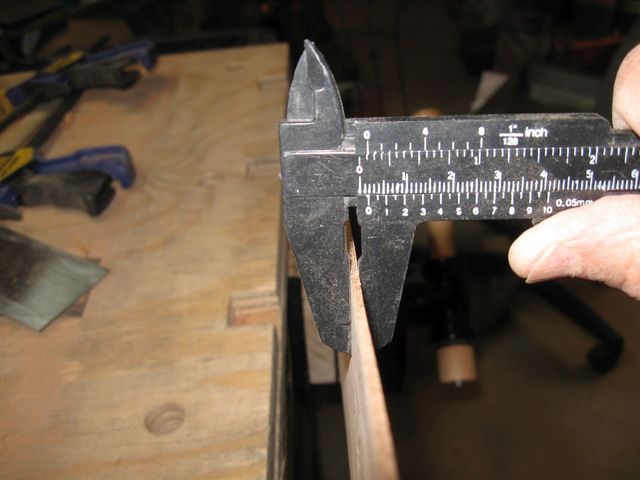
I squared up the two boards a bit and then measured the width to see what I have.
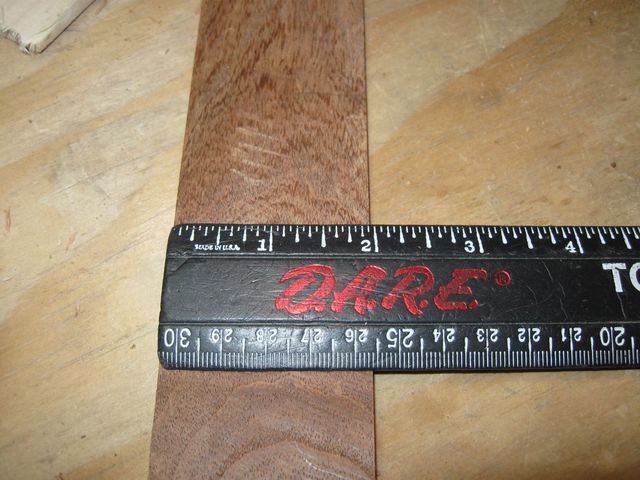
Still Nearly Two Inches Wide
I have a long way to go on this. I need to remove almost a half inch of wood from the edge of each board to get them down to size. I decided to stop for the day and think about it. I don't want to mess this up.
