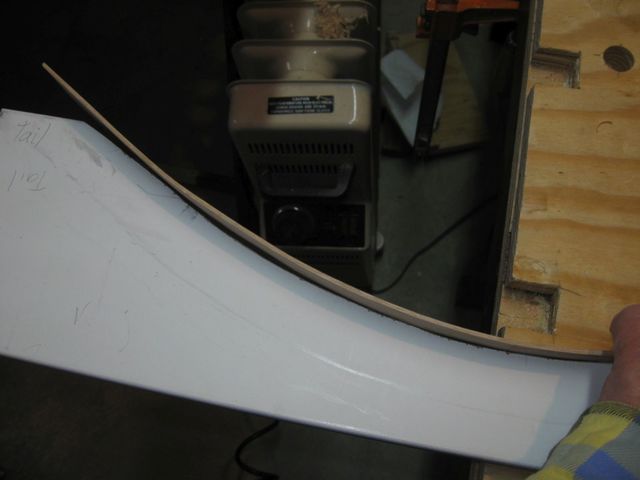
It is time again to try to bend some of the oak again. I have thinned the board down to 1/16" and insulated the pipe to avoid scorching the wooden base. Now I need to see if my second bend will go better than my first.
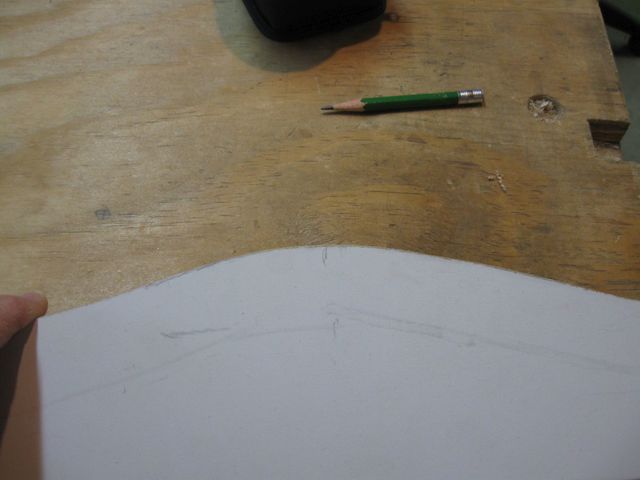
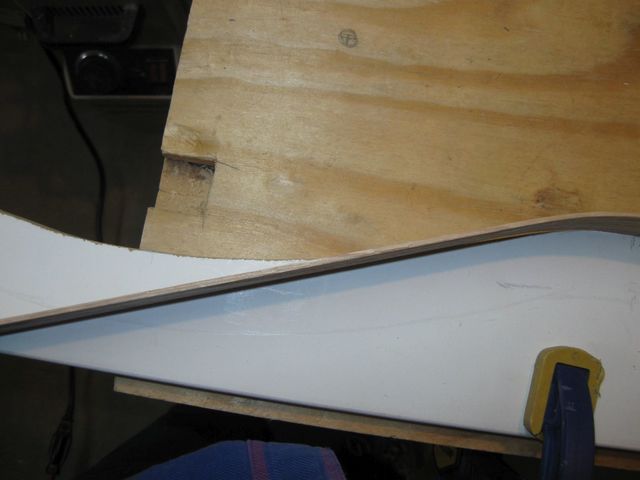
Before I started bending, I wanted to correct an uncomfortable shape that I noticed in the template. I am pointing to it in the photo below.
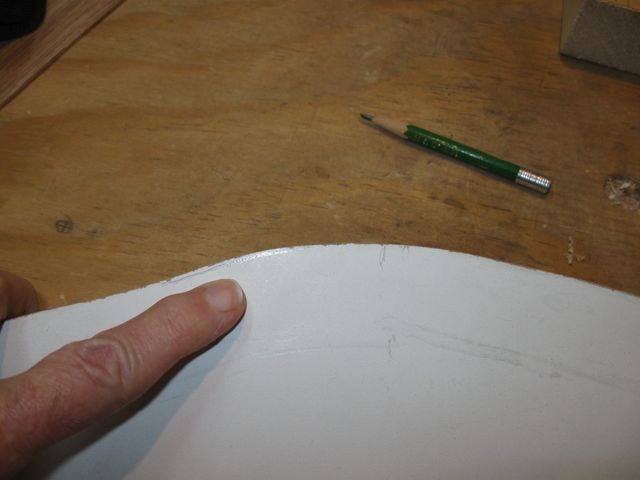
I Don't Like the Lump There
So I popped the template into the vise and took the shoe rasp to it. This MDF stuff really is cardboard.
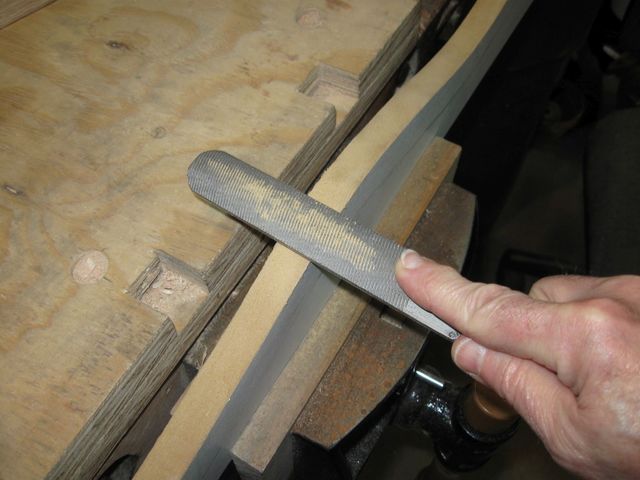
The MDF Cuts Easily
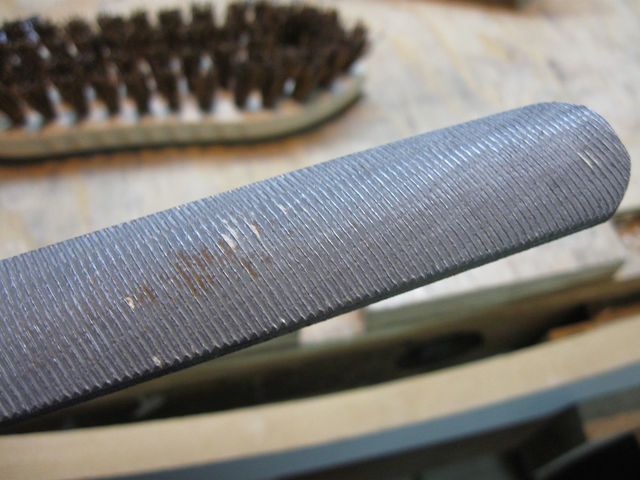
The stuff is so soft that it clogs up the teeth on my rasp.
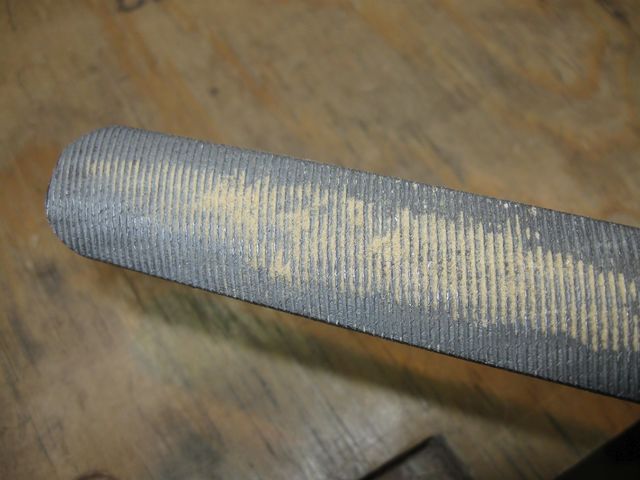
This Junk is Stuck in my Rasp
Never fear. I simply brushed it out with this scrub brush.
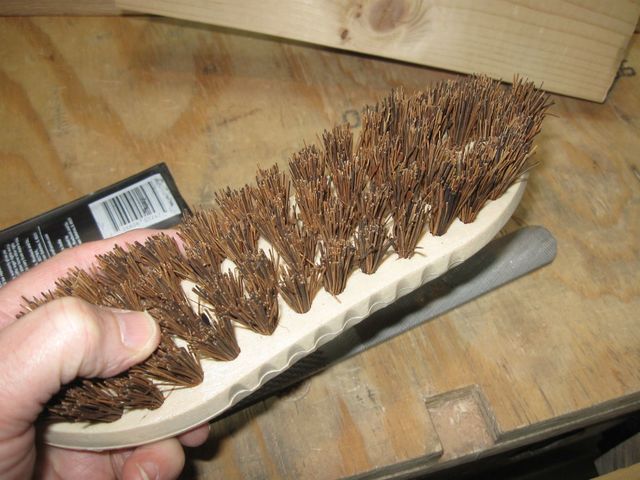
A Natural Fiber Scrub Brush
This is a cheap brush that I bought years ago to see if I could scrub the mould out of the grout in our shower in our old house. The house no longer exists because we had it torn down to build our new house on the same lot.
The brush has outlived that house. And it is just a cheap brush from the hardware store.
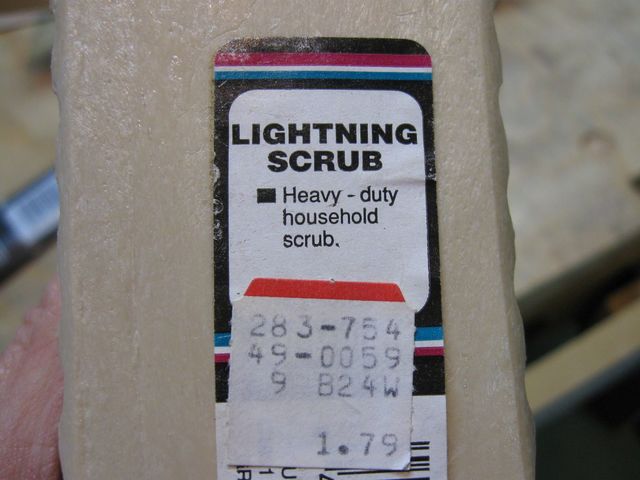
So, It's a "Lightening Scrub" If You Care
And this did not come from the BBHIS. I bought this brush at a real, local hardware store. It did work. Take a look at my shoe rasp now.
Cleaned Out
The flat side of the rasp is just as clogged.

This Side is Clogged Too
A quick pass or two with the brush is all it takes.
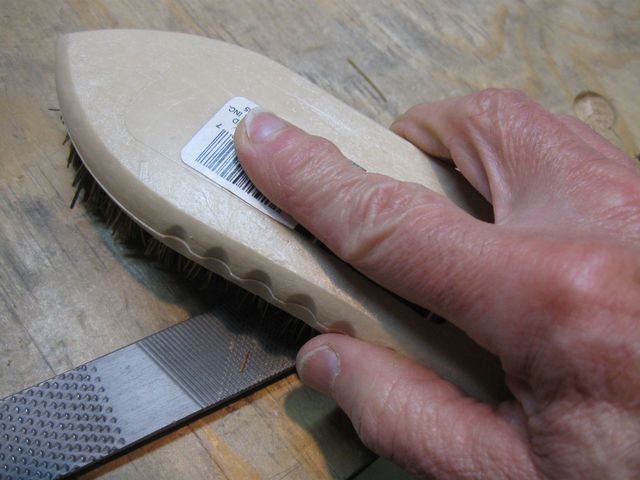
Cleaning out the Rasp
Ta daaa. Clean as a whistle.
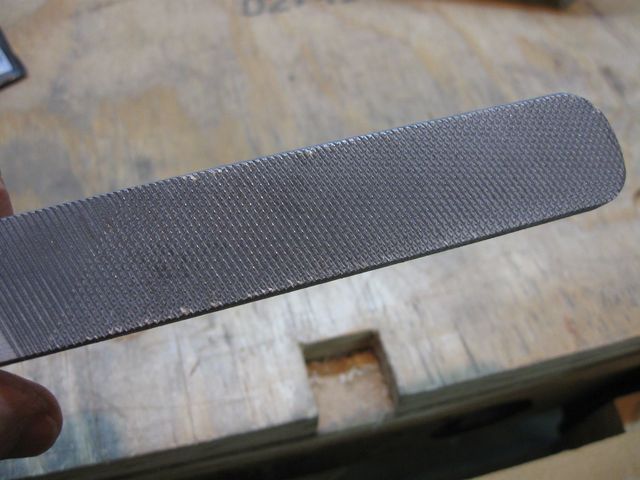
Looks Good
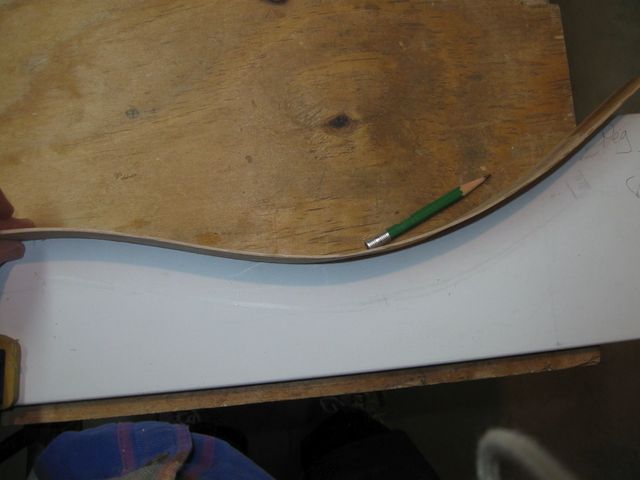
Enough of that. The annoying lump is gone on my template.
The Curve Looks Much Better Now
I marked the inflection points on the board again and squared the pencil lines across the board. I plan on paying more attention to the alignment of the marks as I bend this board.
Can You See the Marks?
At this point, I started heating up the iron.
I have read that the correct temperature for the iron can be measured by splashing water drops on it and watching how they evaporate. If they boil up and evaporate slowly, the iron is not hot enough. If the droplets turn into little balls that scurry around on the iron, then the temperature is correct. If they vaporize immediately, the iron is too hot. I do this trick to test my skillet temperature for making pancakes. It works great for pancakes; we shall see if it works for bending wood.
The jar of water I used was my paintbrush cleaning water that happened to be easily accessible on my drawing table. There is no magic in the metal spiral in the jar. That is for scrubbing the paint out of the paintbrush bristles. Any jar of water would work as well
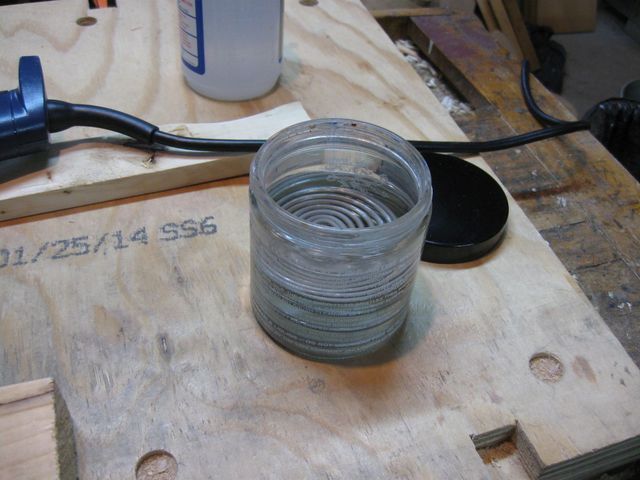
This is the Water I used.
I dribbled a few drops on the top of the cold pipe to demonstrate. Since the pipe is cold, the water just sits there.

It Really is There, Just Right of the Seam
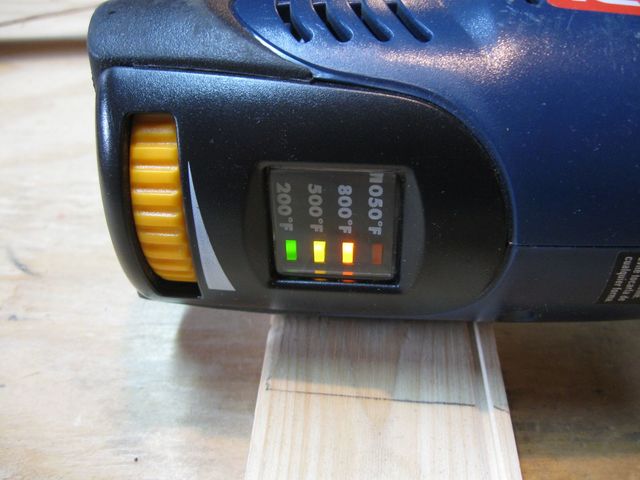
I turned the heat gun up to Maximum and waited 10 minutes.
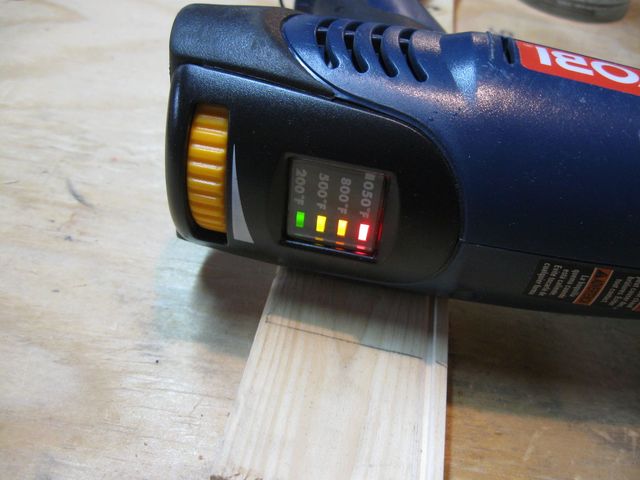
The Gun is set to 1050° F
As it heated, I sprinkled water drops on the pipe and watched to see what happened to them. In the photo below, you can see that they are slowly boiling away, stuck to the side of the pipe.
This Pipe is Not Hot Enough
It proved too difficult for me to capture the activity of the water drops with the camera, so I don't have any photos. I continued to spatter drops on the pipe until they balled up like they do on my pancake skillet. Since the pipe is not flat, the drops could not skitter around on it, but they bounced off. They were definitely turning into little balls and bouncing off the side of the pipe. When it got to that temperature, I turned the iron down a notch to maintain the temperature.
I Turned the Heat Gun Down to 800° F
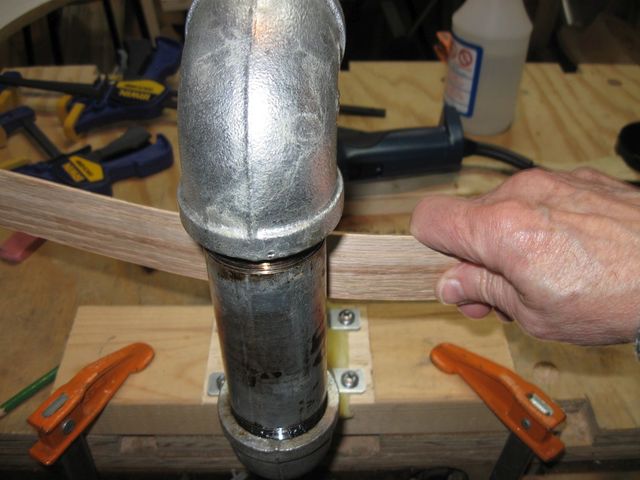
Then, I spritzed the side of the wood with the sprayer and started bending. I held the wood gently against the side of the pipe, not pulling very hard at all, and rocked the board back and forth on the pipe. Here is my first result.
The Bend Has Started Nicely
Rocking the board back and forth on the iron increases the area that is being heated and should result in a smoother curve. After a few more minutes of moving the contact point around on the board and gently rocking it back and forth, I got a pretty good match to the curve at the waist.
This Is Not a Bad Match So Far
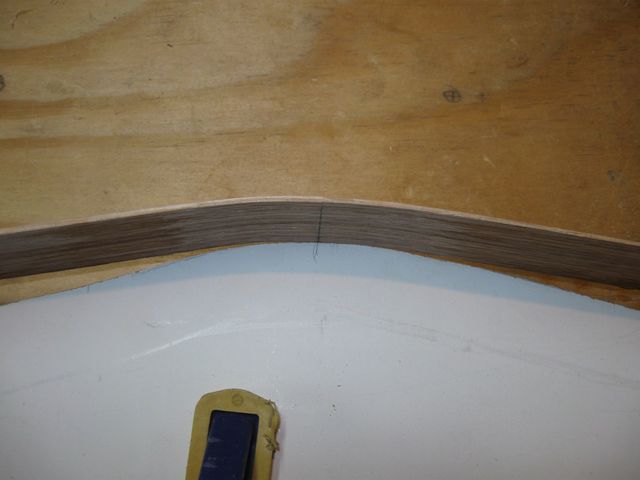
I rocked the board on the iron a few times and then tested against the template. I did that until it looked like the waist section was a good fit. You can see in the photo below that the board is still straight on the lower bout (the left side).
I Have Not Yet Bent this End
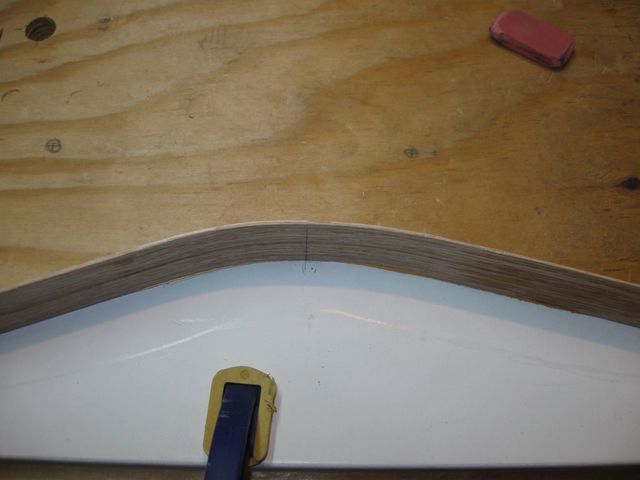
Similarly, the upper bout side is also still straight.
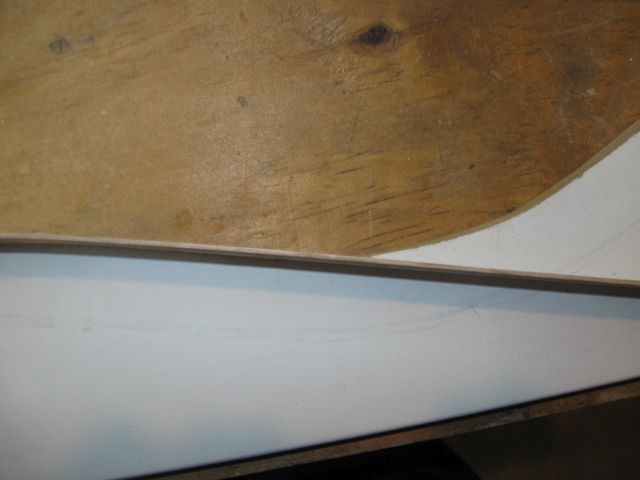
This End is Also Still Straight
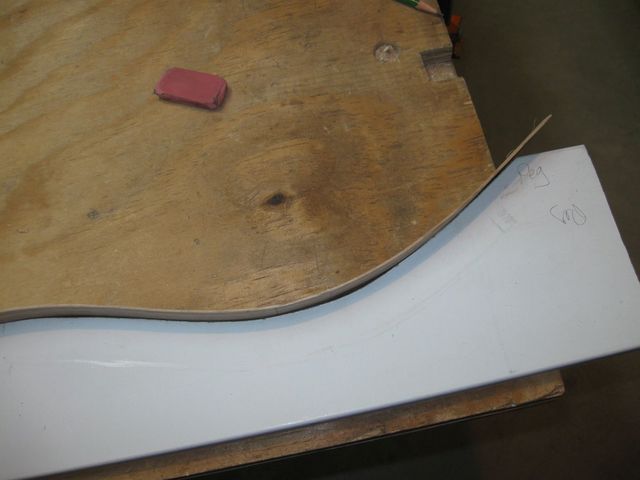
I started bending the upper bout in the same fashion. I spritzed the board and gently pressed the board against the iron, rocking it back and forth to get a smooth curve that isn't too sharp. I could not really feel the wood getting plastic while I was doing that. If I feel that the wood has gone soft from the heat, the bend comes out too sharp, and the radius of curvature is too small. So I gently rocked the wood back and forth under gentle pressure and then took it over to the template to see what the bend looks like.
Even though I did not feel the board bend, the bend happened anyway. Here is the upper bout fit after a few tries.
This Bend is Fitting Nicely
It is hard to see the difference in the two photos, the one above and the one below this paragraph, but in the photo above, the board is sitting on top of the template for the preliminary bend, and in the photo below, it is sitting inside the curve of the form. After I had done enough bending on the other bout (the lower bout, which is on the left out of view) I dropped the side into the template to continue bending.
In This Photo, the Board is In the Form
In the photo below, you can see that I have also started bending the lower bout, which is why I could drop the board into the form.
The Lower Bout Doesn't Fit Quite as Well Yet
I cannot really show how I am working the wood over the iron because it takes two hands to do the bending and another hand to take the photos. Here is a staged shot to show how I position the wood.
Bending the Wood... but Not Really
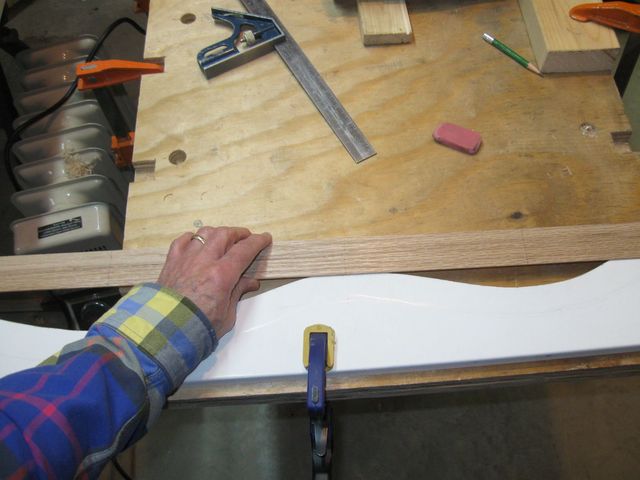
After I completed the bend, I clamped the side into the form to let it dry. I positioned the clamps at the inflection points where I had made the marks on the board. That was done because the jaws of the clamps are against parallel surfaces.
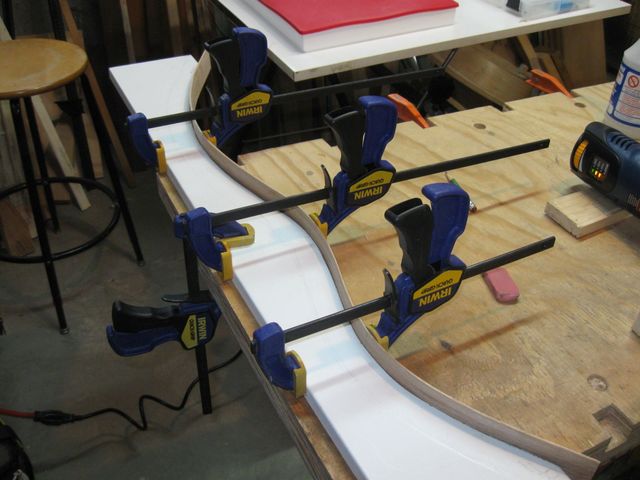
Clamped
Here is a view from the other side.
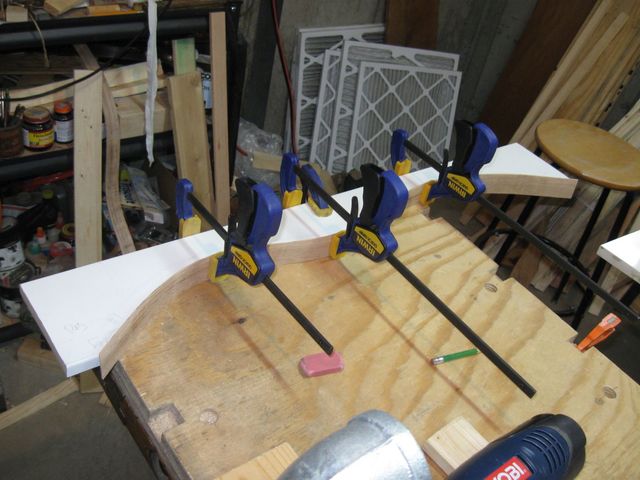
Clamped
I must say that I am happier with this outcome than I was with the other one. The thinner wood bent much more easily, and I felt like I was in better control of the process. I also did not notice any scorching of the wood.
Just out of curiosity, I took some temperature measurements on the pipe to see what my Infrared Thermometer shows. They are in the photos below.
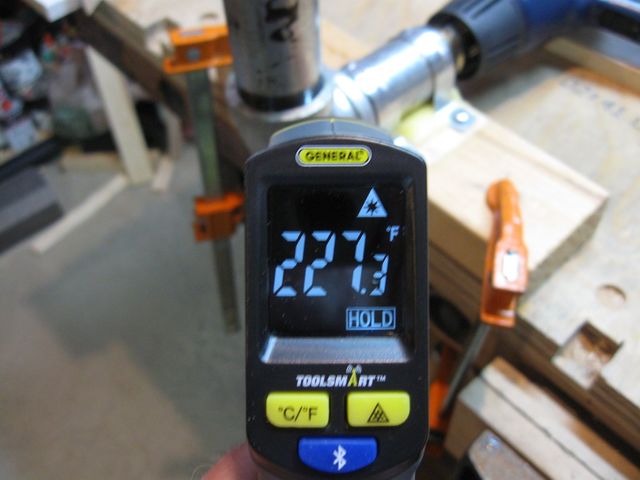
227.3° F
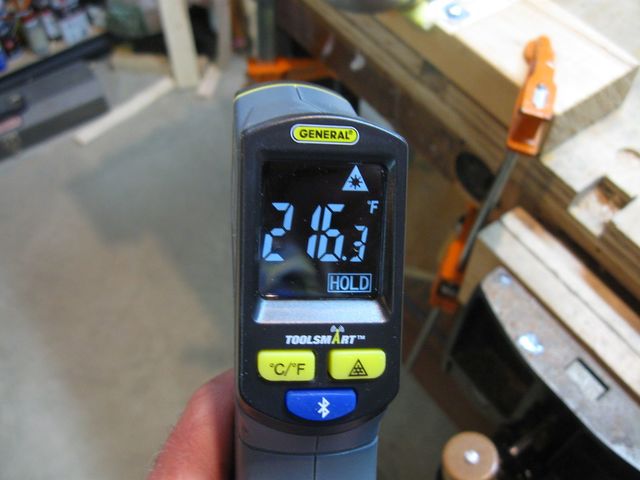
216.3° F
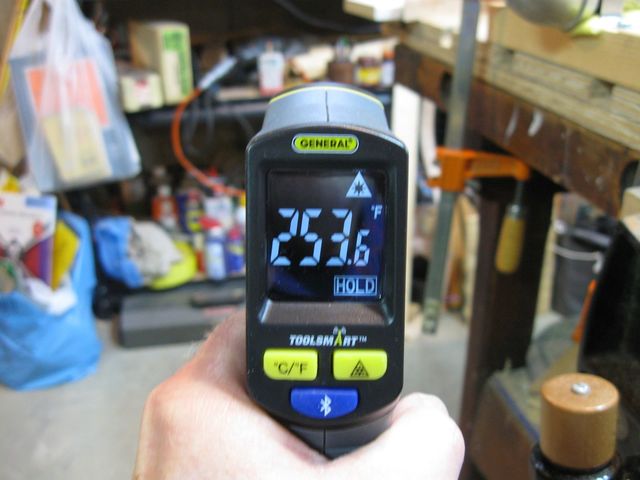
253.6° F
That seems low from what I have read online. Some people say that 400° F is ideal, but that does not mean I need to shoot for that. After all, I managed to bend the wood at this temperature with less scorching. If it works, do it.
I am out of thin wood for bending, and I want to practice this a few more times before I go ahead and try it on my Mesquite. The next time I work on this I will probably cut that other piece of oak down and make a couple more boards out of it.
