The bent side has been clamped in the template over night, so I took it out to see how it looks.
It looks pretty good, actually.
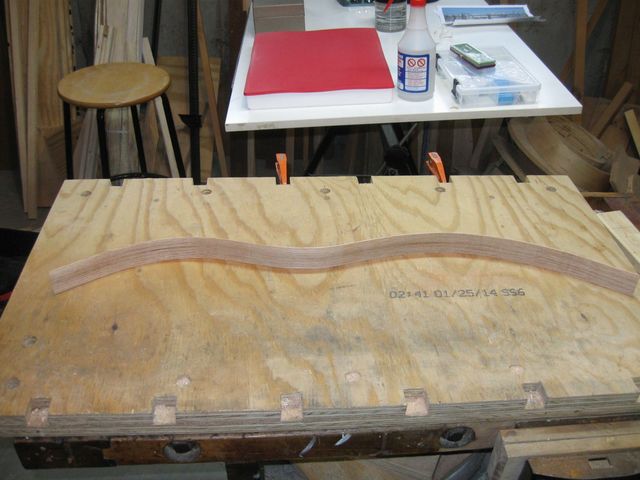
The Side; Upper Bout on the Left
I turned the flash off for the photo below so that you can see that the side is not totally flat. There are some light leaks showing under center of it.
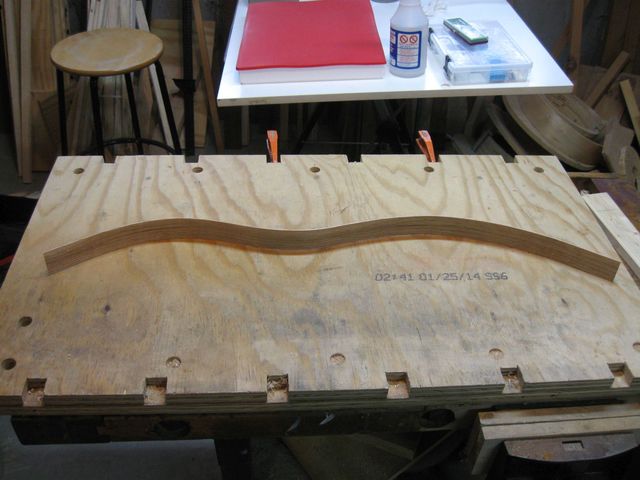
The Side is not Totally Flat
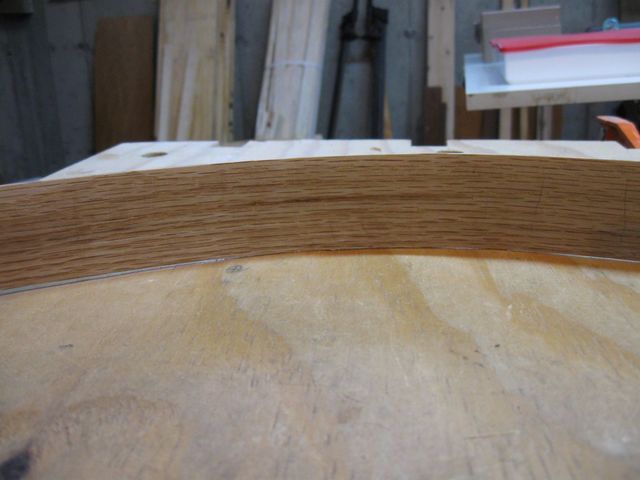
Here's a closer view of the waist area so you can see what I am talking about.
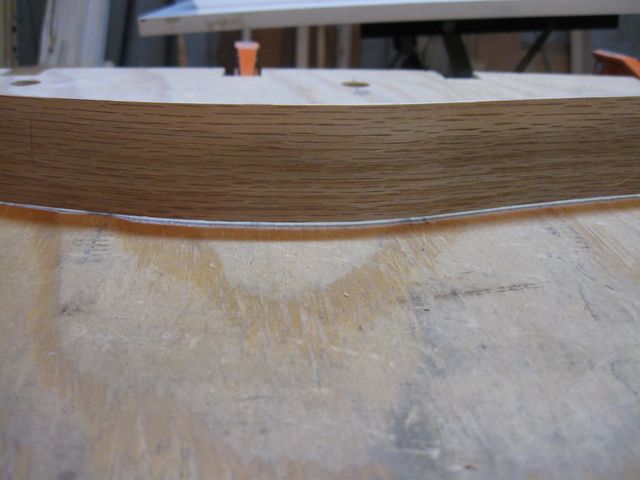
The Waist is not Sitting Flat on the Bench
It is being held up by the end of the board on the lower bout (on the right side).
This End is Resting on the Bench
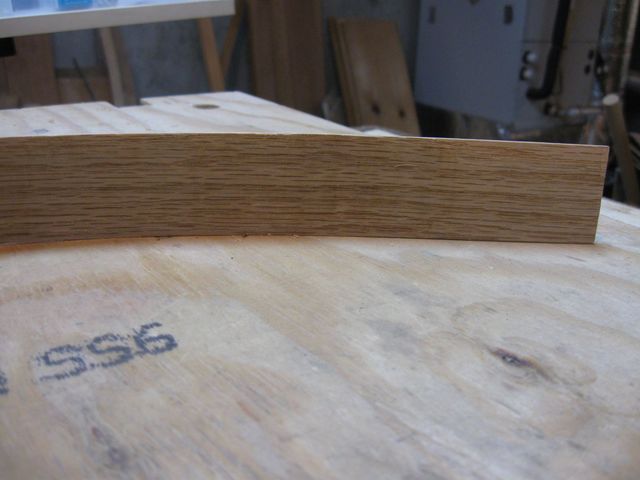
On the left side, the wood is resting on the bench around the inflection point of the upper bout, as seen in the photo below.
The Upper Bout is Resting on the Bench
But it isn't too bad, and if I press down on it gently, it makes complete contact with the bench. When I sight down the board, it looks pretty even. There is maybe a very slight twist at the far end.
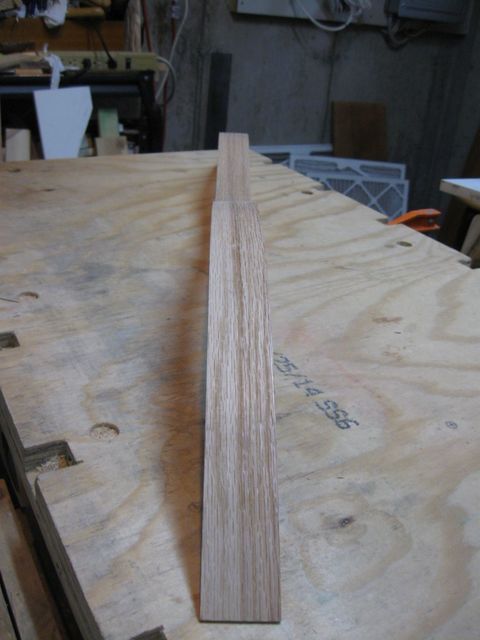
Sighting Down the Length of the Board
In the photo below I'm holding the board at an angle, and you can see that the curves are nice and smooth. They are not lumpy like they were on the first board. I also do not see any scorching of the wood at all. I think that is because the wood is thinner, needing less heat to bend, and the iron was not as hot this time.
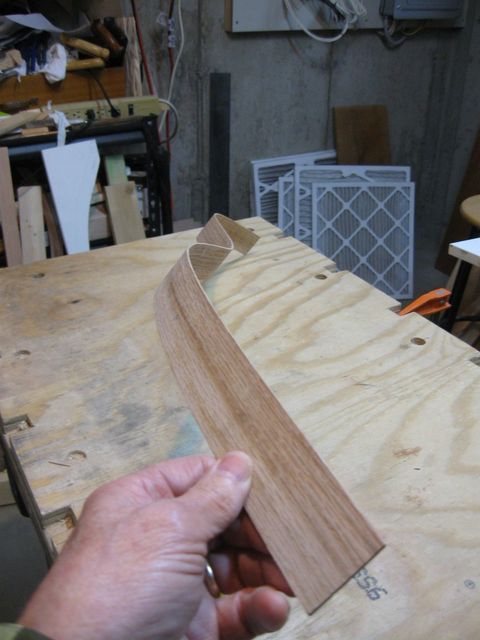
Smooth, Even Curves
I do need to remove the pencil marks that I made on the board because they would be on the outside after assembly.
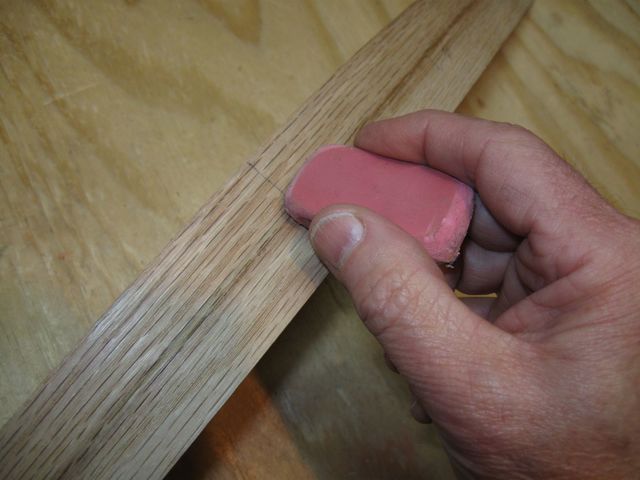
The Pink Pearl® Eraser Works Fine
I am actually quite happy with the outcome. I could probably use this side with an instrument. Not bad for only the second bend I have done.
Now I want to make sure that it was skill and not an accident, so I am going to rip the final board out of that piece of oak to get two more pieces.... and then bend them.
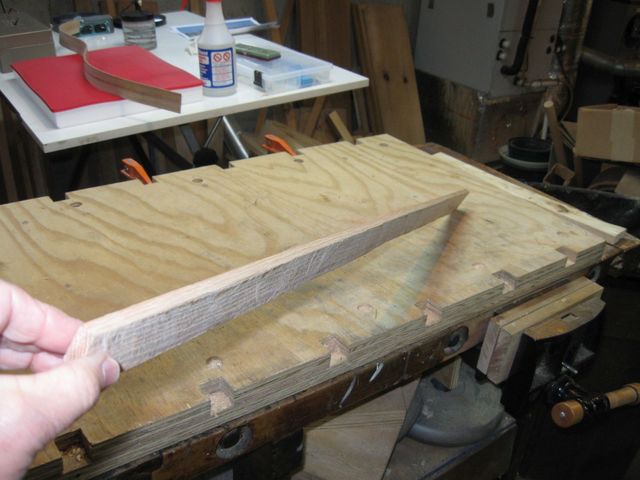
This is the Other Half of the Board
I scored it down the middle with my knife edge marker, then I ran a pencil down the cut to make it visible.
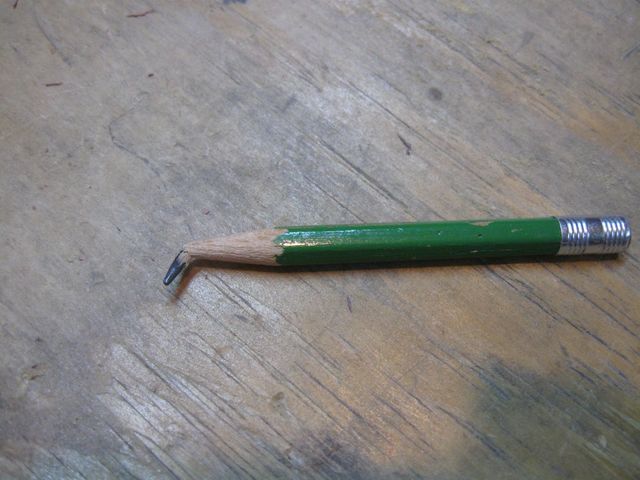
Oops. The Green Pencil Broke Again
It won't be too long before there is not enough of that pencil left to sharpen.
I won't bore you with more pictures of me sawing down the board. Here are the two slats after I ripped the board in half.
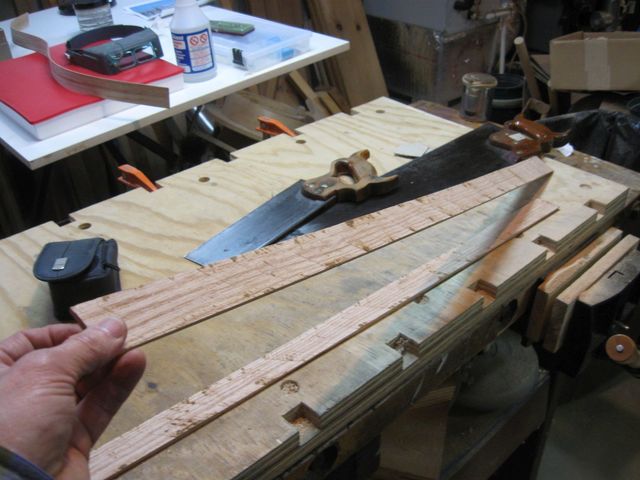
Each One of These is Just Over 1/8th Inch Thick
I planed the one that had one machined side and not the one with the over cut mistake that I had made on the original split. I should be able to make a usable board out of that one.

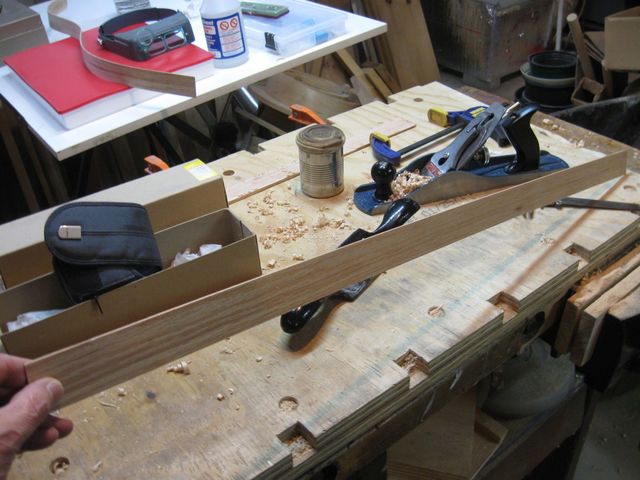
The Plane and Scraper Make the Board Thin
Here is a photo of the board after planing and scraping.
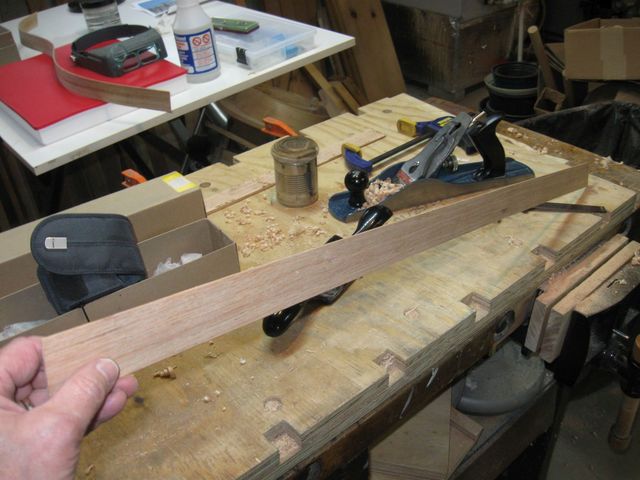
This Board is Now Just Over 2mm Thick
Here it is with different lighting so that you can see how thin it is.
This Should be Thin Enough to Bend
That is all I had time for today. I will plane the other side next time.
