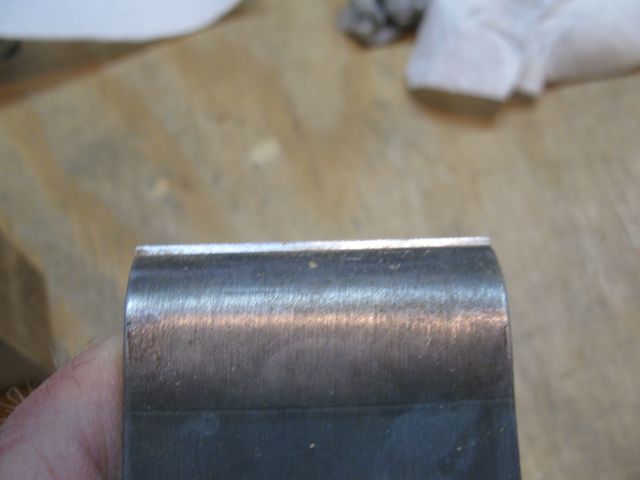
The block for the peghead turned out to be not very square. Take a look at this.
The Top Slants
This is why I left some extra wood around the template when I glued it to the block. I had to plane off the high corner to square this up. But, before I did that I put the plane iron into my sharpening jig to sharpen it. It looked as though the secondary bevel was getting a bit wide, so I set it up to grind a new primary bevel on the it.
I was not making any progress for a while, so I looked more closely at the iron. Here is what I saw.
I Was Grinding a New Bevel on the Iron
You can see that there are now three bevels on the iron. The one at the bottom is a new bevel. So I was grinding the iron at the wrong angle. That puzzled me because I had set up the iron in the sharpening jig, which up until now had been right on target for setting the grinding angle.
It took me a few minutes, but I finally figured out what was going on. I had left the long jaws on the Lie Nielsen sharpening jig for the sake of convenience (read.. laziness). It should not matter which jaws are on the jig as long as there is clearance above the stone, and I am not grinding away the jig. However, it does make a difference for setting up the jig.
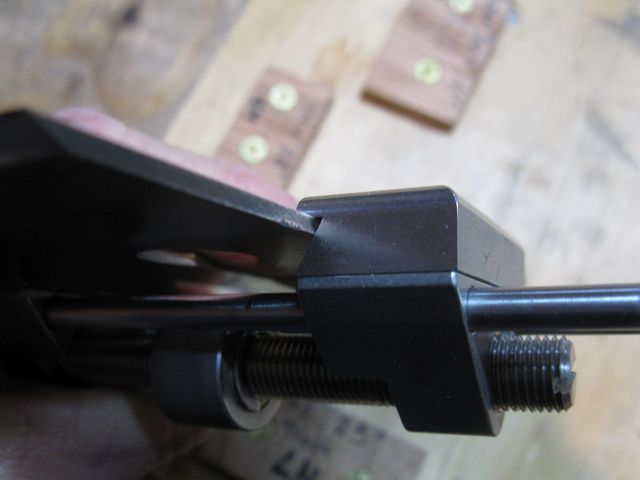
To ensure clearance above the stone when sharpening short irons such as the spokeshave irons, the bottoms of the long jaws are angled.
The Long Jaws of the Lie Nielsen Sharpening Jig are Angled
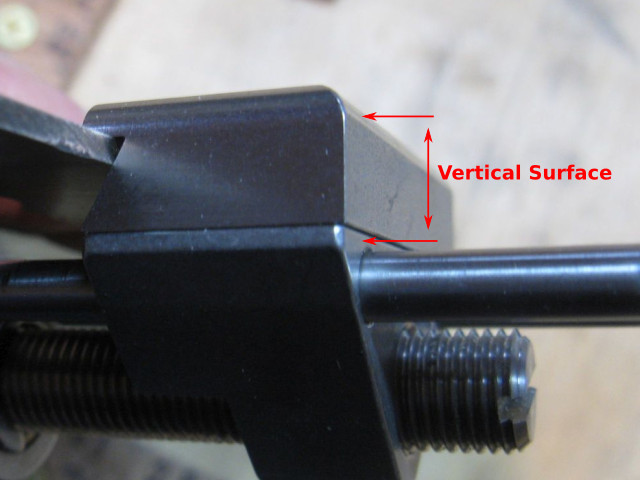
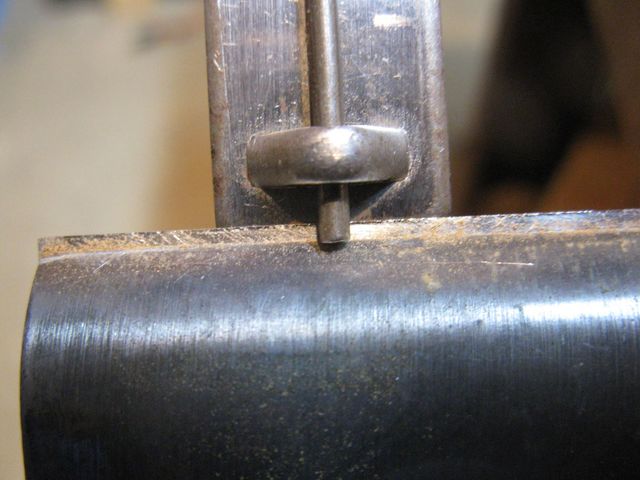
You can see in the photo above that there is a very small edge where the jaw is vertical and perpendicular to the plane of the plane. That surface is what bears up against the side of the jig when setting up the angle of the iron. Here is a closer view, with some annotations to show you what I am talking about.
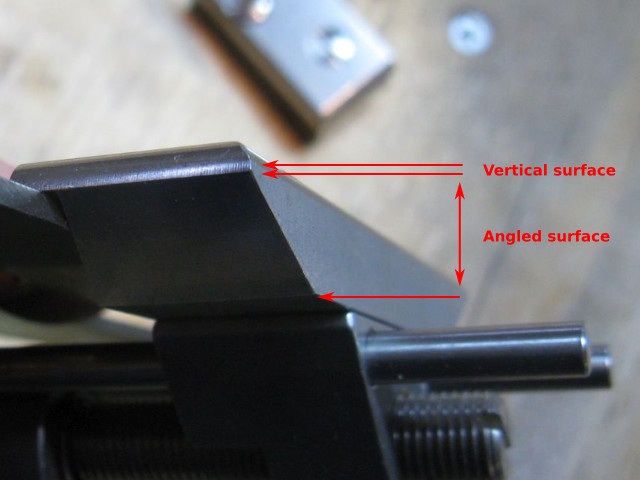
Why It Is Difficult to Set the Angle of the Iron
The vertical surface indicated in the photo is very small, and that must be held against the side of the setup jig when setting the distance that the iron must protrude from the sharpening jig. If one is not very careful, the jig will ride up on the angled part of the jaw when pushed against the side of the jig. When that happens, the iron is set too far into the jaws of the sharpening jig, and the angle of the iron will be incorrect.
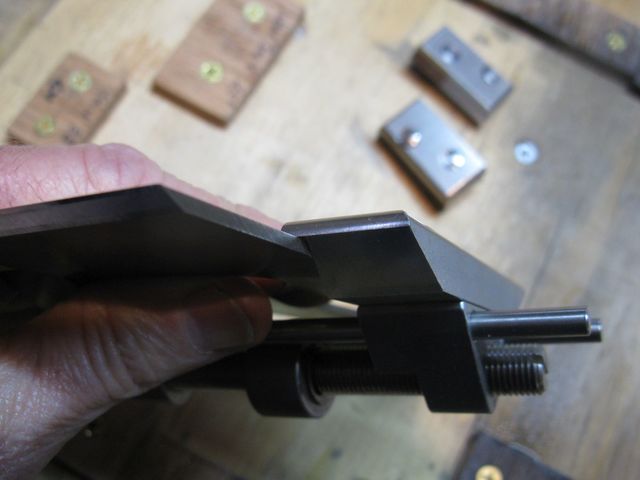
Now contrast that with the side of the short jaws.
The Short Jaws Have a Wide Vertical Surface
Note that the front of the jaws have a very wide vertical surface. Only the jig itself is angled to clear the stone.
There Is No Way to Mess This Up
There is no way to mess this up when setting up the iron..... well OK..... there is probably some way to mess it up, and I will probably find it later..... but it will be much more difficult to mess it up than it is with the angled, long jaws.
So I put the short jaws on the sharpening jig, set up the plane iron and sharpened it. It all went well this time, my only punishment being that I will have to grind out that third bevel eventually. But that can happen over time. I ground the secondary bevel a bit before I honed the secondary bevel.
I set the block up in my screw clamp, with the screw clamp clamped to the bench top using two of my other clamps. This allows me to hold the block very securely for planing.
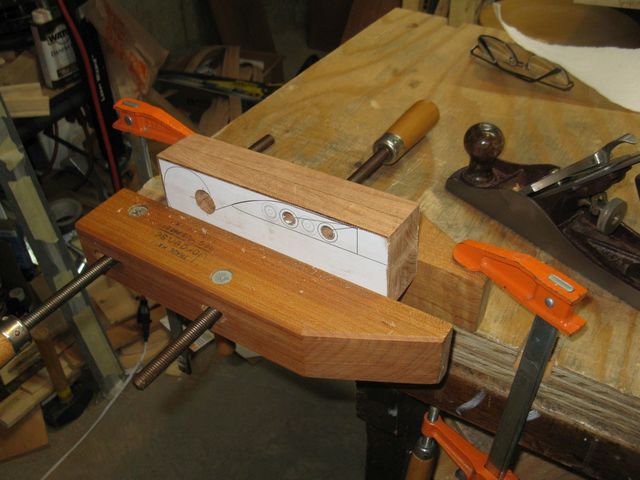
Creative Use of the Screw Clamps
I made sure that I clamped the block high enough in the screw clamp that the sole of the plane will clear the top of the other clamp.
The Plane Will Not Hit the Clamp
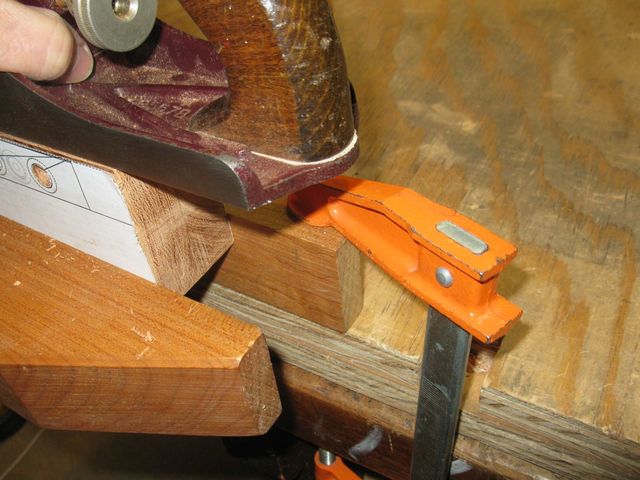
Unfortunately, the entire arrangement twisted off the top of the bench when I tried to plane the block.
Twisted!
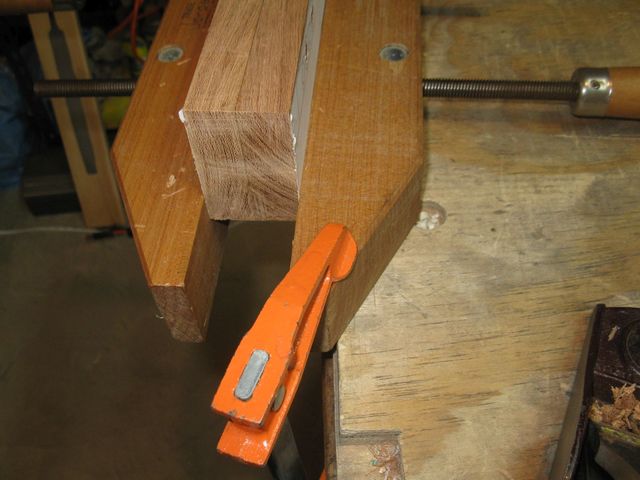
So I took it back to the bench vise.
Bask In The Bench Vise
This Mesquite is quite difficult to work. As I planed, the iron quit cutting. It was grabbing, making sawdust etc. Then, I took the iron out of the plane and found this.
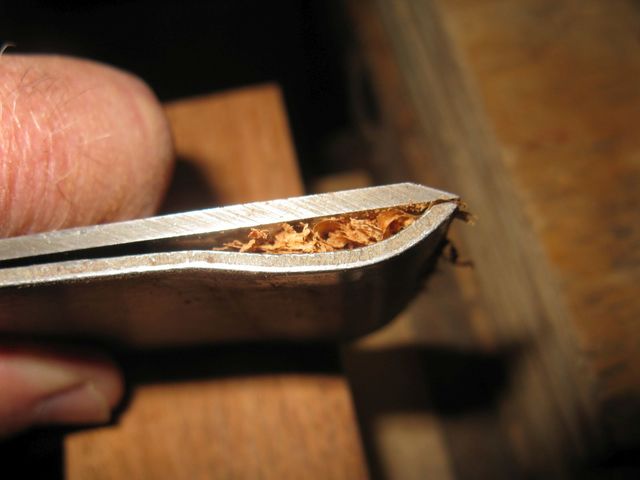
The Space Under the Cap Iron is Full of Chips
The space between the cap iron and the plane iron was full of chips. That is why the iron was no longer cutting. I took the cap iron off.
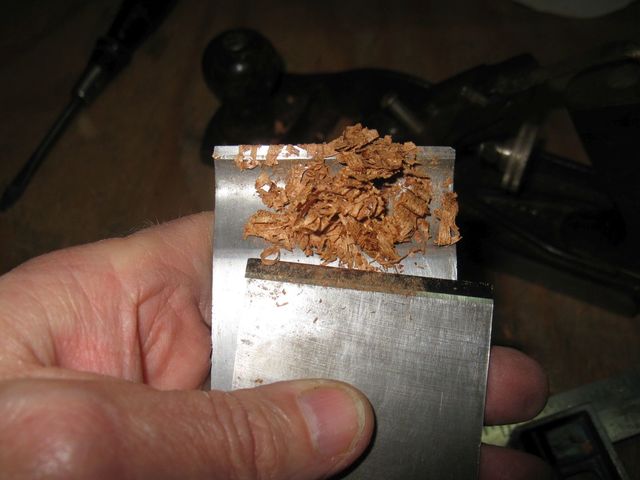
All Of This Was Between the Irons
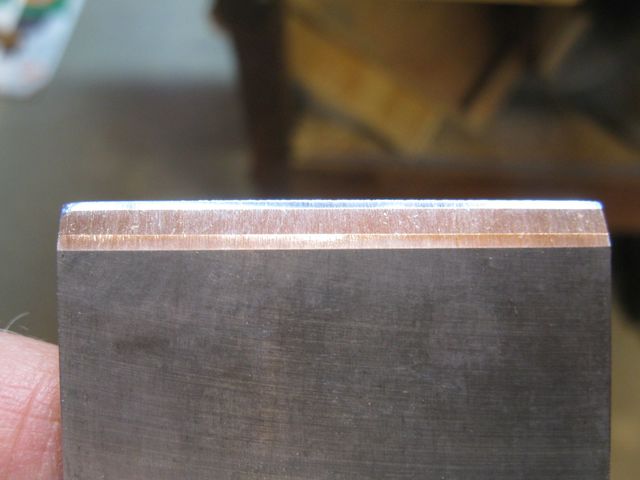
I think I have the cap iron set too close to the edge of the plane iron. I moved it back quite a bit from the edge.
This Is Quite a Large Gap
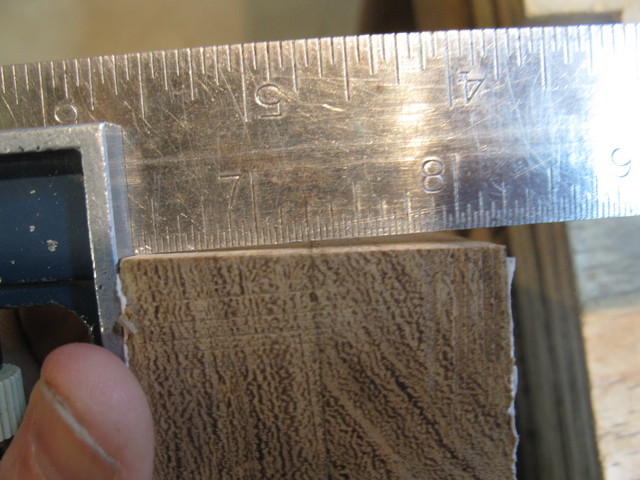
I measured it to see just how far back I was setting it.
Measuring the Size of the Gap
Looks like about 1/16". That is pretty wide.
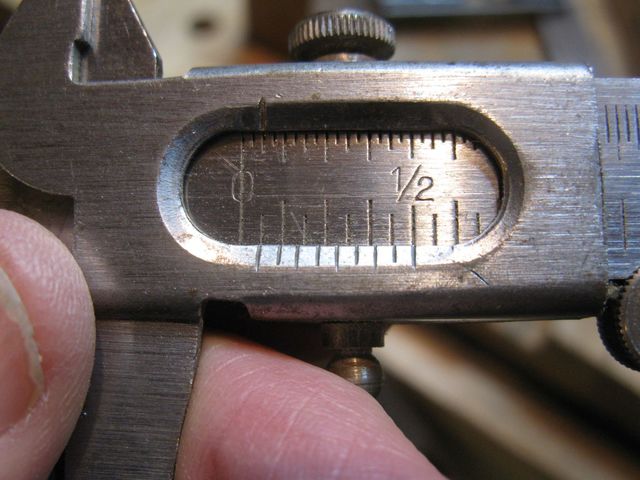
This Is a Wide Gap
But, I left it there anyway, and the iron worked OK. It was no longer clogging, and the iron was cutting better.
This is Better
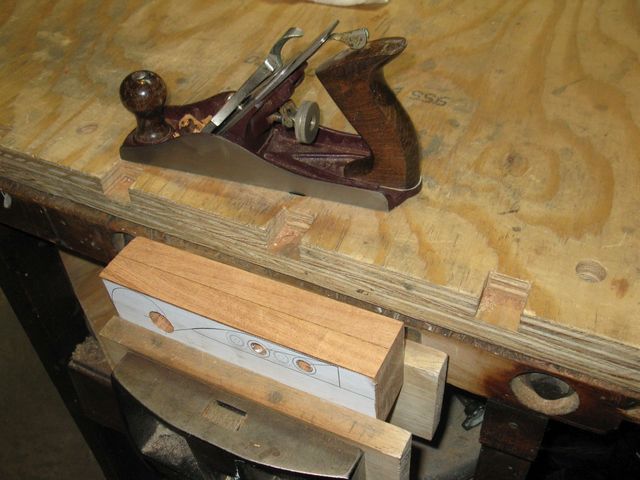
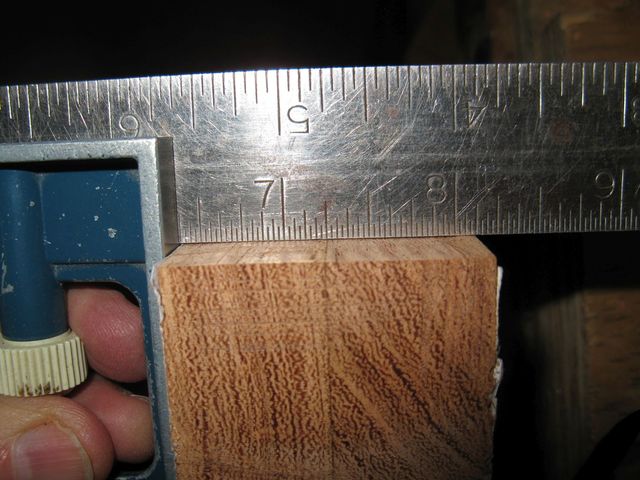
Finally, the block is more close to square.
I don't have to make it any better than this because I am going to be carving away most of it when I shape the peghead. So I left it like this.
