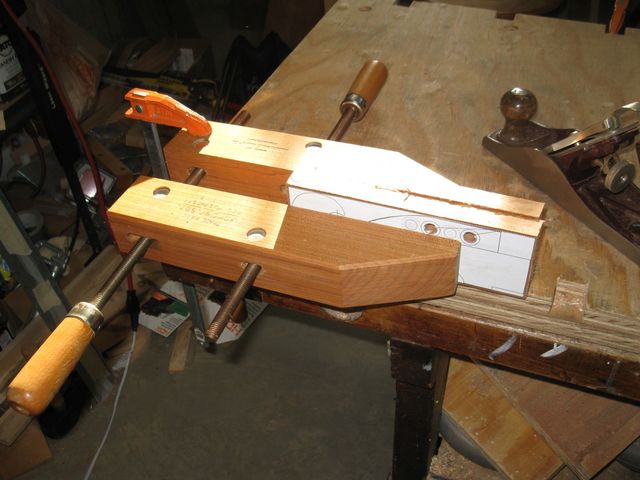
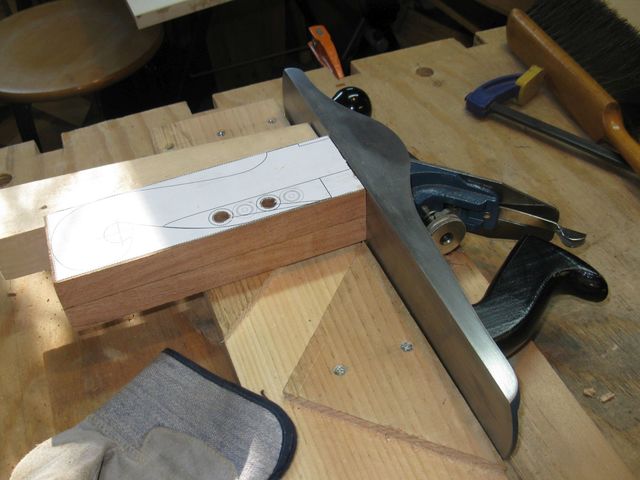
I have given the glue a day to dry, so the peghead blank should be ready to go. The next step was to square it up and drill out a 3/4" hole in the middle of the peghead hook. So I set about doing that chore. Here is the blank, still all clamped up.

The Clamps Are Still On The Blank
I took off the clamps and set up my screw clamp to serve as a convenient bench-top vise for planing the blank down to size. The point of doing this is that the blank is sitting firmly on the bench top while I plane it. This is a trick that I learned watching Youtube videos.
The Clamp is Clamped to the Bench
HA! As if! When I tried to plane the wood, the clamp twisted around on the clamp holding it to the bench and would not stay put. I can see no way to put two clamps on it and make it work because one of the jaws has to be able to move in order to close the clamp on the block.
So I took it back to my bench vise for planing.

This One Works
To clean up the ends, I sawed off the jaggy parts. First I drew a square line across it.
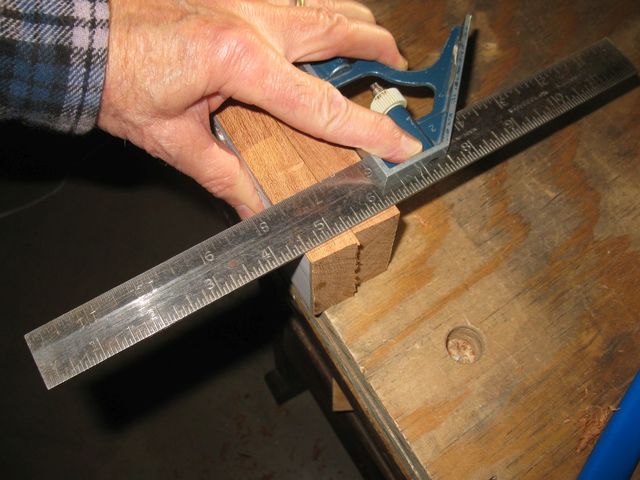
Squaring Up the Ragged End
I cut off the end with the back saw.
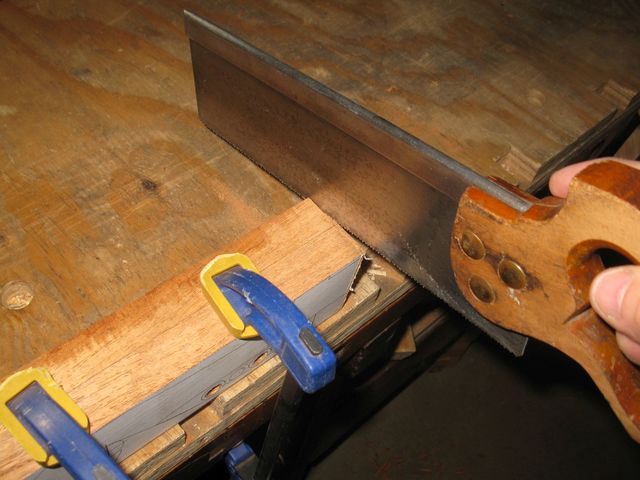
Cutting Off the End Using the Back Saw
Here is the jagged end piece.
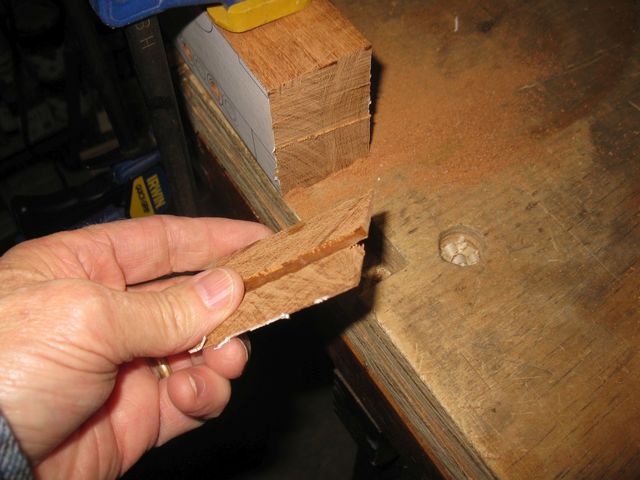
I'm Glad That is Gone
I put the block in my shooting board to square up the end better.
The Block Is Actually Too Tall for This
Turns out that the block was too tall for the shooting board. The plane iron did not go all the way across it. Also, that hard wood was not giving in to the plane very well. So I did as much as I could, then clamped it in the vise and went at it with the shoe rasp.
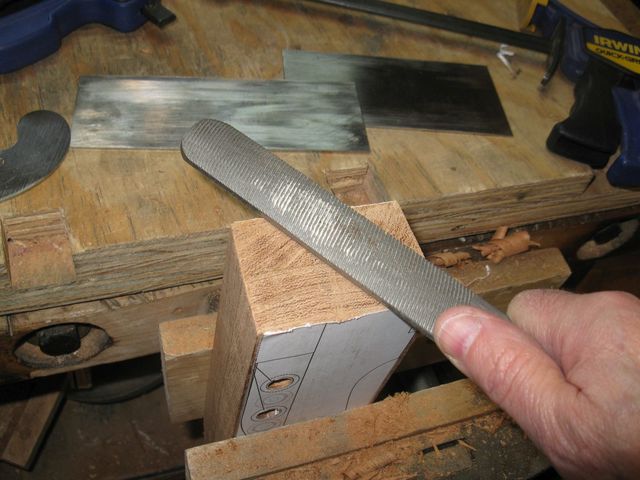
The Shoe Rasp Doesn't Work Very Well Either.
Even the shoe rasp did not handle the wood very well. It mostly just skims across the top. So I worked it until it was close, and then quit. This is just preliminary work anyway.
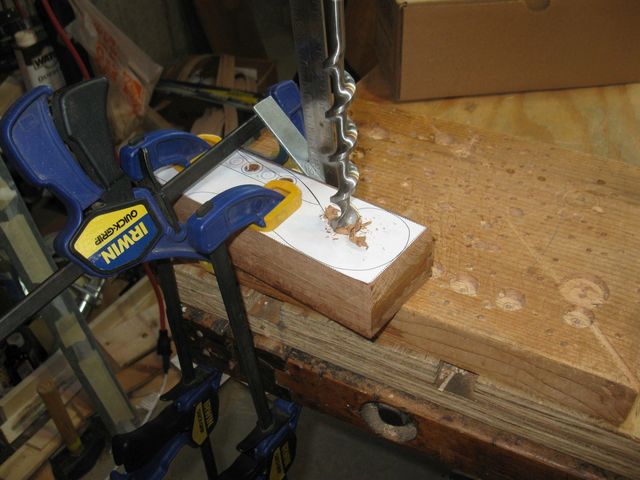
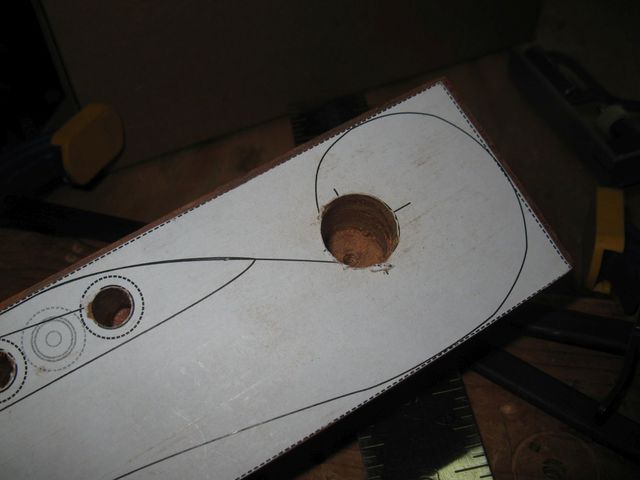
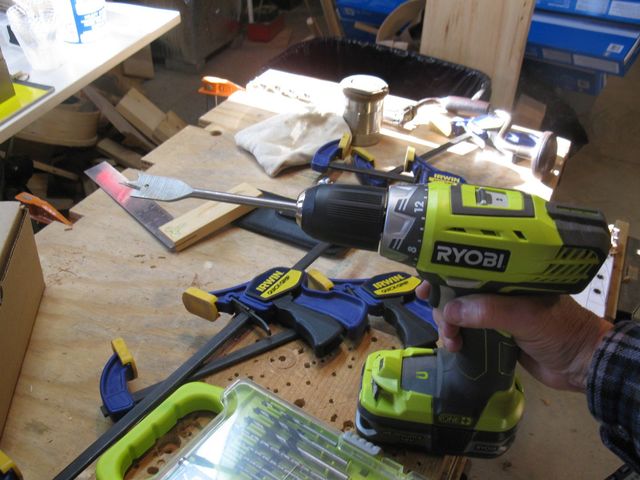
It was time to drill out the hole in the hook on the peghead. I had marked a 3/4" hole in the center of the hook. I drilled it out using a 3/4" bit in my brace.
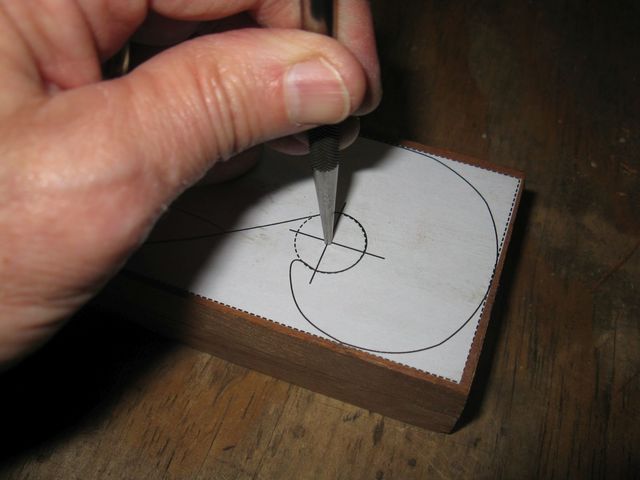
First, I Center Punched the Spot
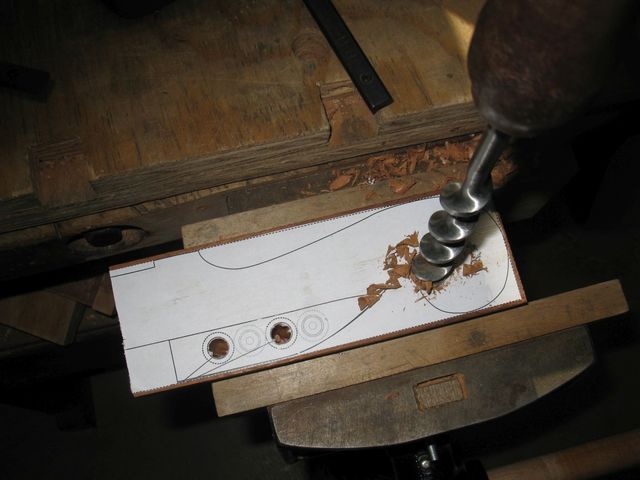
I clamped it all together on a sacrificial two by 12 to and set up my try square to help me keep the hole vertical.
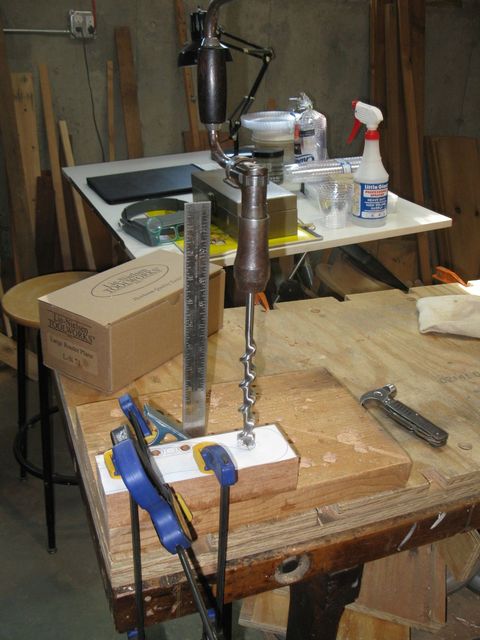
Set Up For Drilling
Unfortunately, the clamps could not hold the wood against the twisting, and once again the board just twisted out from under the clamps
The Clamps Just Don't Hold It Well Enough
So I moved it all over to the bench vise again. I keep trying to do this on the bench top because I have to push down on the wood, and sometimes that pushes the blank out of the vise jaws. I want to have the wood firmly on the bench top for this. Unfortunately, I have not been able to figure out how to clamp it down well enough to keep it from twisting. So I cinched it really tight in the jaws of the vise.
I Clamped It Tightly In the Vise
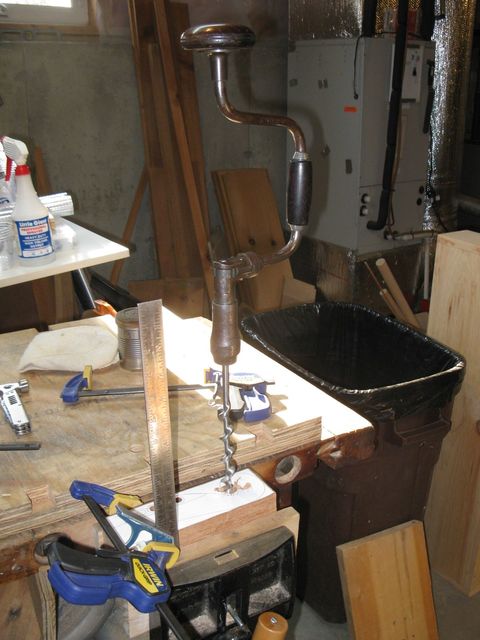
That presented me with another problem, which was that the arm of the brace whacks against the ruler in the try square.
The Brace Will Not Go Past the Rule
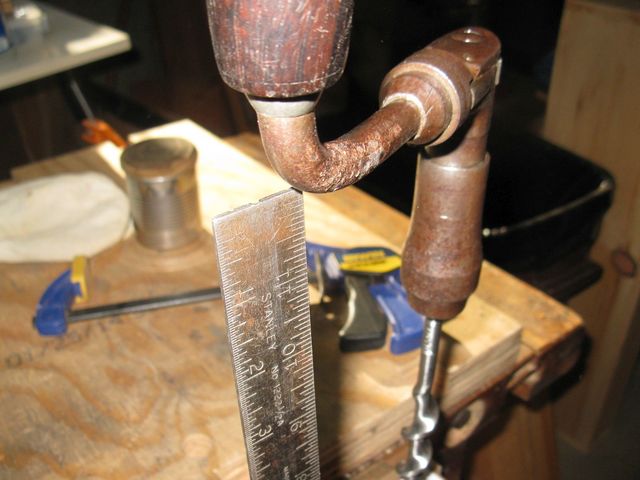
I got out my shorter try square and set that up instead. There is lots of room here to drill.
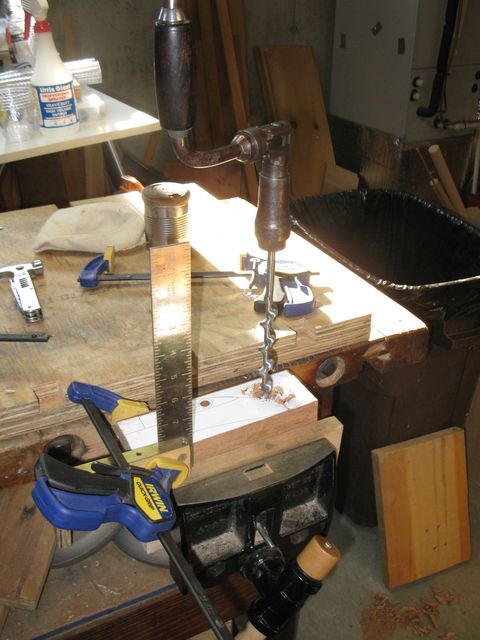
This Square Leaves Plenty of Room for the Brace
The shorter square is a really nice one with brass fittings and a nice, wood handle. The reason that I don't use it much is that it isn't really square. My old, cheap Stanley multi-square is more accurate. Go figure. What good is a try square that isn't actually square? But it was good enough for eyeballing a vertical hole.
I drilled it half way through.
This is Half Way Through
Then, I turned it over and drilled through from the other side.
Drilling From the Other Side
After I got most of the way through, the pilot screw in the bit lost all of its purchase in the wood. The pilot screw is what draws the bit into the wood. If there is no wood for it to grab into, the bit no longer works. I should have just drilled all the way through into a sacrificial piece of wood.... except that trick did not work either because I could not figure out how to clamp the piece down to the 2 x 12.
The Hole Stops Here
To clean out the rest of the hole I found my 3/4" spade bit.
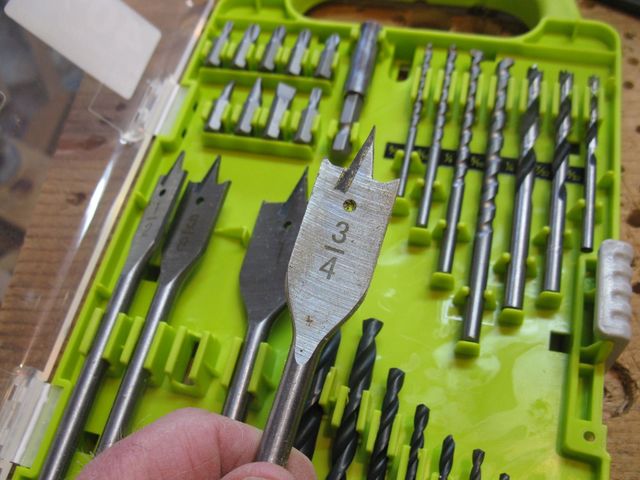
This Should Be Able to Clean Out the Hole
I put it into the electric drill.
In the Drill
And drilled out the rest of the wood.
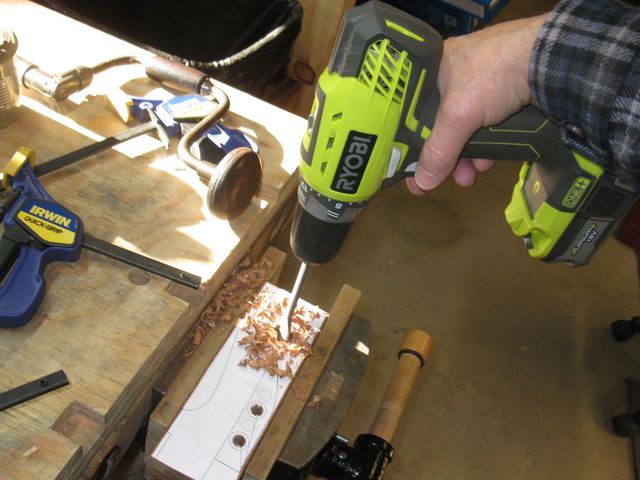
Sometimes I Give Up and Get Out a Power Tool
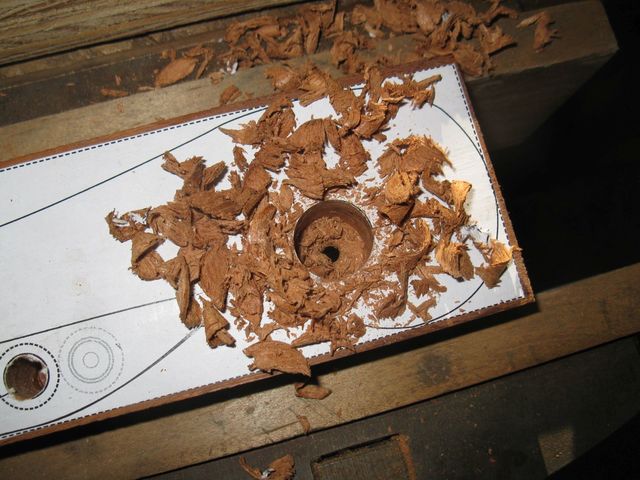
Here is the resulting hole.
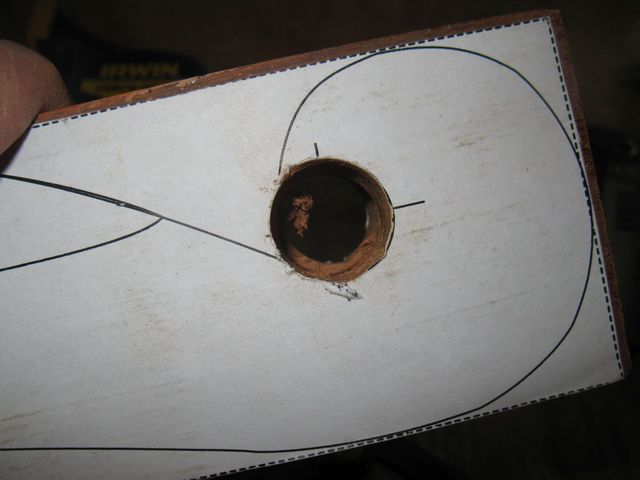
At Least It Goes All the Way Through Now
There is some gross misalignment in the hole, as you can see by the ledge in there. That is what my rattail file is for.
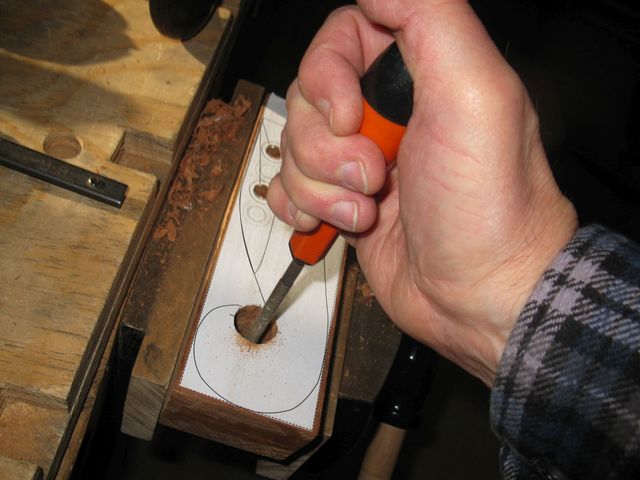
The Rattail File Will Even It Out
It is all a rough cut anyway. I will continue to carve what is left by hand, so it doesn't matter that much. Here is the result so far.
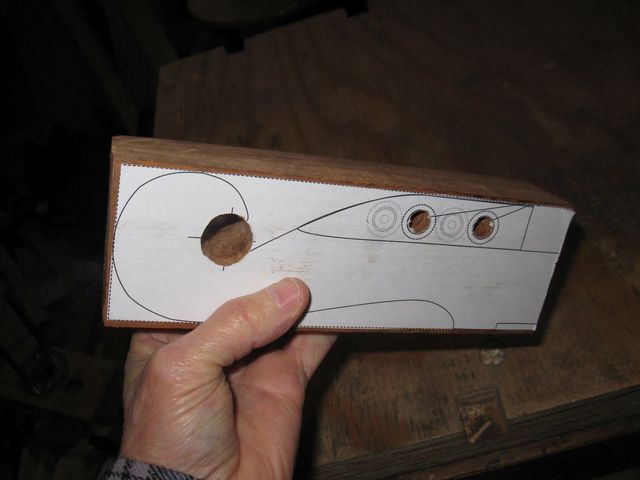
Left Side Of The Blank
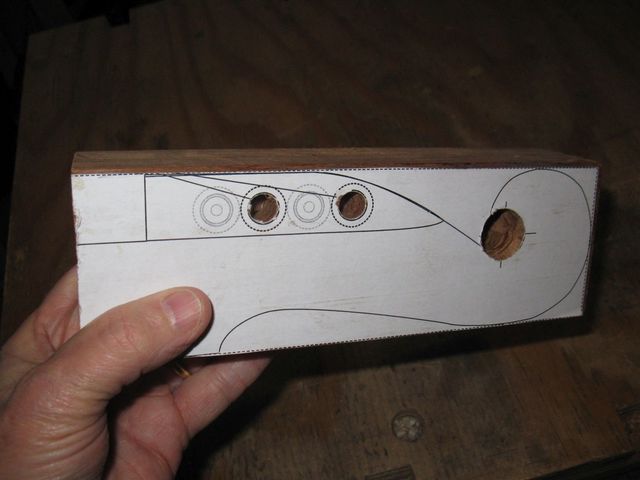
Right Side Of The Blank
I am making progress, but it is slow because of the density of the Mesquite.
